
Domain Username to username login, default settings you need to use the Domain\Username structure however if you would like to login with Outlook Web App with a username please follow the below steps.
Domain username to username login
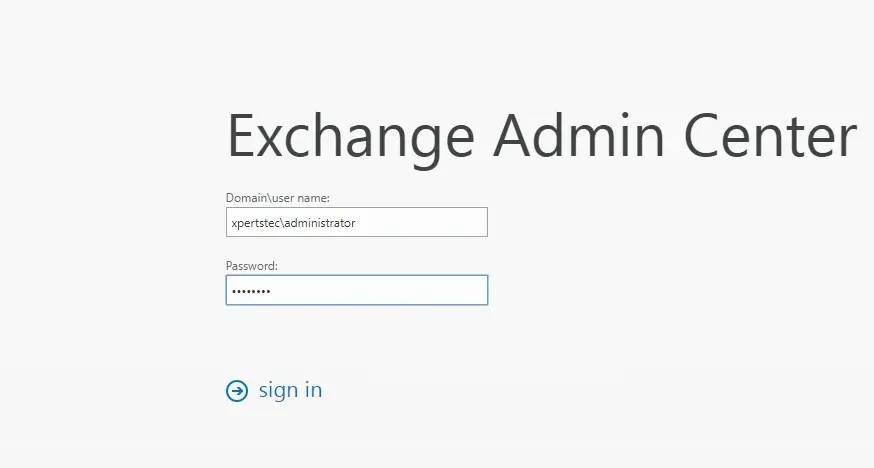
1- Login to the Exchange admin center
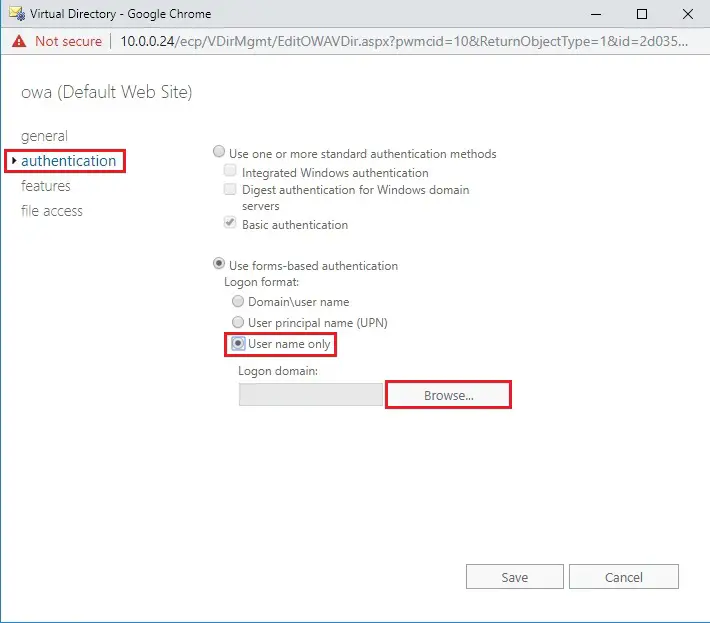
2- On your left side selects Servers and select the Virtual Directories tab and select OWA (Default Web Site) so, choose the Edit button.

3- Select Authentication and select User name only and click the Browse button.
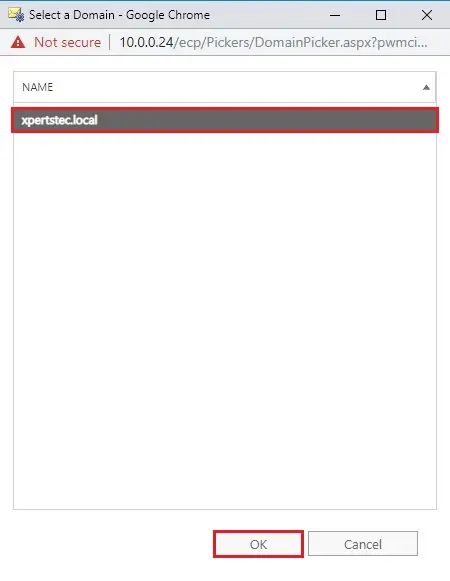
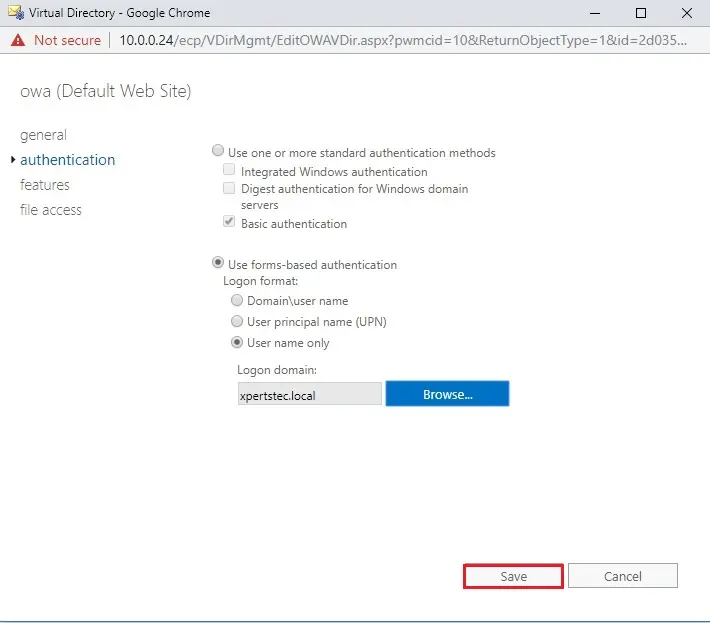
4- Select the domain server and click on ok.
5- Now click on Save.
6- IIS restart warning, so clicks on ok.
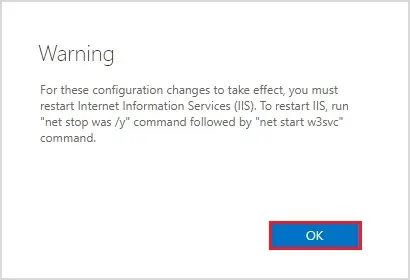
7- Open command prompt and run the following command.
So, type iisreset
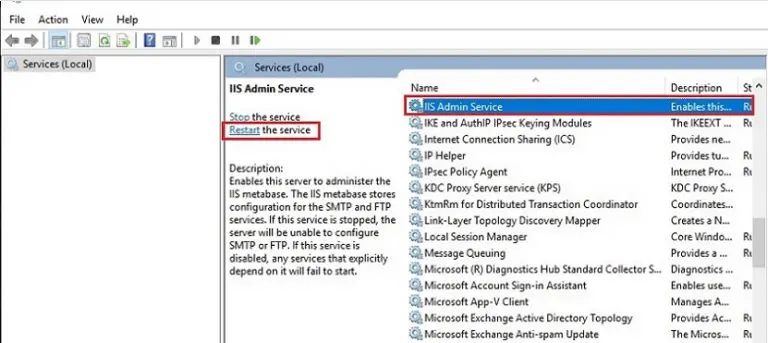
Or, open services and select the IIS Admin Service and click on Restart the service.
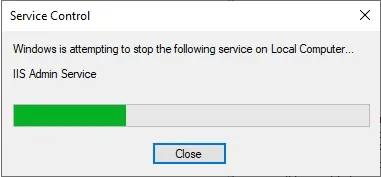
8- Now Restarting the IIS Admin Service.
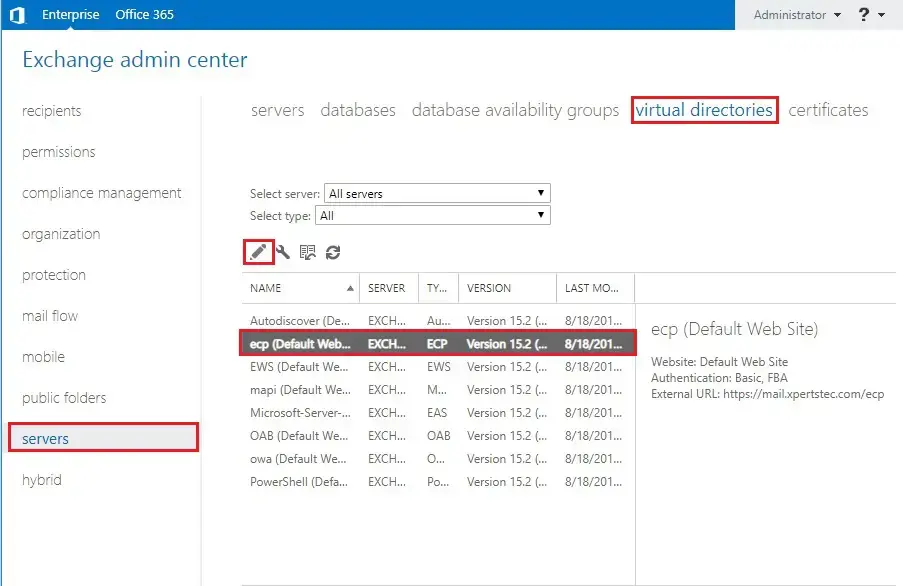
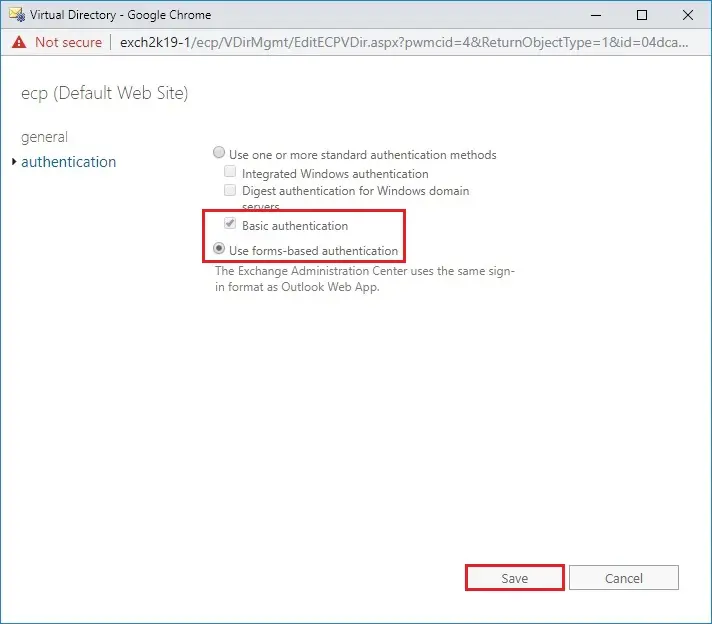
9- Now log in to the Exchange admin center and select the Servers tab and select Virtual Directories and select ECP (Default Web Site) and click on the Edit button.
10- On your left side select authentication and select Use forms-based authentication and click on Save.
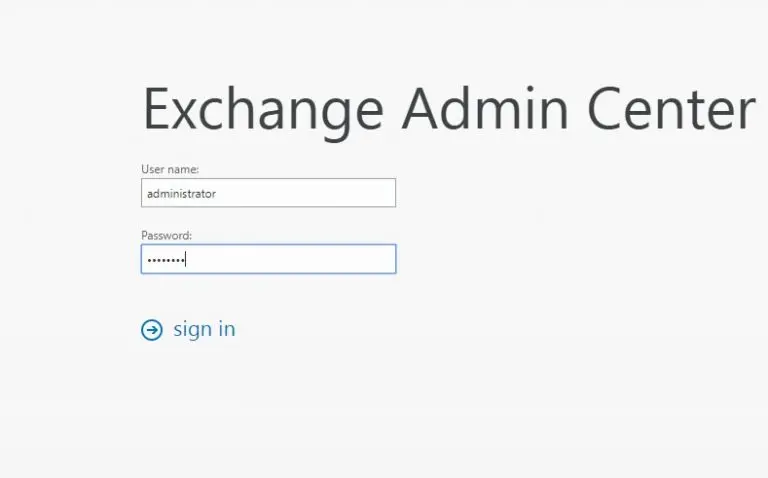
11- Now you can log in without a domain name.
If you need more details click here