How to Configure Accepted domain Settings in Exchange Server 2019
Configure accepted domains in Microsoft Exchange Server 2019, that you configure in an Exchange organization to receive e-mail messages. For example, if your organization registered the domain xpertstec.com, and you configured an MX mail exchanger record in the Internet DNS for xpertstec.com, you want to configure xpertstec.com as an accepted domain in your Exchange Server Setup to accept messages that are addressed to @xpertstec.com recipients.
Configure Accepted Domain
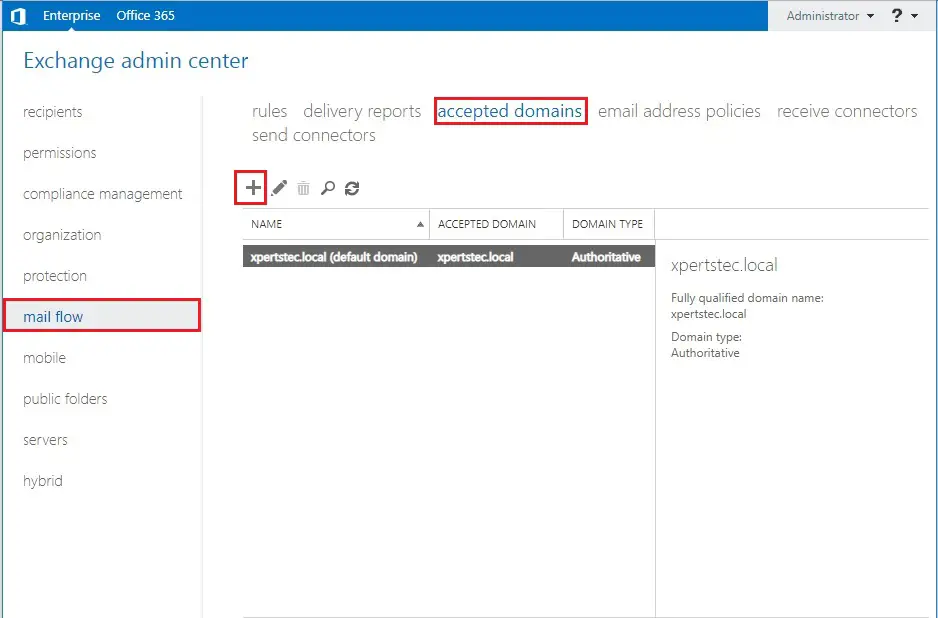
1- Open Exchange admin center and click mail flow and then click on accepted domains tab and click the + symbol to create a new accepted domain.
2- So, type a name and type the FQDN domain in the accepted domain (xpertstec.com) and click on save.
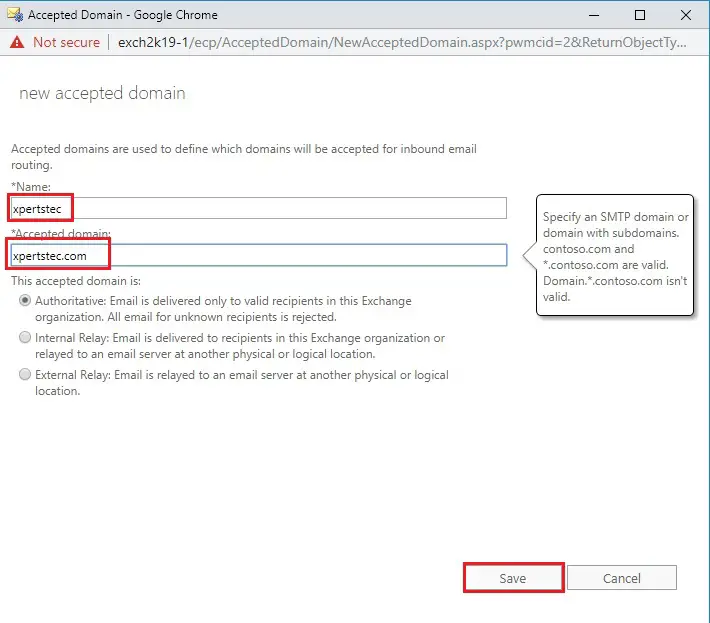
So, now we have a new accepted domain.
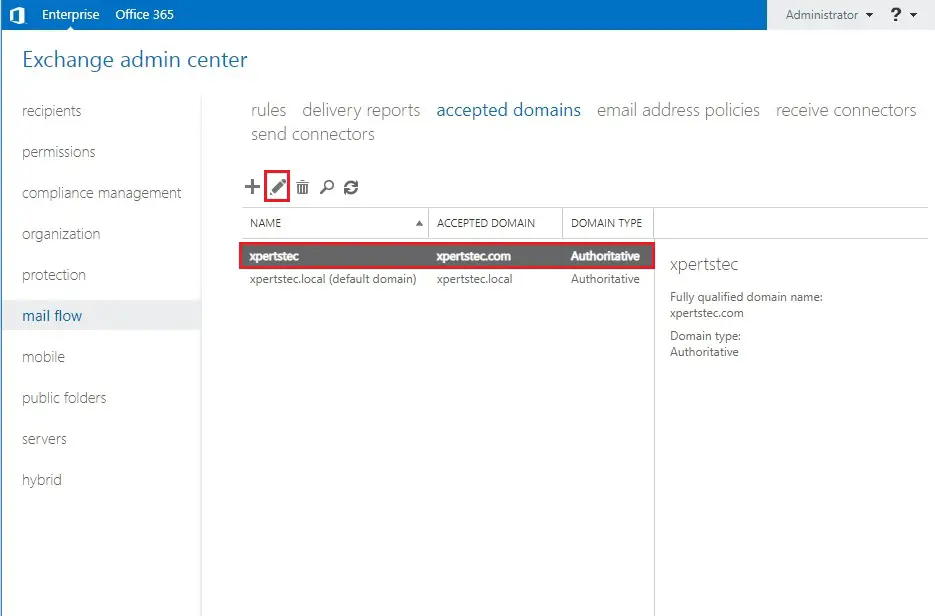
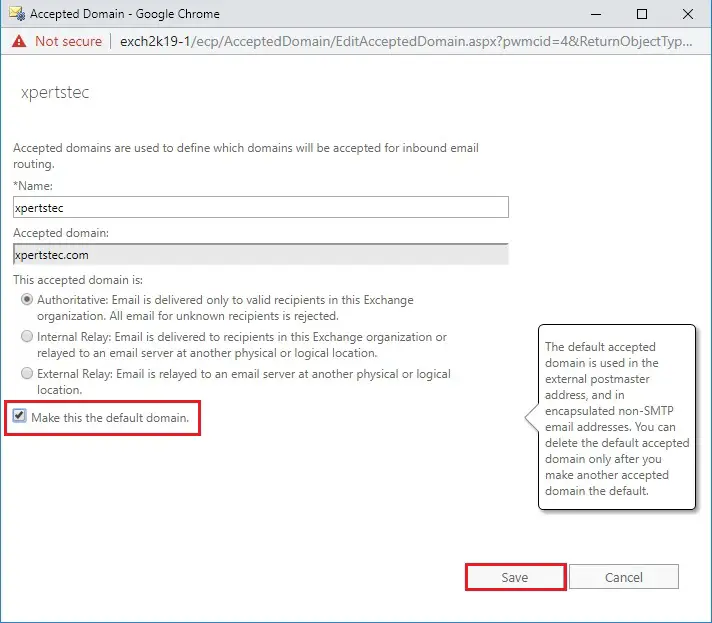
3- To change the default domain highlight the new domain and then click on the edit icon.
4- So, select Make this the default domain and click on save.
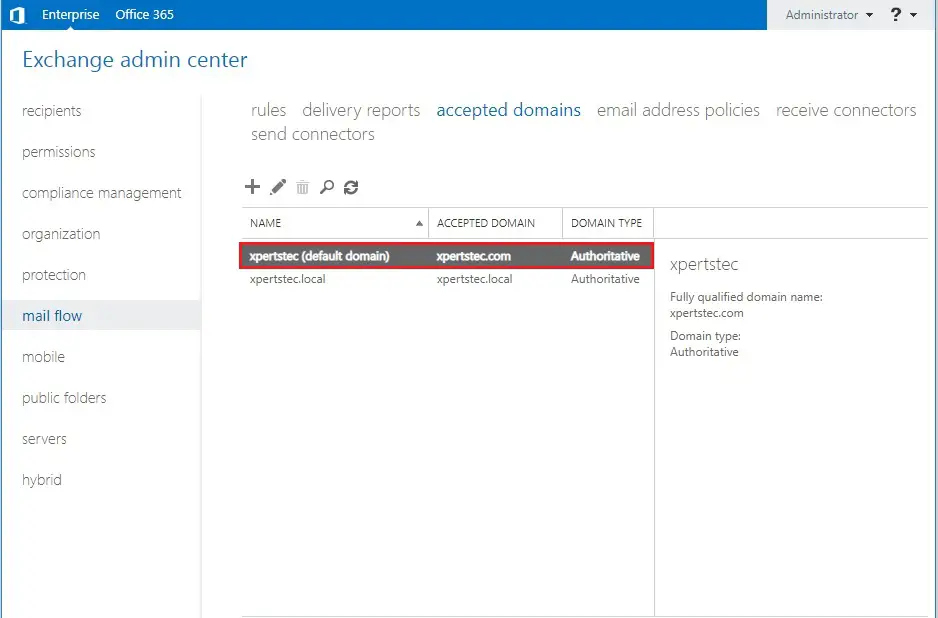
5- Now we can see the default domain changed.
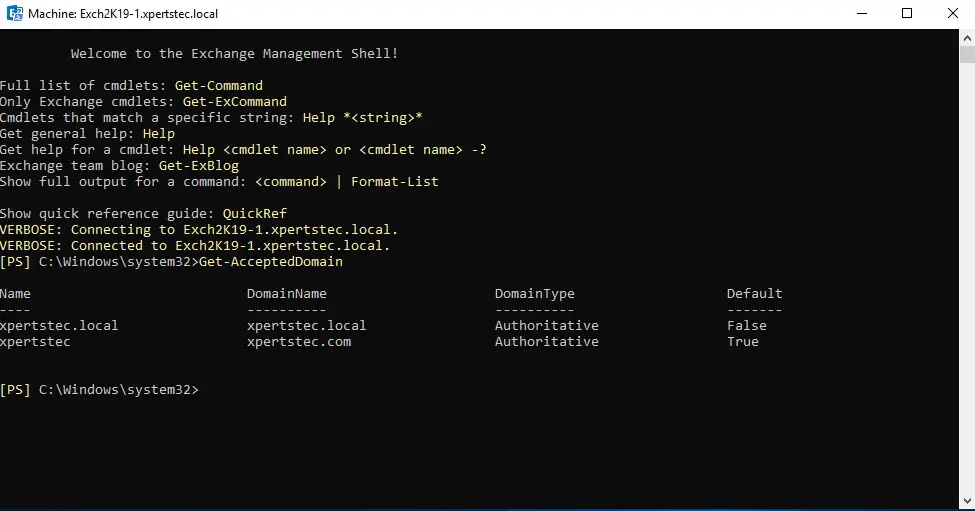
6- using the PowerShell command.
New-AcceptedDomain
New-AcceptedDomain -DomainName xpertstec -Name xpertstec.com -DomainType Authoritative
Set-AcceptedDomain
Set-AcceptedDomain -Identity xpertstec.com -MakeDefault $true
Get-AcceptedDomain
If you would like to know more about, how to setup accepted domain in Microsoft exchange server click here
How to configure Email address policies