

In this article, I’m going to discuss What is AMI in AWS and how to create AMI from EC2 Instance? If you want to know the entire process of creating AMI from EC2 Instance, this article is going to be very helpful for you.
Before Starting the Whole Process, I would love to share some details about AMI in AWS because many people don’t know about it.
What is AMI in AWS?
AMI in AWS stands for Amazon Machine Image. AMI’s are templates that contain all the information needed to launch an instance, including the operating system, application server, and applications. AMI’s are used to launch instances, which are virtual machines that run on Amazon EC2. AWS provides a variety of AMI’s, and you can also create your own AMI’s. When you launch an instance from an AMI, you specify the AMI that you want to use, as well as the instance type, which determines the size and performance of the instance.
You can also specify additional options, such as the security groups and key pairs that you want to use. After you launch an instance, you can connect to it and use it just like any other computer. You can install software, run applications, and store data on the instance. When you no longer need an instance, you can terminate it to stop paying for it.
An Amazon Machine Image (AMI) provides the information required to launch an instance.
This includes the operating system and other software required to run the instance. When you launch an instance, you specify an AMI, which determines the operating system, application server, and applications that are installed on the instance. You can also specify additional options such as the instance type, security groups, and key pairs. After you launch an instance, you can connect to it and use it just like any other computer. You can install software, run applications, and store data on the instance. When you no longer need an instance, you can terminate it to stop paying for it.
AWS provides a variety of AMIs, and you can also create your own AMIs. To create an AMI from an EC2 Instance, you should follow these Instructions.
How to Create AMI from an EC2 Instance
I am going to Create AMI in AWS from an EC2 Instance. I need to create a backup or launch multiple copies of an Amazon Elastic Compute Cloud instance (Amazon EC2), or I obtained a maintenance notification proposing that I create an AMI (Amazon Machine Image) of my instance.
For more details please visit AWS
Create EC2 Instance in AWS
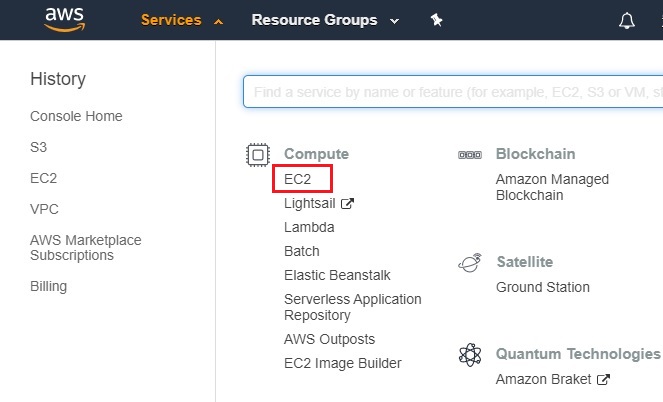
Log in to the AWS account and then go to the AWS Services tab at the top left corner.
1- Click on EC2 under compute.
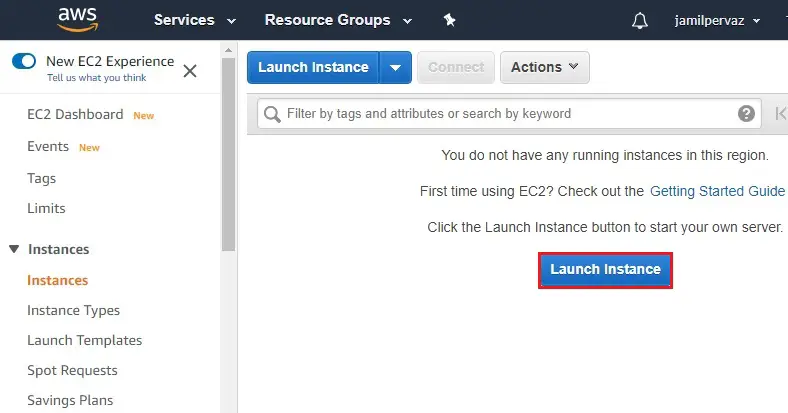
2- Click on the Launch Instance button in AWS.
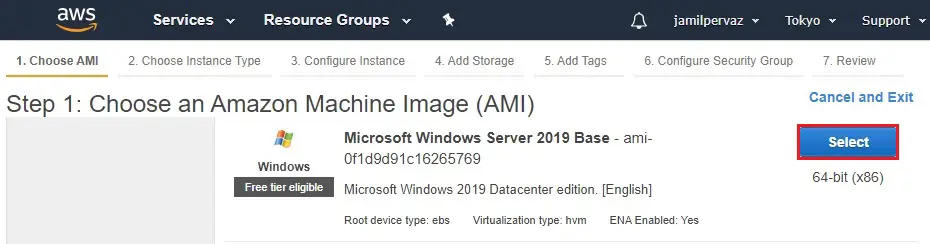
3- Select Windows Server 2019 and then click next.
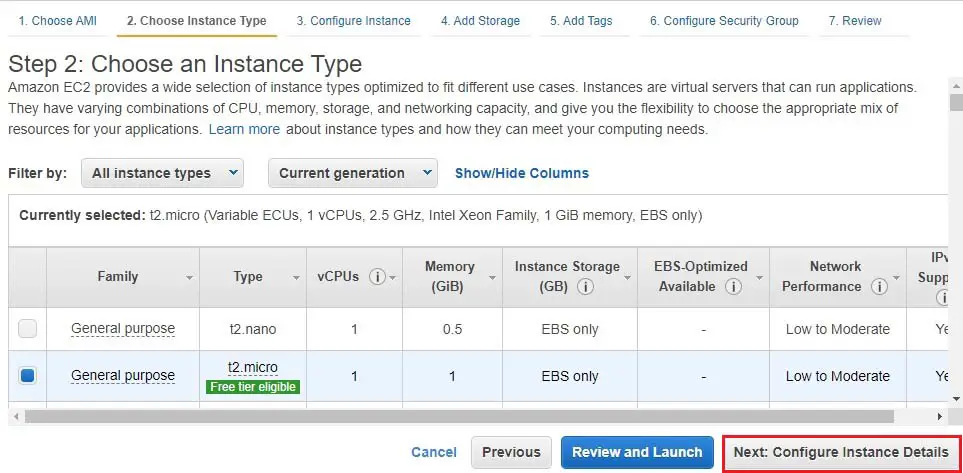
4- Select the type of instance.
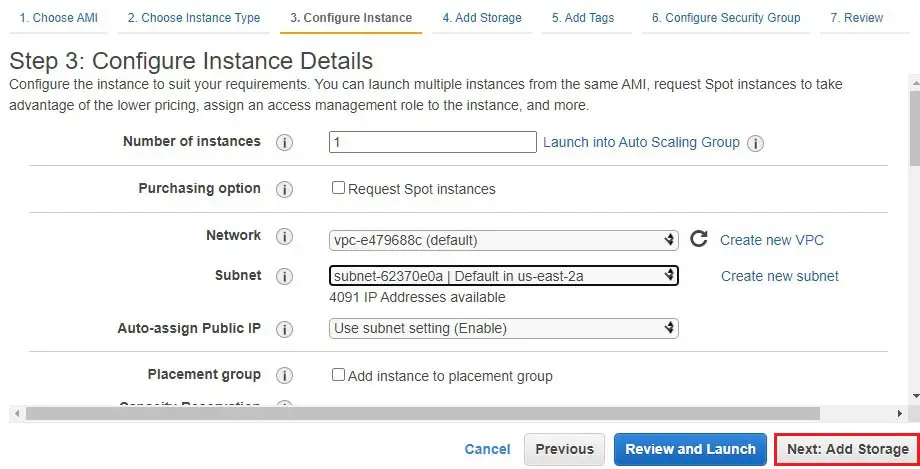
Click Next: Configure Instance Details.
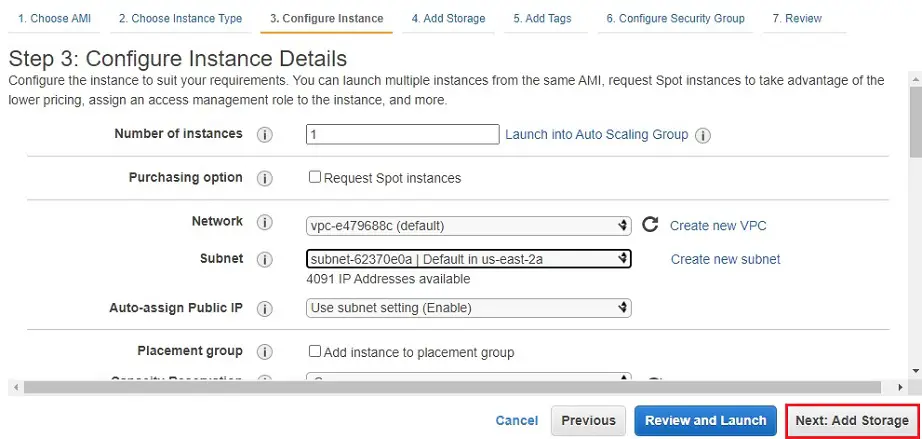
5- Type Number of instances – 1
Network – default.
Subnets – default.
Auto-assign Public IP – default
Click on Next: Add Storage.
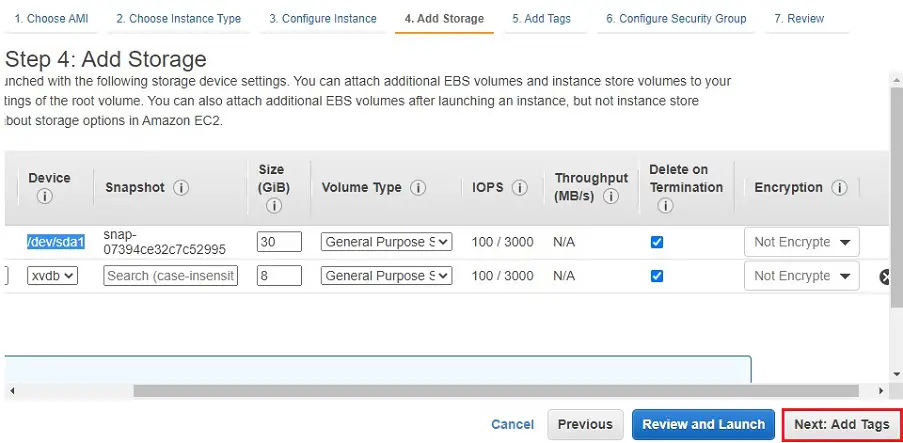
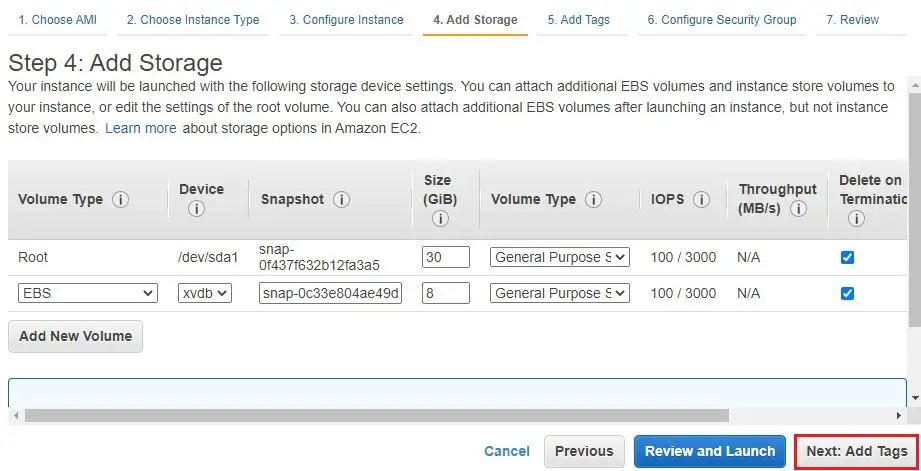
6- Volume size – default 30Gb.
Add one more volume – 8GB
Click Next: Add Tags.
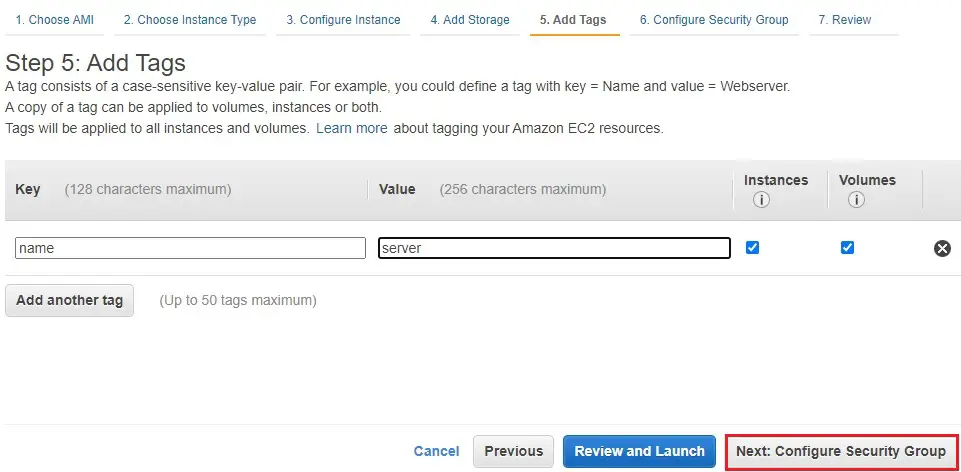
7- Add a tag
Click on Next: Configure Security Groups.
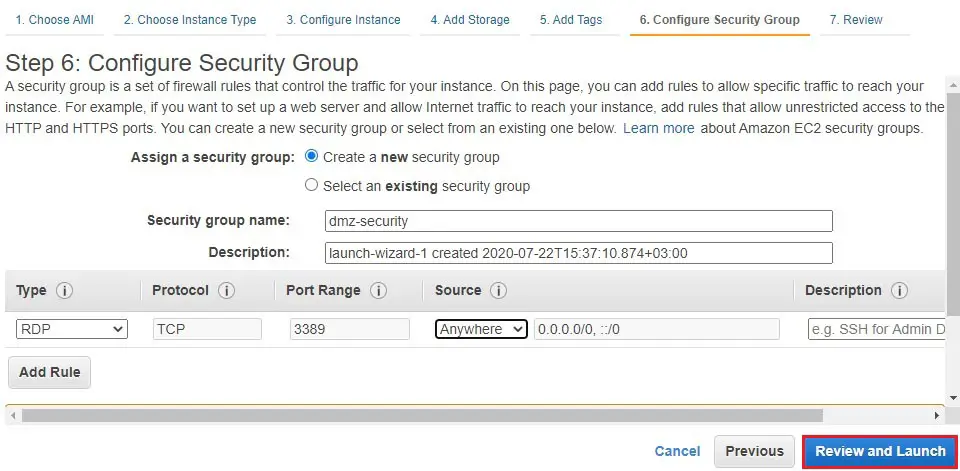
8- Configure Security Group.
Security group name – dmz-Security
Select Protocols – RDP, Source type Anywhere
Click on Review and Launch
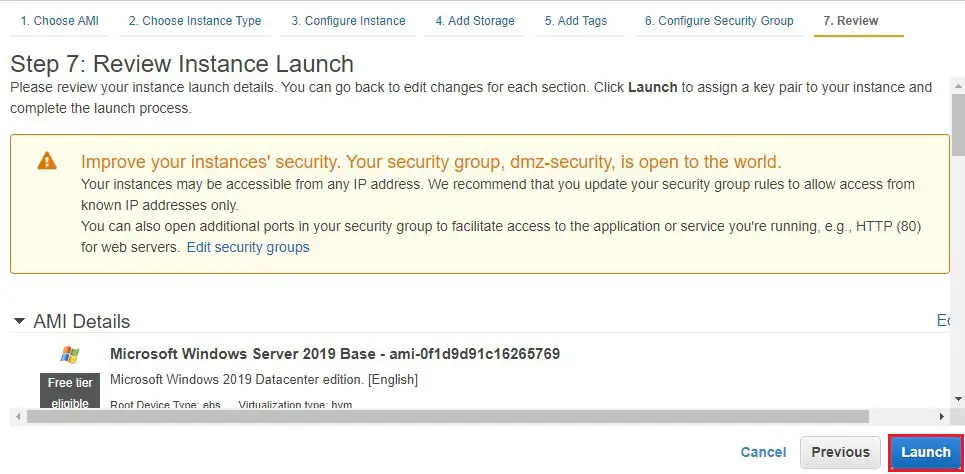
9- Click launch.
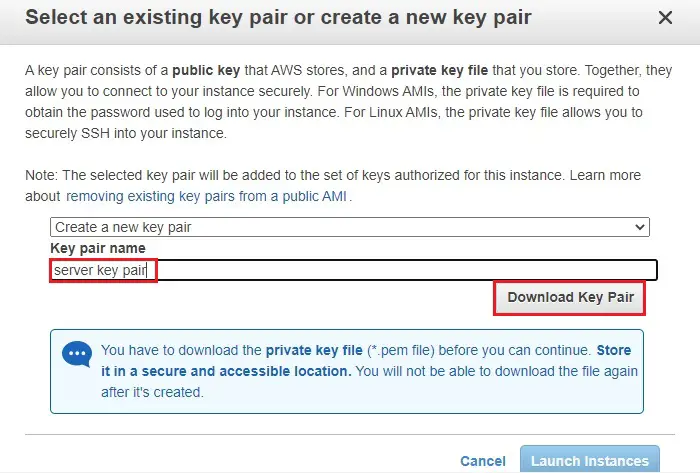
10- Select – Create a new key pair
Key pair name – server key pair
Select the download key pair button and then save it in your secured folder
After downloading the key pair click launch instance.
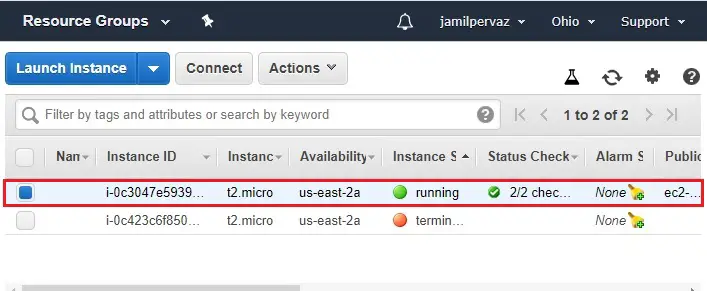
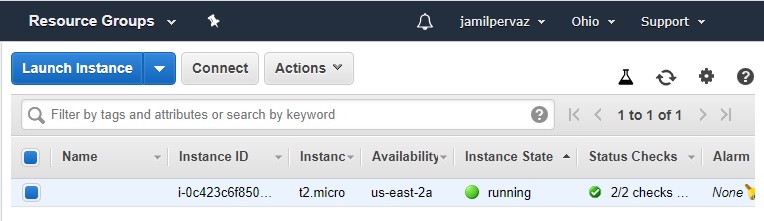
11- You can see its status as running after your instance is up and running.
Select instance (DC-Server) and then click connect.
Create an AMI in AWS from an Amazon EC2 Instance
From the AWS EC2 Instances view, we can create Amazon Machine Images (AMIs) from either running or stopped instances. In this lab, I will stop my instance.
To create an AMI in AWS from an instance
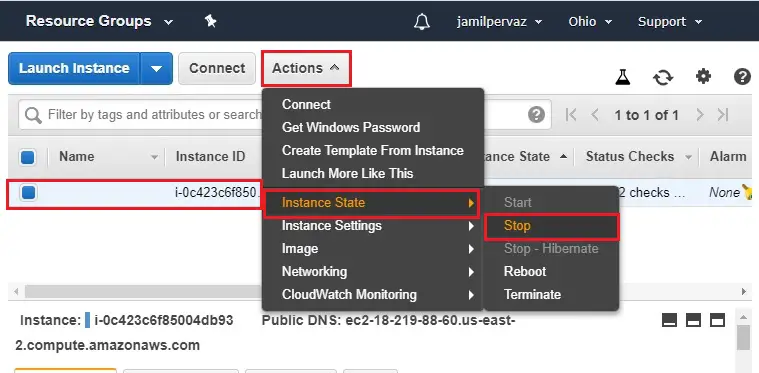
1- Select your instance, click on action menu, select instance state and then select stop.
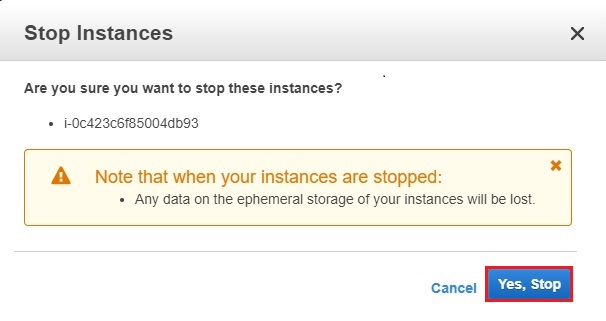
2- Click Yes, Stop.
3- Select the instance you need to use as the basis for your AMI.
Select Action, select Image and then select Create Image from the context menu.
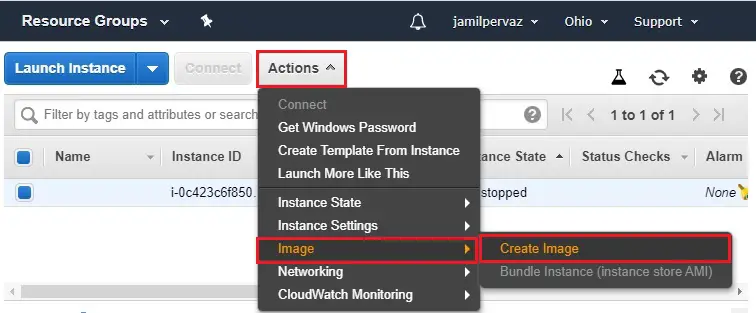
4- Create Image context menu
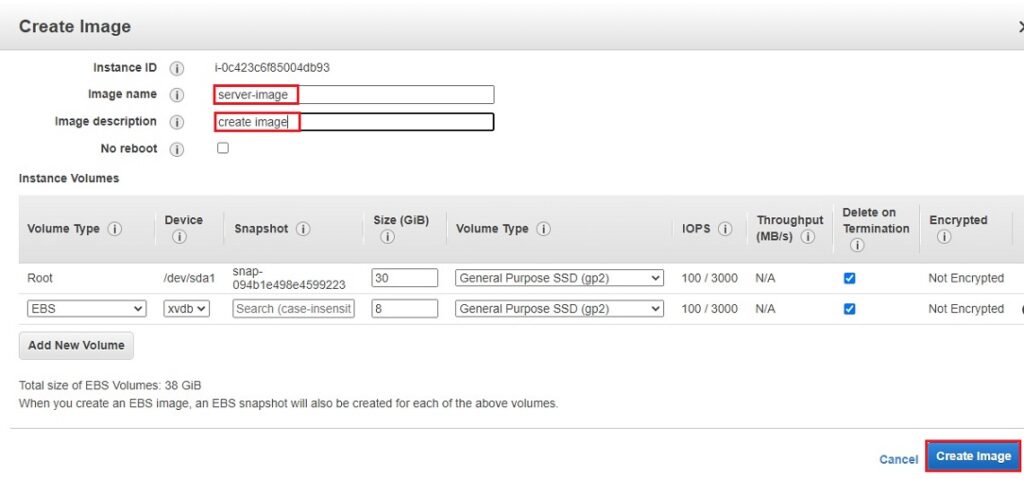
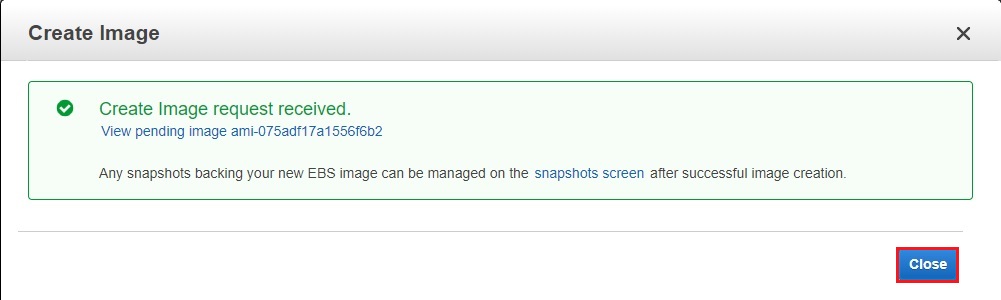
Type a unique name and description, and then click on Create Image.
5- Create image request received click close.
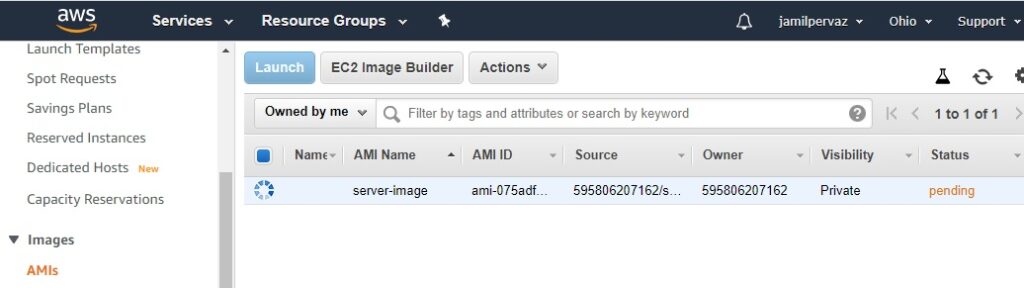
6- When the AMI first shows up, it will be in a pending state.
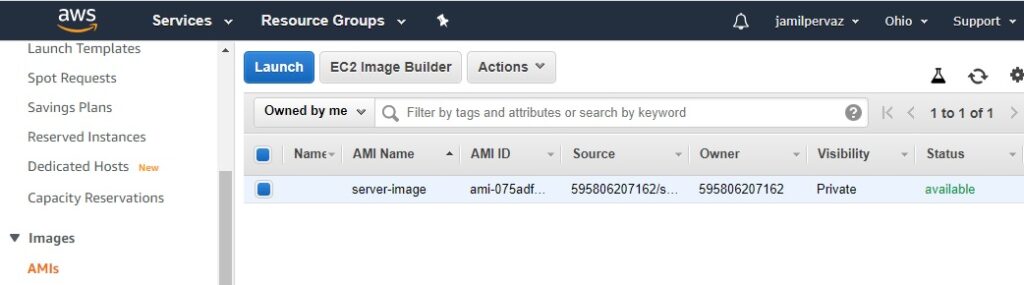
7- Click on Refresh to see your AMI. In a few moments, it transitions to an available state.
8- Select snapshots under elastic block store.
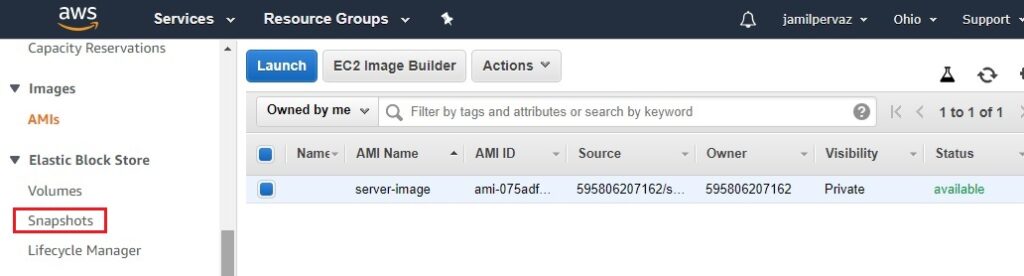
9- You can see Snapshot.

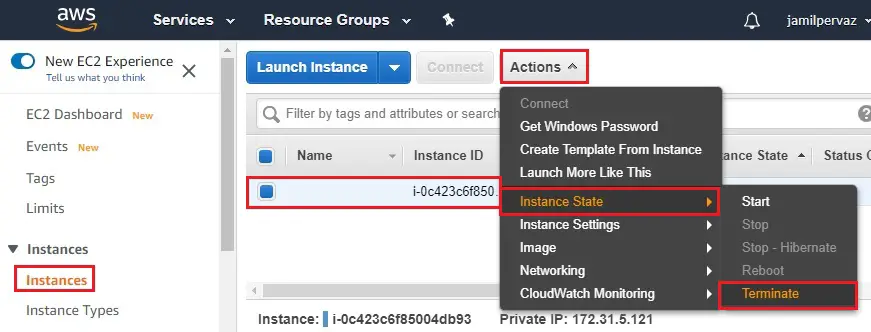
10- Select Instance, click on action menu, select instance state and then click terminate.
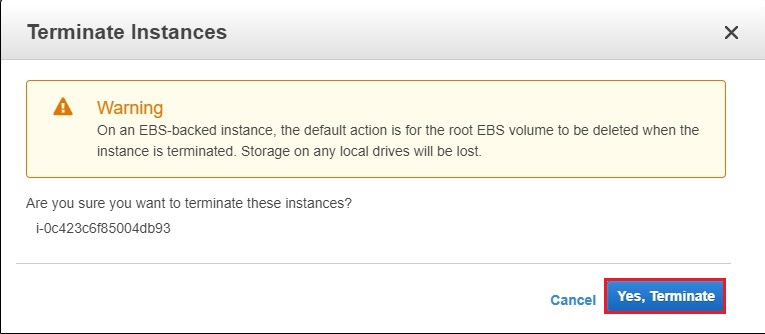
11- Terminate instance click Yes, Terminate.
To copy an AMI in AWS using the console
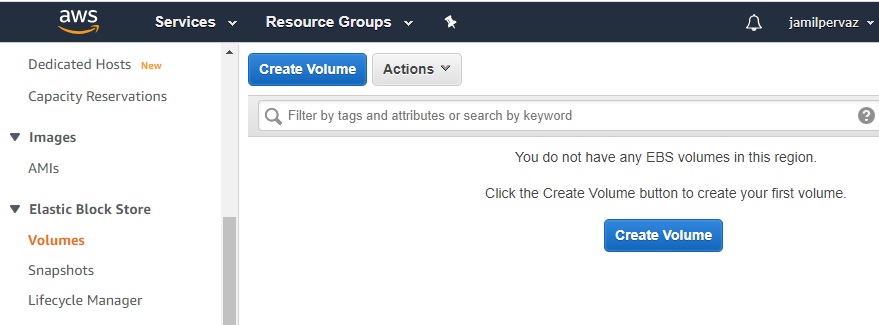
1- Now you can see after deleting instance we have no volume.
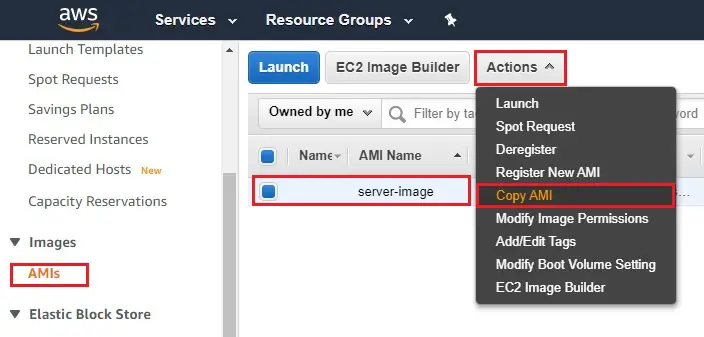
2- Select AMI in AWS under Image, AMIs to display the list of AMIs available to you in the Region.
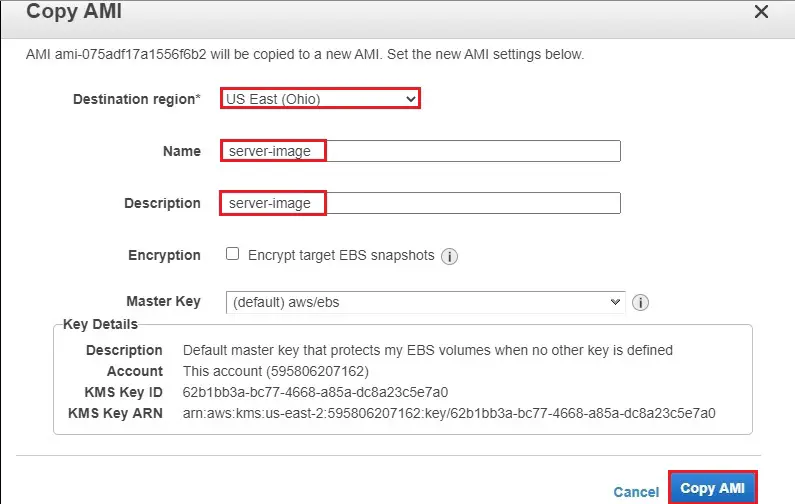
Select the AMI (server-image) to copy. Select action menu, and then select Copy AMI.
3- Destination region* – The Region where you want to copy the AMI.
Name – Type a name for AMI.
Description – By default, the description includes information about the source AMI so that we can distinguish a copy from its original. You can change description if required.
Encryption – Select checkbox to encrypt the target snapshots,
Master Key – choose the KMS key to use to encrypt the target snapshots.
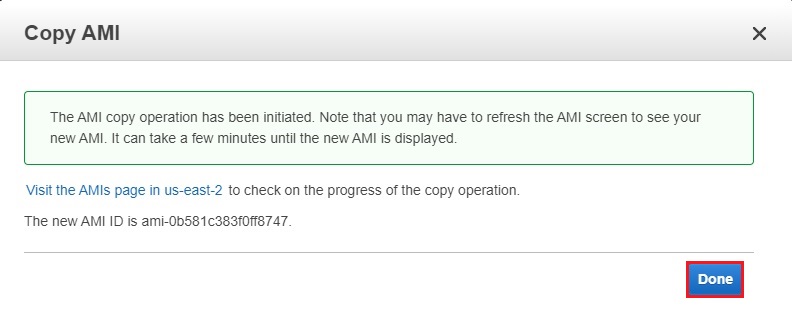
We display the confirmation page to let you know that the copy operation has been launched and to provide you the ID of the new AMI. Click Copy AMI
4- Select Done.
5- Initial status of the target AMI in AWS is pending.
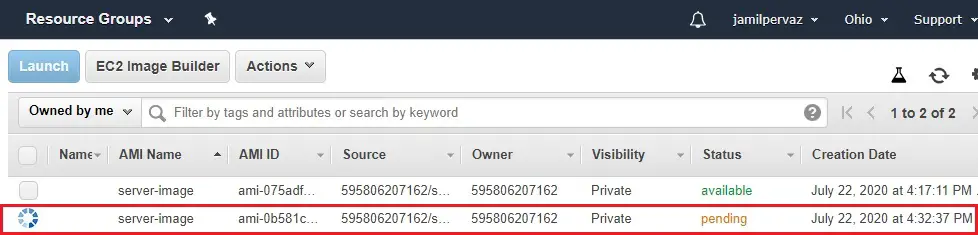
6- The operation is completed and the status is available in AWS.
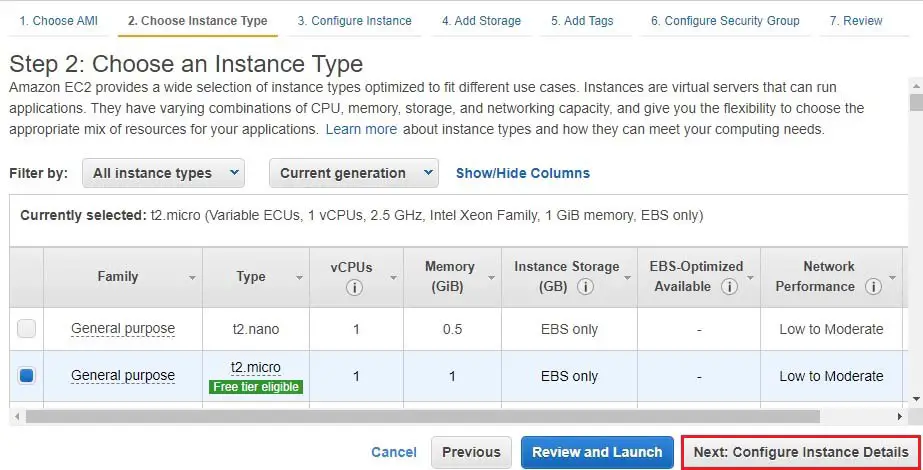
Select the type of instance for AMI and then click on Launch

7- Click Next : Configure Instance details.
8- Type Number of instances – 1
Network – default.
Subnets – default.
Auto-assign Public IP – default
Click on Next : Add Storage.
9- Now you can see the same settings.
Volume size – default 30Gb.
Add one more volume – 8GB
Click Next : Add Tags.
Click on Next : Configure Security Groups
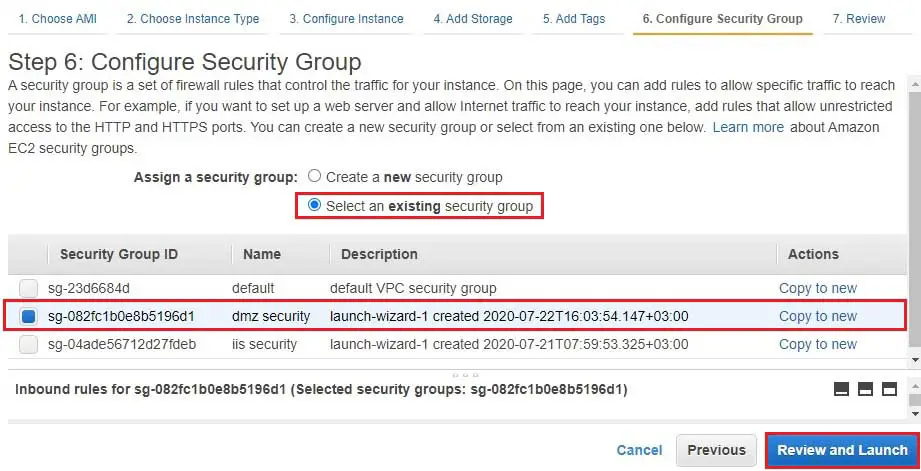
10- Configure Security Group.
Assign a security group – Select an existing Security group and then select dmz-Security
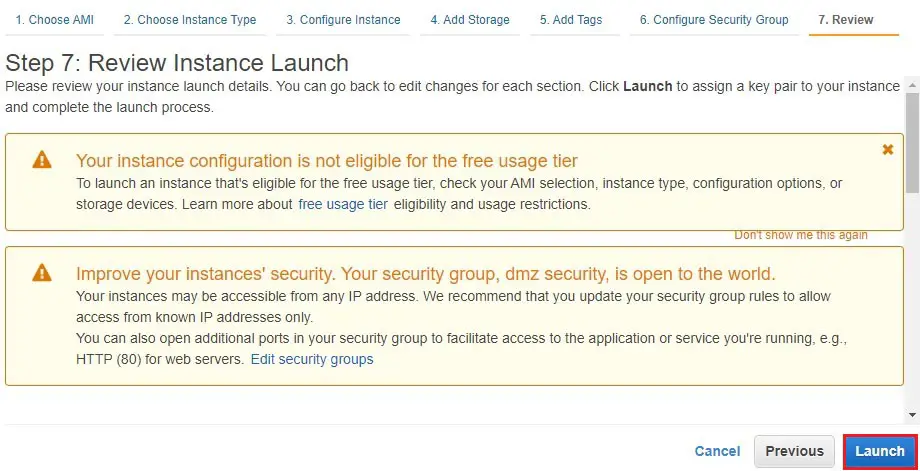
Click on Review and Launch.
11- Click launch.
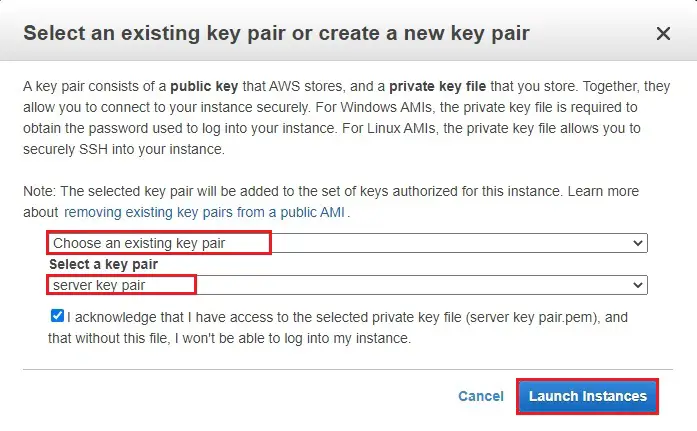
12- Select – choose an existing key pair
Select a key pair – server key pair
Click launch instance.
13- Once the instance is running and up, you can see its status as running.