
Create Virtual Machine in Azure In this guide I am going to deploy a new virtual machines (VMs) through the Microsoft Azure portal. This procedure provides a browser based user interface to create VMs and their associated resources. These steps will show you how to use the Azure portal to deploy a virtual machine (VM) in Microsoft Azure that runs Microsoft Windows Server 2019.
Deploy a Virtual Machine in Azure Portal
Sign in to the Azure Portal
Create virtual machine
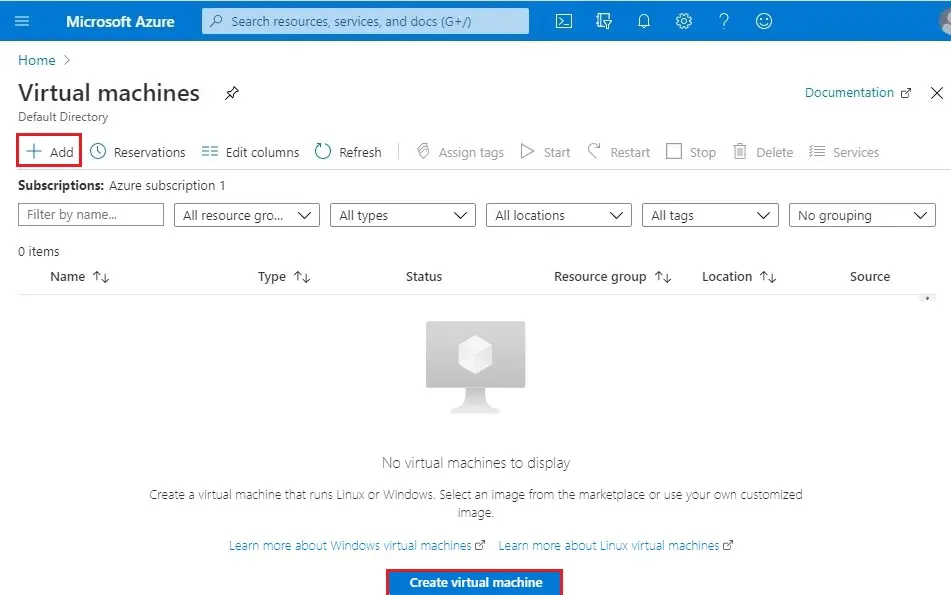
1- Azure menu bar, select Virtual machines or Type virtual machines in the search In the Virtual machines page, select +Add or click create virtual machine.
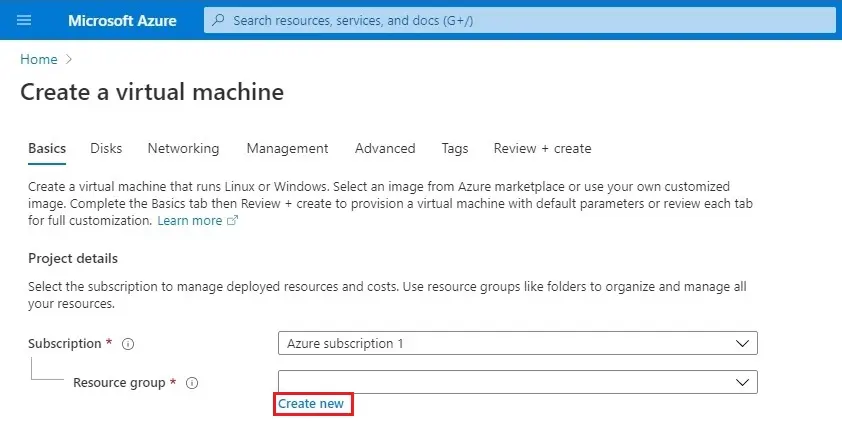
2- Create a Virtual Machine Basics tab, under Project details, select your subscription, and then choose to create a new resource group.
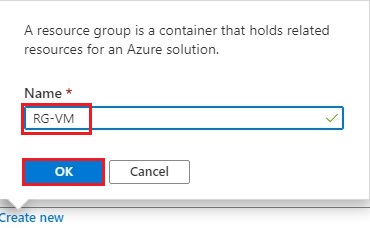
3- Type a resource group name (RG-VM) and then click OK.
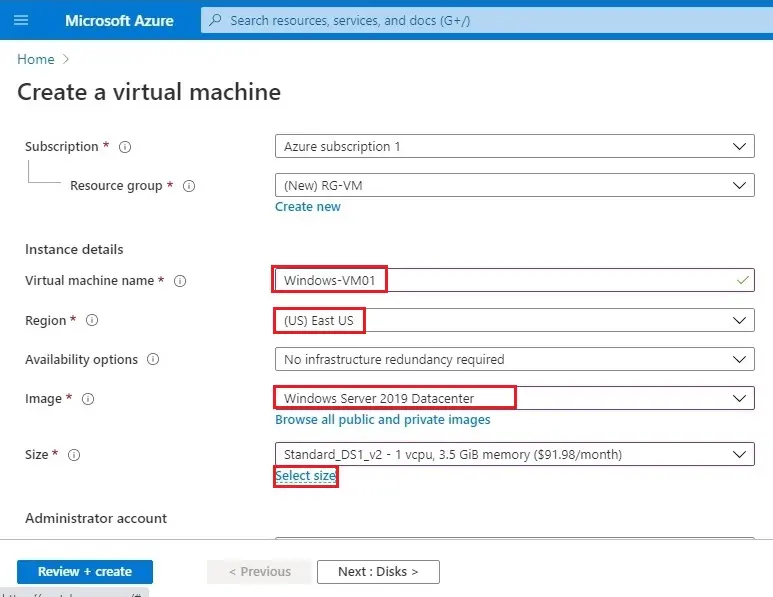
4- Under Instance details, type a Virtual machine name and select East US for your Region, and then select Windows Server 2019 Datacenter for the Image.
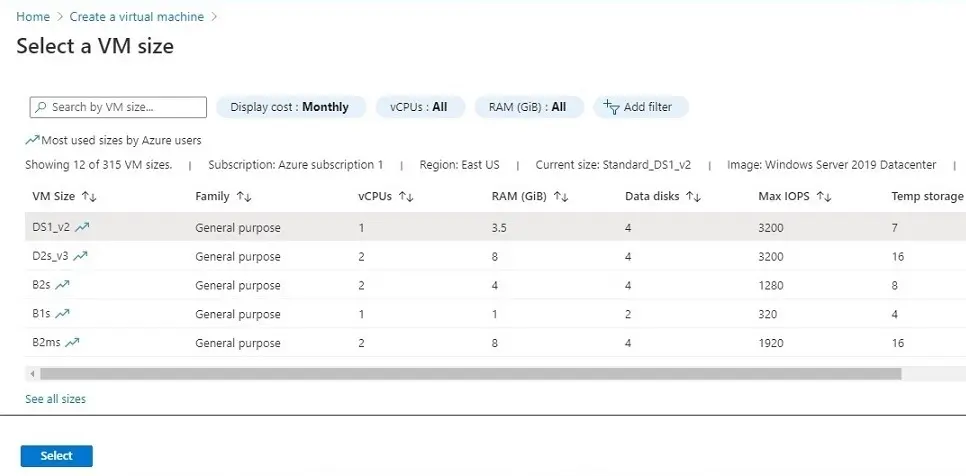
By default, VM size is selected. If you want to change the size, then click on select size.
5- Select a VM size as per your requirement and then click OK.
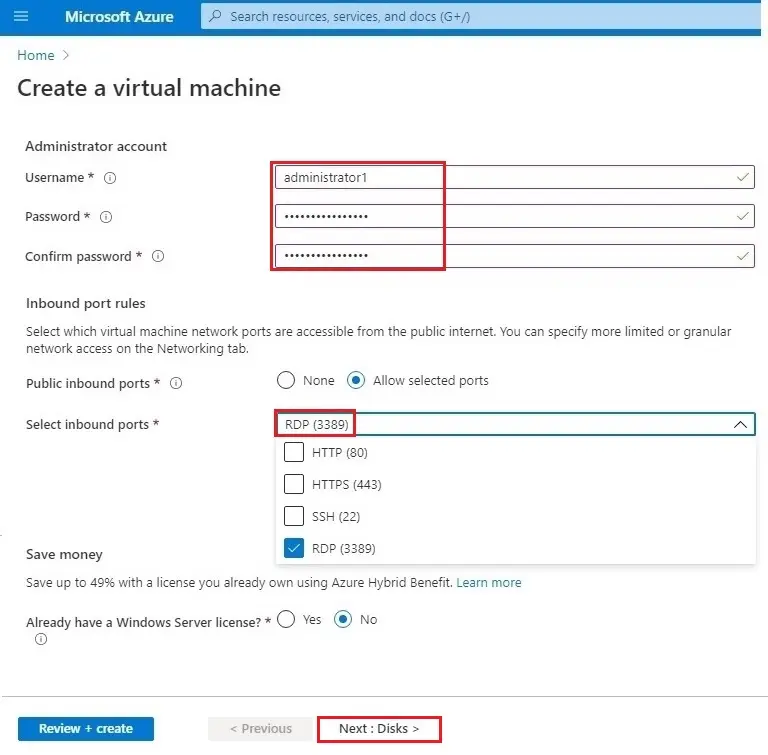
6- Deploy Virtual Machine Administrator account option; type a username, as you want, and a password. Under Inbound port rules, select Allow selected ports and then select ports under select inbound ports I am going to choose only RDP (3389) because I am testing in my home lab. Select Next : Disks >
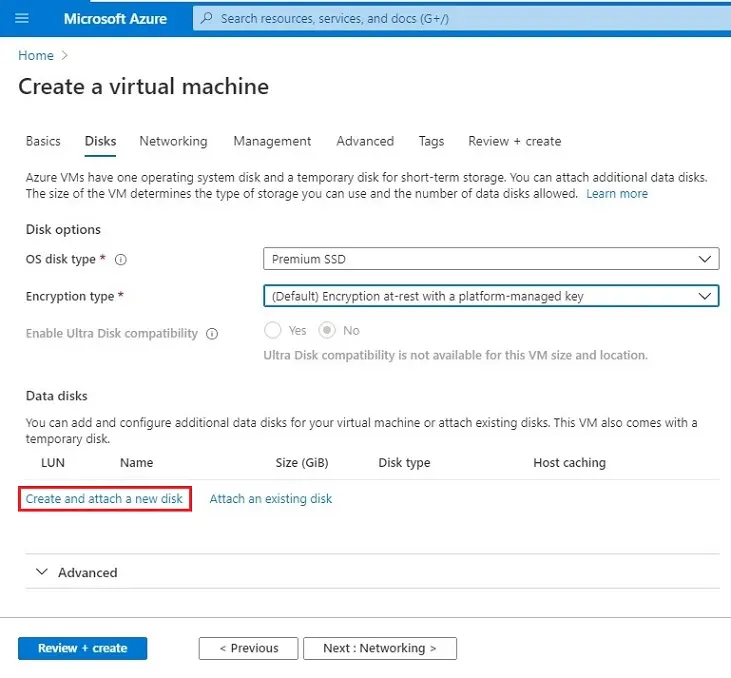
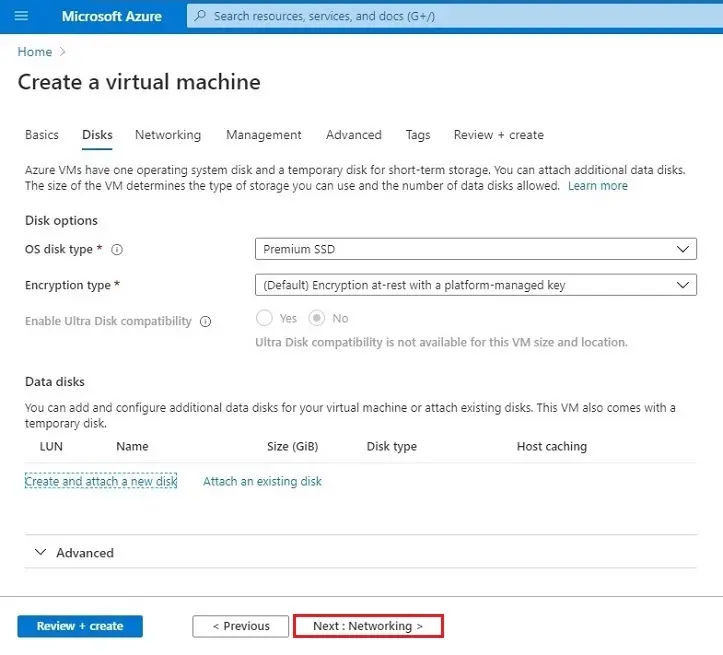
7- Leave it default settings or if you need to view the disk size then click create and attach a new disk.
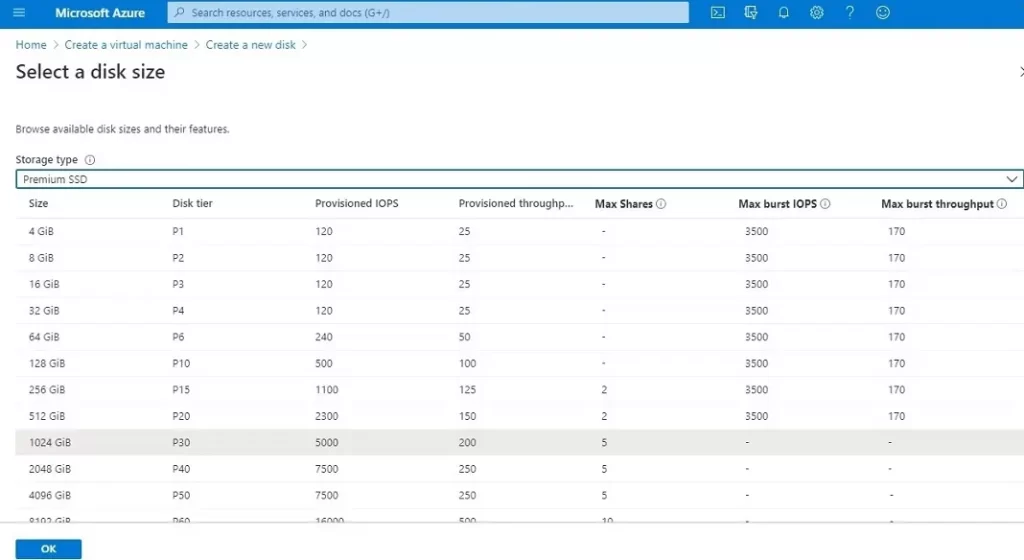
8- Create a new disk wizard 1TB premium default selected if you want to change then click change size button.
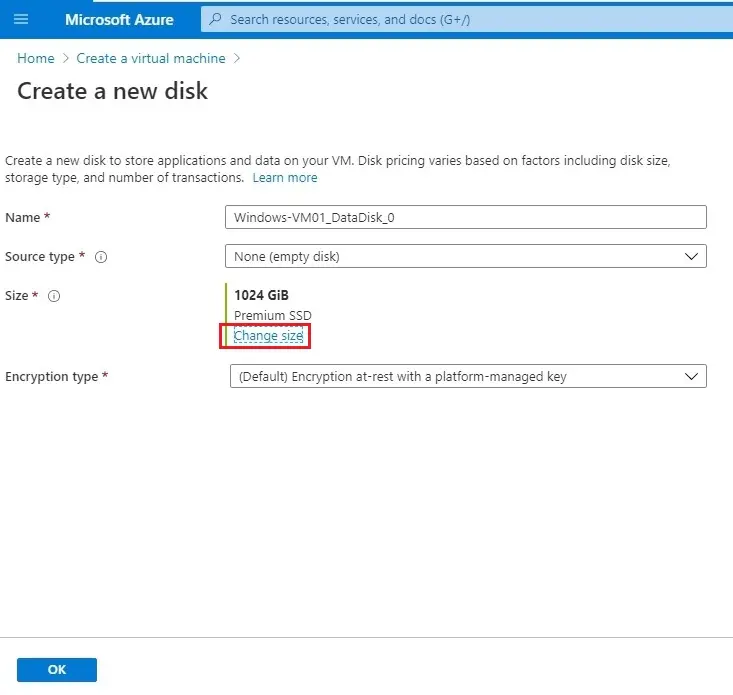
9- Select a disk size as per your requirement
10- Click next : networking >
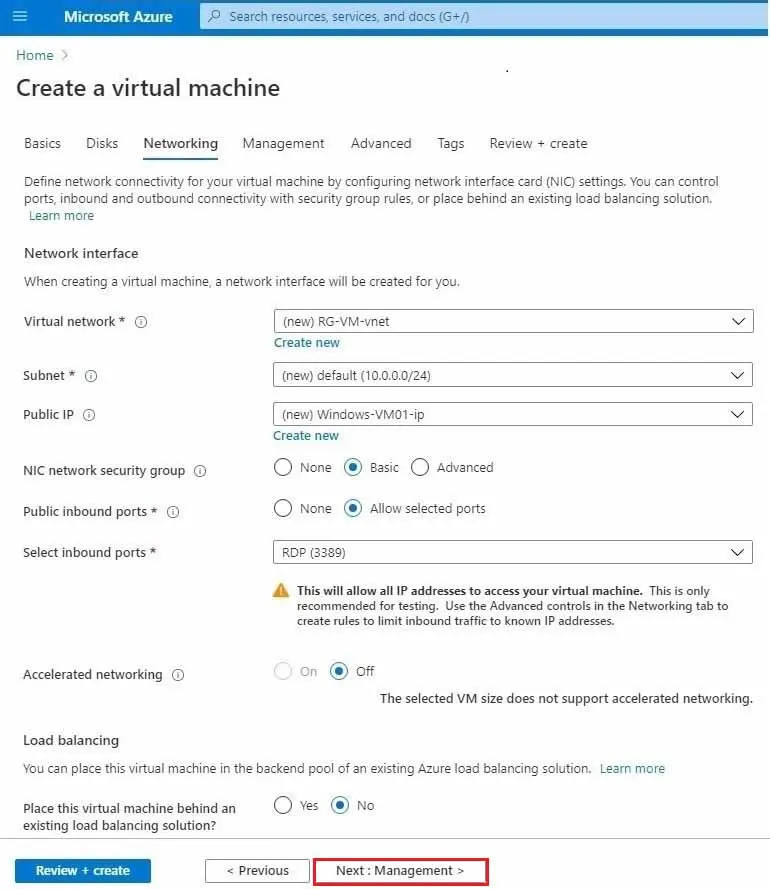
11- Review the VM network settings and click Next : Management >
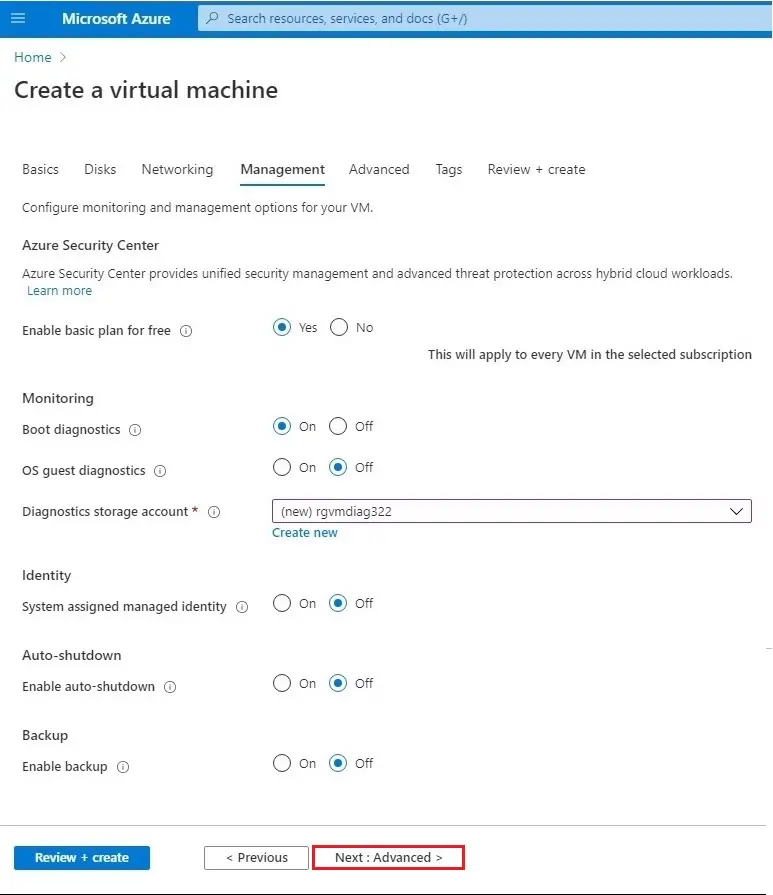
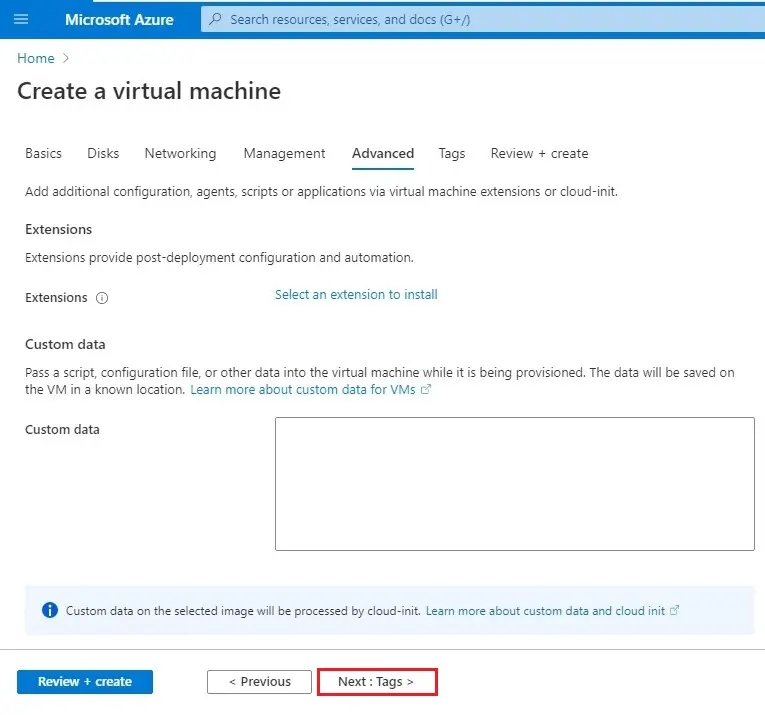
12- Click Next : Advanced >
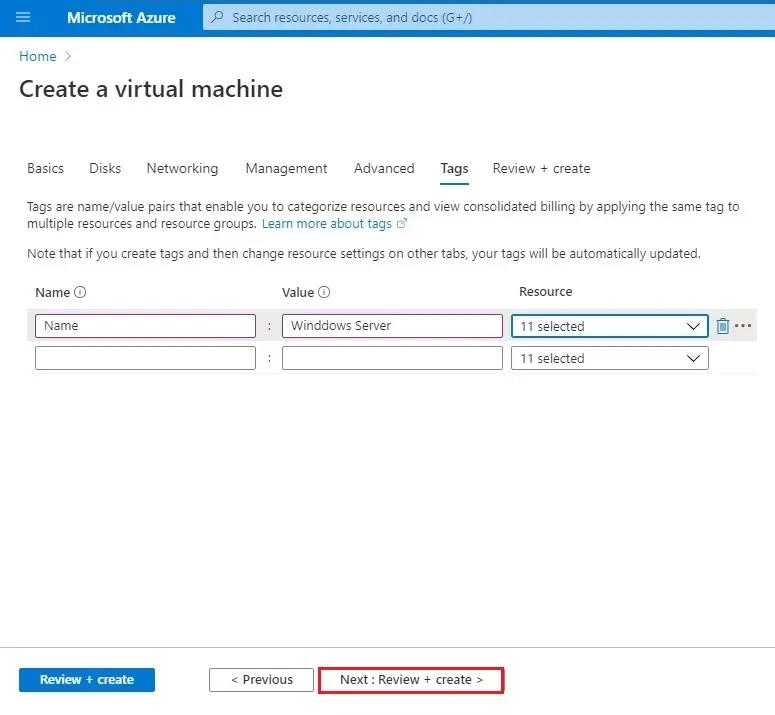
13- Click Next : Tags >
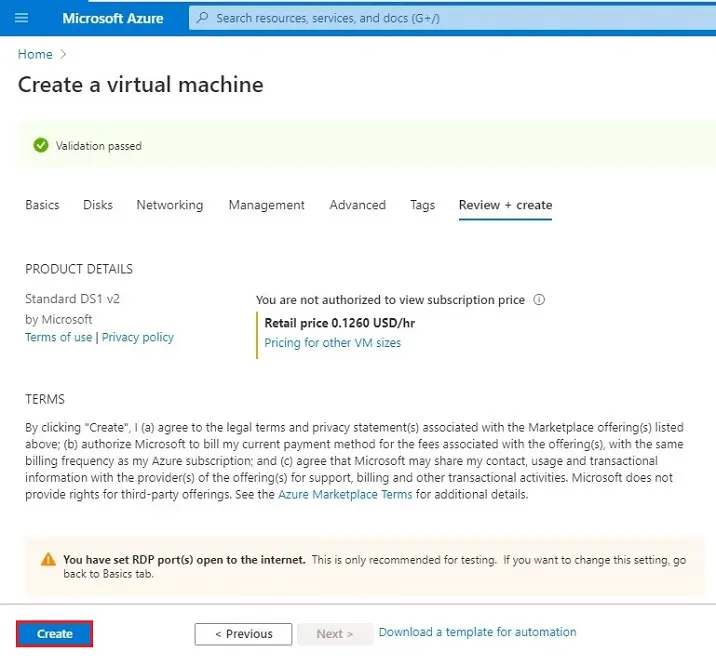
14- Click Next : Review + Create >
15- Click create
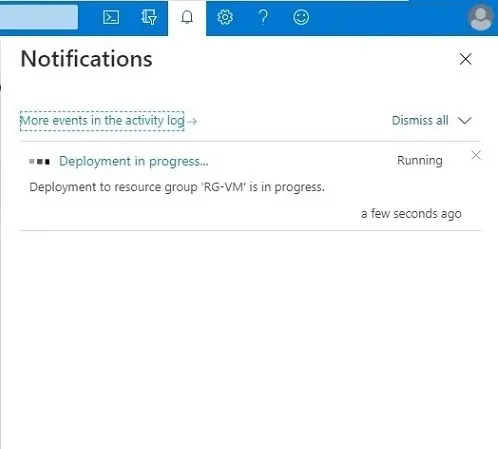
16- Azure virtual machine deploying in progress.
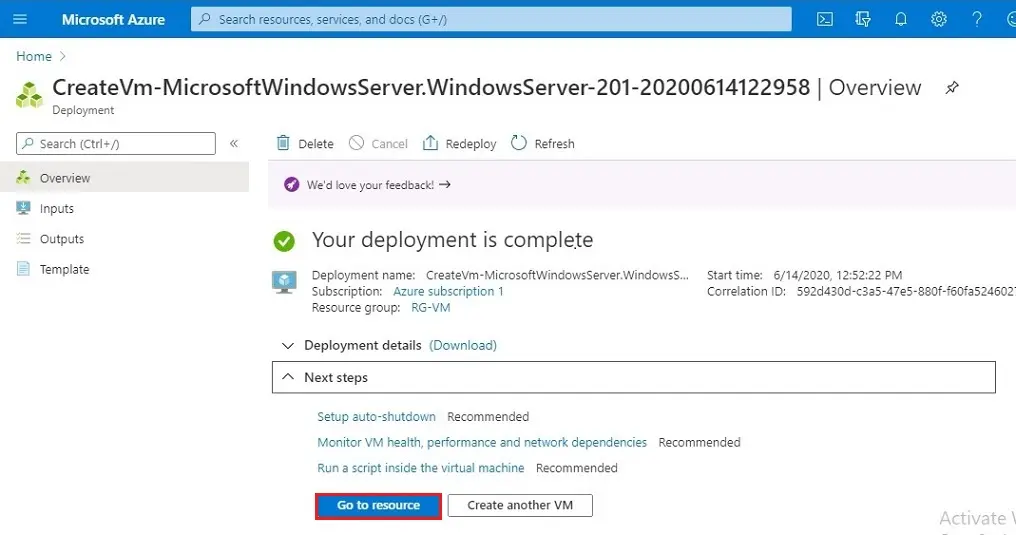
17- Successfully created click go-to resource.
Connect to virtual machine
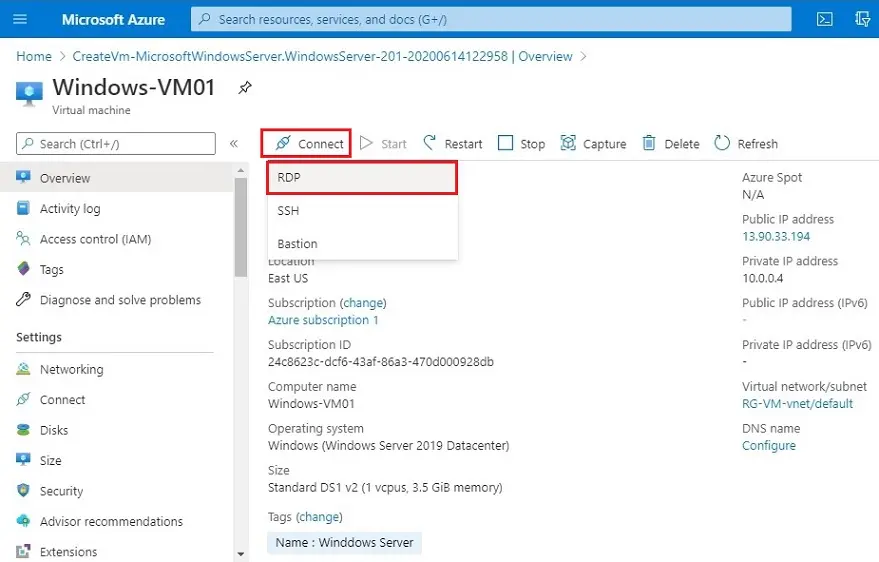
18- On the review page click the Connect button and then select RDP.
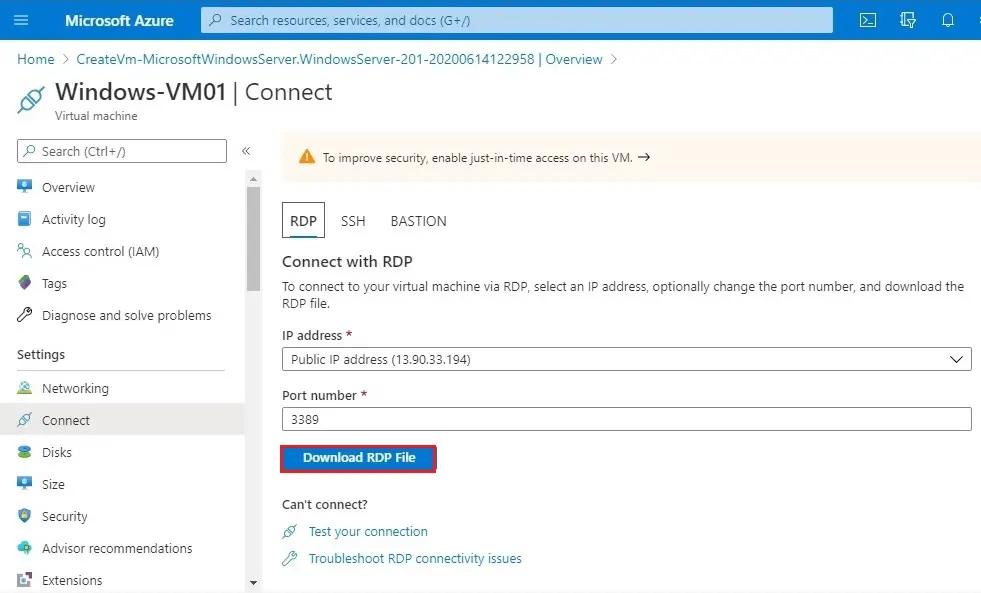
19- Click Download RDP file.
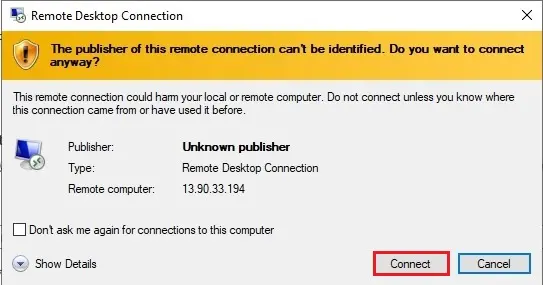
20- Open the downloaded RDP file and then click Connect
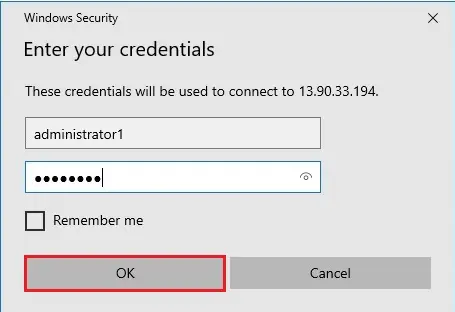
21- Type the username and password you created for this virtual machine, and then click OK.
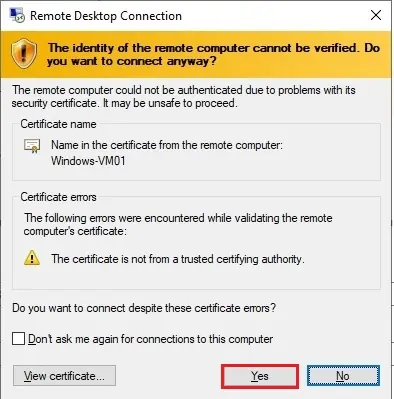
22- Certificate warning click Yes to create the connection.
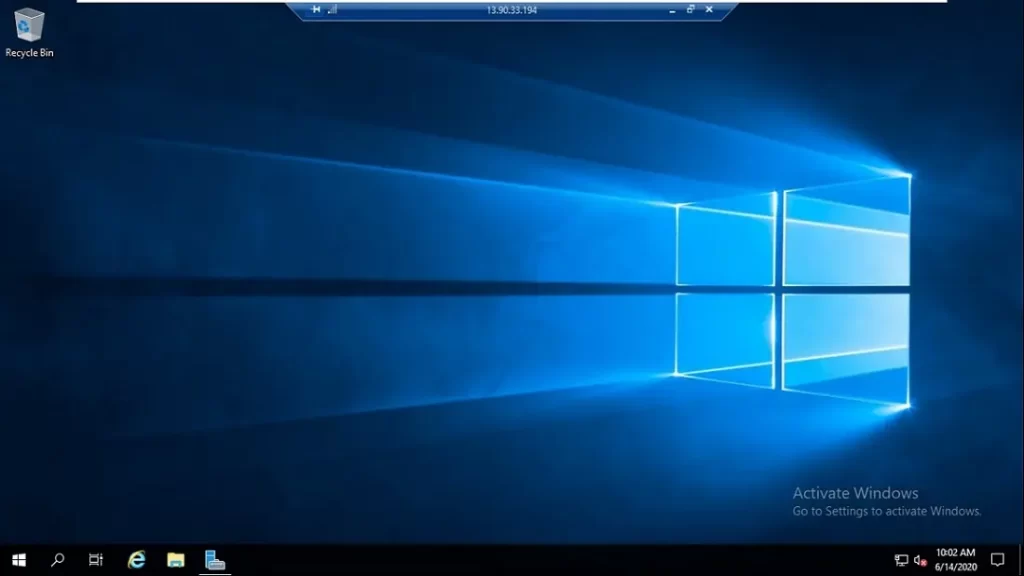
23- Now Windows Server 2019 Datacenter is successfully connected.
Read more: What is Windows 11 Azure for Education? Integrating cloud solutions into learning.