
Attach extra disk to Azure VM In this blog, we will show you how to create and attach a managed disk to a Windows Azure VM through the Azure portal.
Create a Managed Disk
Log in to the Microsoft Azure Portal using your subscription.
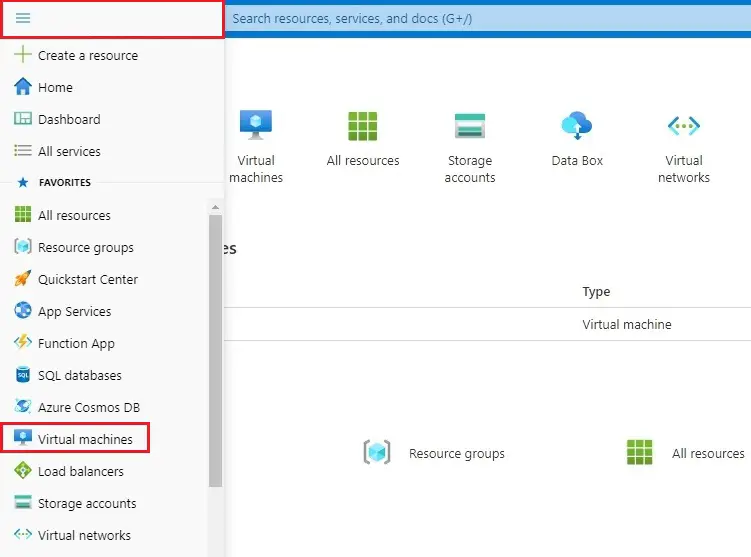
1- Click Azure portal menu and from services list click on the virtual machines.
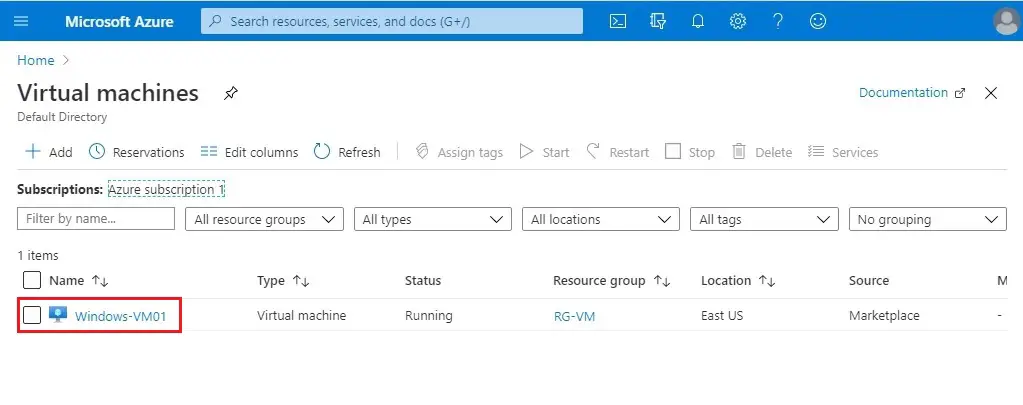
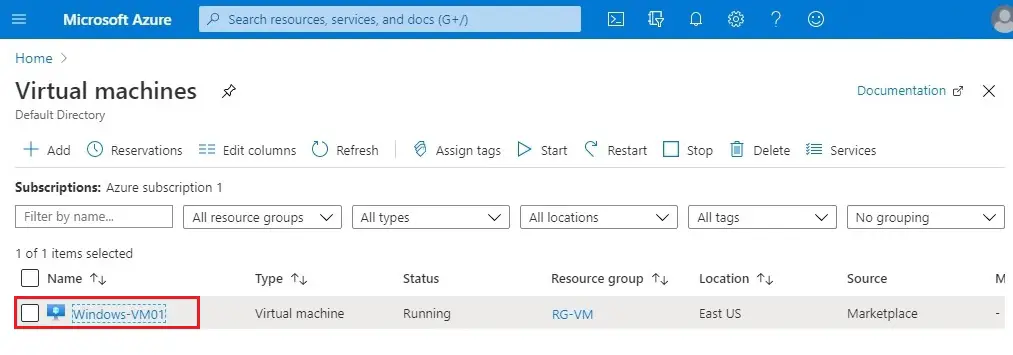
2- From the Virtual Machine default directory List, click on the VM.
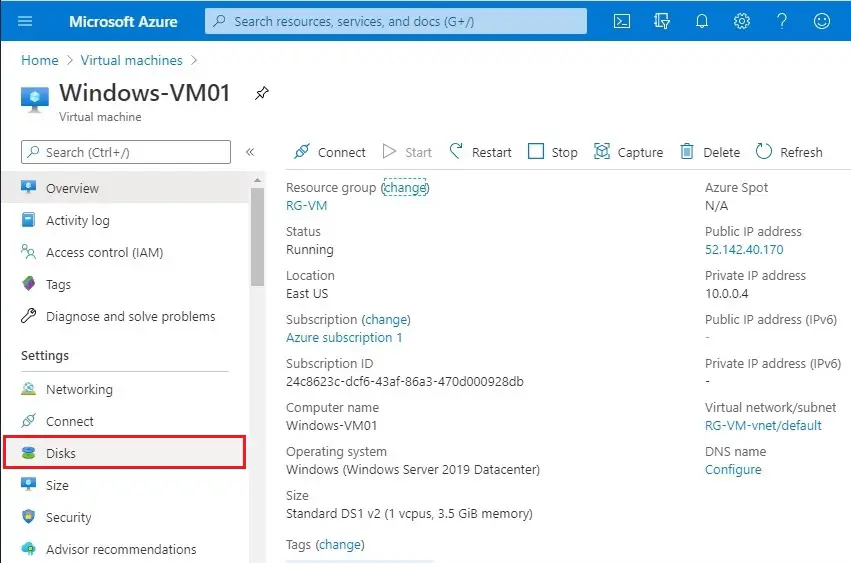
3- Click on the Disks under settings.
Attach Extra Disk to Azure
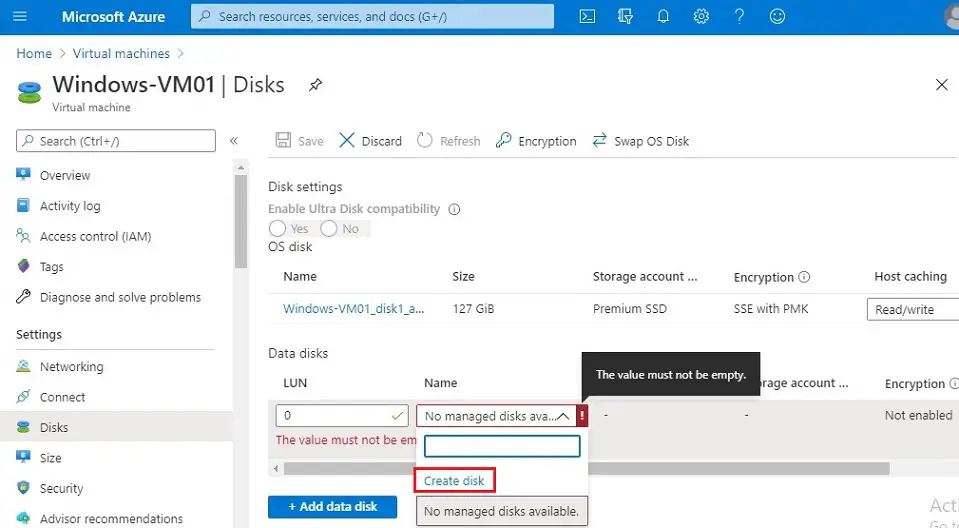
4- Now click on the + Add data disk and under name select Create disk.
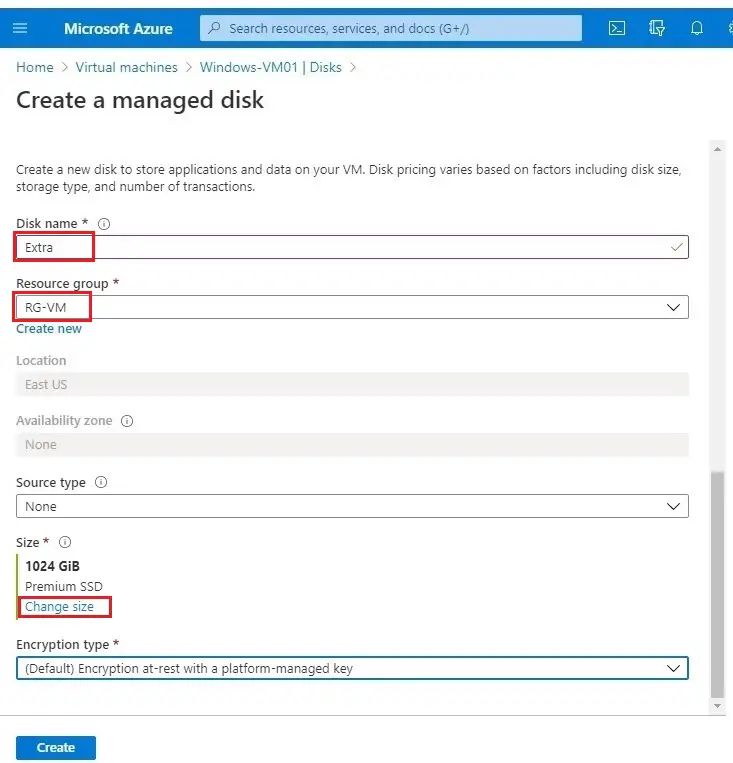
5- Create a Manage disk wizard, type the name of new disk (Extra), select resources group.
By default 1 TB size Premium SSD selected, If you would like to change disk size then click on Change size under Size.
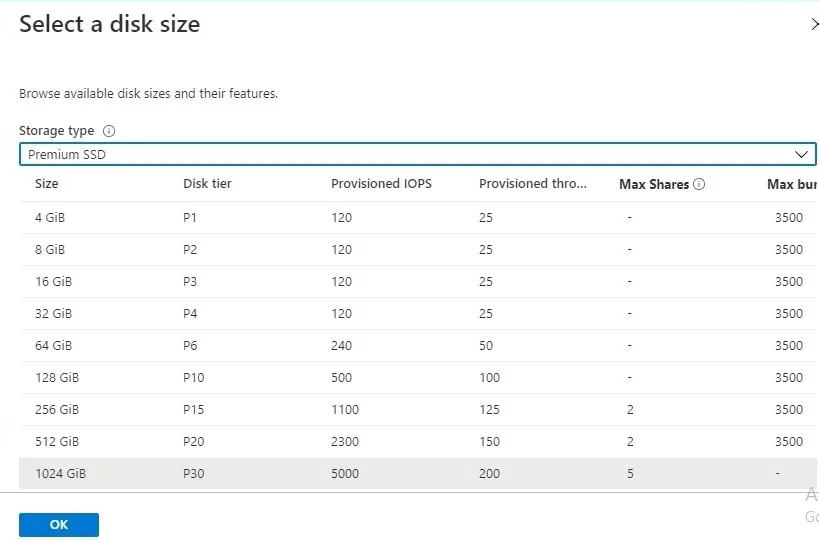
6- Select disk size as you want and then click OK.
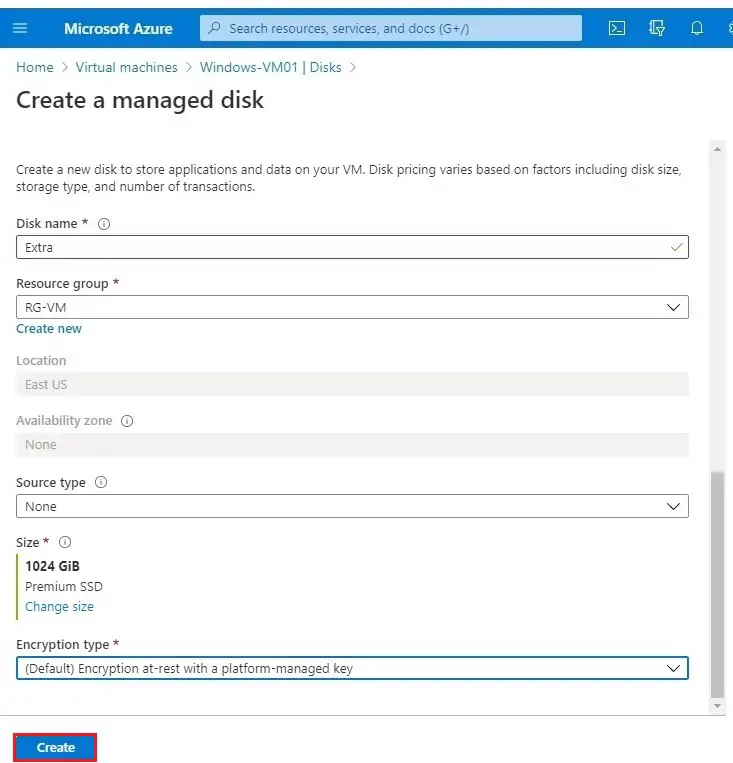
7- I am going to select the default size 1 TB Premium SSD and click on Create button.
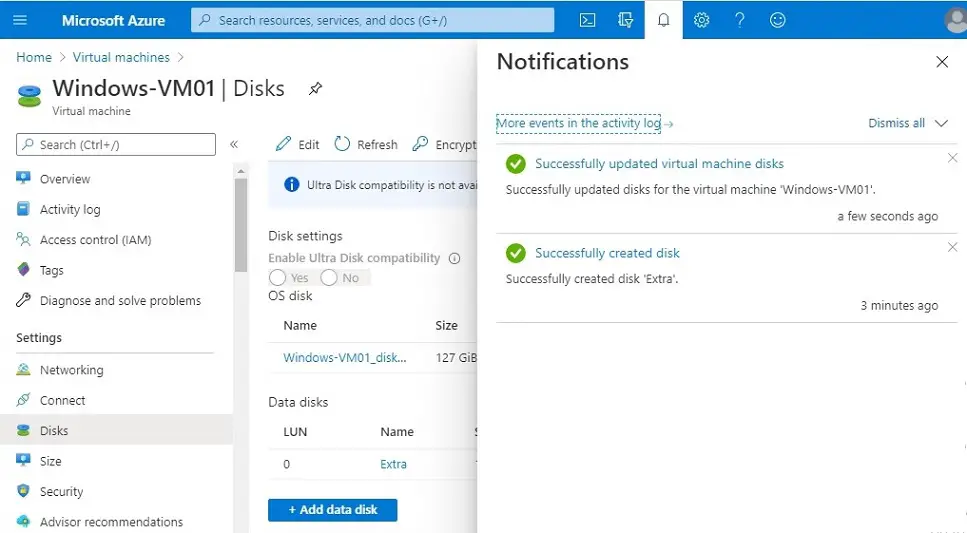
8- Successfully created disk.
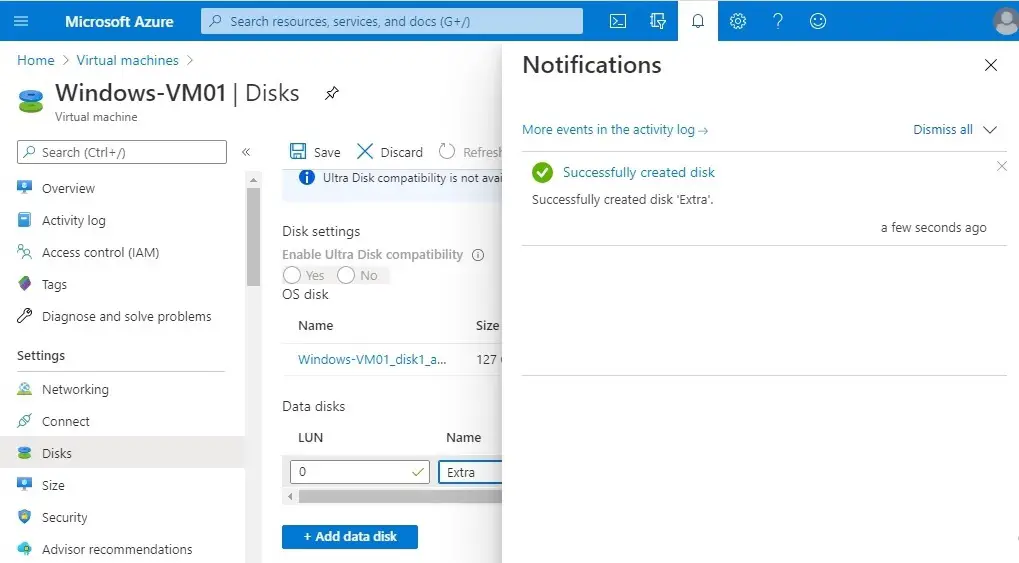
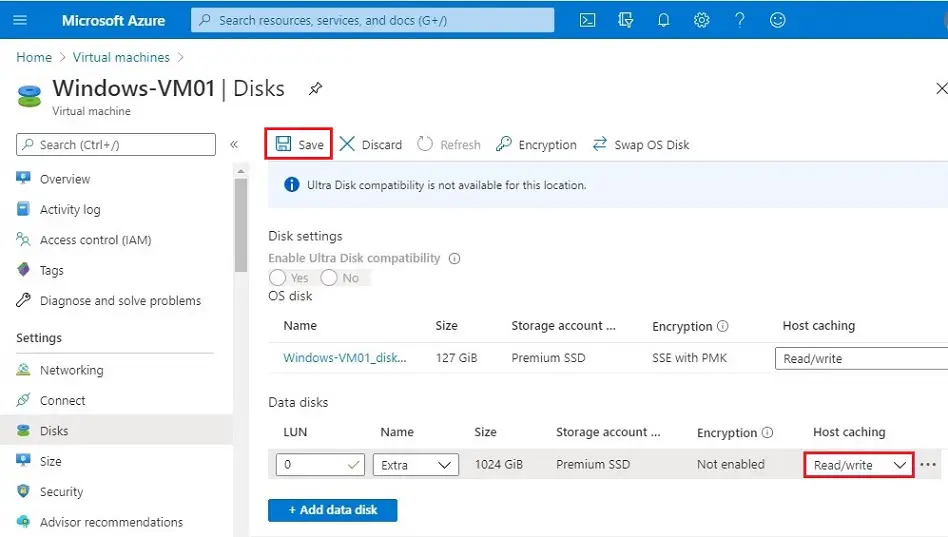
9- Under Host caching choose Read/Write and to attach the data disk, click on Save option.
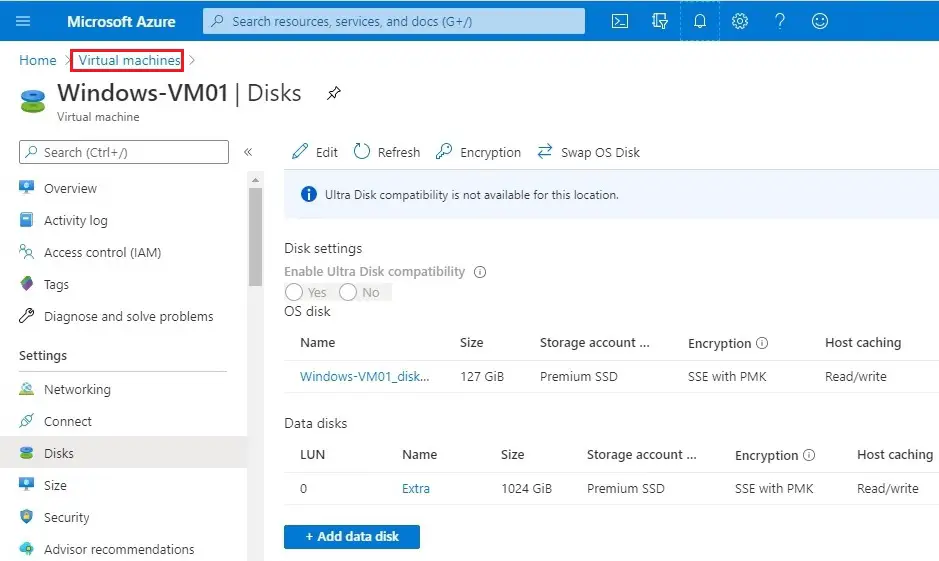
10- After few seconds the managed disk was attached to the VM.
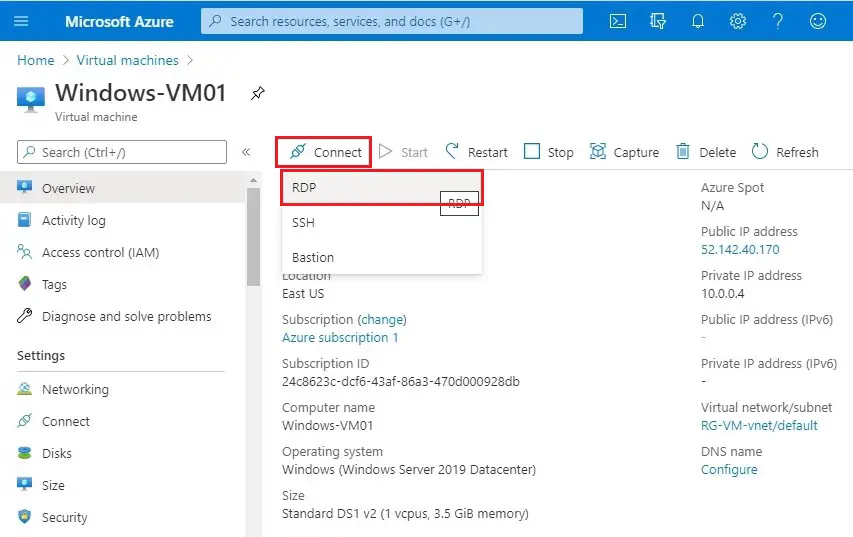
11- Select virtual machine tab.
12- Select your virtual machine.
13- Select Connect and then choose RDP.
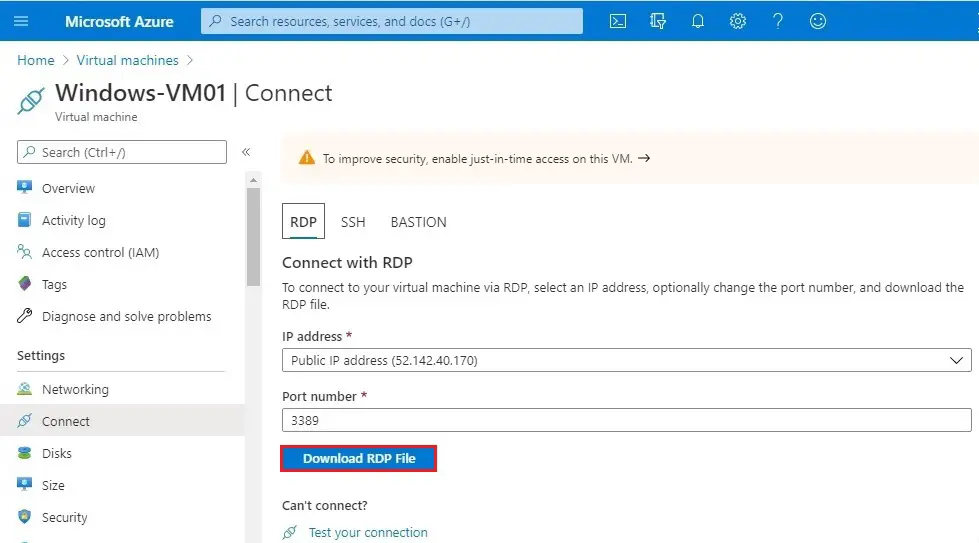
14- Click download RDP file.
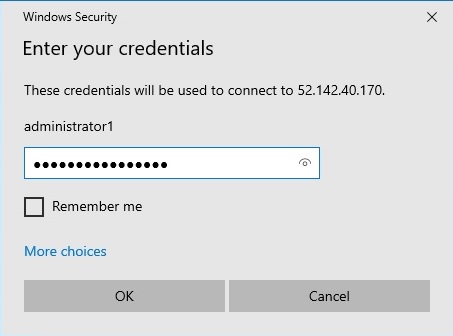
15- Enter your credentials and then click OK.
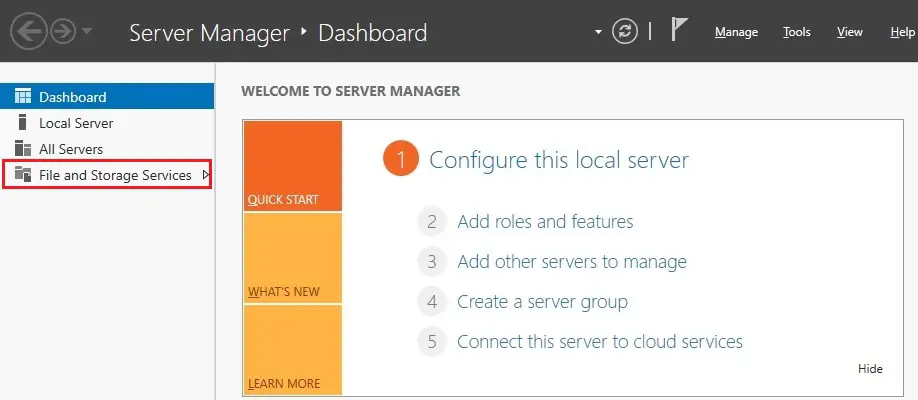
16- Once you logged into the VM, under Server Manager click File and Storage Services.
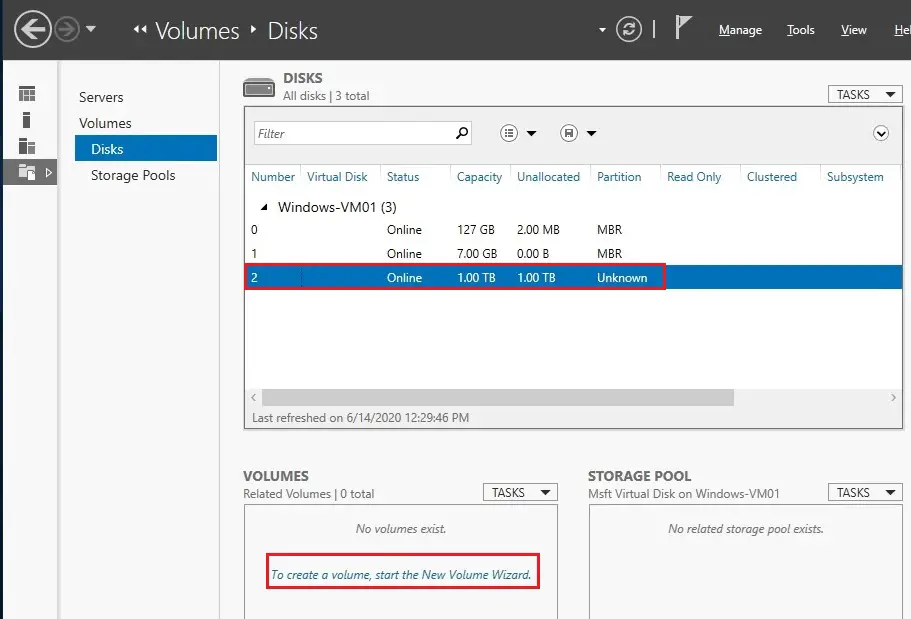
17- Select Disks option, select your 1 TB unknown disk, under Volumes to create a volume start the new volume wizard.
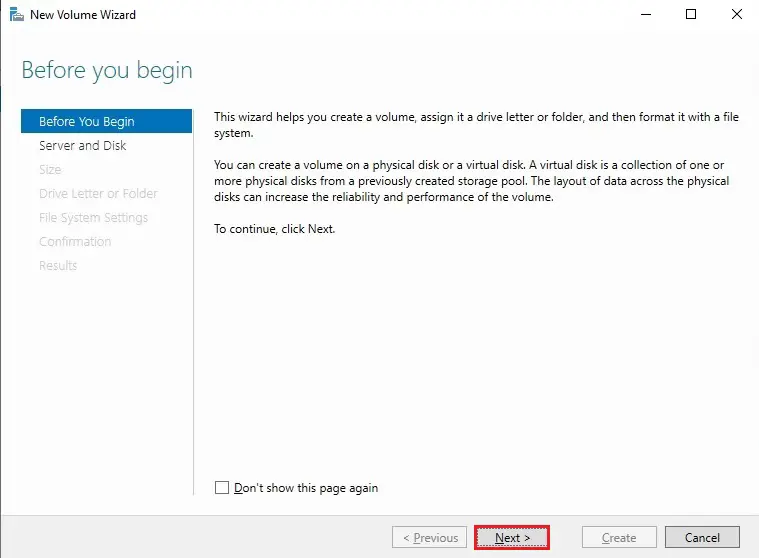
18- New volume wizard click next.
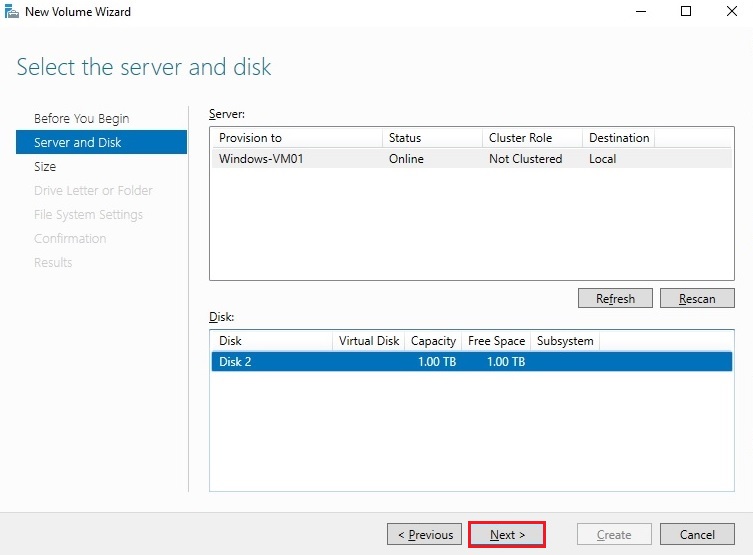
19- Select server and disk, click Next.
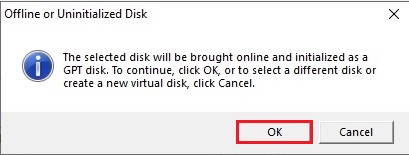
20- Selected disk will be brought online click OK.
21- Choose a volume size as per your requirement and then click next.

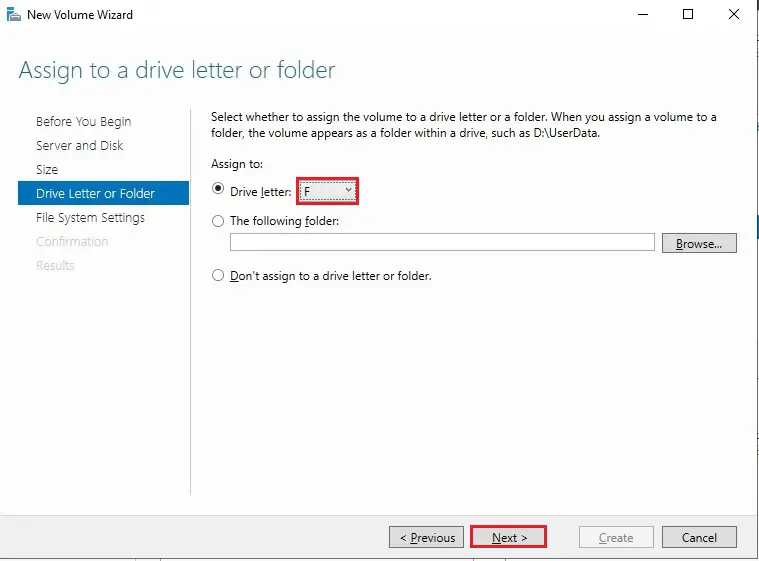
22- Assign a drive letter and then click next.
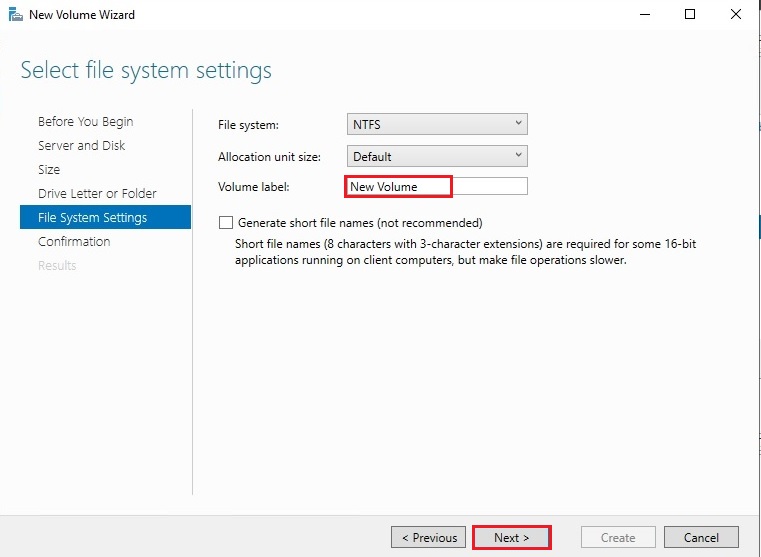
23- Enter a volume label and then click next.
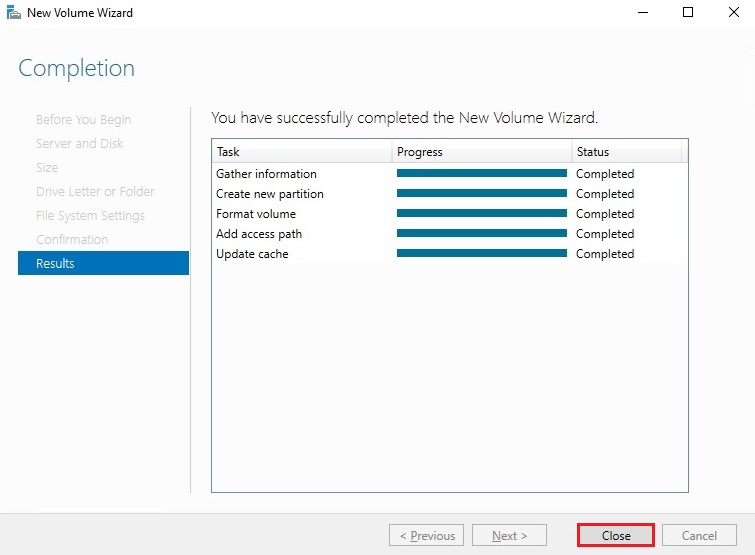
24- Verify the settings and then click create.

25- Click close.
26- The new disk is online now.
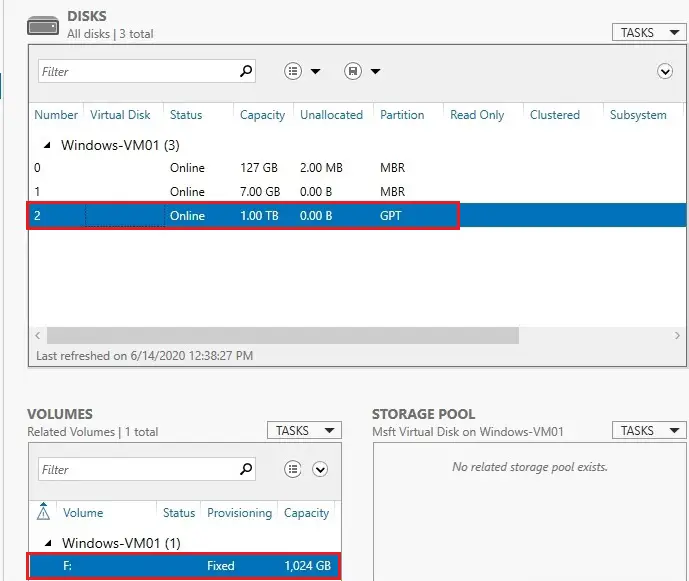
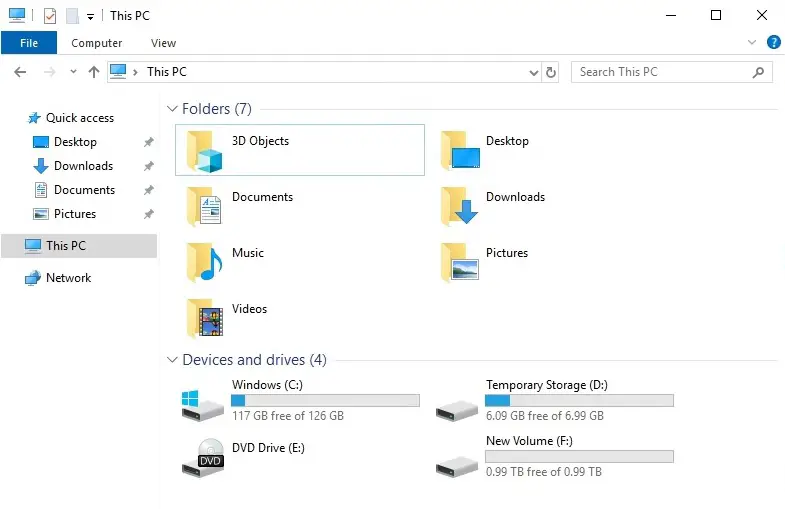
27- Open MY PC You can able to see the newly attached managed disk as (F) drive.


Like!! Really appreciate you sharing this blog post.Really thank you! Keep writing.
thank you