


This article is part of the series; in this article, I will provide you with steps on how to Recover Data Using MARS Agent. If you mistakenly deleted a file and then want to restore it to the same virtual machine (from which the backup you have taken).
Article Series
Setup and Configure Azure Backup
Download and install MARS Agent and vault credentials
Configure MARS Agent Backup Schedule
Recover Data Using MARS Agent
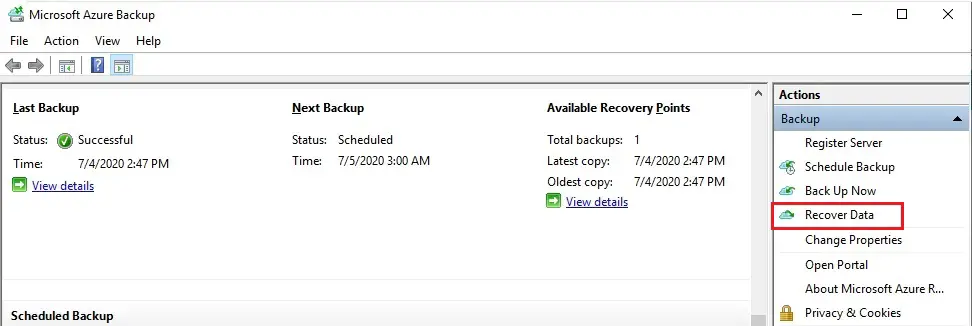
Open the Microsoft Azure Backup
1- Select Recover Data under Action to start the wizard.
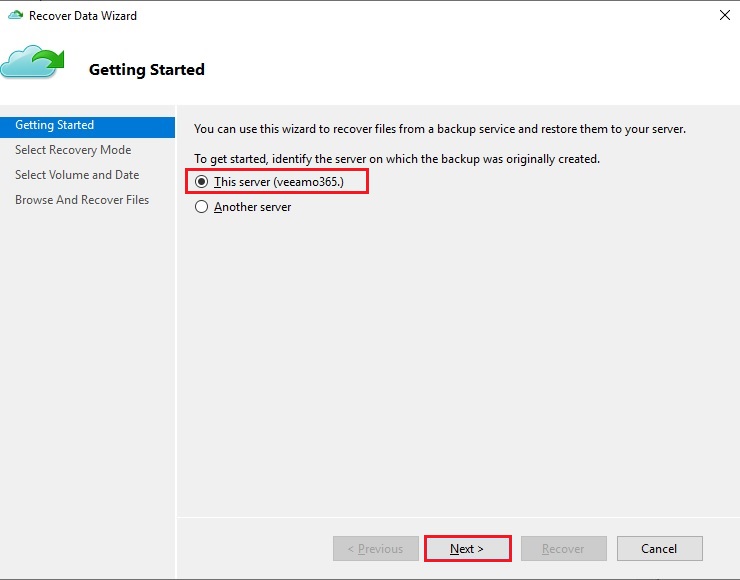
2- Recover data wizard, to restore the data to the same server or computer, select this server (server name) click Next.
3- Select Recovery Mode page, choose Individual files and folders and then click Next.
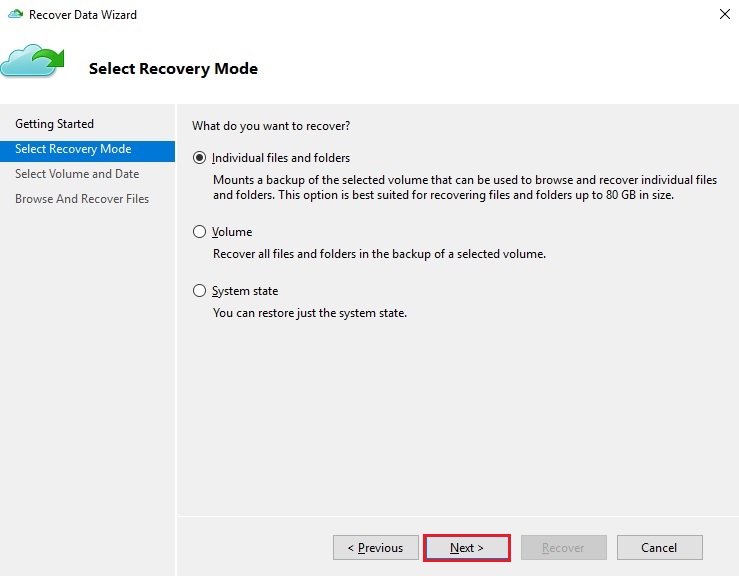
Note
Recover individual files & folders require .NET Framework 4.5 or later. If you do not see the Individual files and folders option, you must upgrade .NET Framework to version 4.5.2 or later, and then try again.
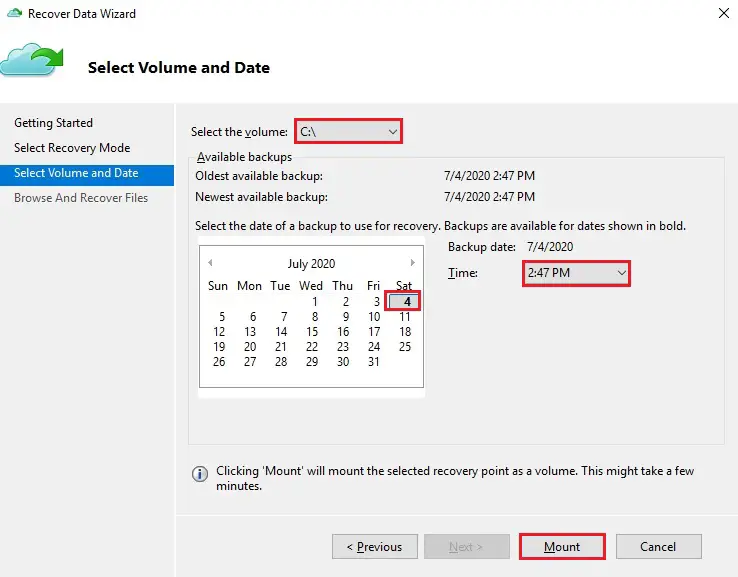
Choose the Volume & Date page, select the volume that contains the files and folders you need to restore.
On the calendar, select a recovery point. Dates in bold signify the availability of at least one restore point. If several recovery points are available inside a single date, select the exact recovery point from the Time drop-down menu.
4- Click Mount
5- Mounting recovery volume in progress.
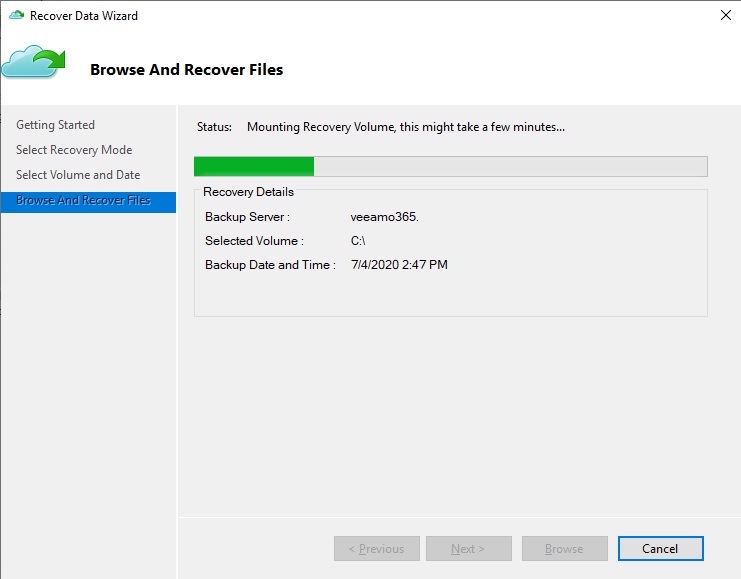
Azure Backup mounts the local recovery point, and then you can use it as a recovery volume.
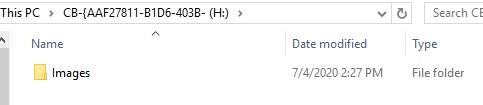
6- Browse and Recover Files page, select the Browse to open the Windows Explorer, and find the files and folders you want.
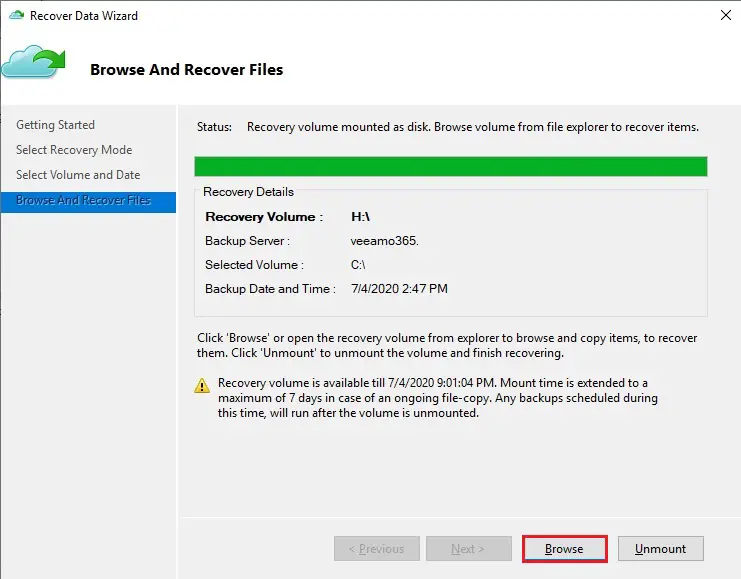
7- Click OK

8- In Windows Explorer, copy the files & folders you need to restore and then paste them to the location local to the server or PC. You can open the files directly from the recovery volume, and then you can verify that you are recovering the right versions.
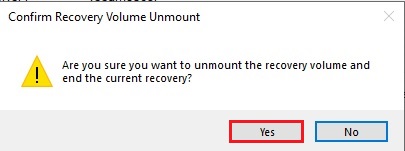
9- When you are finished your job, on the Browse and Recover Files page, choose Unmount.
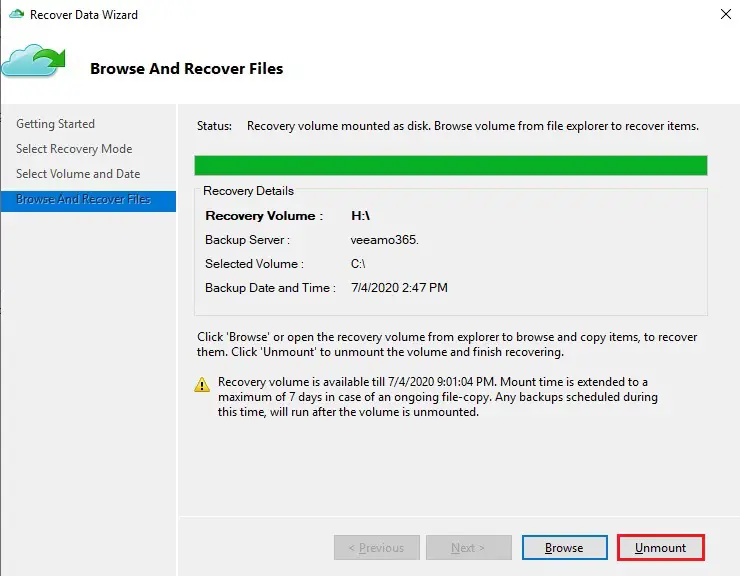
10- Choose Yes to confirm that you need to unmount the volume.
Note
If you never select Unmount, the recovery volume will keep mounted for 6 hours from the time when it was mounted. Although, the mount time is spread up to a maximum of 24 hours in case of an ongoing file-copy. You can’t run backup operations while the volume is mounted. Any backup job scheduled to run within the time when the volume is mounted will start after the restore volume is unmounted.
What is the Azure Backup service