Export Import Virtual Machine. In this guide, I am going to clone Virtual Machines refers to creating another copy of the existing virtual machines. An export virtual machine is a very valuable feature from a distribution standpoint of view, which permits a system to be copied & duplicated without the need to perform the installation again. In additional, the clone virtual machines also conserve the current system & apps environment in production.
Export Virtual Machine
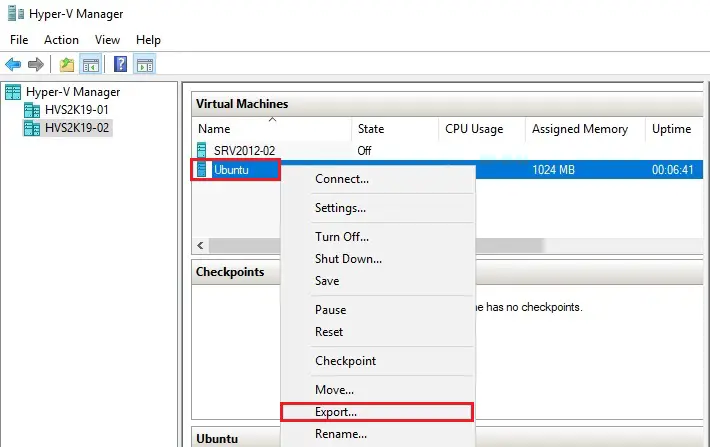
1- Before exporting a VM, you may need to prepare the source VM with the Sysprep utility to reset & remove the unique security identifier (SID) for the VM. And avoid such as two computers have the same IP address or two computers have the same name. Right click the existing VM in Hyper-V manager console and then select export.
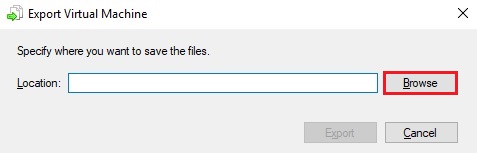
2- Click on Browse button to select a location where you want to save the exported VM.
3- Avoid selecting the same location as the .vhd file (virtual hard disk file) for the existing VM.
I already have a directory name export.
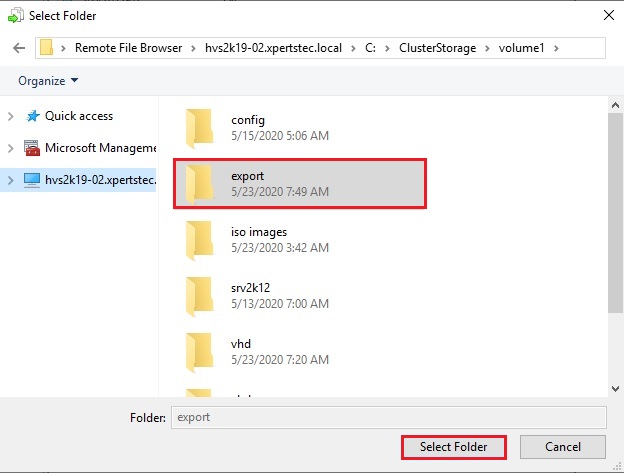
4- Click export

Import Virtual Machine
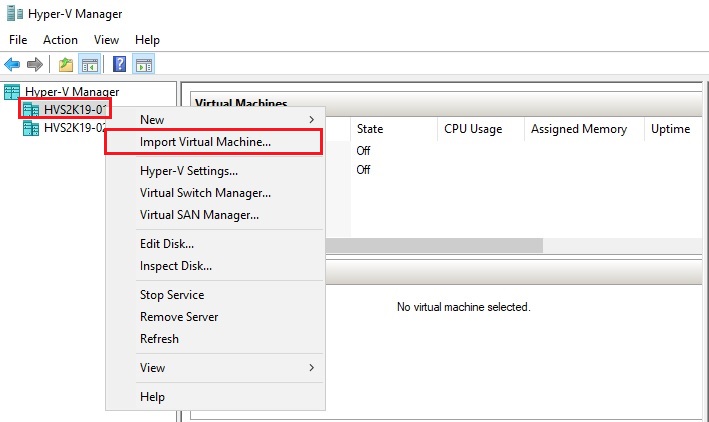
5- After exporting the VM, Right-click on Hyper-V Server and then select Import Virtual Machine.
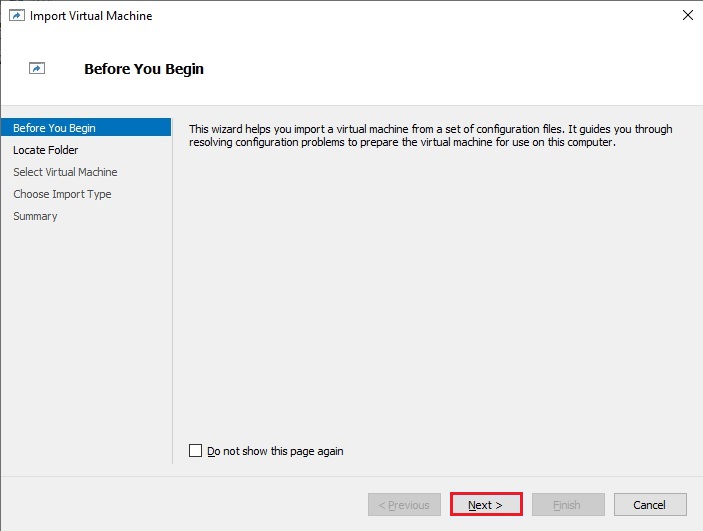
6- Import virtual machine wizard, click next
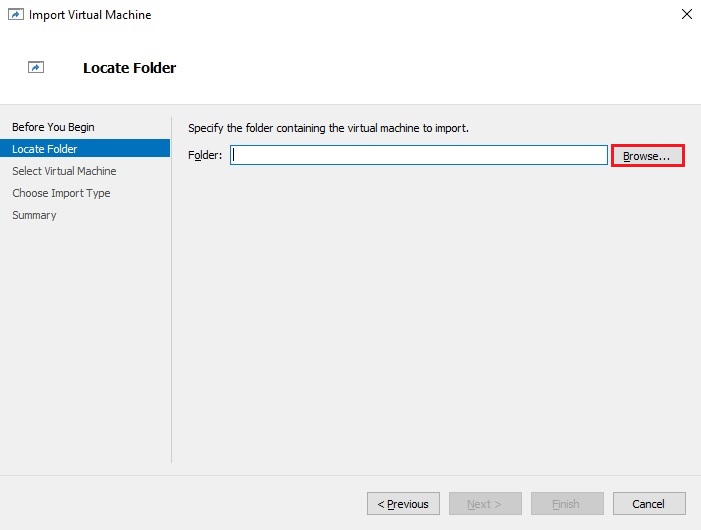
7- Click the browse button to specify the location where you saved the files during export.
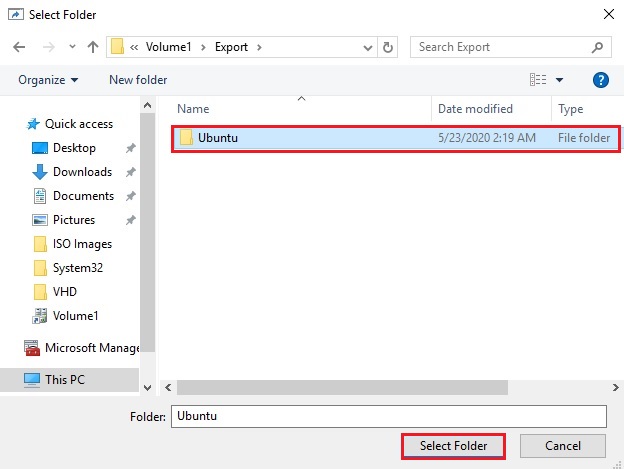
8- Select folder
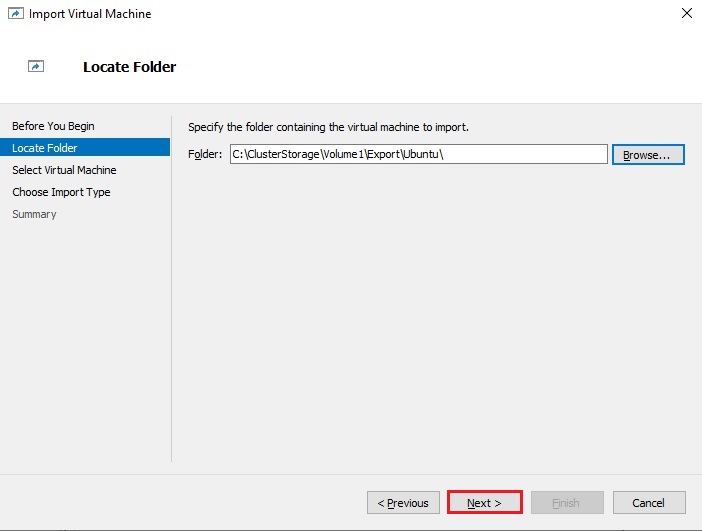
9- Select next
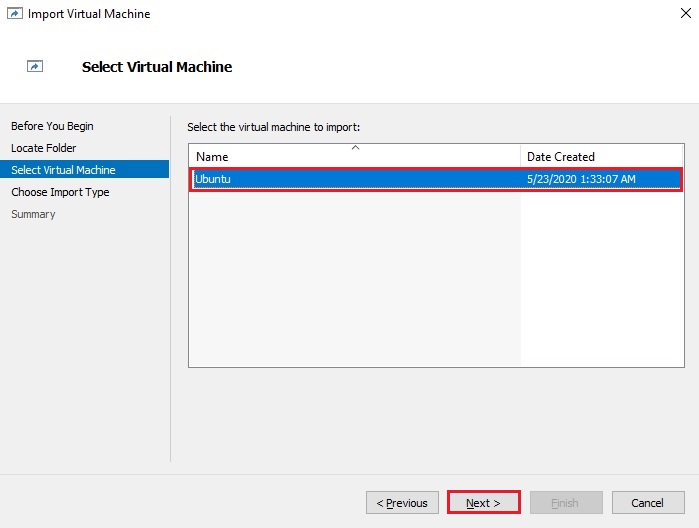
10- Choose the virtual machine to import and then click next.
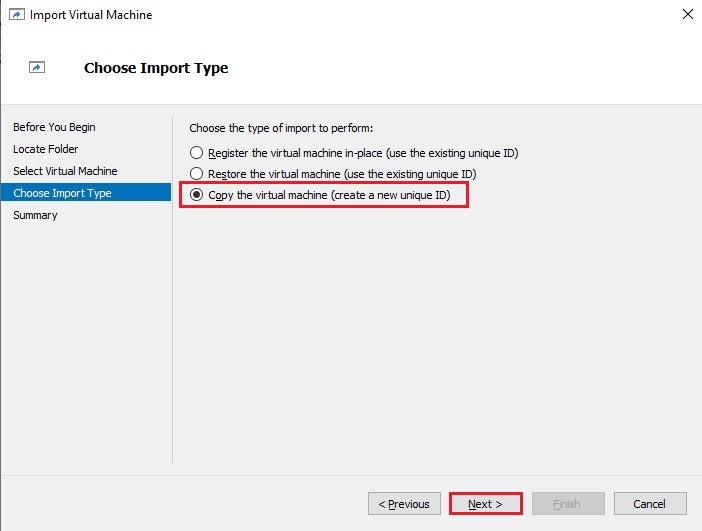
11- Select the import type would not like to interfere with existing VMs and then click next.
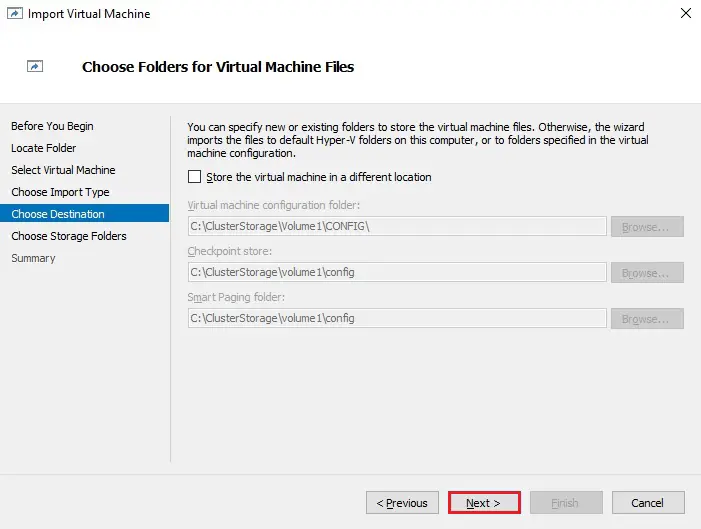
12- Select folder location to store the virtual machines configuration files. You can leave it as default as Hyper-V will create a unique ID for the cloned VM and click Next.
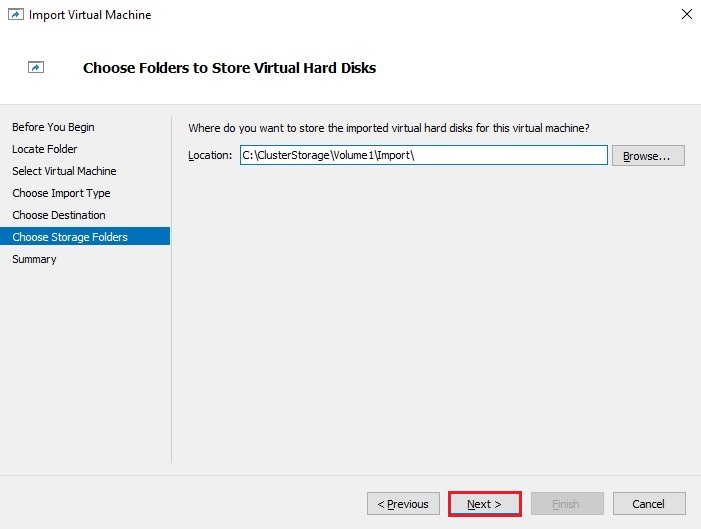
13- Select the location to store the virtual machine’s file (.vhdx files). Here you should specify a folder location that is different from virtual hard disks of source virtual machine and click next.
14- Review the import virtual machine summary and then click finish.
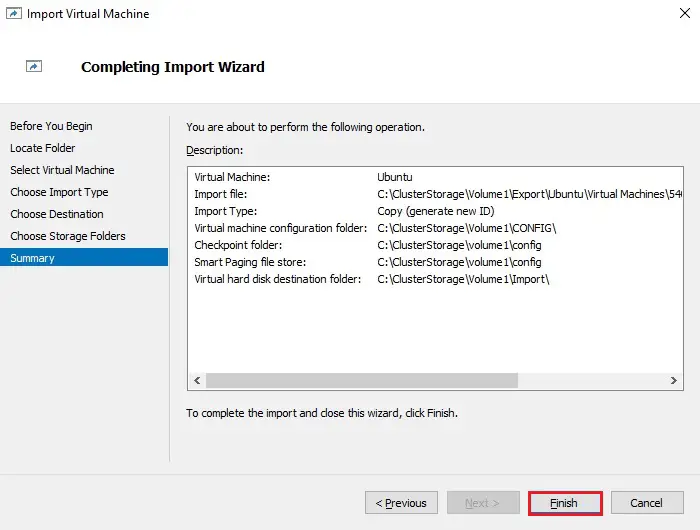
15- It may take some time to complete the import process depending upon the size of the existing virtual machine.

For more details please visit Microsoft