
In this guide, I will guide you through the process of run Bitnami virtual appliance with VirtualBox to begin using a new server application quickly. Bitnami WordPress virtual hosts utilize system packages that allow virtual hosts to be used by default. Bobcares is a part of our WordPress Support Service, which is staffed with all queries.
Bitnami Virtual Machines provides a minimal Linux operating system that is installed and configured in WordPress. The Bitnami Virtual Appliance image requires hypervisor software such as VMware Player or VirtualBox; both of these hypervisors are available for free configuration.
Bitnami WordPress Application using Virtual Host
VirtualBox is a virtualization platform that allows you to begin the Bitnami virtual machine image whenever you wish to access the application. There are no other libraries, databases, or runtimes to deal with, and the virtual machine is completely isolated from software installed on your computer.
WordPress is the most popular blogging platform in the world, with millions of websites hosted and thousands of themes and extensions. It is completely free and open source. It is not difficult to say why WordPress is so easy to use.
I’ll guide you through setting up a Bitnami WordPress virtual machine, which provides you with a pre-configured WordPress website that is easy to set up.
Here are the steps you’ll follow in this tutorial:
Open a Bitnami WordPress virtual machine using VirtualBox.
Log in and start using WordPress by local.
The next sections will guide you through these steps in detail.
This blog assumes you have downloaded and installed VirtualBox on your platform.
Run Bitnami Virtual Appliance with VirtualBox
You will have launched a Bitnami WordPress virtual machine at the end of this process.
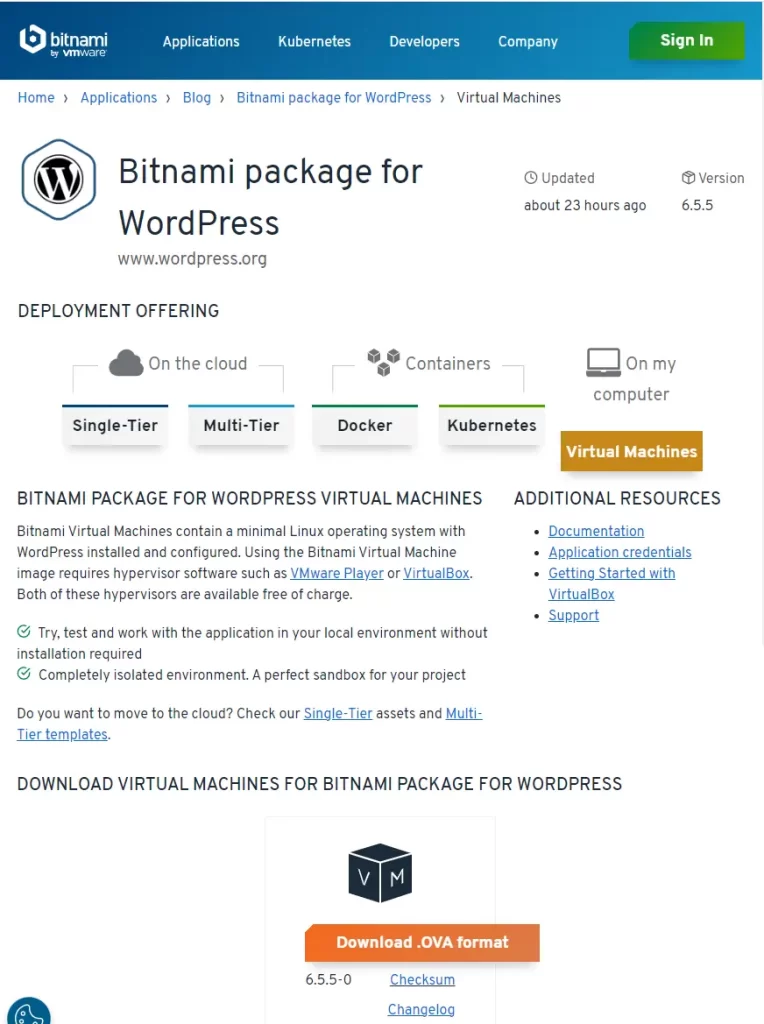
First, download the Bitnami WordPress virtual machine as a .ova file from their official website.
Once downloaded, follow the steps below:
Open VirtualBox.
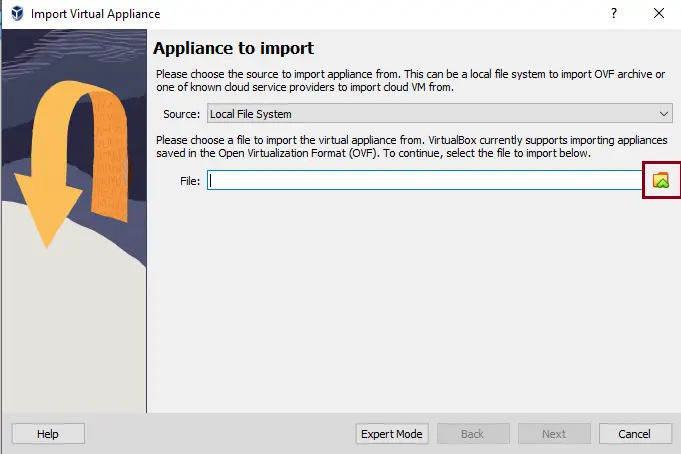
Select the File menu and click on the Import Appliance menu option in VirtualBox.

Click on the browse button to select the .ova file downloaded from the Bitnami website.
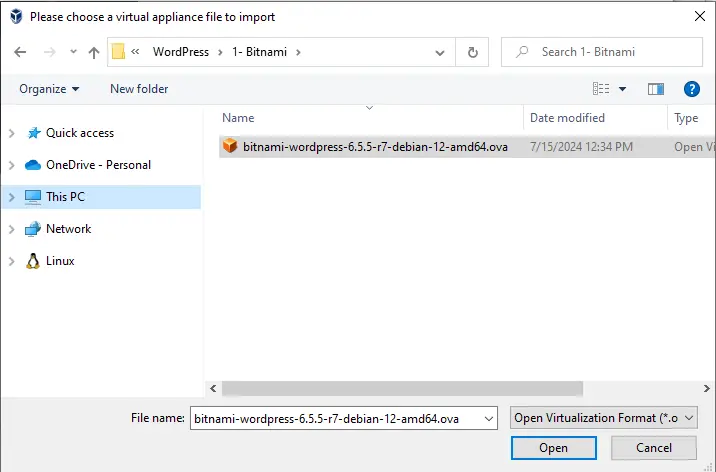
Select your Bitnami WordPress virtual application .ova and choose open.
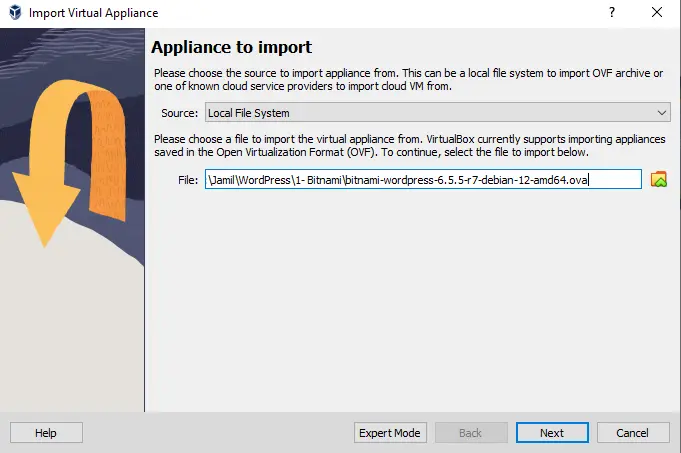
Click next to proceed.
Verify the destination where you want to import the virtual machine.
Examine the configuration displayed and modify values by clicking them and entering new values. For instance, you can set a different machine name or modify the available memory. Click Finish to proceed.
Check that the memory is set to 512 MB or higher. Select a machine memory size of 1 GB or higher for Ruby or Java applications.

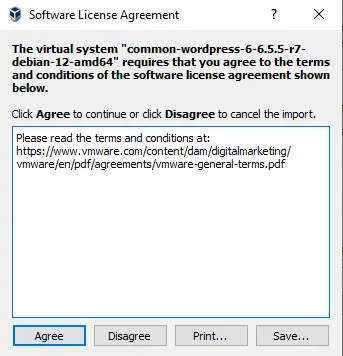
Click on agree.
Importing the Bitnami appliance in VirtualBox.
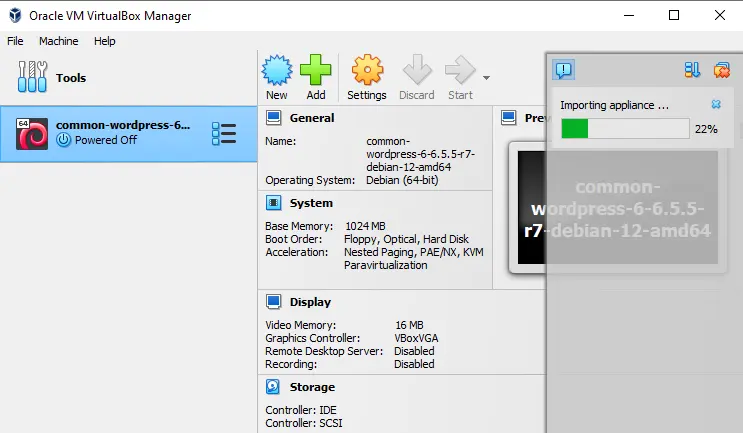
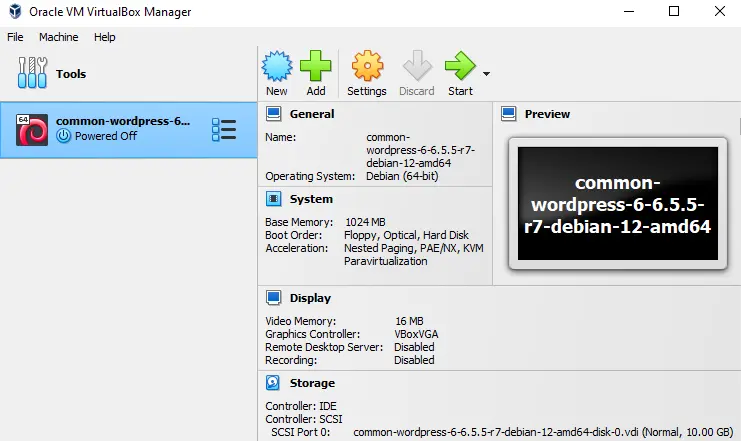
The virtual machine will now be imported and should be included in the list of virtual machines in the VirtualBox interface. Click the Start button from the VirtualBox toolbar.
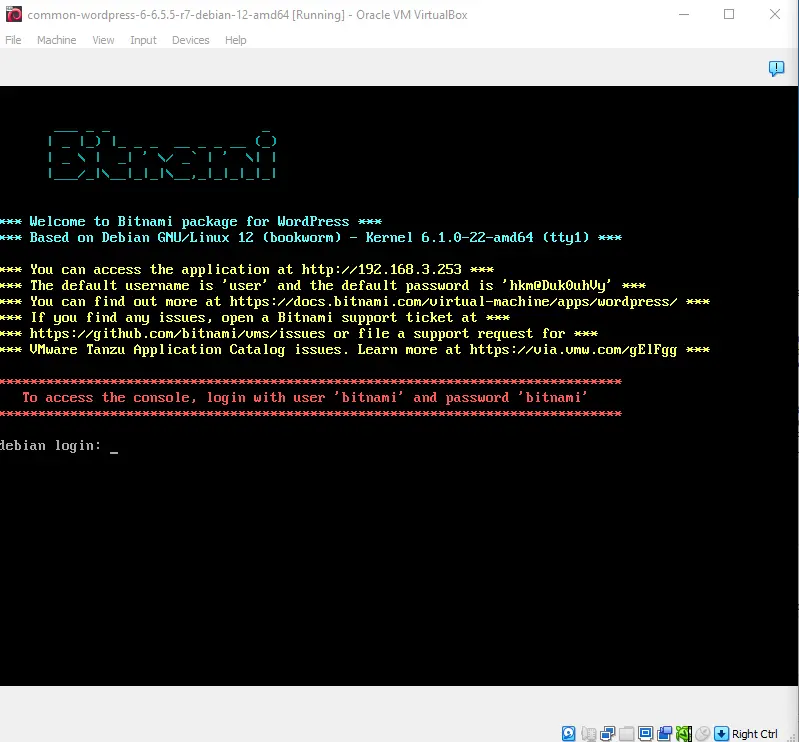
This must open a new window for the running Local WordPress Bitnami virtual machine, as shown below:
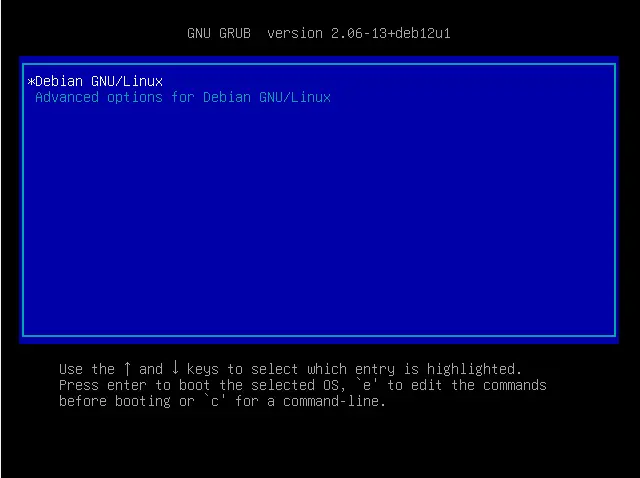
Once the initial setup process is complete, you should see the virtual machine console with a login prompt. The same screen shows the login credentials for the application and the virtual machine current IP address. Make a note of these details.
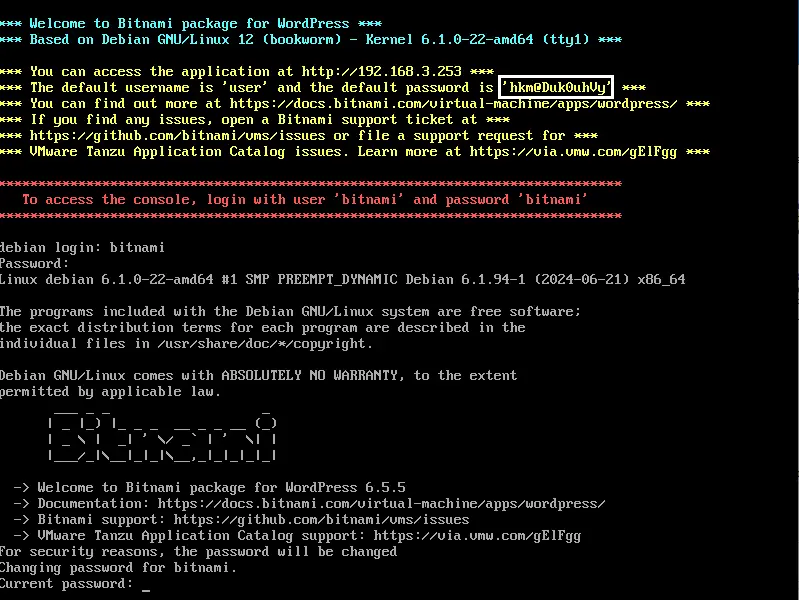
Here, you can change the Bitnami password.
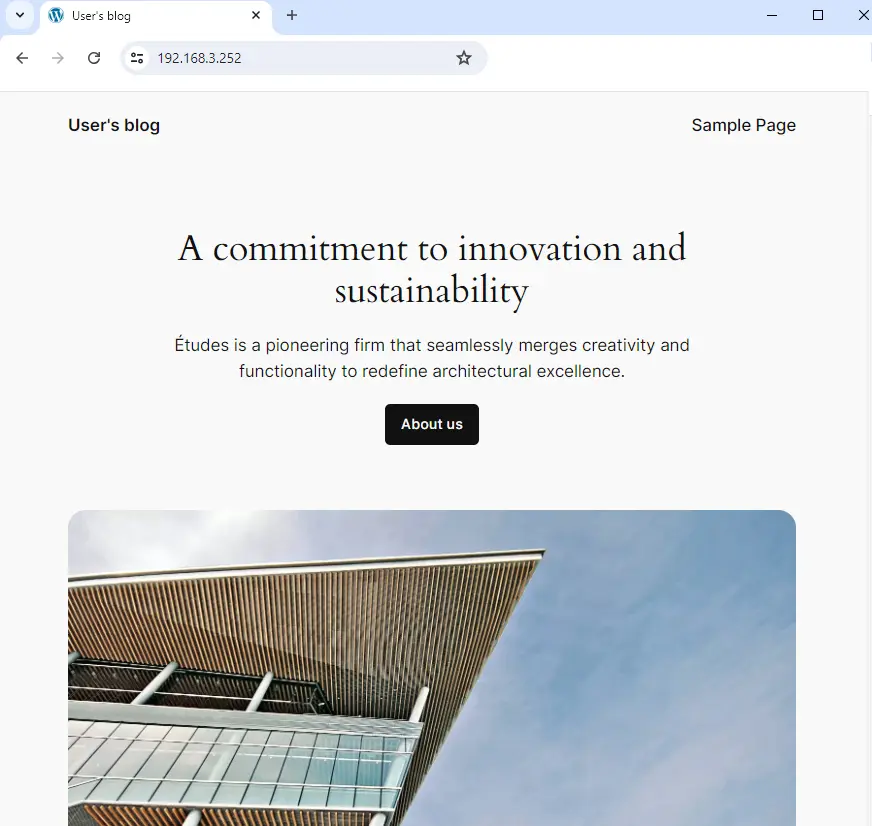
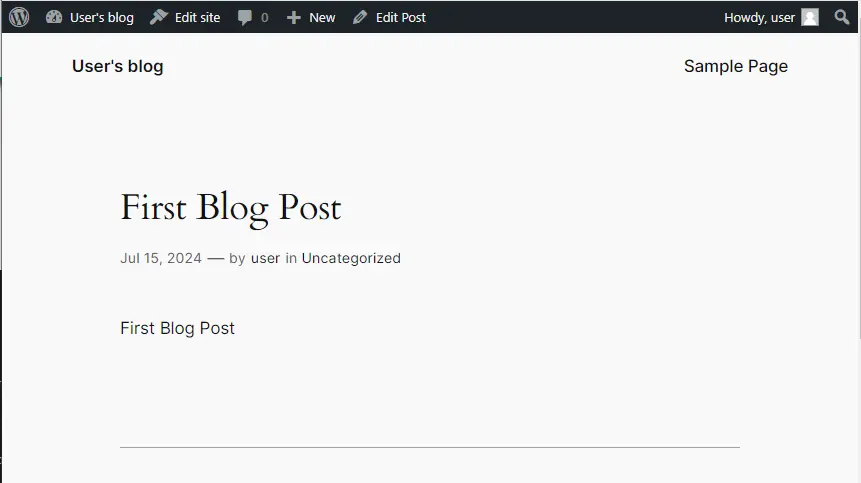
You can now access WordPress using your Web browser and browse to the virtual machine’s IP address. You must see the front page of your WordPress blog with a sample post, as shown below:
Log In Bitnami Virtual Appliance using WordPress
At the end of this process, you will have logged in to WordPress and created a blog post.
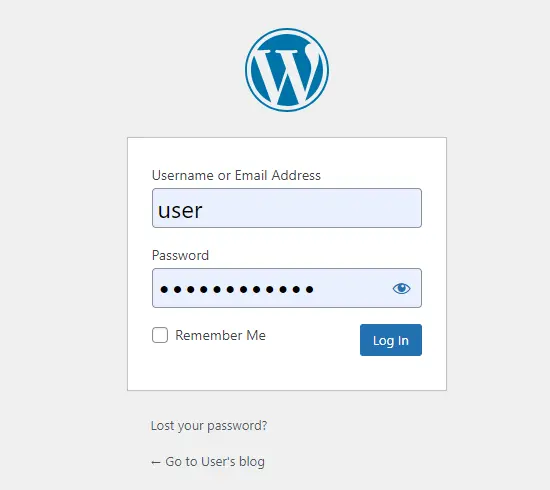
To log in to the Local Bitnami WordPress dashboard, follow these steps:
Type your Bitnamil WordPress IP address in browser and hit enter.
Log in with the Bitnami WordPress administrator credentials from the previous process.
You should now be able to access the WordPress dashboard, which allows you to manage posts, pages, and comments; customize your blog with themes and plugins, import and export content, manage navigation menus, add or delete new user accounts and more.
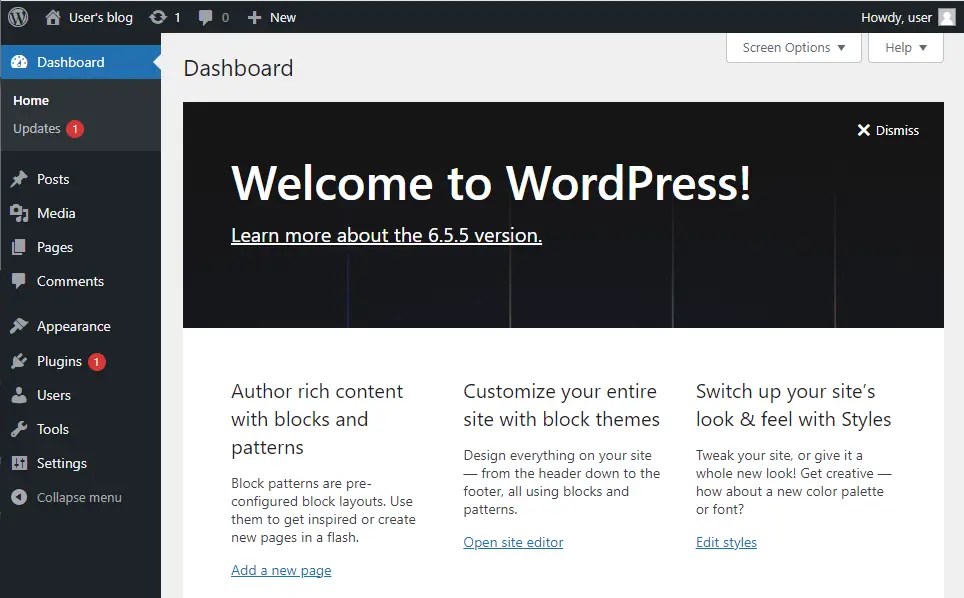
Keep Your WordPress Installation up-to-date.
You can keep your Bitnami WordPress installation updated with the WordPress update feature.
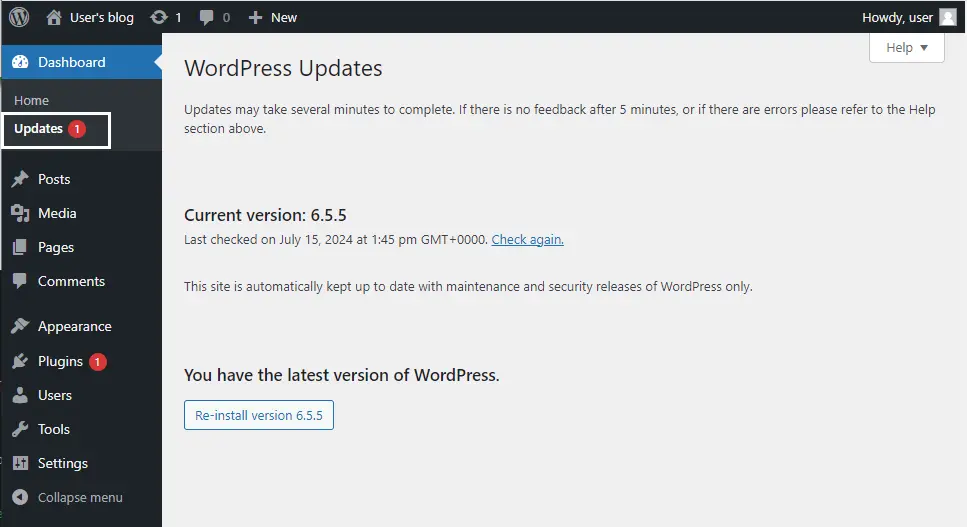
Select the WordPress Dashboard and click on the Updates menu.
Review the resulting page to determine if WordPress needs an update. If an update is available, you can download it by clicking the Update Now button. You can also re-install WordPress if necessary with the Re-install Now button.
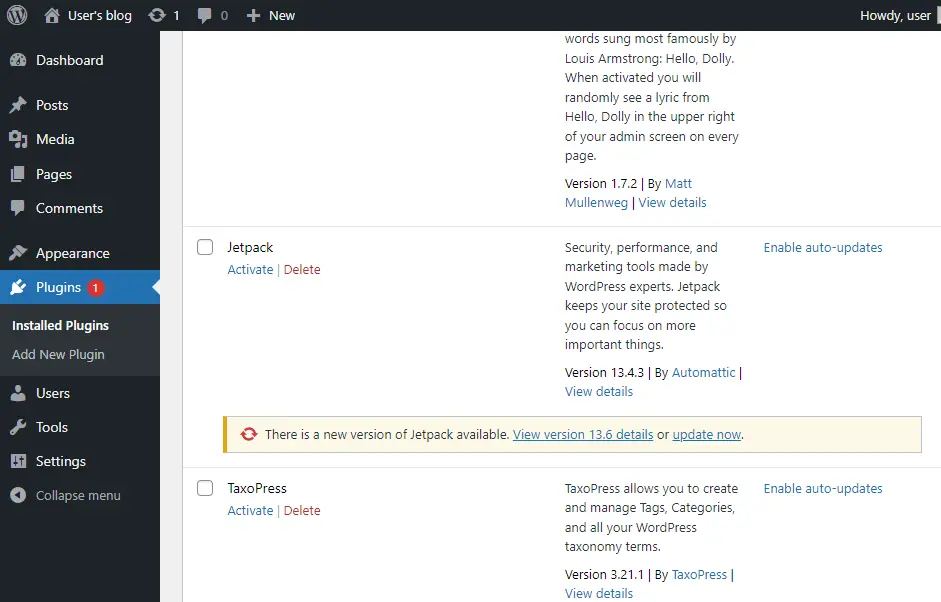
Click on the Plugin menu and update the plugins, if any.
Create Your First Post with Bitnami WordPress
You can add a new post with the following steps:
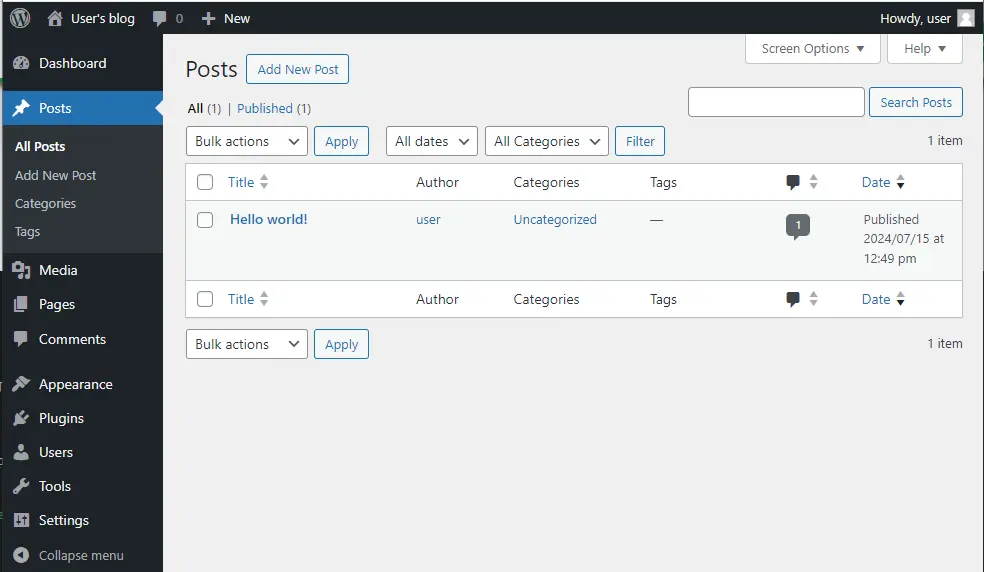
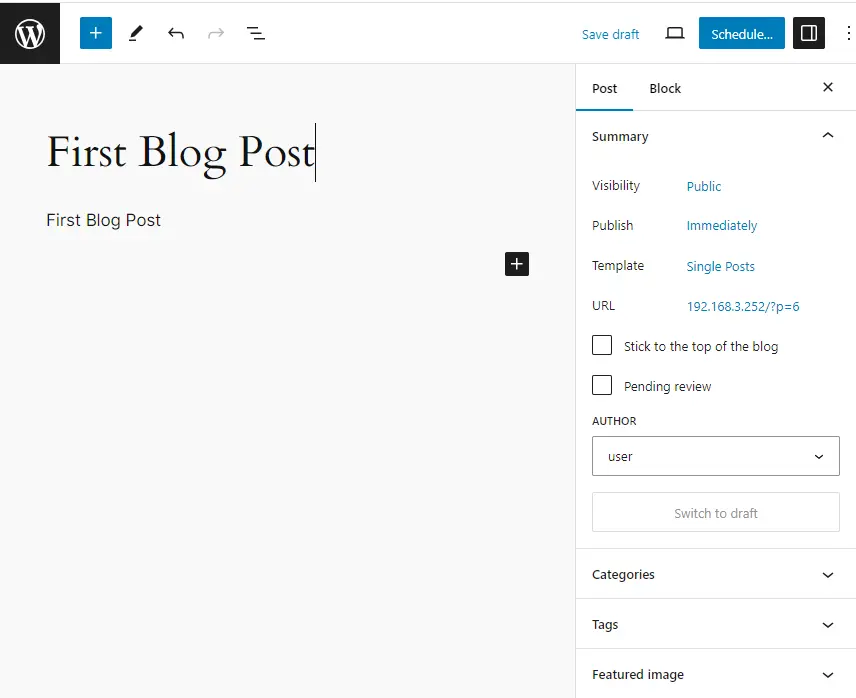
Select the Posts menu and click on the Add New Post option to create a new post.
Enter the title and content for the article. The tools for formatting your post are at the top of the text area. You can use them to add images, hyperlinks, and other formatting.
Optionally, select the format and category for your post.
Publish it immediately using the Publish option.
You should see your new post when you visit your blog’s front page.
Congratulations! You now have a fully functional Bitnami WordPress blog in the cloud.
Related: How to Install Bitnami WordPress in Windows.