
In this guide, we will learn how to install Windows 11 in VMware Workstation 16. New Preview version of Microsoft Windows 11 released, and you may be thinking of migrating from the old OS. I am testing a new Windows 11 in VMware Workstation 16.
Windows 11 specifications, features, and requirements
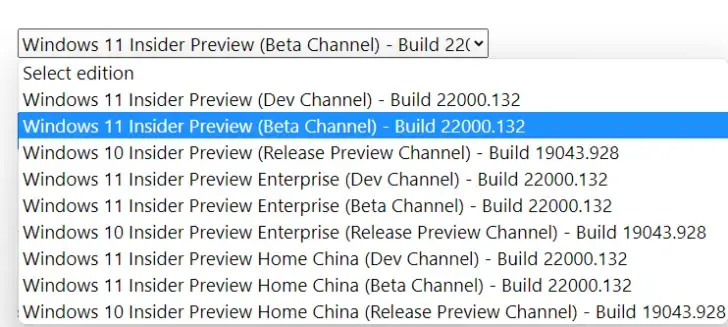
Here you can download Windows 11 ISO files.
Creating Bootable USB Drive
You can build a Windows 11 installation media (USB or DVD). How to create Windows 11 bootable USB drive.
Create a virtual machine in VMware Workstation.
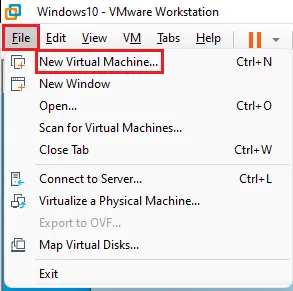
Open VMware Workstation, select file tab, and then New Virtual Machine.
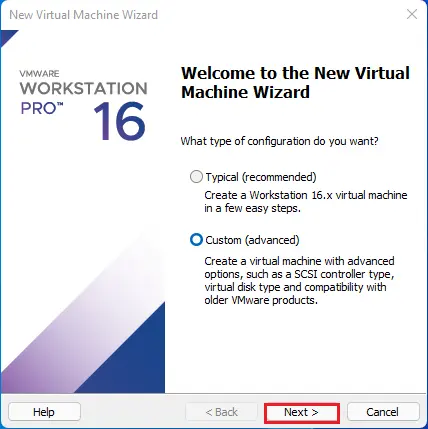
Choose the type of virtual machine and then click Next.
Note: Custom – This gives you an option of hardware compatibility.
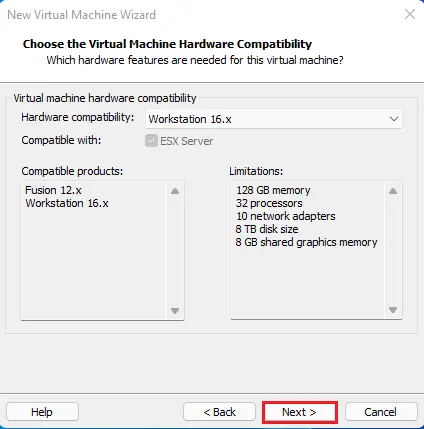
Select Hardware compatibility and then click next.
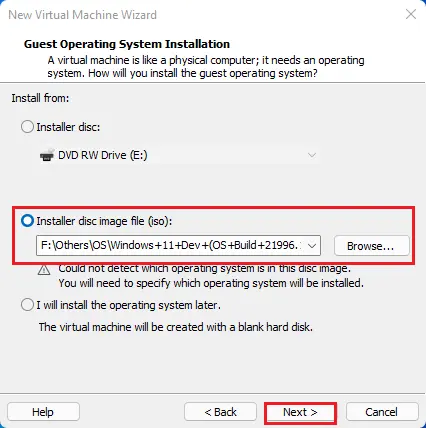
Guest operating system installation
Installer disc (CD/DVD)
Installer disc image file (ISO), I have selected Windows 11 .ISO. Choose the Browse button, select the operating system you want to install, and then click Next.
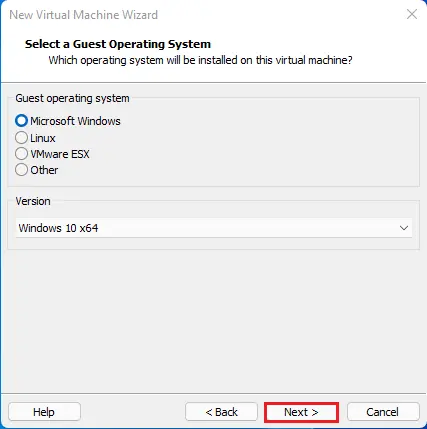
Guest operating system (Microsoft Windows) and click next.
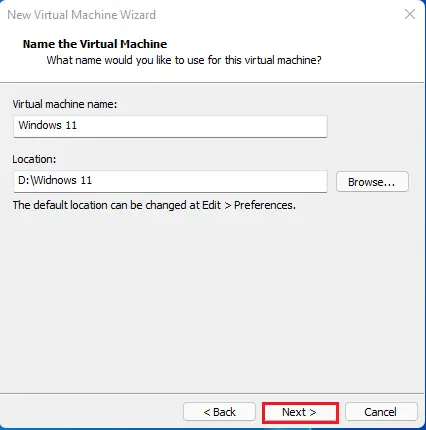
Enter a virtual machine name and specify a location by clicking on the browse button VM files to be saved or leave it as default settings. Click Next.
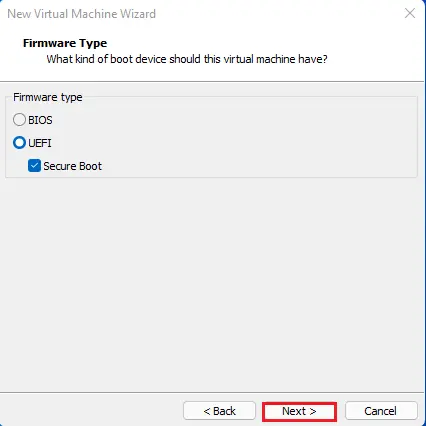
Select Firmware Type and click Next.
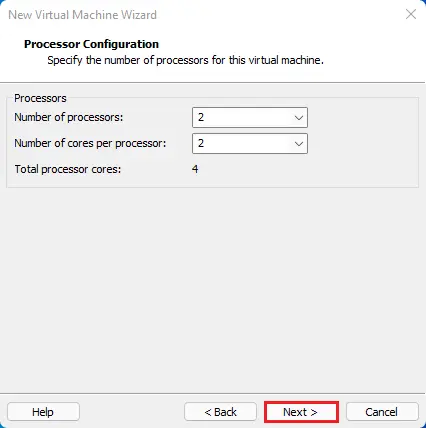
Choose a number of processors and click next.
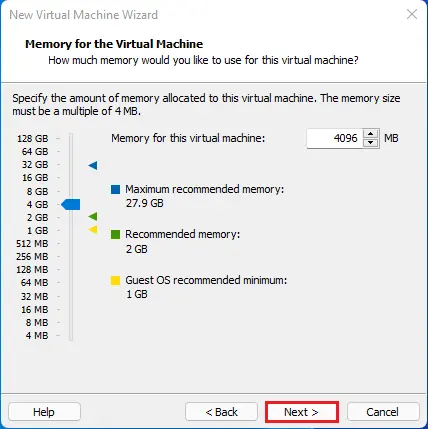
Select Memory for this virtual machine and click Next.
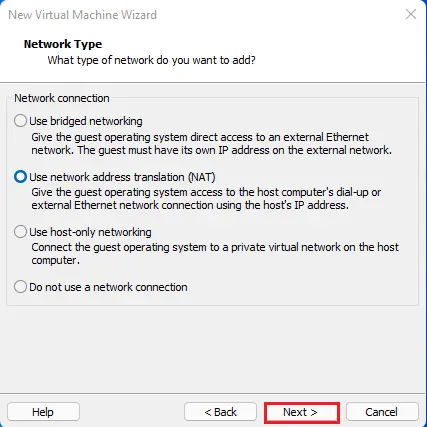
Select Network Type and click Next.
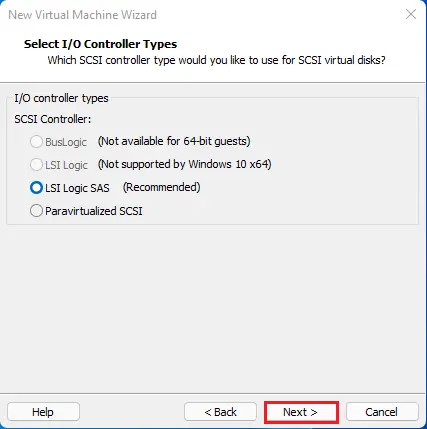
Click Next.
Default Settings, click next.
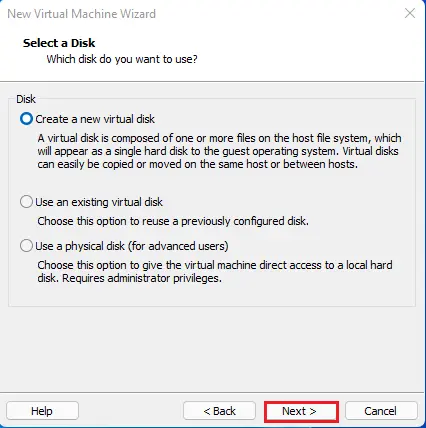
Select a disk “create a new virtual disk” and then click Next.
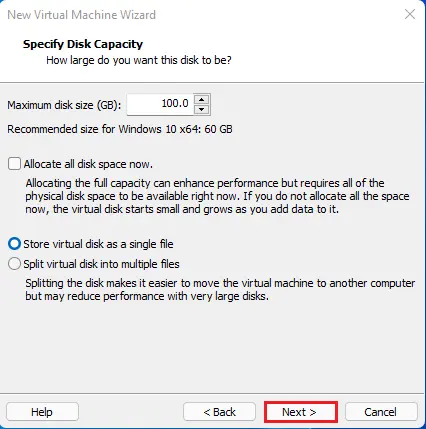
Specify disk capacity for virtual machine
Choose store the virtual disk as a single file and then click Next.
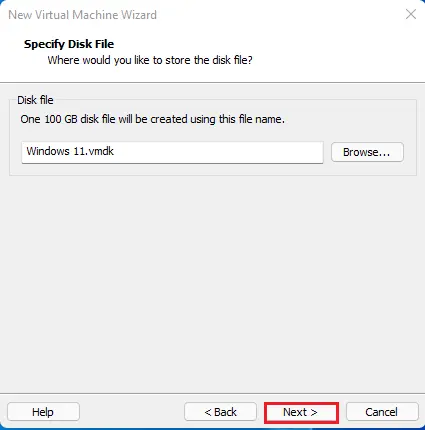
Click Next.
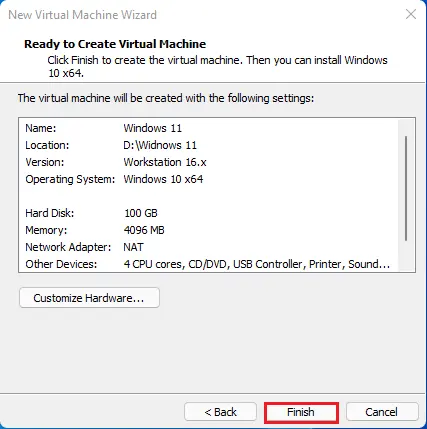
Verify the virtual machine configuration settings and click finish.
Installing Windows 11 on VMware Workstation
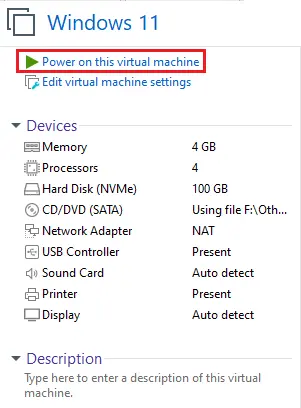
Select Power on this virtual machine.
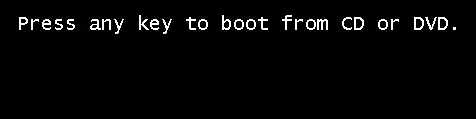
Press any key ….
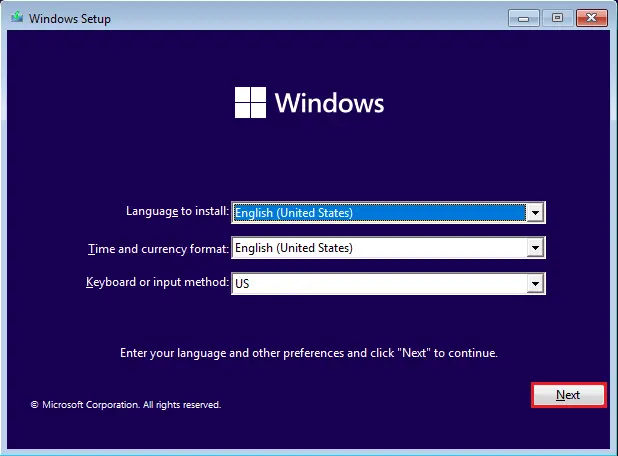
Click Next.
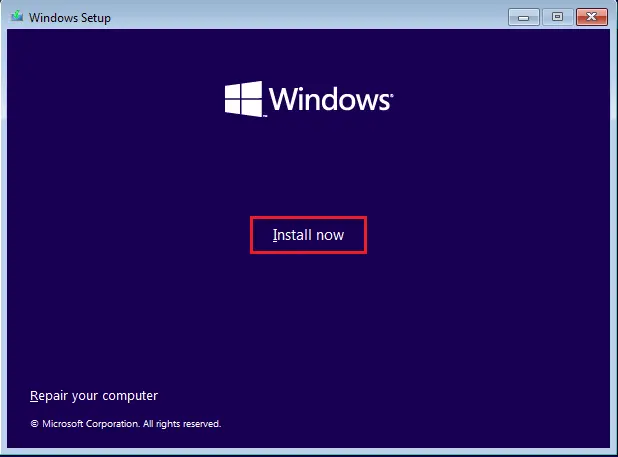
Windows 11 Setup, click Install Now.
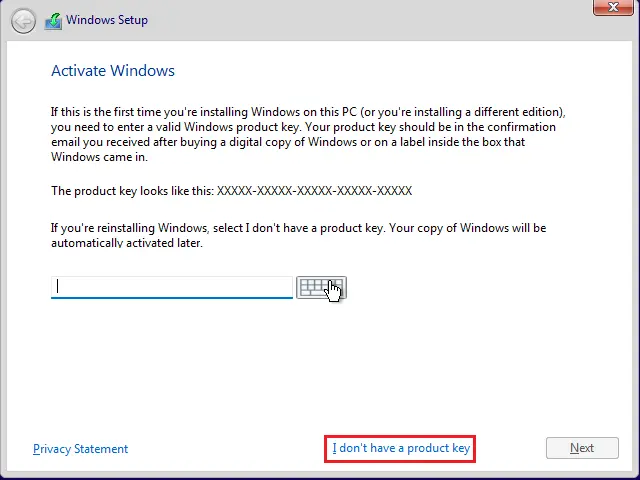
Select I don’t have a product key.
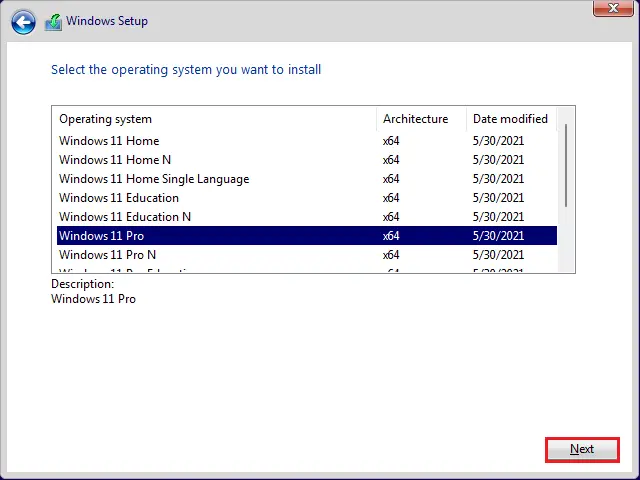
Select Windows 11 OS and then click next.
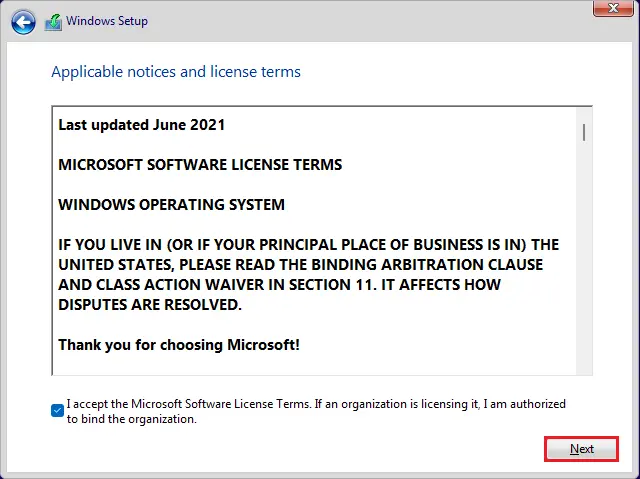
Accept the Windows 11 applicable notice and license, and then click Next.
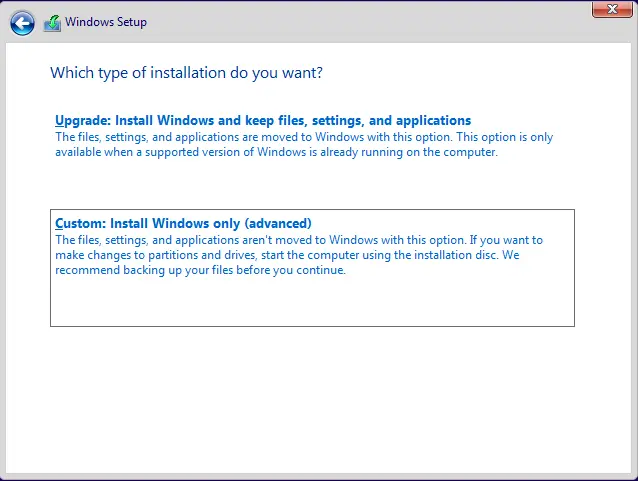
Windows setup, select the Custom option.
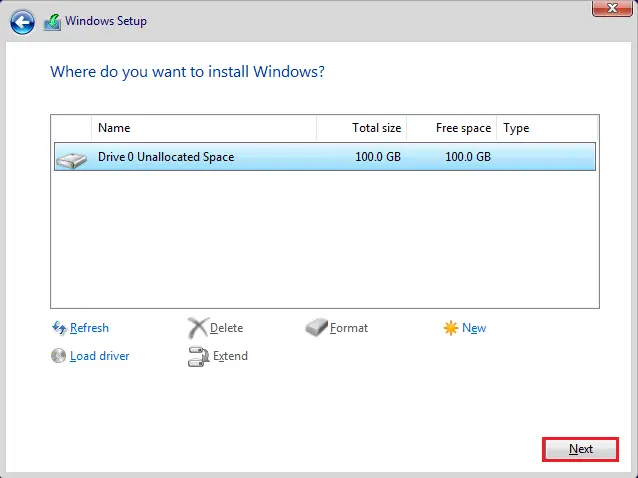
If you want to create a partition you can or simply click next.
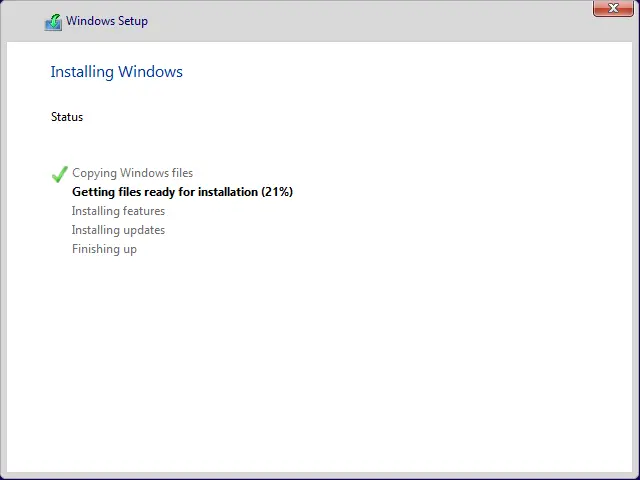
Windows 11 installation status.
Windows 11 welcome screen, choose language, and then click Next.

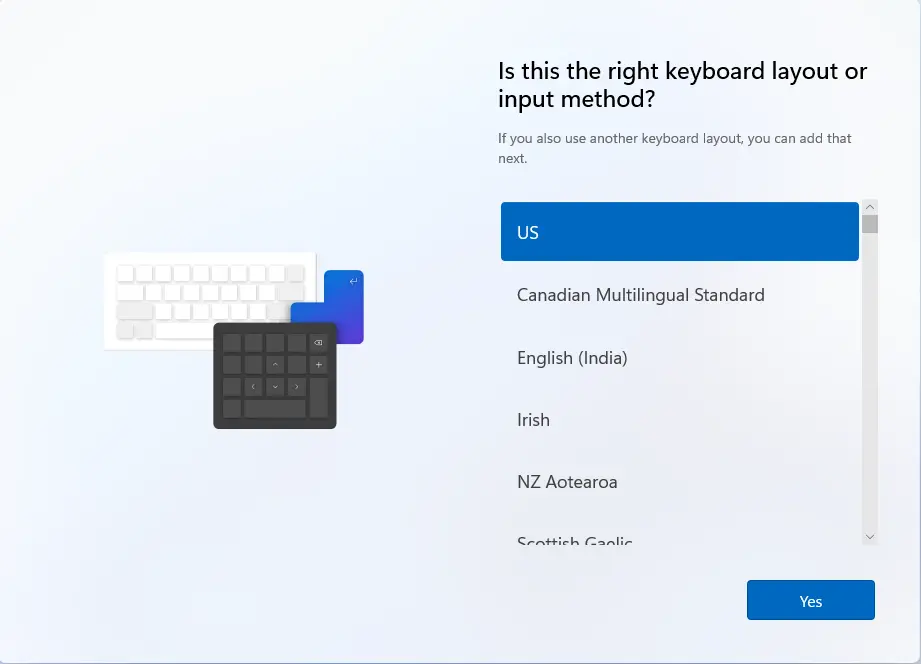
Select a keyboard layout and then click next.
Click Skip second keyboard layouts.
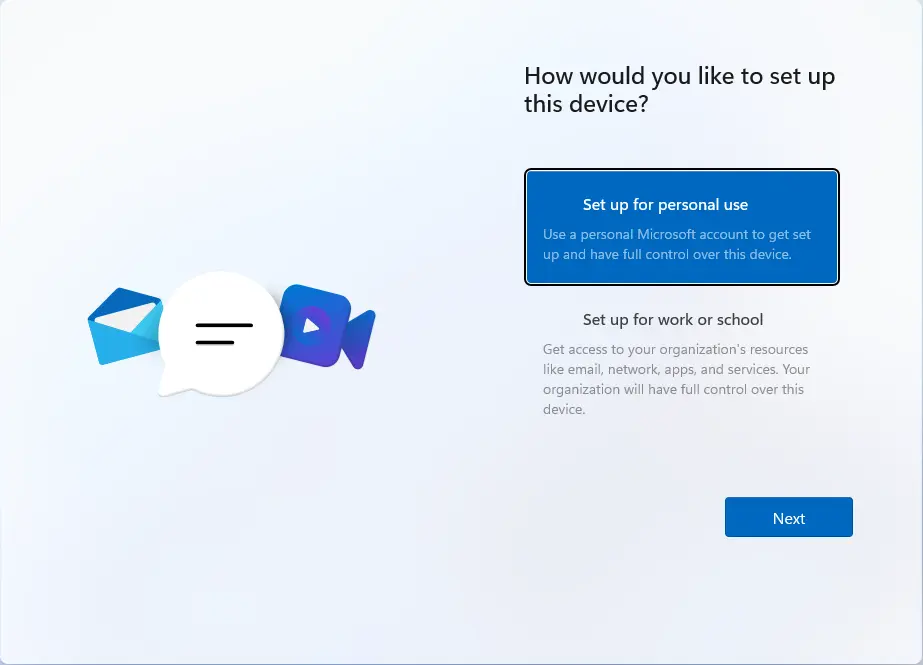
Choose select for personal use and then click Next.
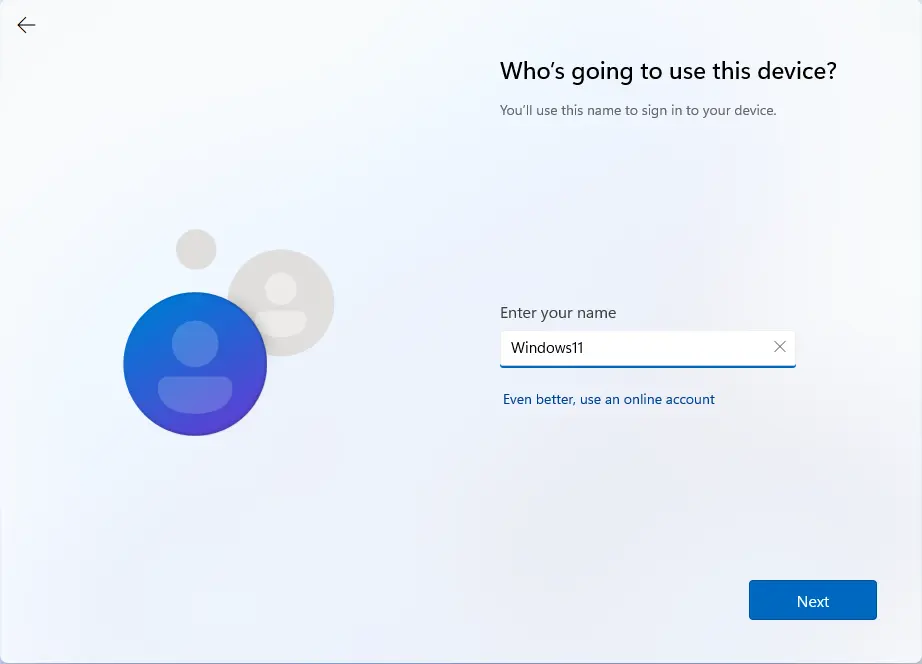
Sign in with a Microsoft account or you can use an offline account (I am using an offline account)
Type an account name, and then click Next.
Read more: How to Change Username in Windows 11.
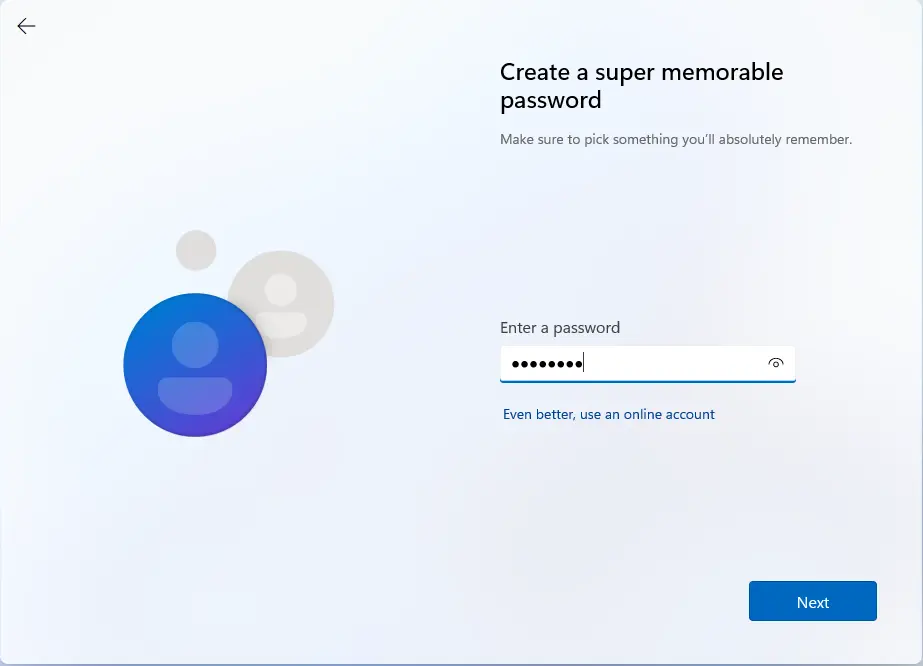
Enter your password, confirmed password, and then click Next.
Choose any 3 security questions and then click next.

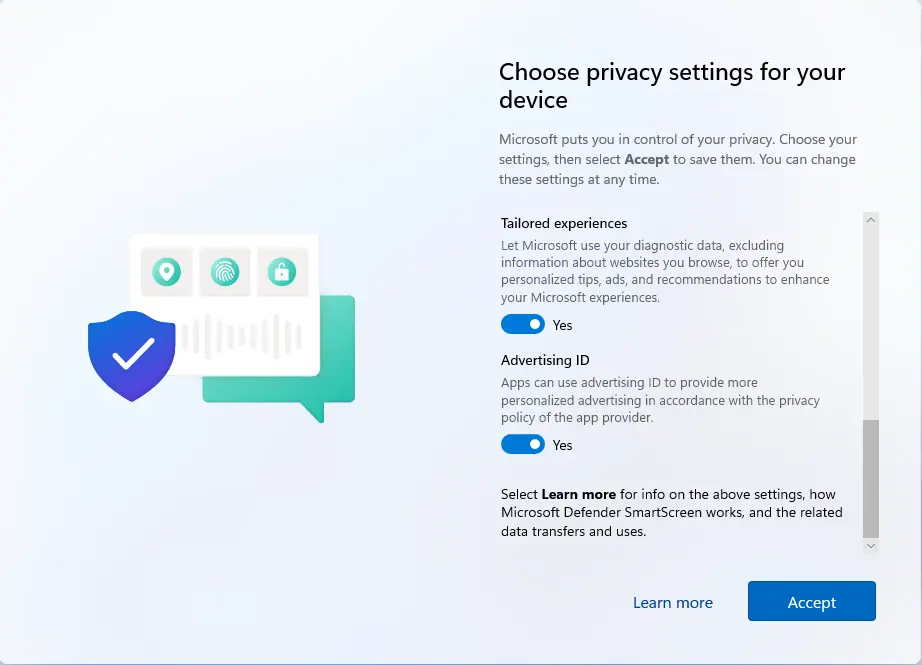
Privacy setting Windows 11, scroll down, and then click accept.
It might take few minutes to complete.

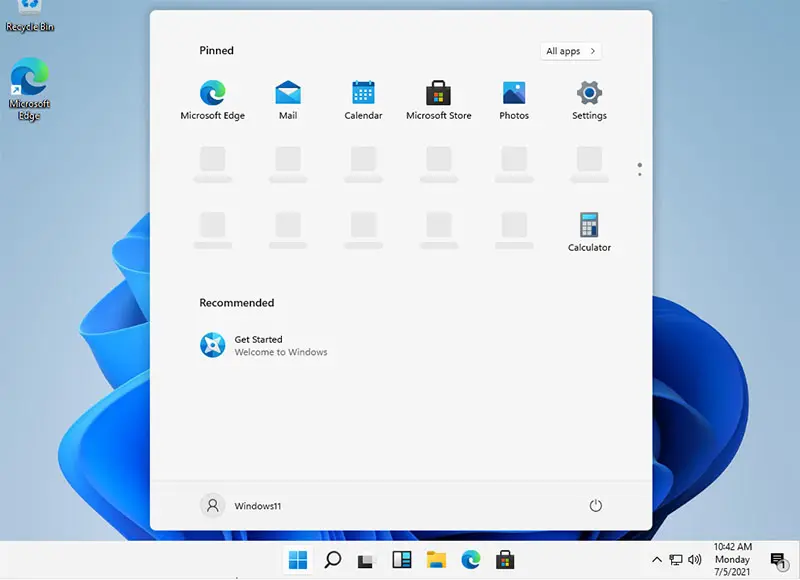
Windows 11 desktop.
Related: This PC Must Support Secure Boot Windows 11
Related: Solved: This PC Can’t run Windows 11
Read more: How to Install Windows 11 in VMware Player.