In this article, we will explain how to install Windows 11 in VMware Player Virtual Machine. Installing Windows 11 on a VMware player is not a tough task, what we need is the Workstation Player and Windows 11 ISO on our existing Windows 11 OS to experience this latest Microsoft operating system. If you are not sure how? Then, here is the article to help you.
Windows 11 is the new operating system that is currently available as an upgrade for the existing Windows 10 Insider program. Therefore, there is no official availability of Windows 11 ISO files, but, there is a way you can download it to install Windows 11 not only on Virtual machines but also on computers/laptops.
VMware player is a popular software to run virtual machines. It is a free application for personal usage just like VirtualBox. VMware Workstation player interface is easy to understand.
Table of Contents
- Windows 11 installation on VMware player Workstation
- Download VMware VMplayer
- Download Windows 11 ISO
- Install VMware Workstation Player
- Create Virtual Machine on VMware Player
- Assign Windows 11 bootable ISO
- Set Guest OS Type
- Name the Virtual Machine
- Add Virtual hard disk
- Customize Hardware to increase VM Memory for Windows 11
- Play Windows 11 Virtual Machine
- Install Windows 11 on VMware Player
- Install VMware Tools
Installation Windows 11 on VMware player Workstation
The article is given below can be performed on any latest version VMplayer running on any operating system. While the VirtualBox users can follow my other blog. Install Windows 11 on VirtualBox Virtual Machine.
Download VMware VMplayer
First, we need to download virtualization software on your specific operating systems. Then you can download it from the VMware official website.
Download Windows 11 ISO File
The 2nd requirement to run Windows 11 on any virtual machine is its Windows 11 ISO file. The process is very simple to use to get the latest Windows Insider Preview copy of Windows 11.
Install VMware Workstation Player
VMware Workstation Player is limited capability free and non-commercial use. As a person, you can use it without paying anything. VMware is not open source though.
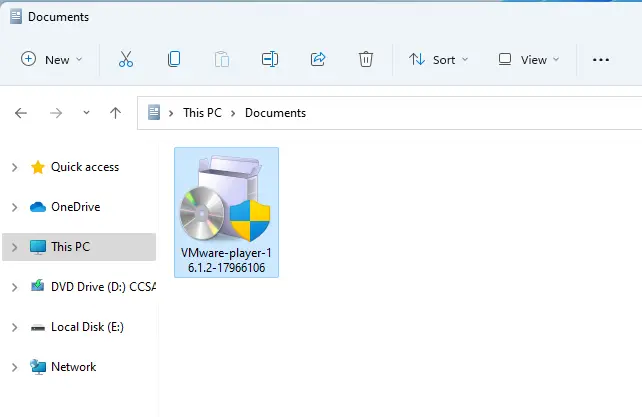
Start the installer by double-clicking it (VMware-player-1.6.1.2-17966106).
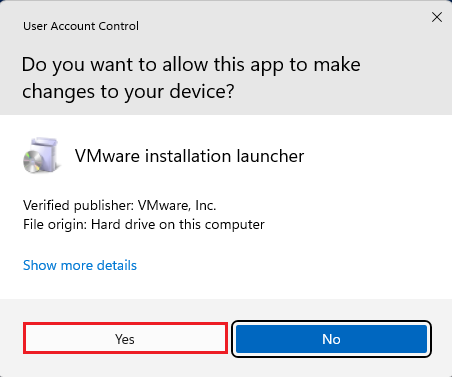
VMware Installation launcher, you might see User Account Control Warning. Select yes to continue.
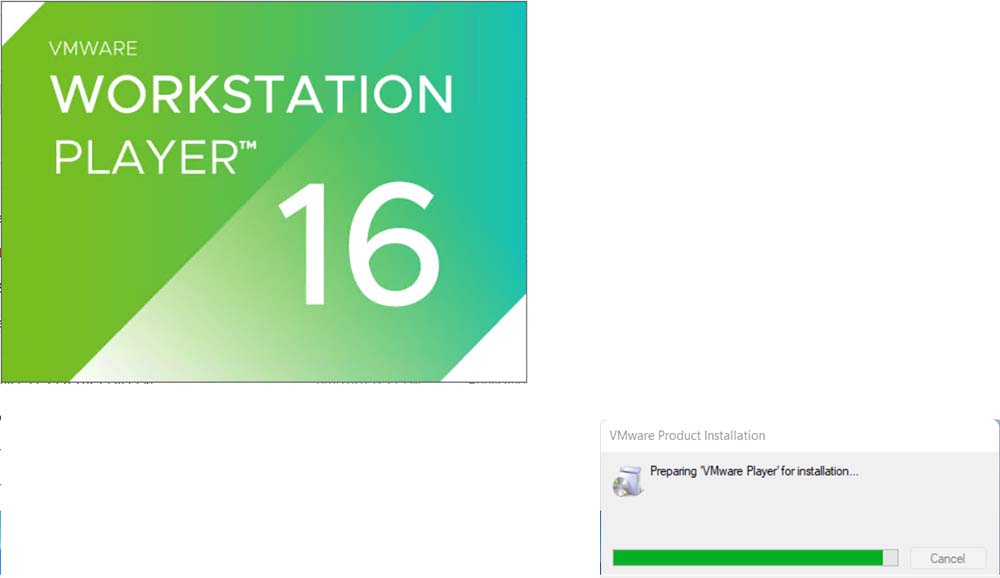
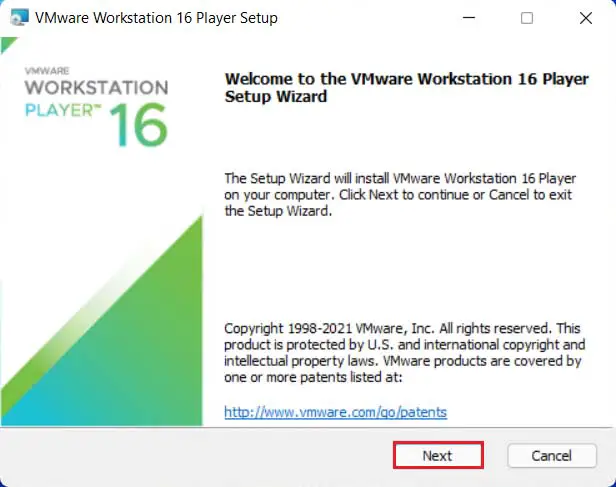
The VMware Player installation wizard opens.
VMware Player 16 Installation Setup Wizard, click Next.
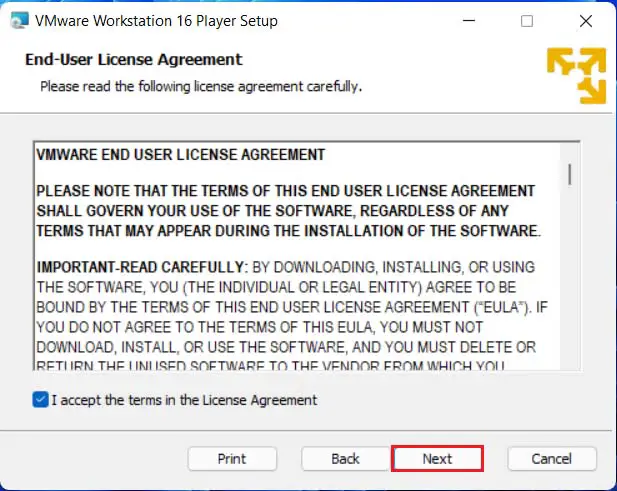
Accept the end-user license and then click Next.
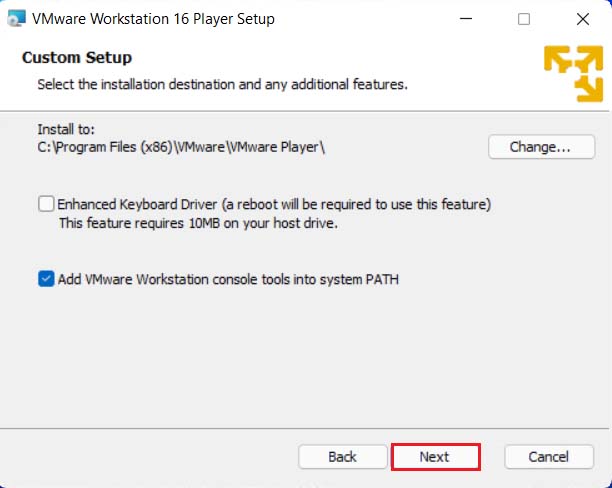
Custom setup, Enhanced Keyboard driver, and Installation directory. Click next
Leave it as it is, also check the box Enhanced Keyboard Drivers option and then click Next.
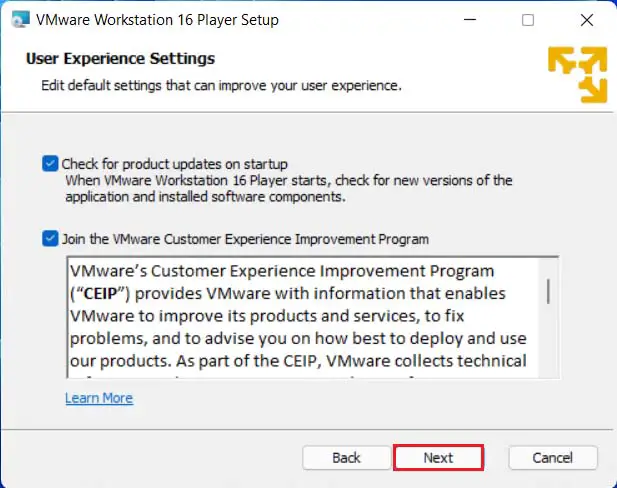
Check the options (Check the product update at Startup and Join the VMware Customer Program) and then click next.
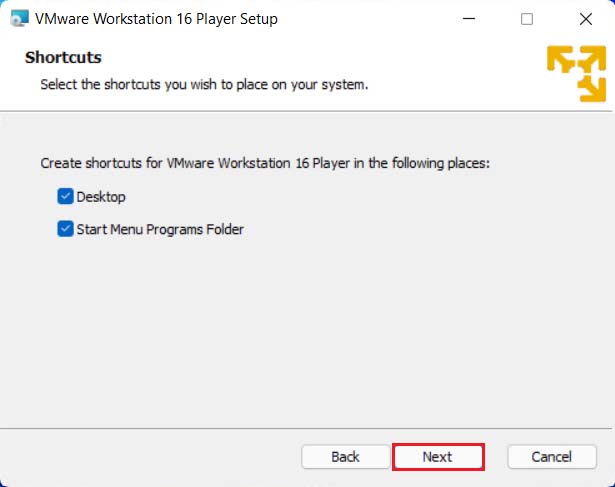
Select the checkbox where the shortcut to run the application will be created and click Next.
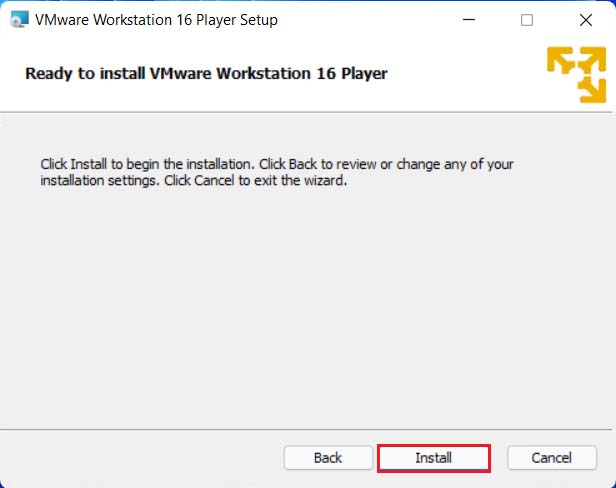
The installation wizard is ready to install, click on install to start the installation.
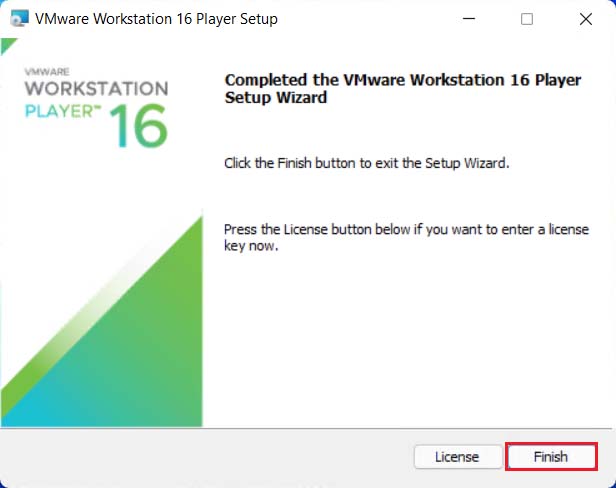
Click on Finish to complete the installation.
You should see a VMware Player desktop icon. Double click on that run the VMware Workstation Player.
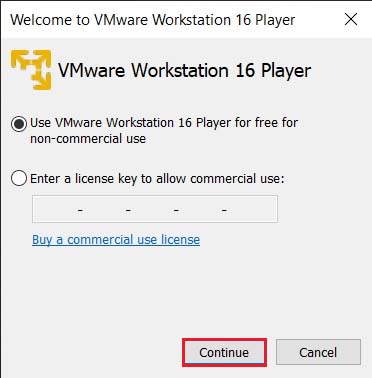
You will be asked for a license, choose the option Use VMware Workstation Player 16 for free for non-commercial use.
Click continue.
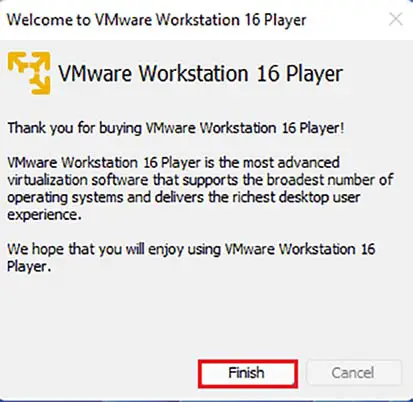
Click on Finish.
Here you can see VMware Workstation Player 16 set to be used for free for non-commercial purposes.
Create a Virtual Machine on VMware Player
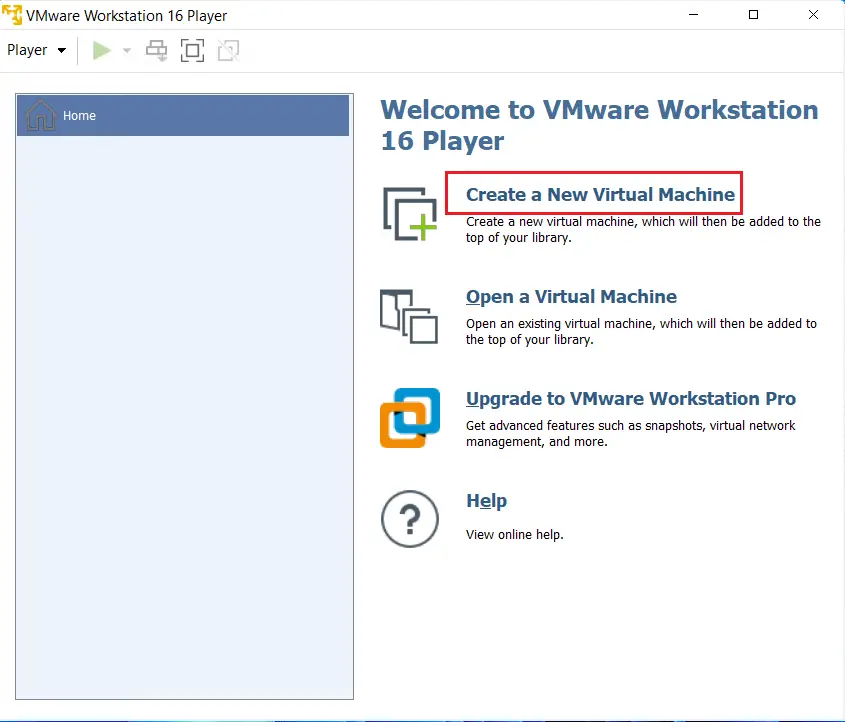
To create a new virtual machine in VMplayer 16, select the link Create a new virtual machine.
Assign Windows 11 bootable ISO
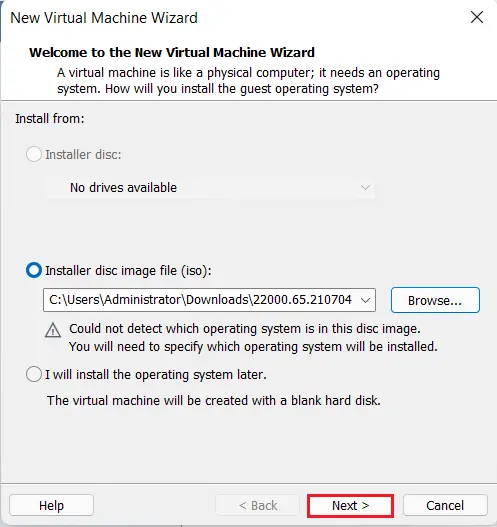
Select the Installer disc image file (ISO) option and then select the Browse button.
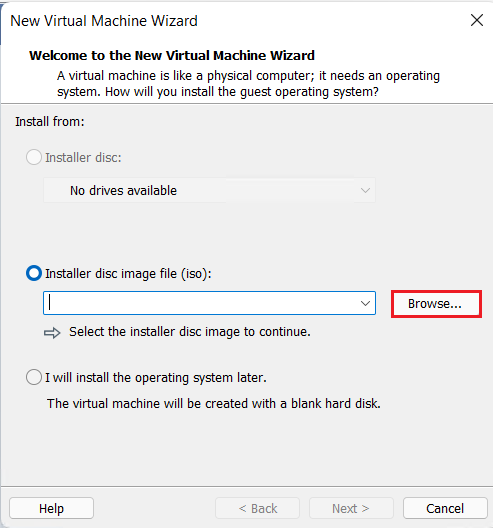
It will open a Windows explorer, choose the folder where you have saved Windows 11 ISO file, open it.
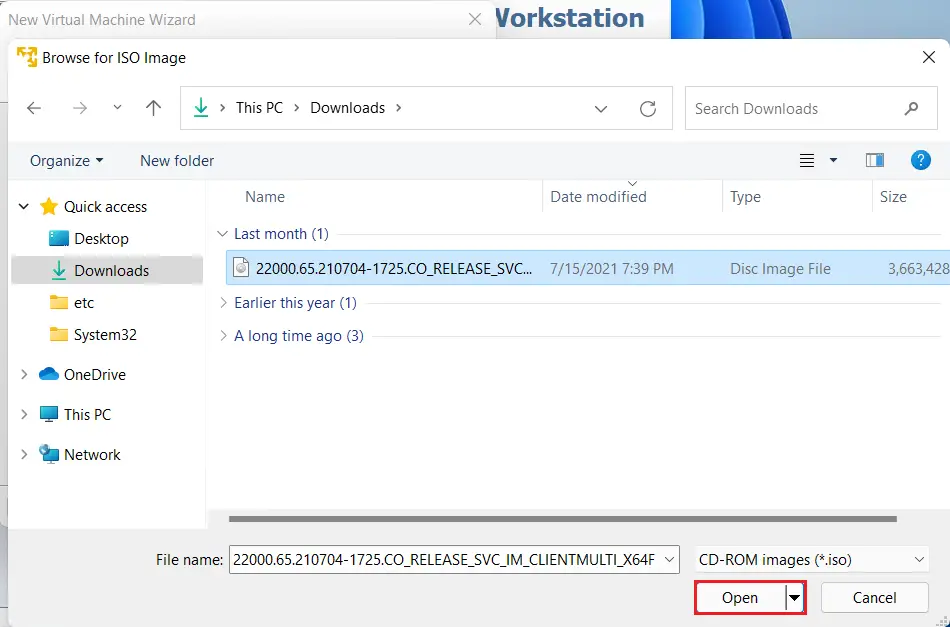
Click the Next button.
Set Guest OS Type
Select Microsoft Windows as OS type, select drop-down version box, set it to Windows 10 x64 because yet we don’t have Windows 11 option here. Click next

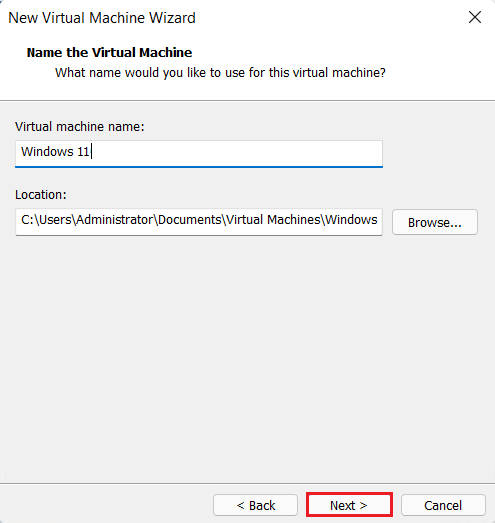
Name the Virtual Machine
Type a virtual machine name, to recognize the virtual machine on VMplayer and then click next.
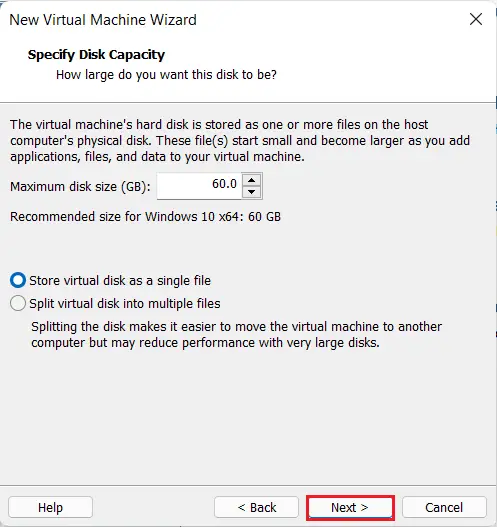
Add Virtual hard disk
The VMplayer will automatically set the virtual machine disk space to 60GB, still, you can increase it as per your need or what is your planning to do on Windows 11 VM. Click next.
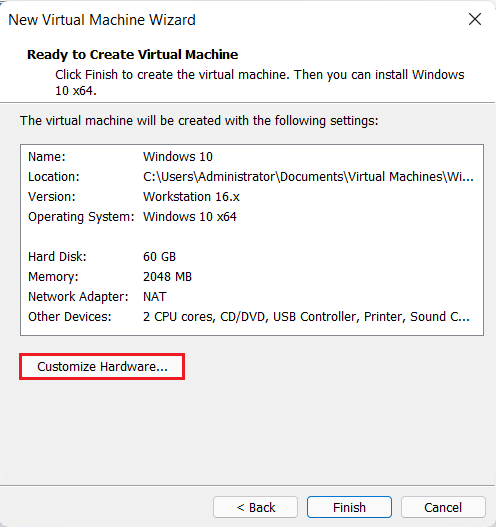
Customize Hardware to increase VM Memory for Windows 11
For perfect usage of Windows 11 in VMware Player set virtual machine memory to 4 GB, select the Customize Hardware button.
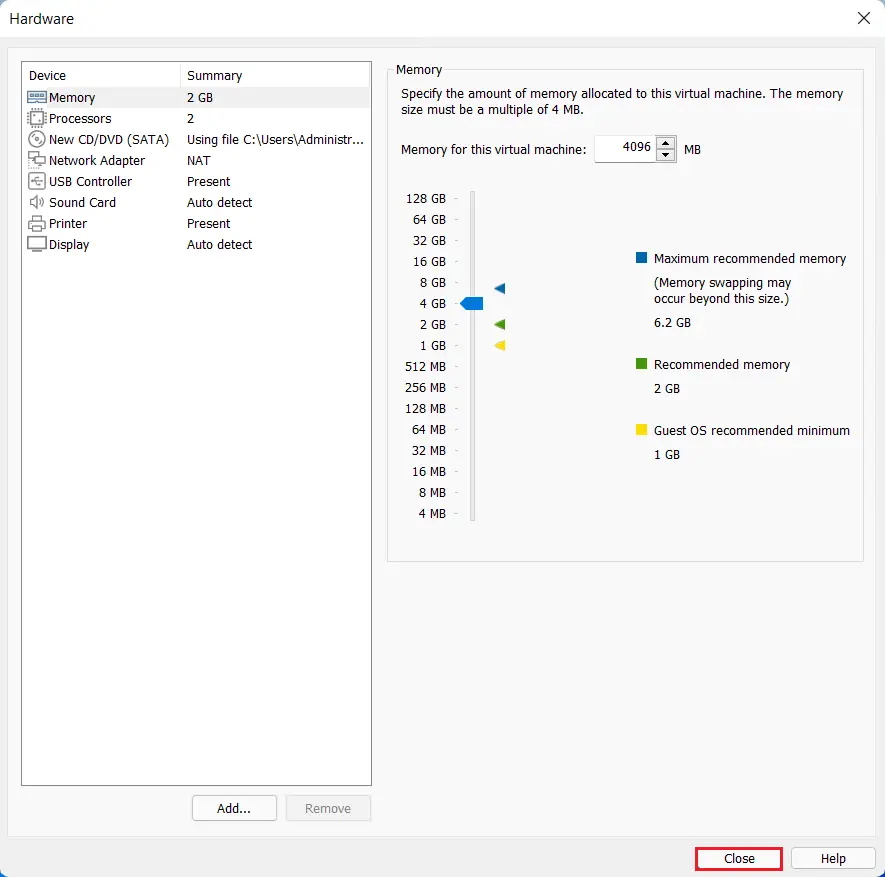
Select the Memory option, drag the vertical slider to 4GB, and then close the window.
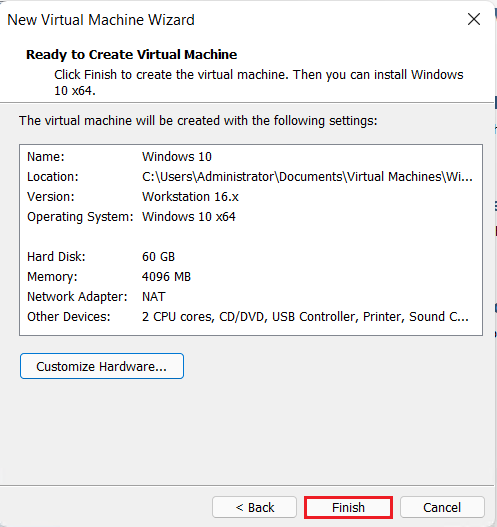
Select the Finish button.
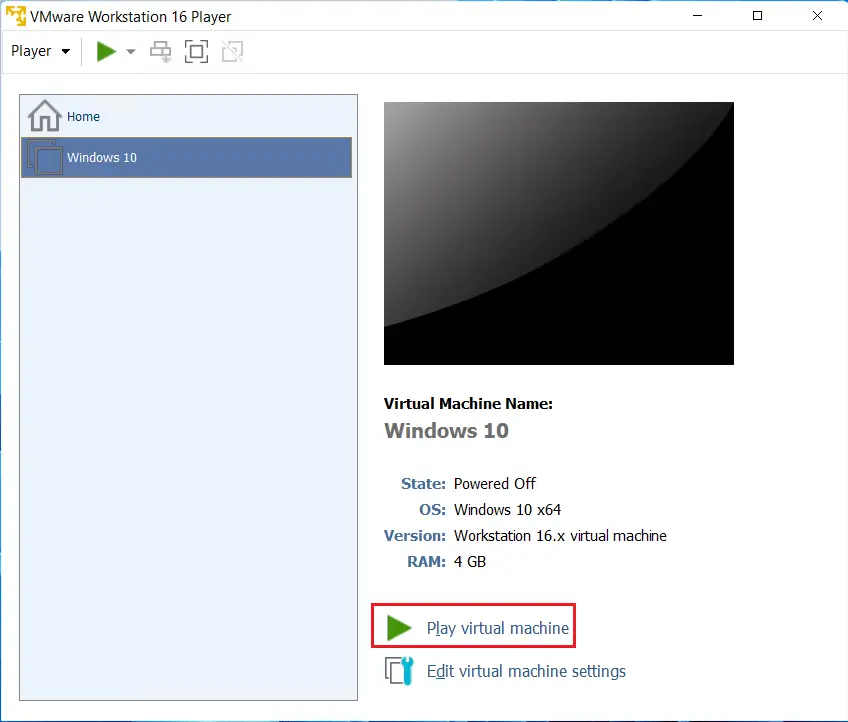
Play Windows 11 Virtual machine
Choose the created virtual machine from your left side of the VMware player and then select the Play Virtual machine link.
Install Windows 11 on VMware Player
Press any key to continue…..
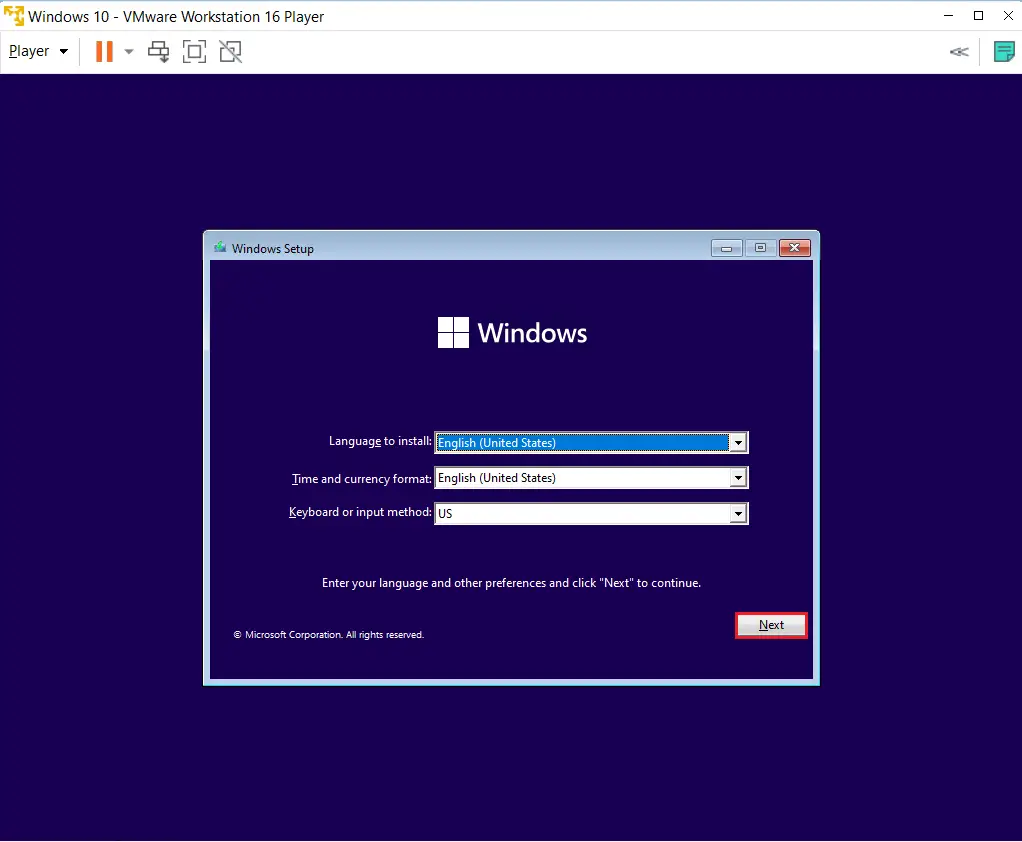
Select the OS language to install (Time, currency, and Keyboard) type and then click Next.
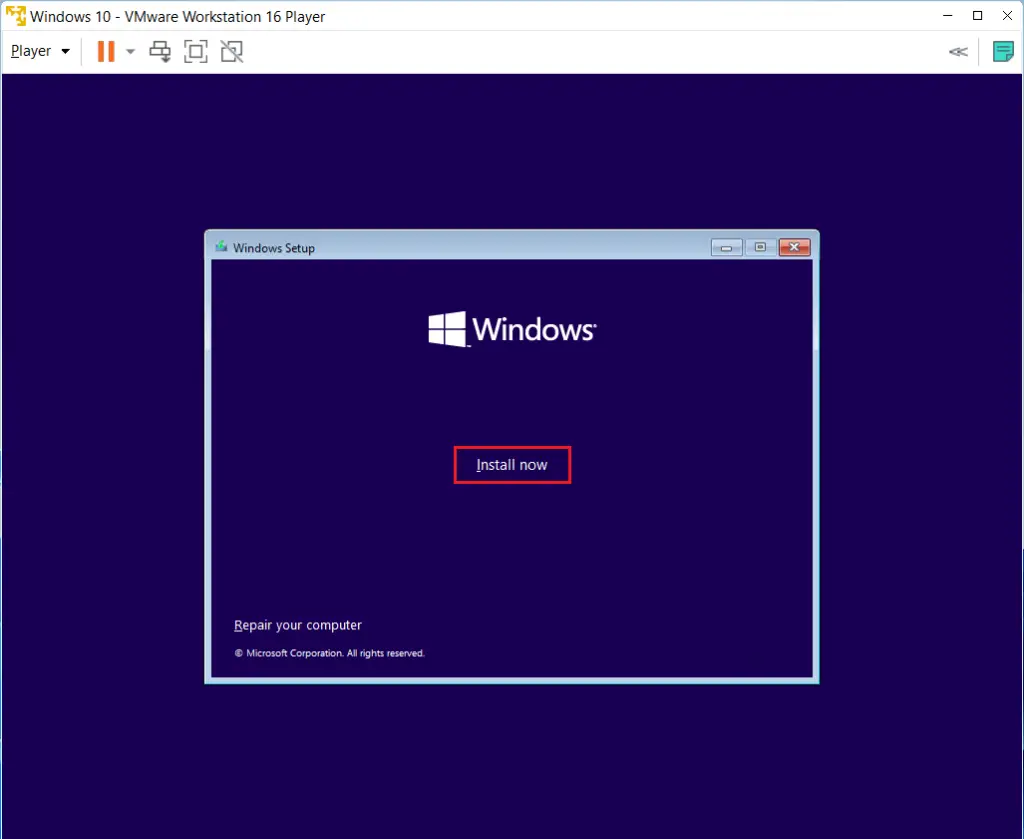
Press the Install button.
Skip this step by selecting I don’t have a product key link.

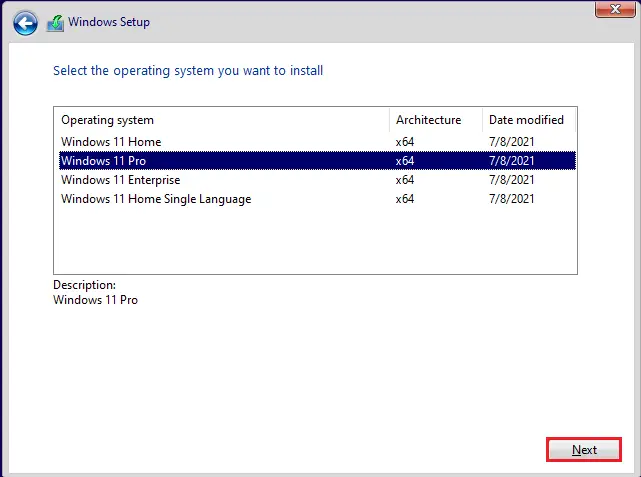
Select the operating system and then click next.
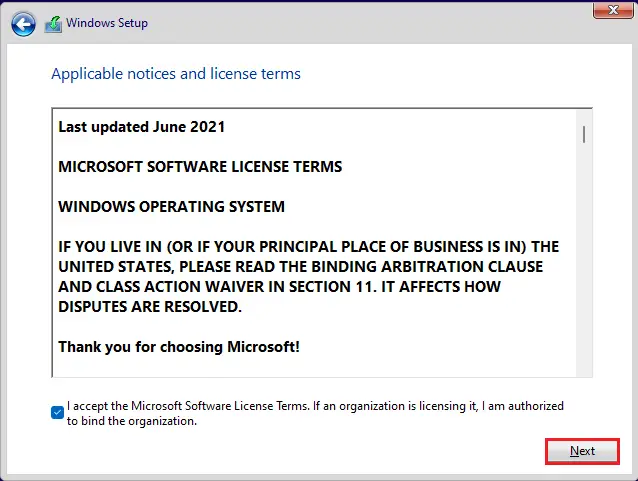
Accept the Microsoft license and click next.
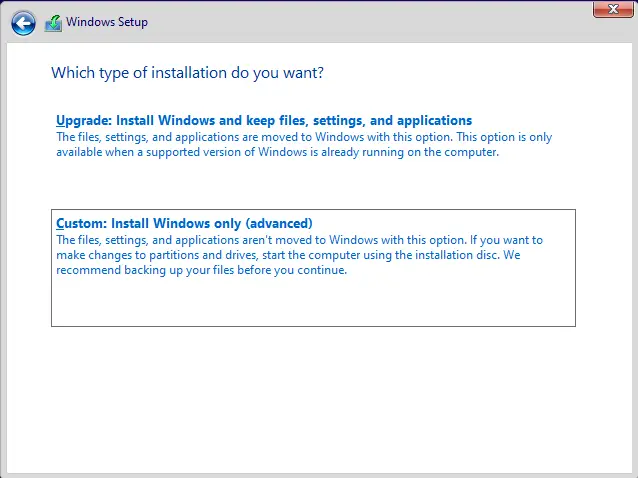
Custom: Install Windows only (advanced) option.
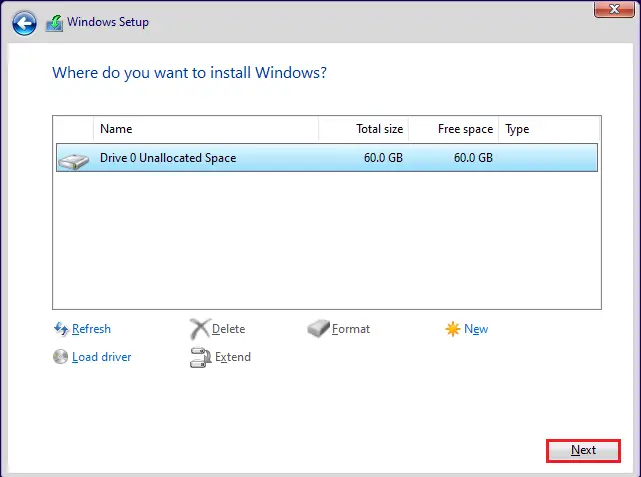
Drive 0 Unallocated space, click next.
Now, the Windows installation process started.

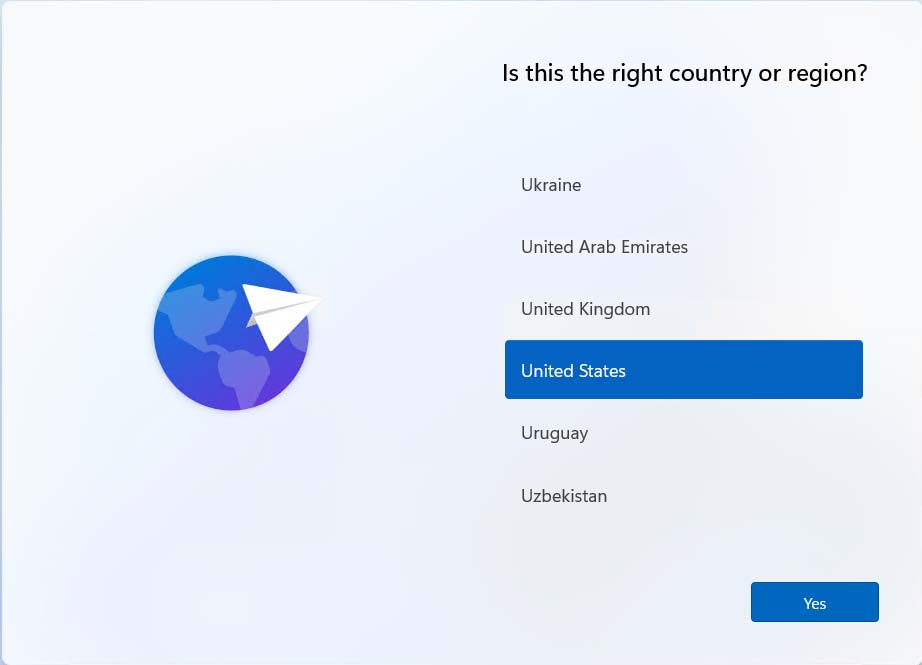
Now after restarting the PC, select your Region and then click on YES.
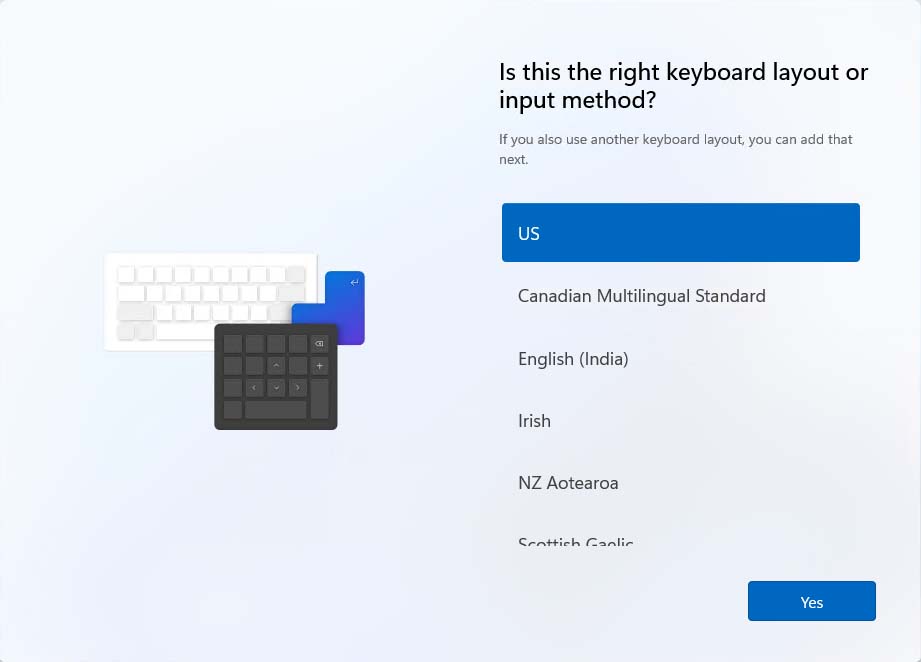
The Keyboard layout, select the US and select yes.
Skip the second keyboard layout.
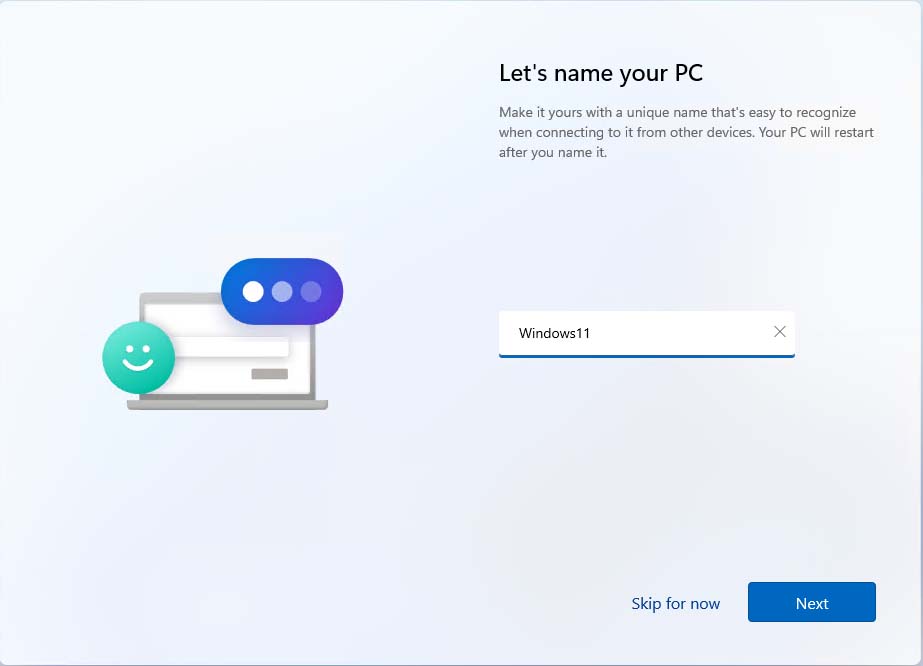
Type your virtual machine and then click Next.
Now select Set up for personal use.
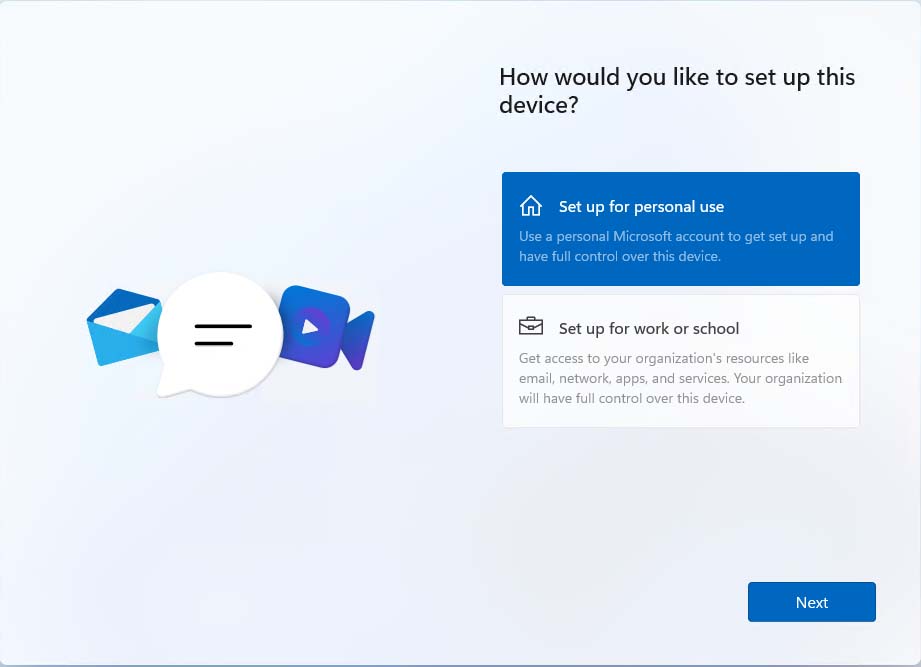
And then log in to your Microsoft account and then select Next.
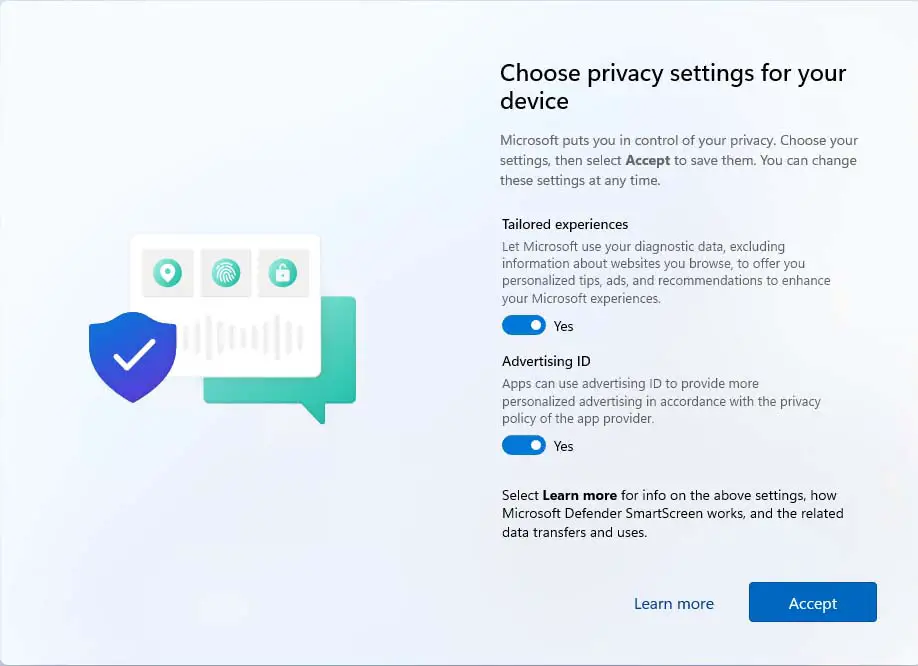
Accept Windows 11 privacy settings.
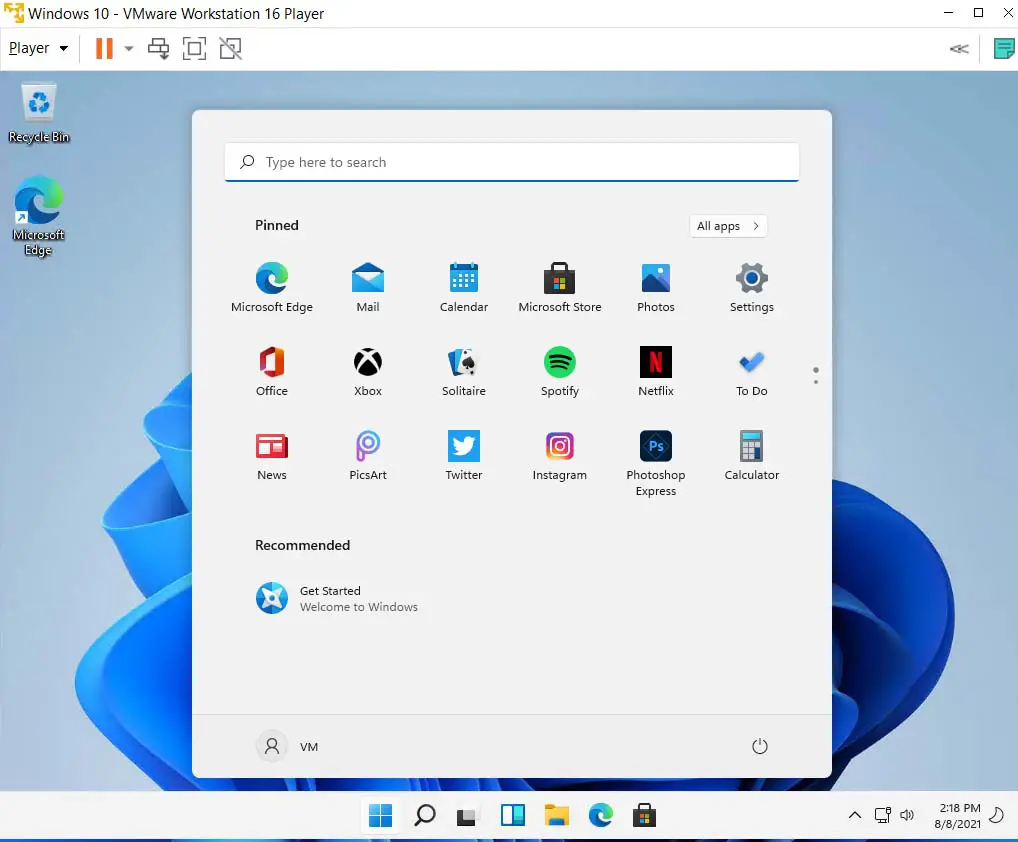
Now you have successfully installed Windows 11 on a virtual machine using VMware Player.
Install VMware Tools
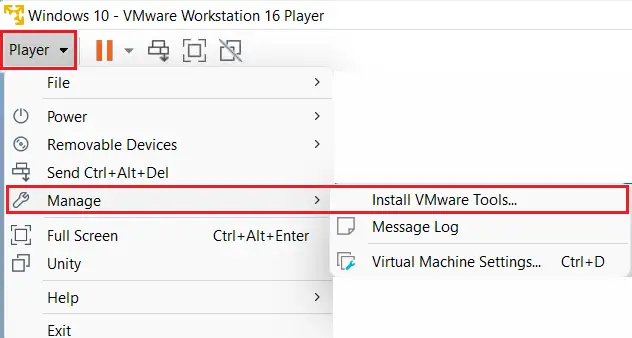
Click on the Player menu, select Manage and then click the Install VMware Tools.
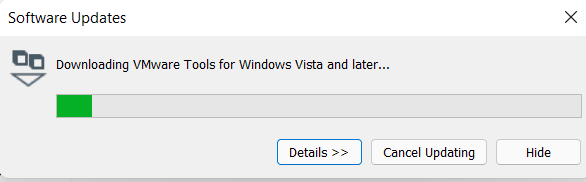
VMware Tools for a virtual machine, select Download and install.

Downloading VMware Tools for Windows.
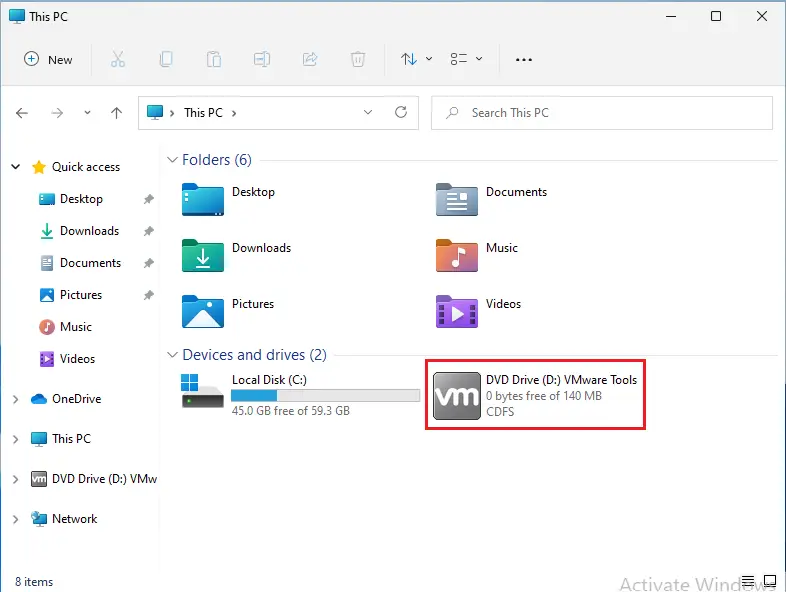
Open This PC, double click on the VMware Tools inserted DVD.
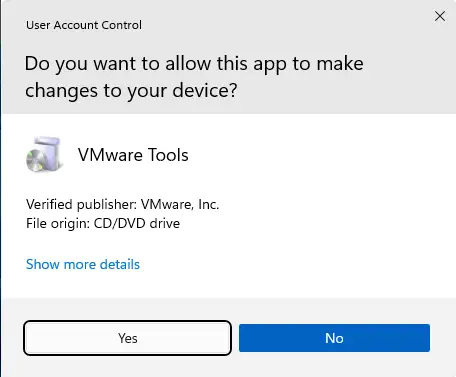
VMware Tools verified publisher, click yes.
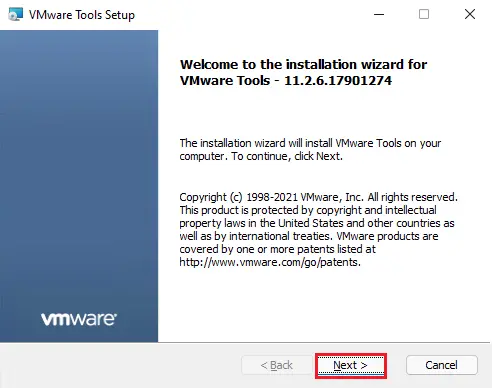
Installation wizard for VMware tools, click next.
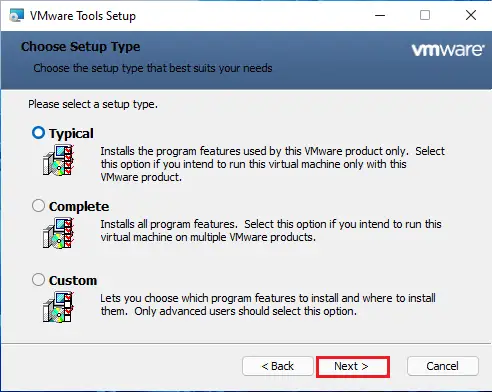
VMware Tools setup, click next.
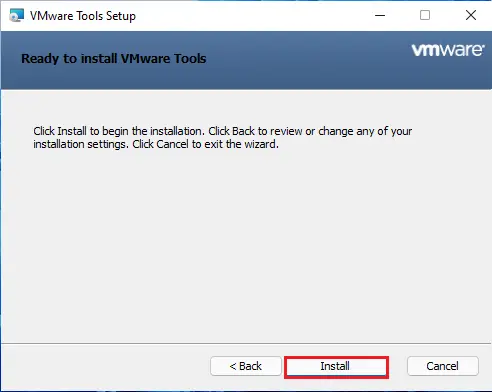
Ready to install VMware tools, select install.
Select finish.
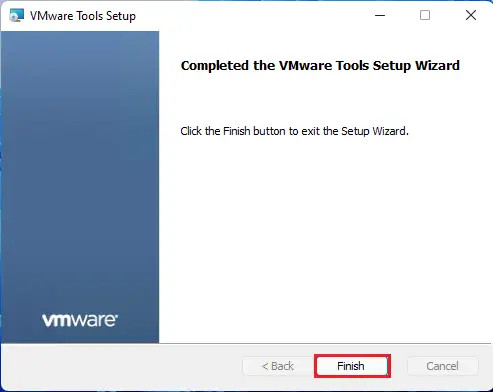
Restart required.