
Installing and Configuring target iSCSI server in Windows Server 2012
Installing and Configuring Target iSCSI Server 2012
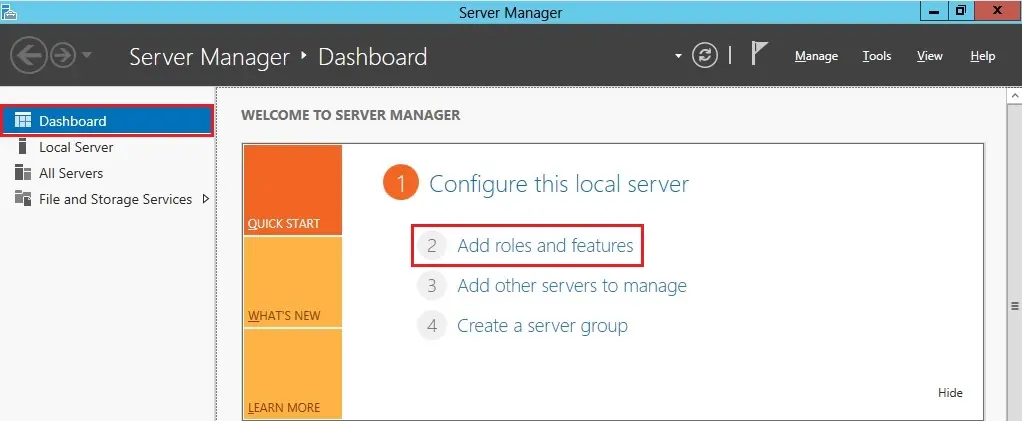
1- Open Server Manager, click Dashboard and then select Add Roles and features.
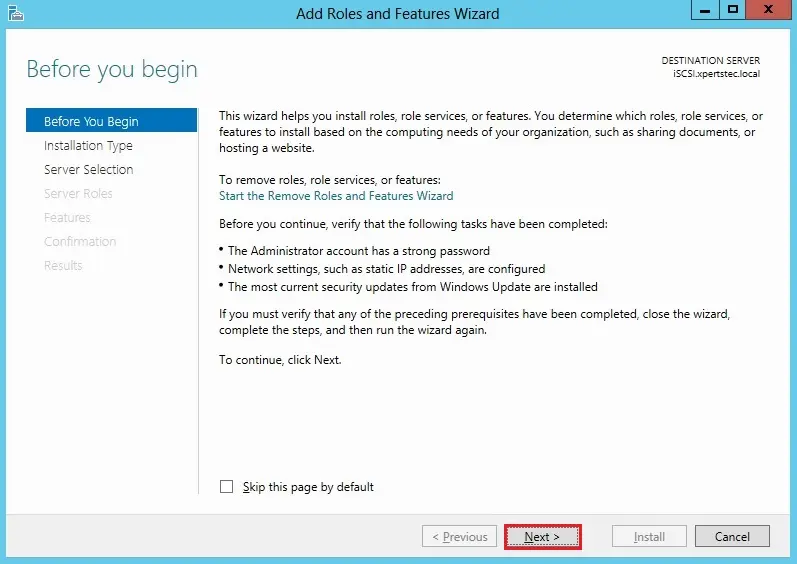
2- Click Next.
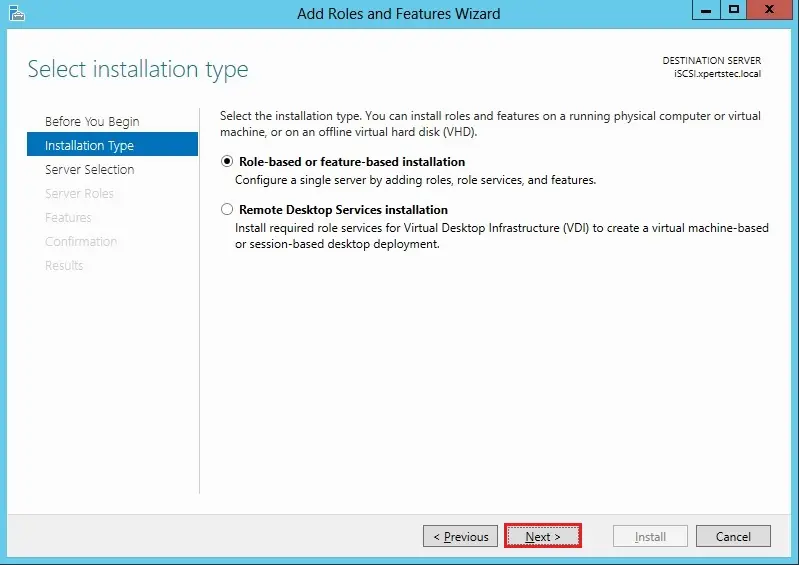
3- Select the Role-based or feature-based installation and then click on the Next button.
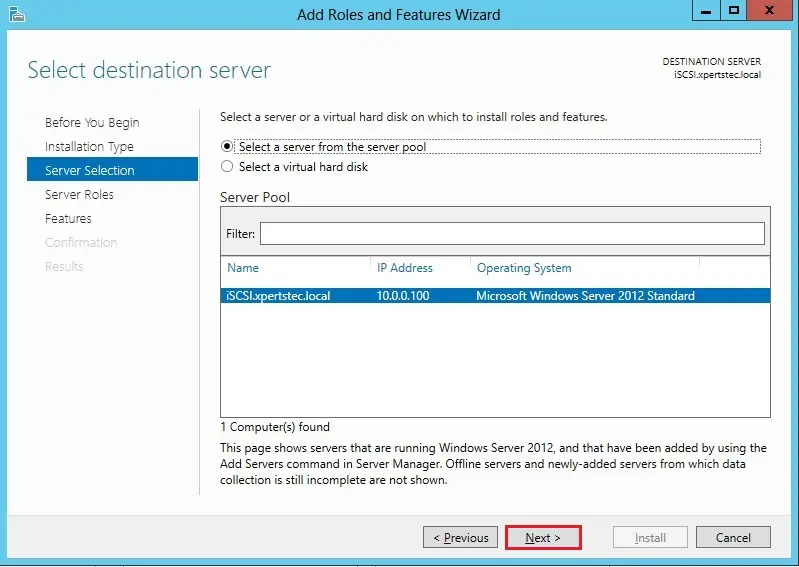
4- Select a server from the server pool and then click on next.
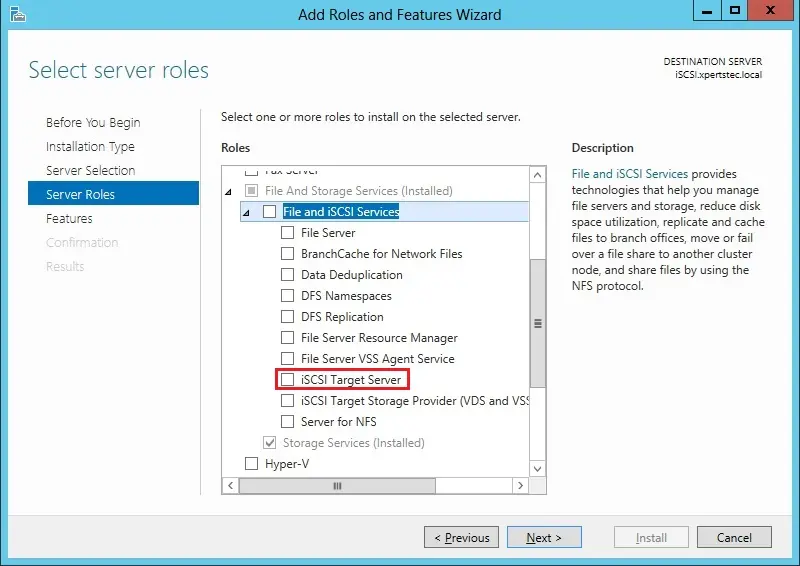
5- Select the iSCSI Target Server box.
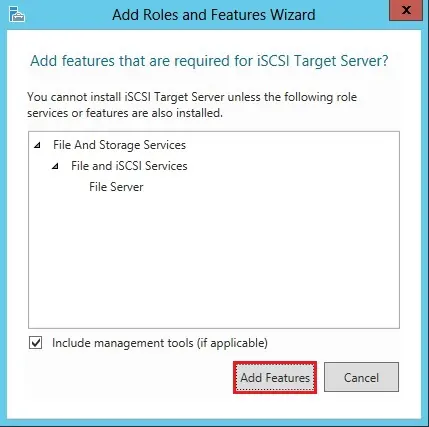
6- Click Add Features.
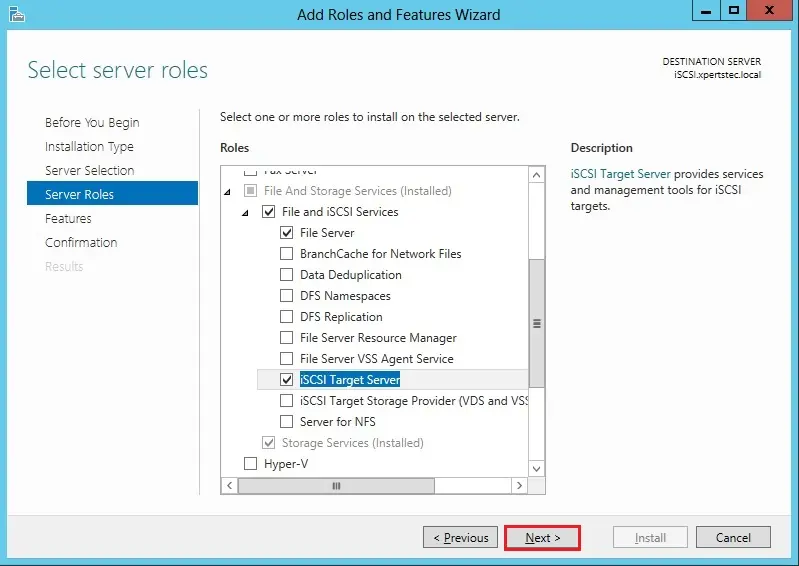
7- After Selecting the iSCSI target server feature and then click next.
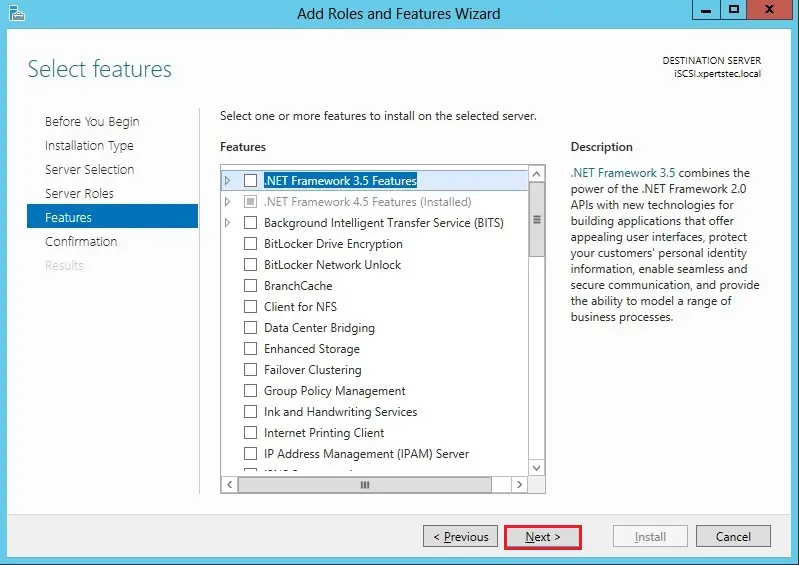
8- Click Next.
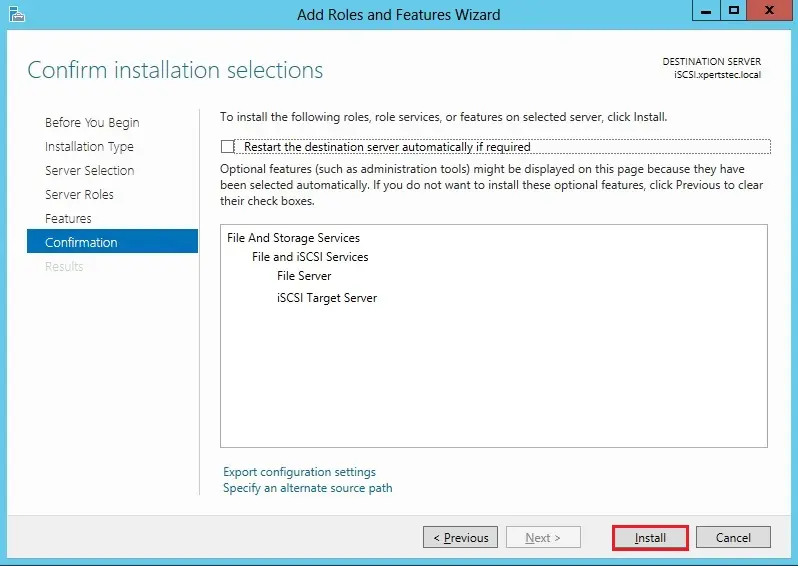
9- Click Install.
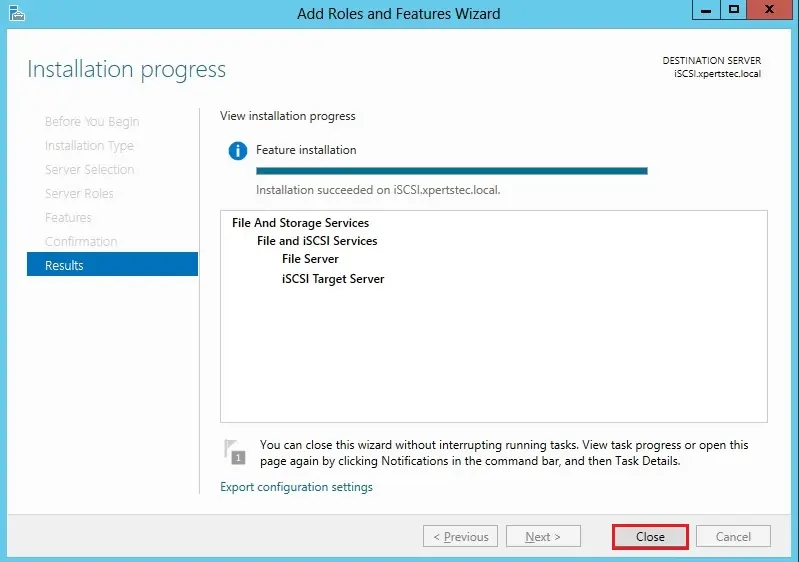
10- iSCSI services successfully installed, so click Close.
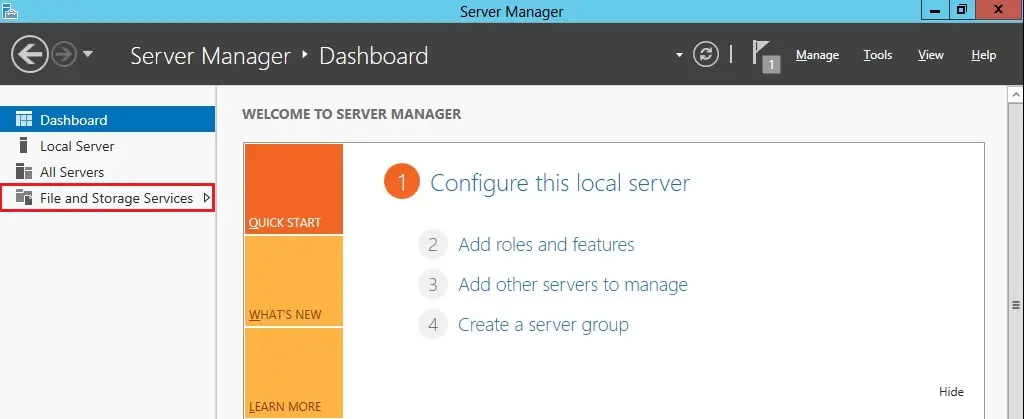
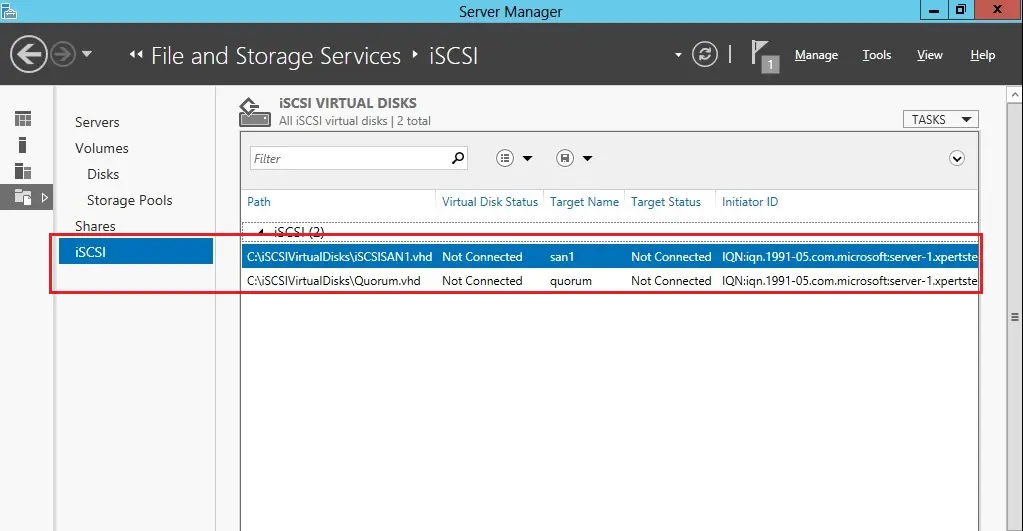
11- Open Server Manager and then click File and Storage Services.
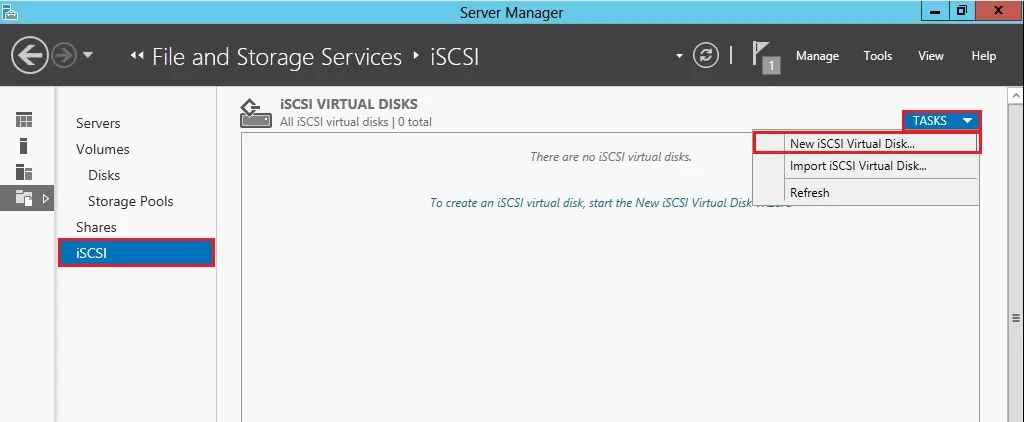
12- Click iSCSI and under iSCSI Virtual Disks click Tasks and then click New iSCSI Virtual Disk.
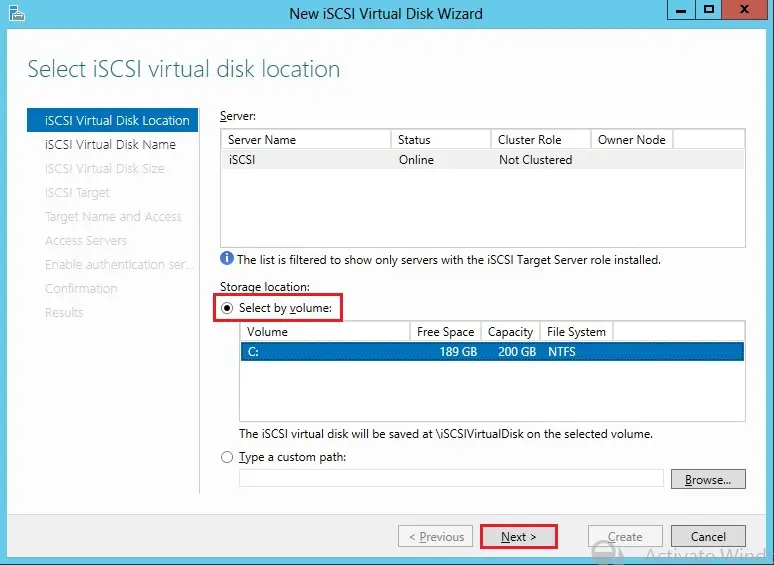
13- Select a volume and click next.
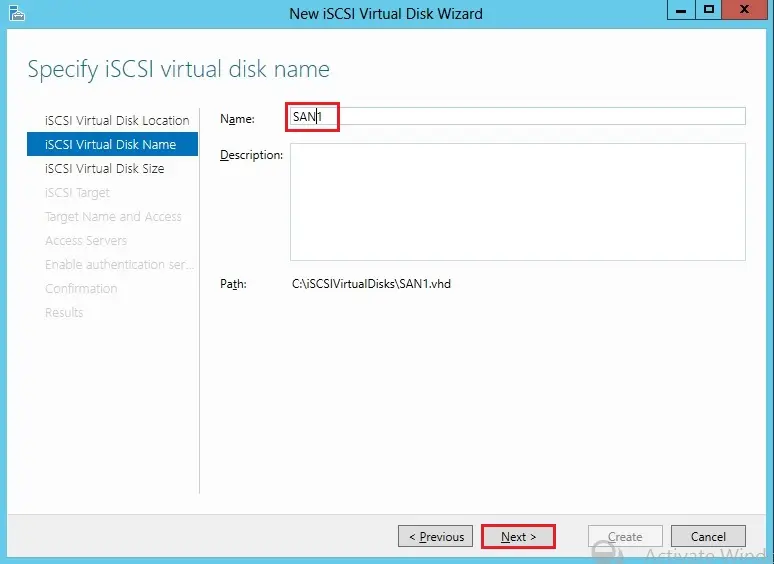
14- Type an iSCSI virtual disk name and click next.
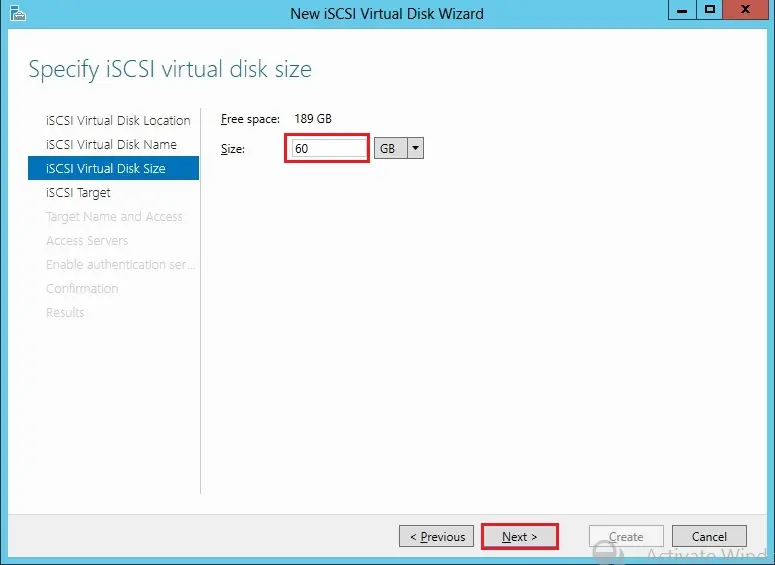
15- Select a Size for the disk in GB and click next.
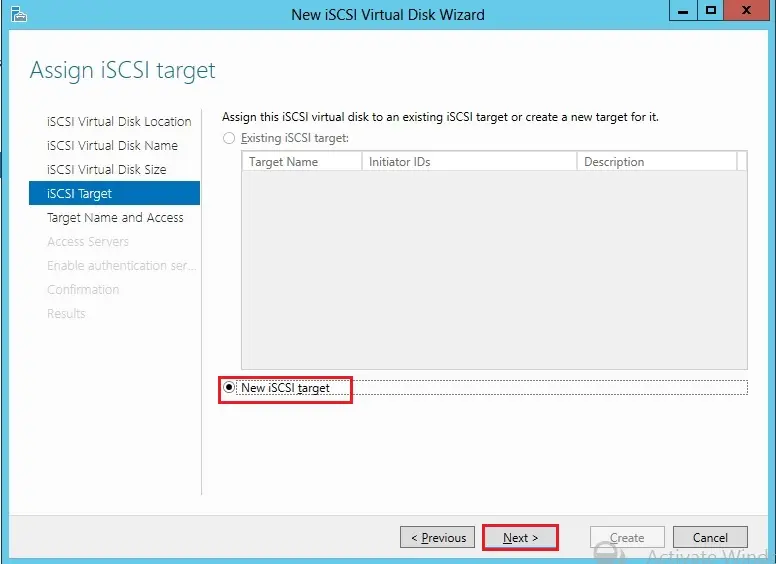
16- Select New iSCSI target and click next.
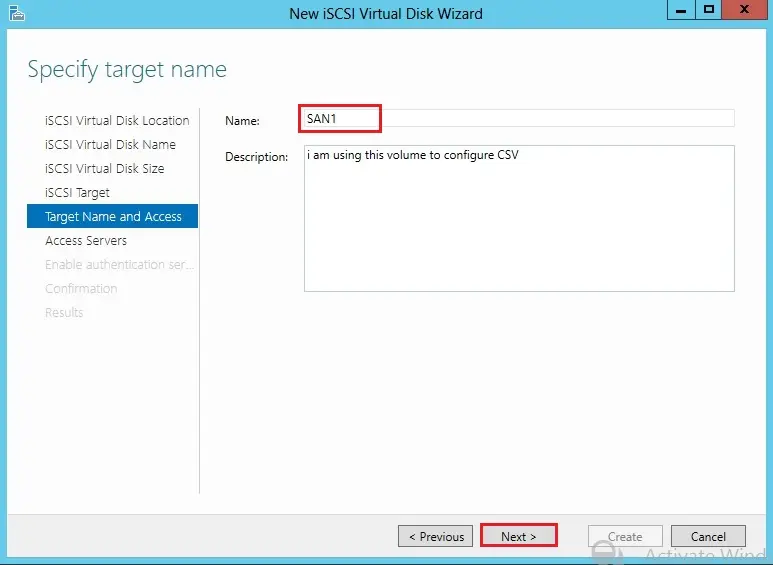
17- Target servers will identify the disk with this Name, so Type a Name, description and click next.
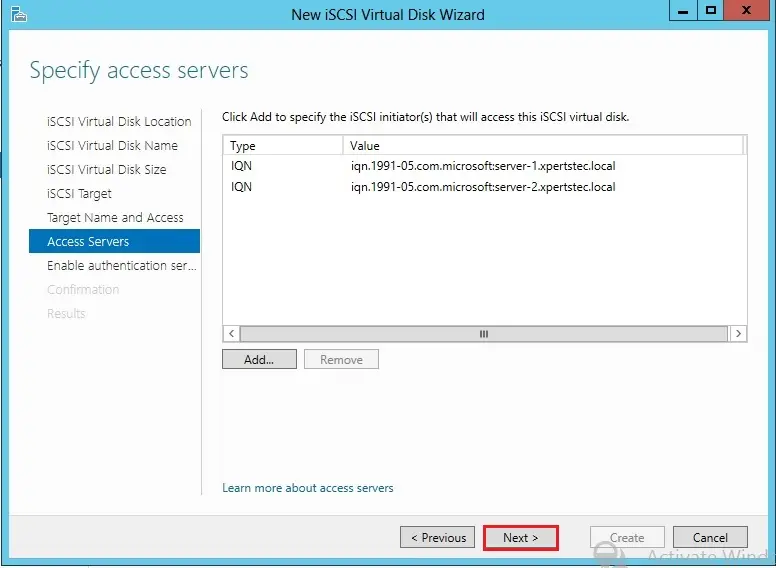
18- Click Add we need to Add all the Servers which will be accessing this disk.
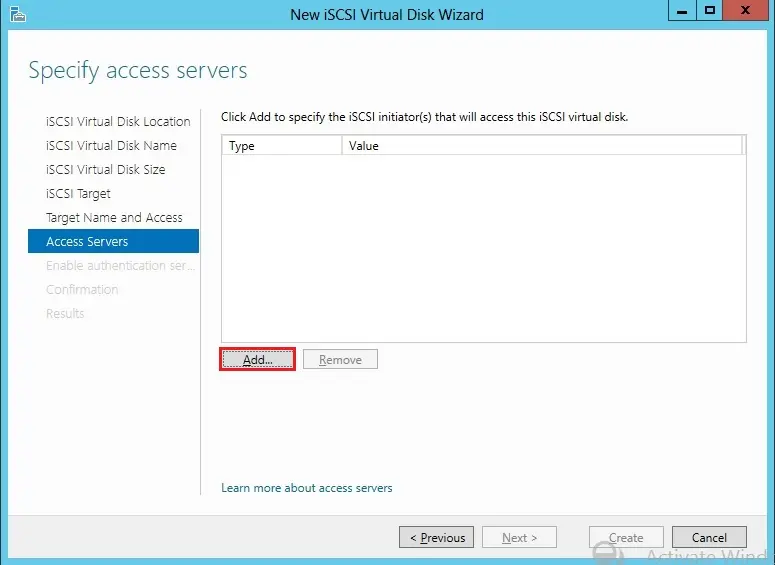
Note: Make sure on the target server you have enabled the iSCSI initiator service.
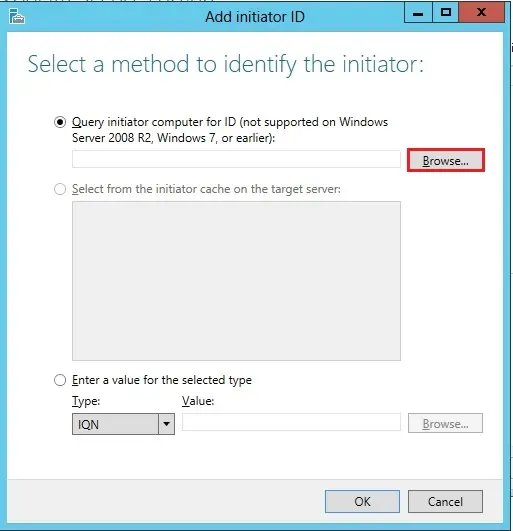
19- Click the Browse button.
20- Type a node server name, select check names and click ok.
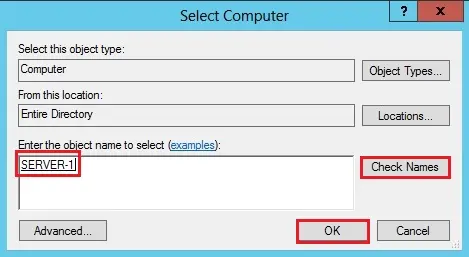
21- Add all the server you want the disk to have access, I have added both the servers (Server-1 and Server-2) and click next.
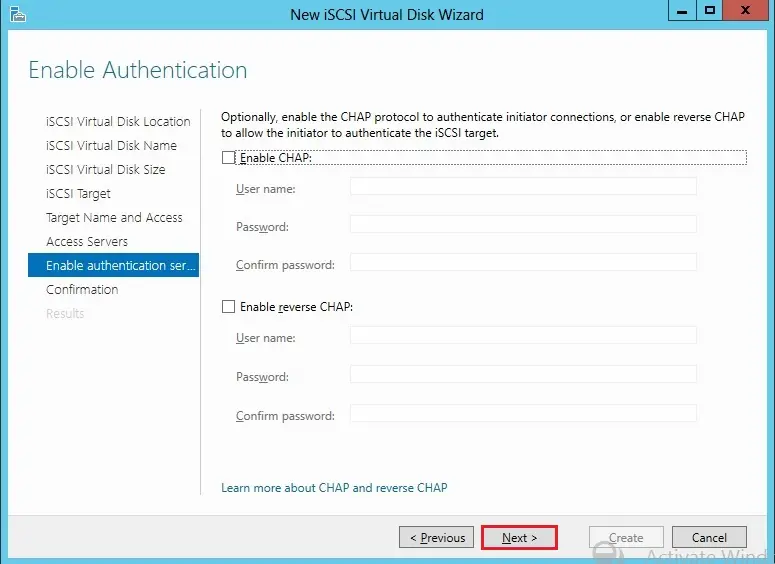
22- Enable any authentication if you need and click next.
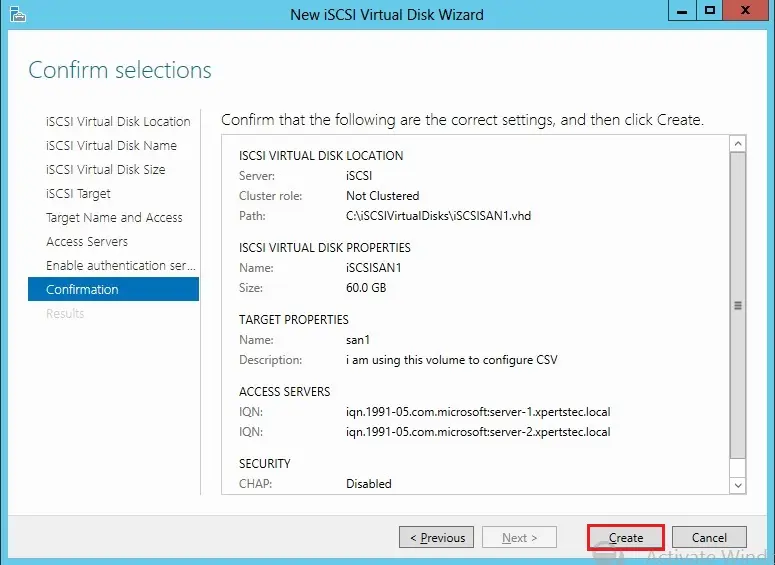
23- Confirm the iSCSI virtual disk settings and click Create.
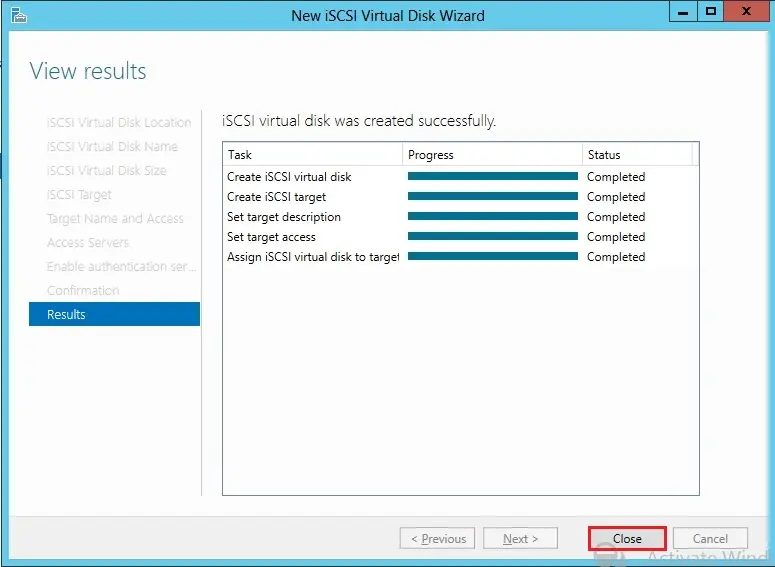
24- Virtual Disk created successfully, click Close.
25- Please follow the above steps from (1 to 24) to add one more disk name Quorum.
For more details click here
No Comments
You actually make it seem really easy along with your presentation but I find this matter to be really one thing which I feel I would by no means understand. It sort of feels too complex and extremely extensive for me. I’m having a look forward for your subsequent post, I¦ll try to get the hang of it!