
How to create a Failover Cluster in Windows Server 2012 step by step.
In this blog, we’ll configure a basic 2-node Failover Cluster Server 2012, where we’ve two servers (Server2012-1 and Server2012-2) running Windows Server 2012 and Windows Server 2012 Active Directory Domain controller (Server2012-DC). It also assumes that Server2012-1 and Server2012-2 will communicate with one another over two network connections, I even have labeled Ethernet and Private
Failover Cluster Server 2012
Add the Failover Clustering feature on both of the servers you would like to feature to the cluster.
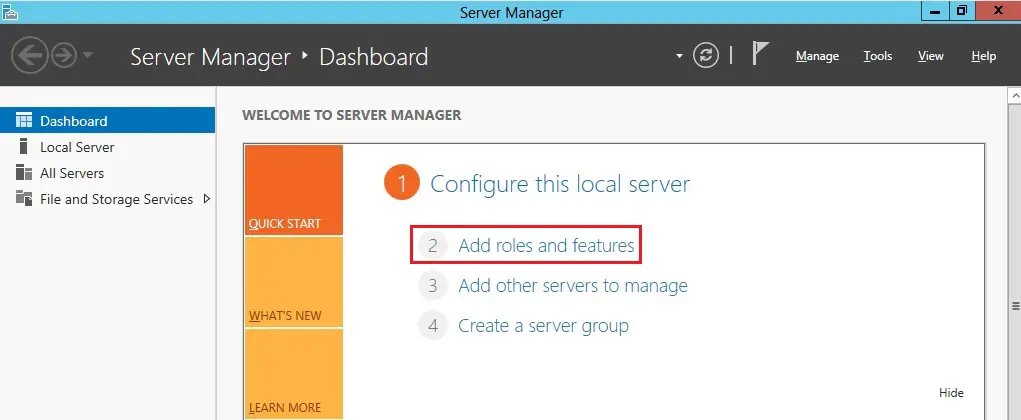
1- Open the Server Manager Dashboard and choose Add roles and features. (You got to add failover cluster feature to completed on both Server2012-1 and Server2012-2).
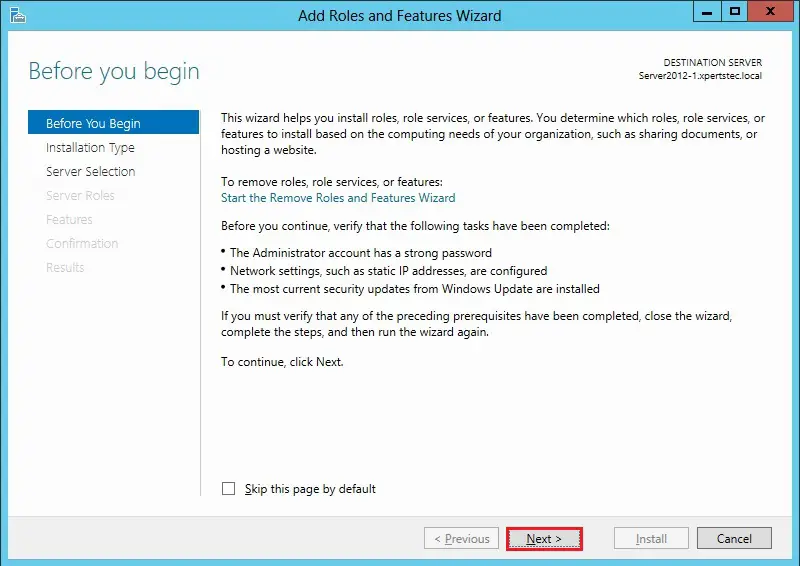
2- Click Next.
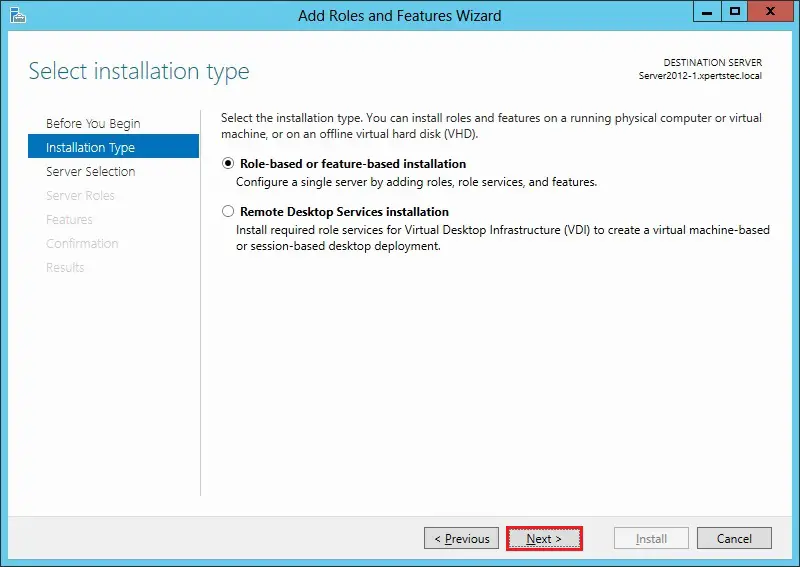
3- Select the role-based or feature-based installation and click on next.
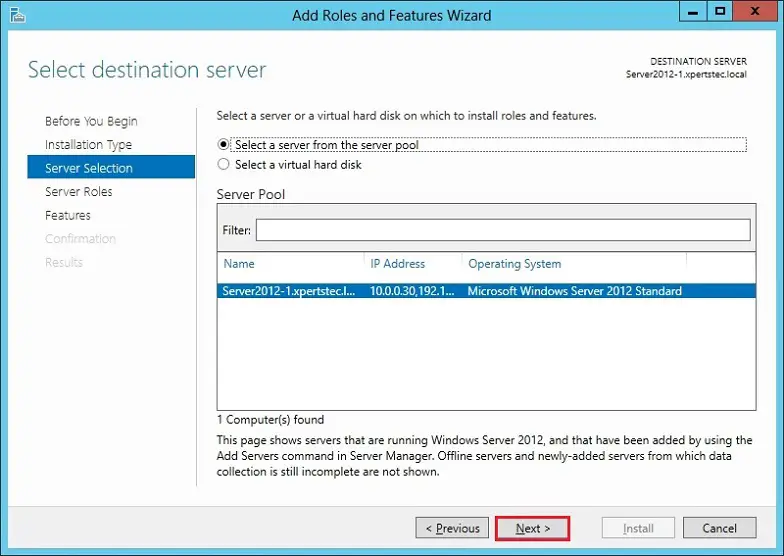
4- Select a server from the server pool on which you would like to enable the failover cluster feature and click on next.
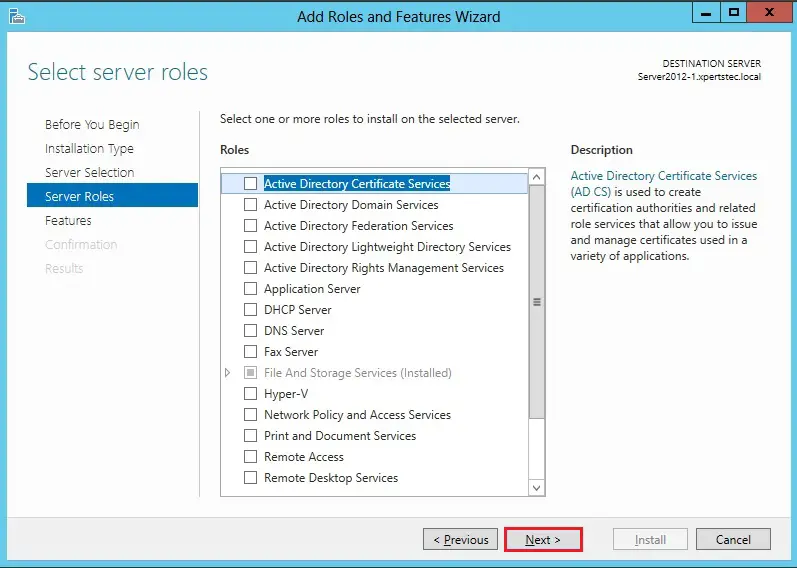
5- Server roles page, click next.
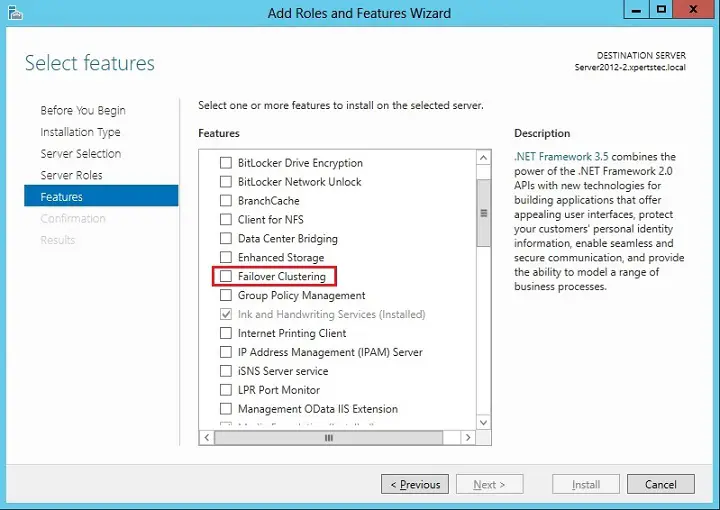
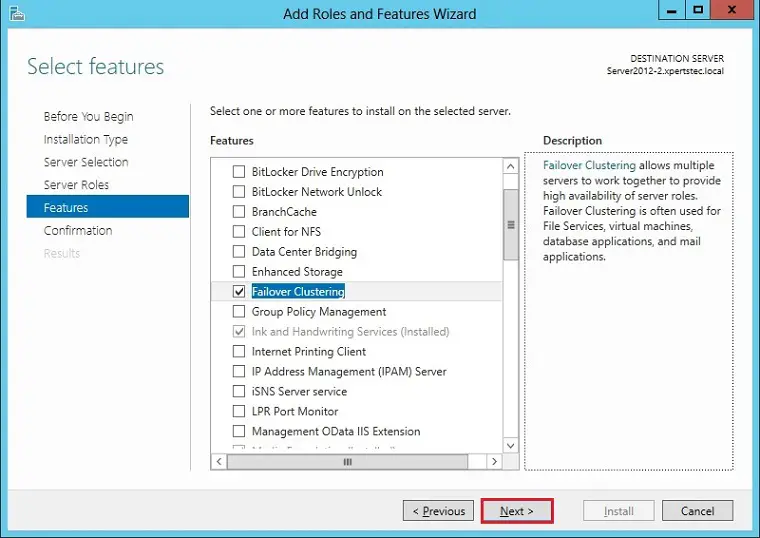
6- On the features, page select the Failover Clustering box.
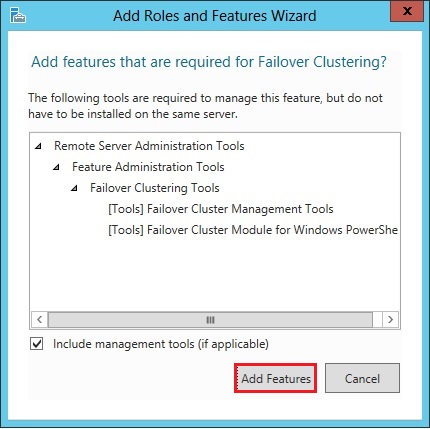
7- Select the Add feature button the feature required for the Cluster.
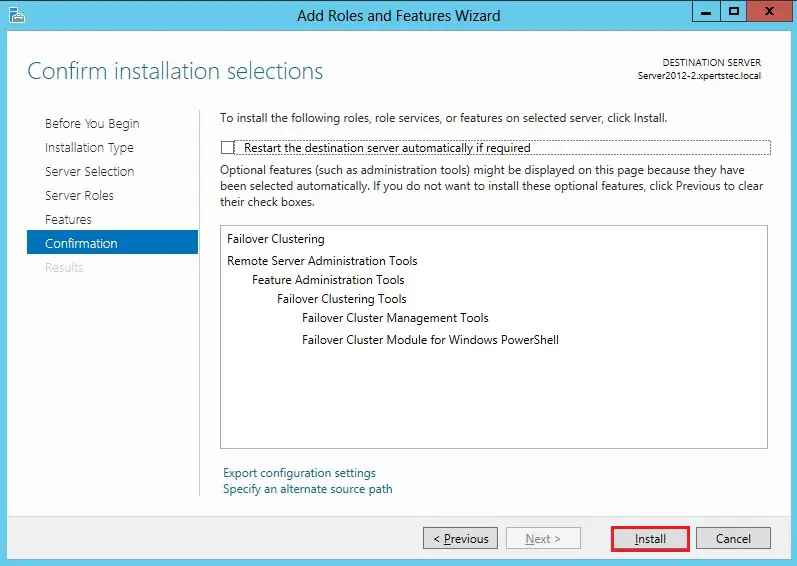
8- After adding Failover Cluster Server 2012 features, click next.
9- Click the Install button to start out the failover cluster installation.
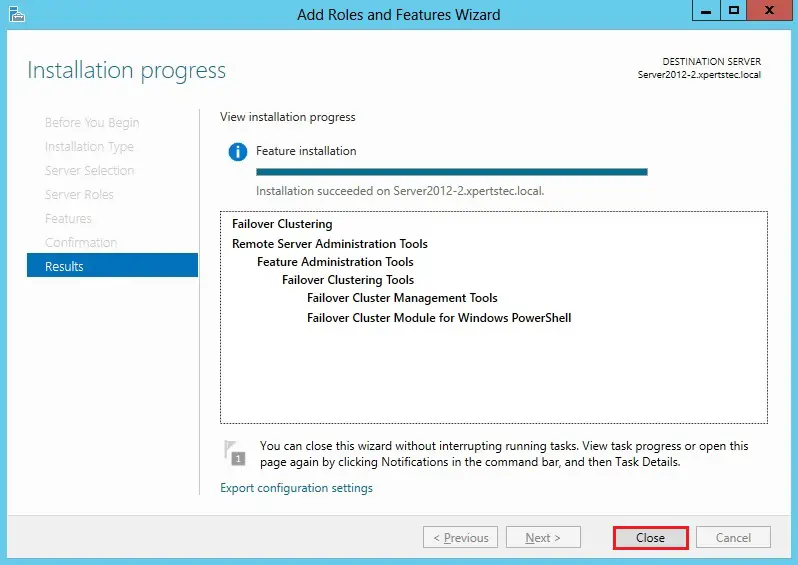
10- Windows server 2012 cluster role successfully Installed, click Close.
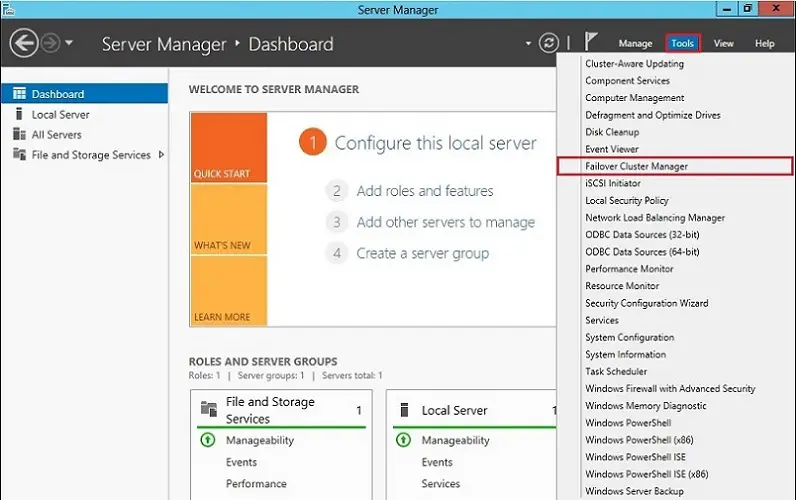
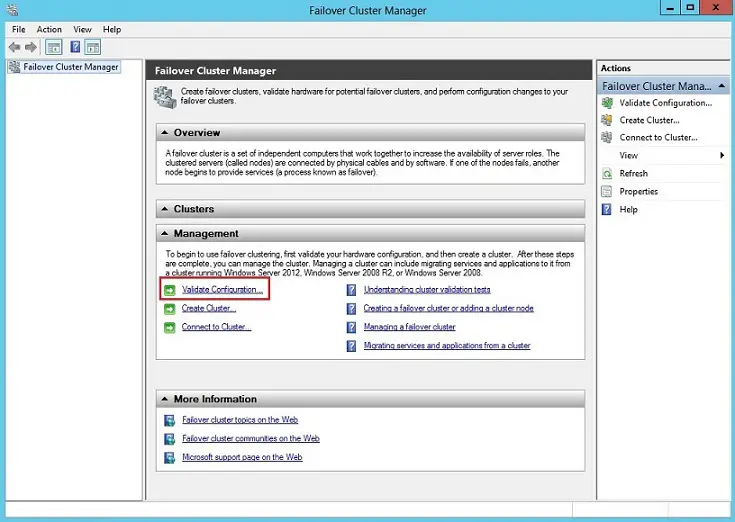
11- After enabling Failover Cluster on both servers (Server2012-1 and Server2012-2), on your Server2012-1 open server manager, select tools and choose Failover Cluster Manager.
Failover Cluster Validation Configuration
12- After opening the Failover Cluster Manager under management-click on Validate Configuration option.
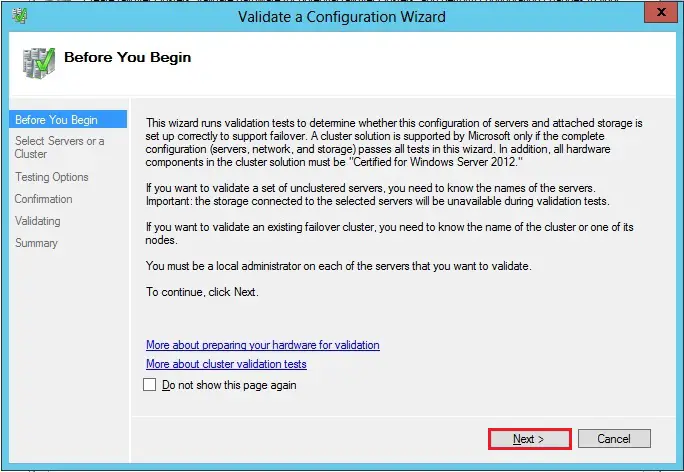
13- Cluster validate a configuration wizard windows will pop up, click next.
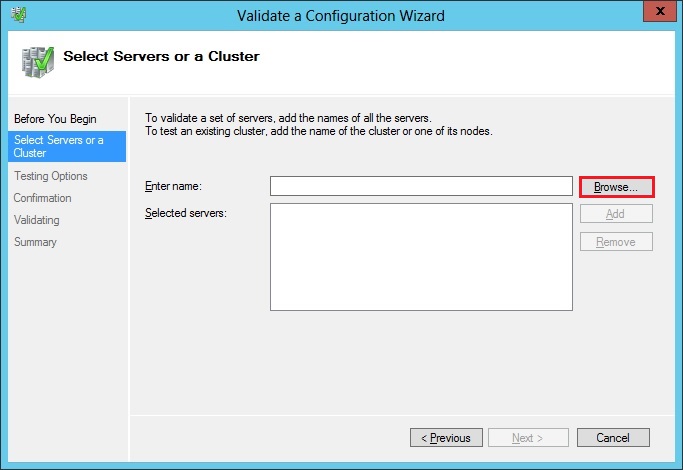
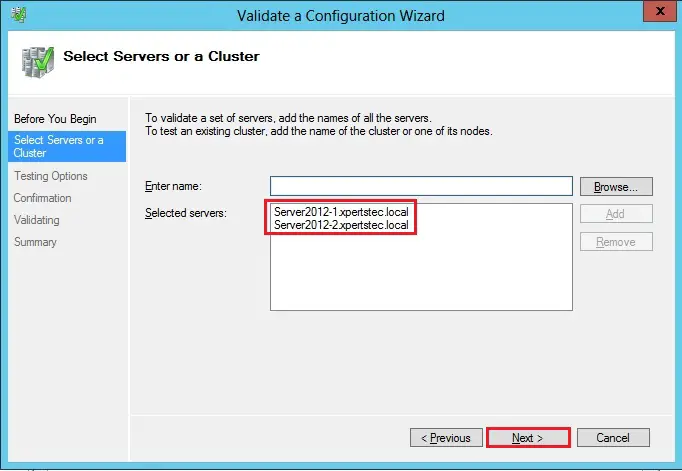
14- Select servers or cluster options and click on the Browse button.
15- Select the servers you would like to cluster, in my setup I selected (Server2012-1 and Server2012-2) and click on ok.
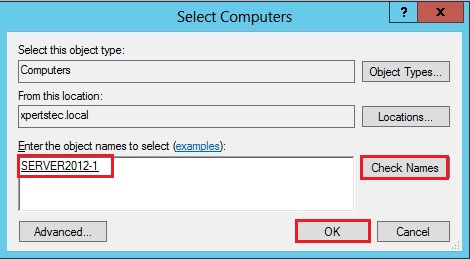
16- After selecting servers, click next.
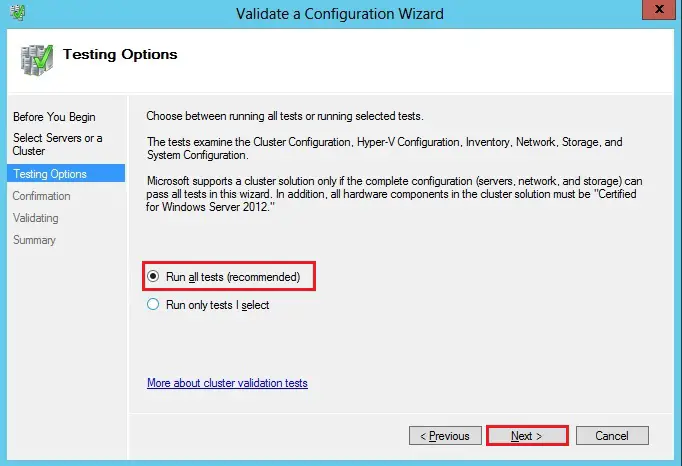
17- Select run all tests (recommended) and click on next.
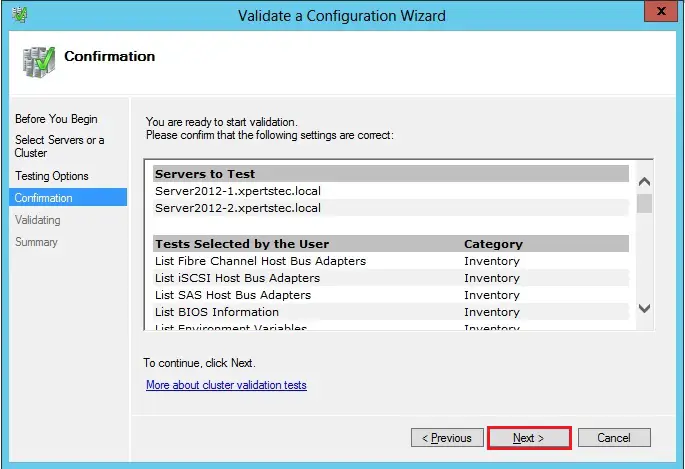
18- Failover cluster validate confirmation, click next.
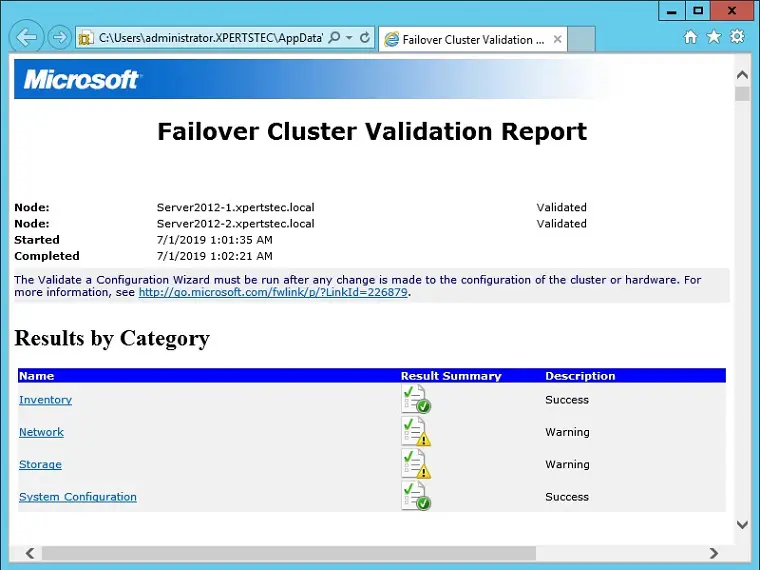
19- Failover cluster validation summary, click View Report.
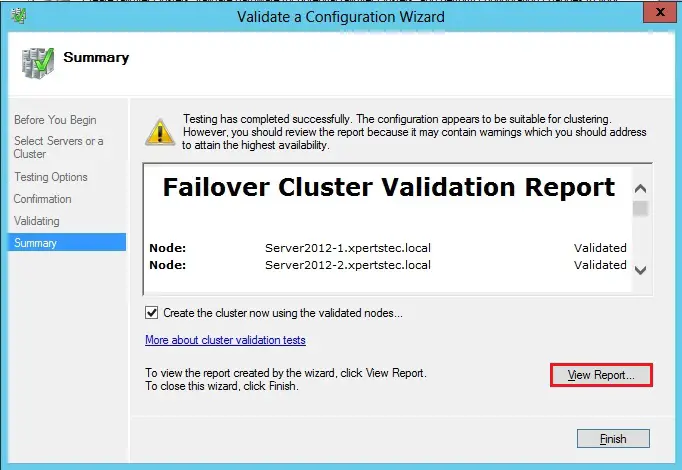
20- you’ll see all of your warnings are associated with storage, because I even have not configured any shared storage.
Failover Cluster Configuration
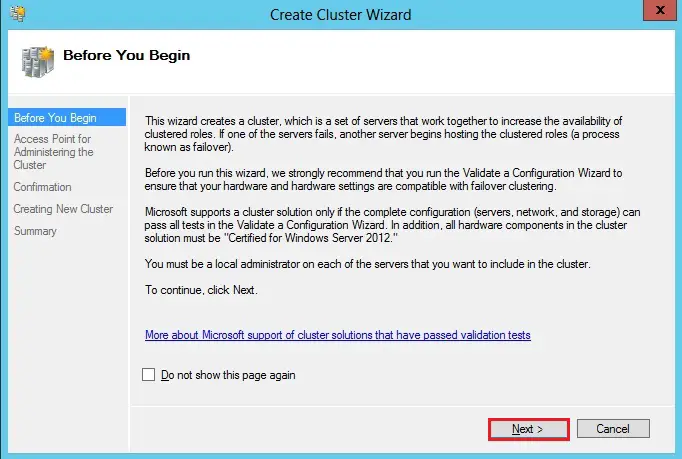
21- Once the Validation checking completed, create cluster wizard will automatically open, click next.
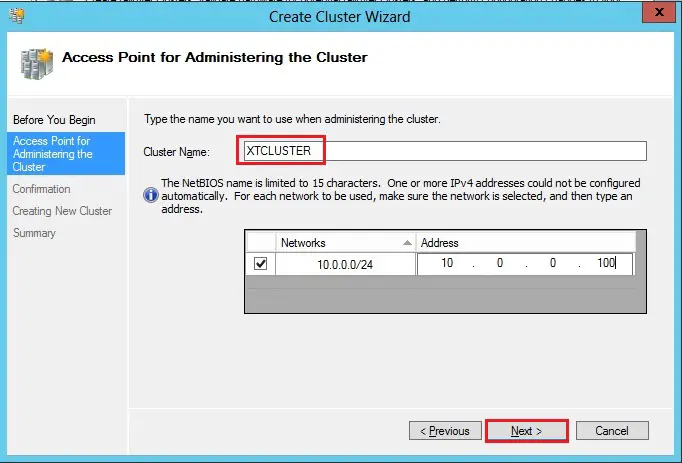
22- Type your cluster name in the cluster name option (XTCLUSTER) and pick an IP address that will be related to this name in DNS. This name is to manage your cluster Once you create this access point a replacement computer object is going to be created in AD with this name and a DNS A record are going to be created with this name and IP address and click on next.
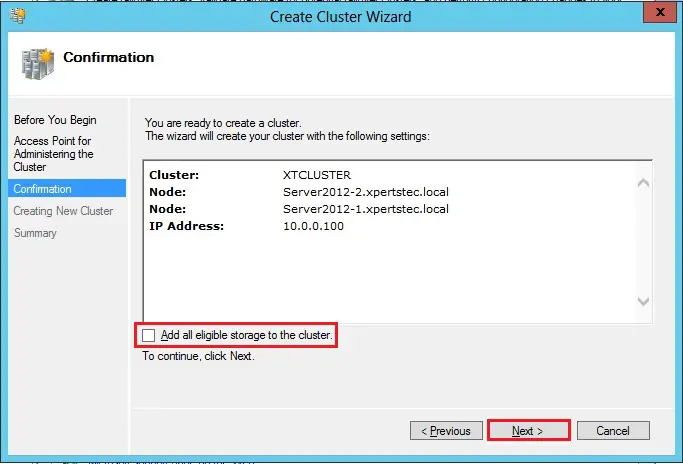
23- On the confirmation screen you’ll see the name of the cluster and two nodes and IP address you chose. Uncheck Add all eligible storage to the cluster and click on next.
24- you’ve got successfully completed the create cluster wizard, click View report back to inspect any warnings.
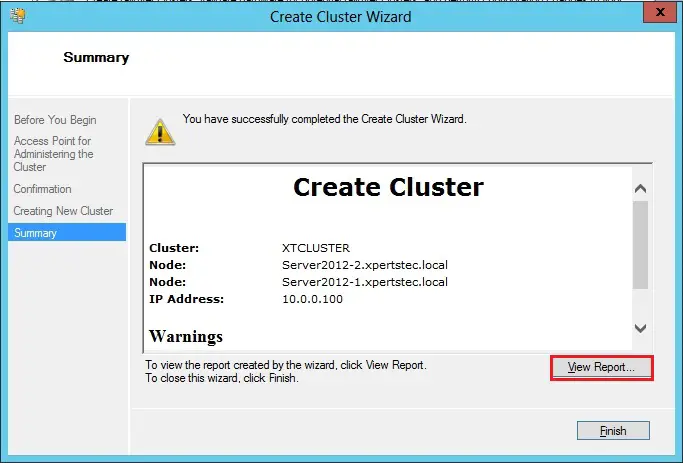
25- There could also be some warnings. In my case, the warnings are probably associated with the quorum configuration.
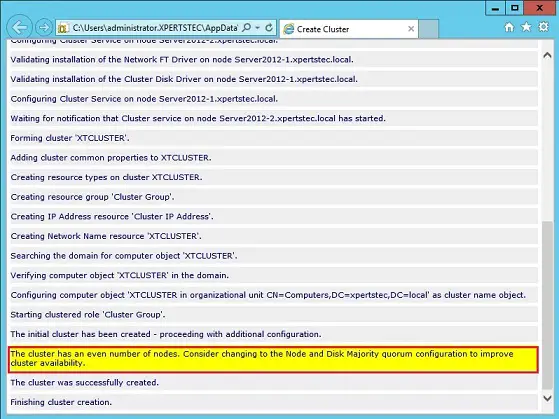
We have no shared storage; we’ll not be employing a Node and Disk Majority quorum as suggested. Instead, we’ll use and Node and File Share Majority quorum.
A File Share Witness must be configured on a server that’s not a part of the cluster. A file share witness may be a basic file share that the cluster computer name (XTCLUSTER in my step) has read/write access. I’m getting to create a file share on my Server2012-DC and provides XTCLUSTER read/write access thereto.
Configure File Share Witness
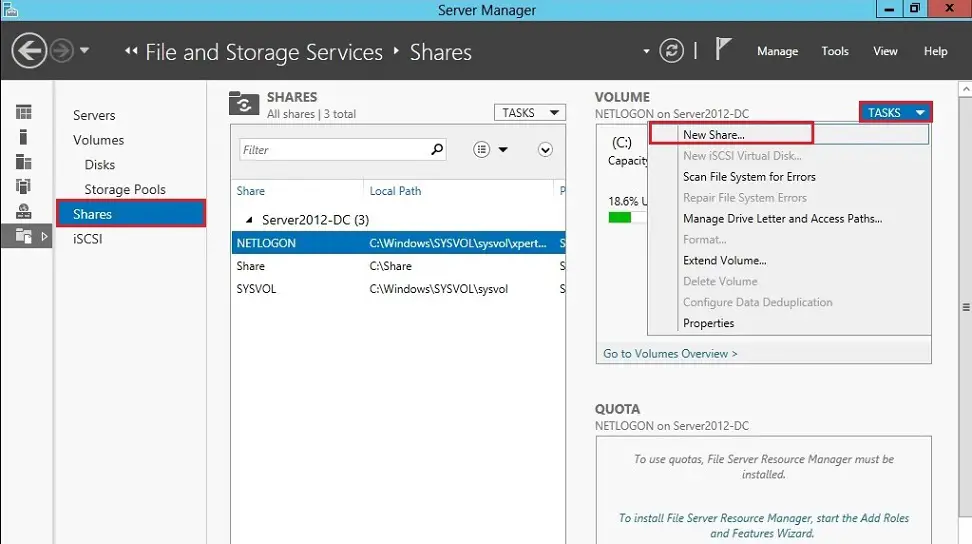
26- Open server manager in Server2012-DC, Left side select file and storage services and choose shares under volume click tasks and click on New Share.
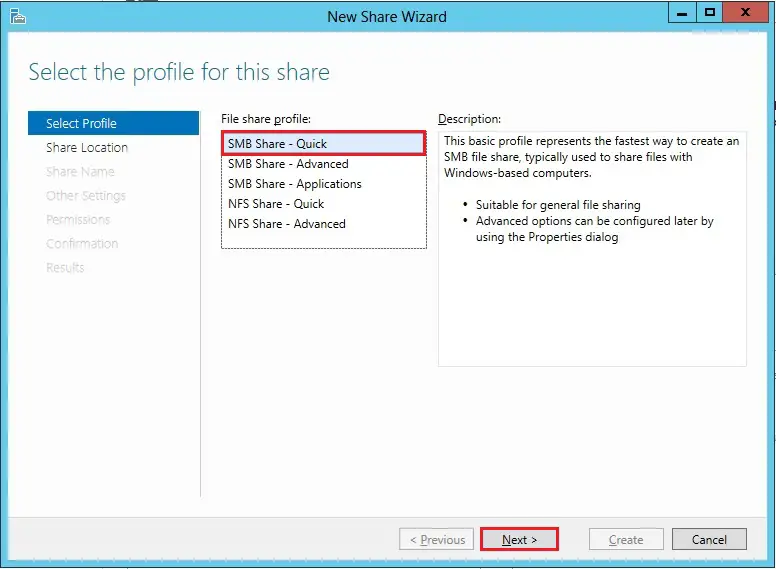
27- Select share profile SMB share quick and click on next.
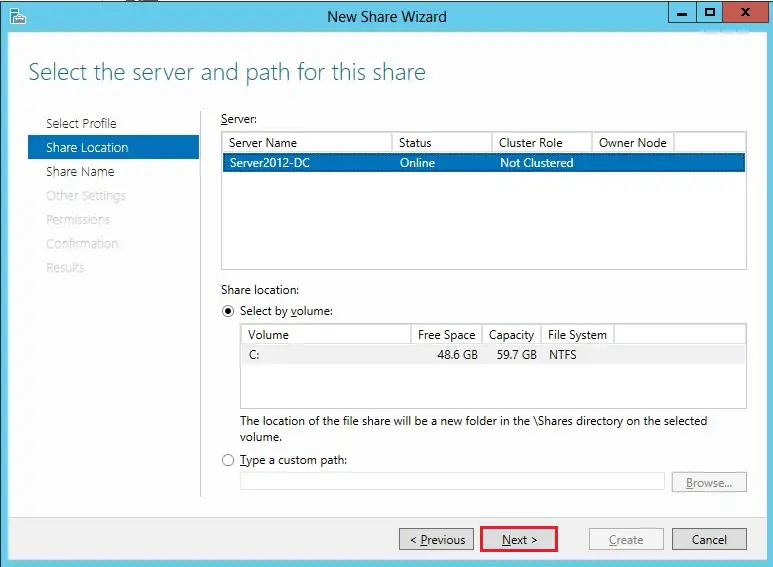
28- Select the server and path for SMB share and click on next.
29- Type-A share name and share descriptions and click on next.

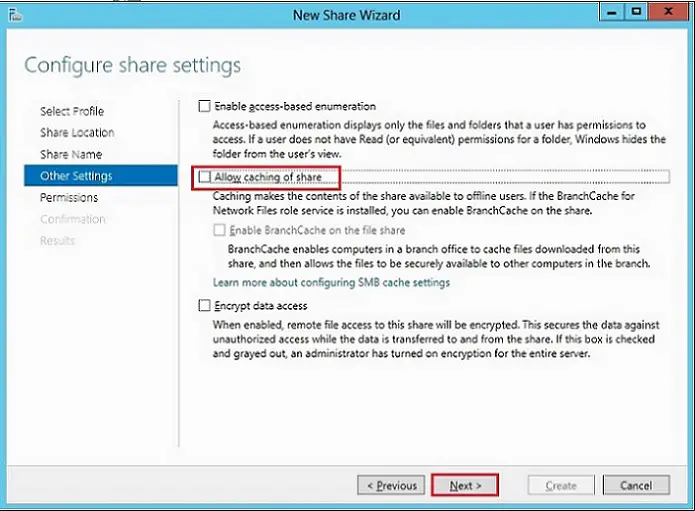
30- Under other settings, uncheck Allow caching of share and click on next.
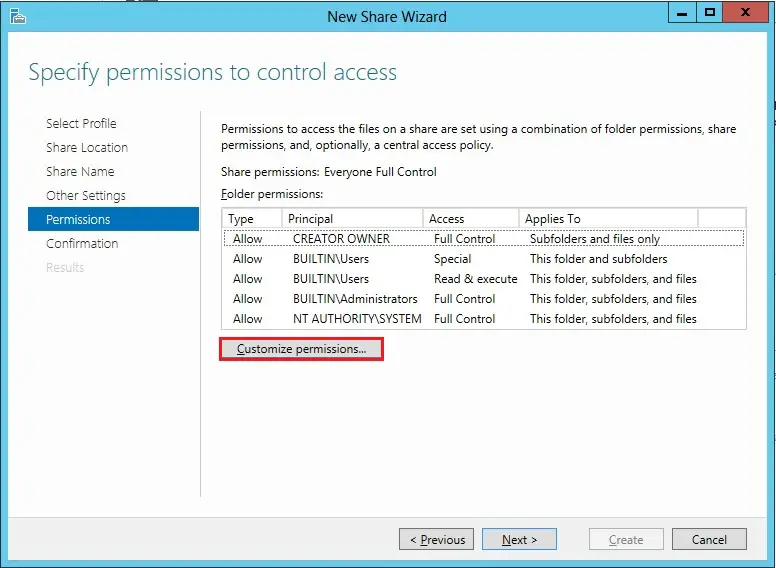
31- Specify permissions to regulate access, click on customize permissions.
File Share Permission
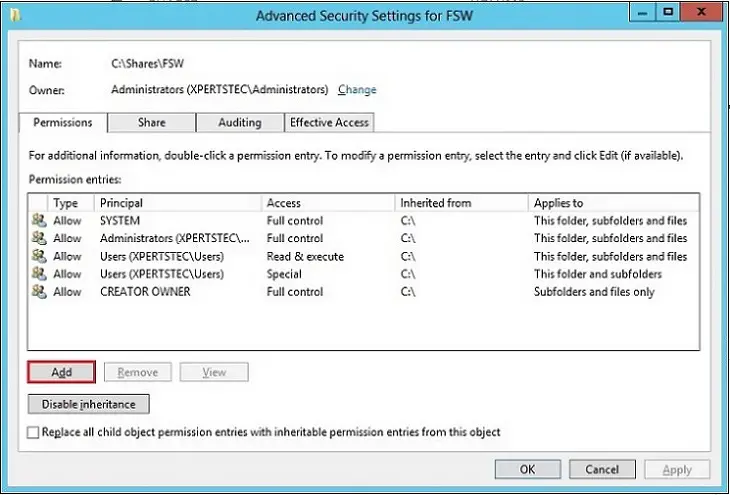
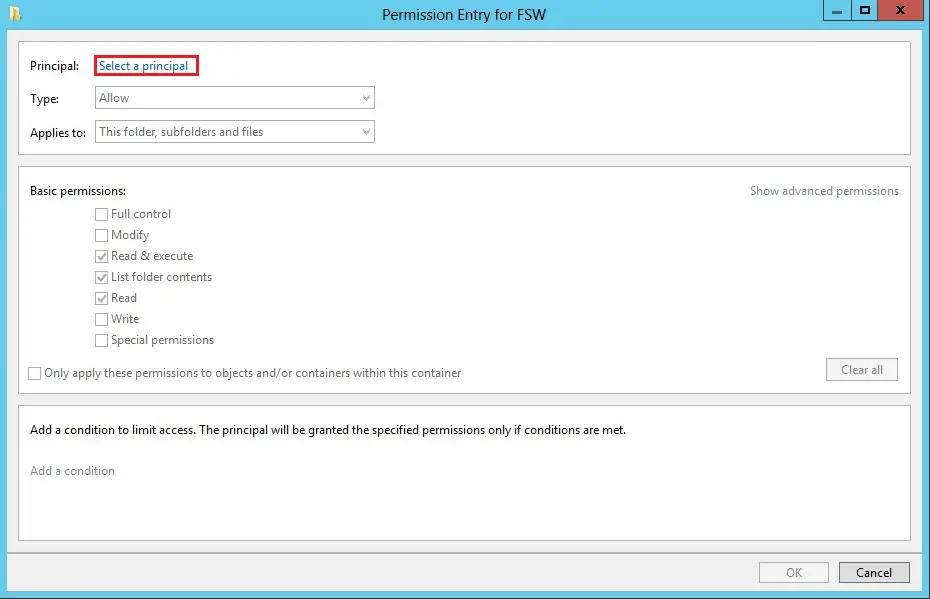
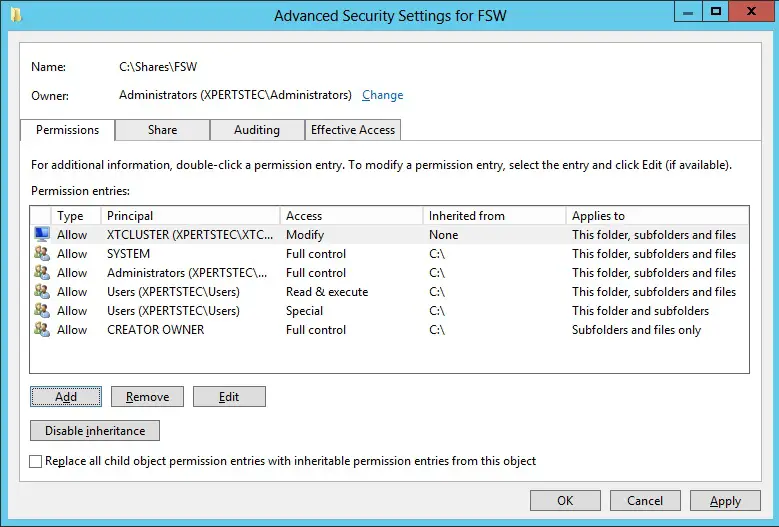
32- Advanced security settings for share (FSW), click Add button.
33- Click on Select a principal.
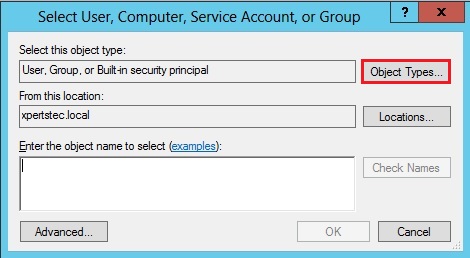
34- Select Object Types.
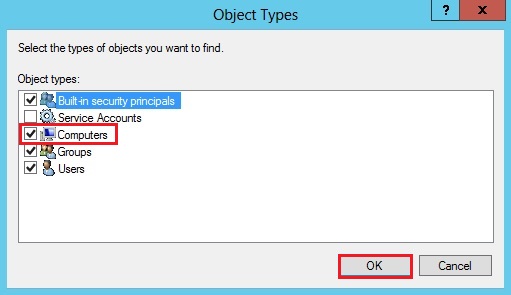
35- Check the computers box under object types and click on next.
36- Type your cluster name in my case (XTCLUSTER), click check names and click on ok.
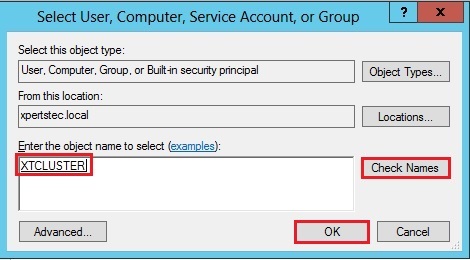
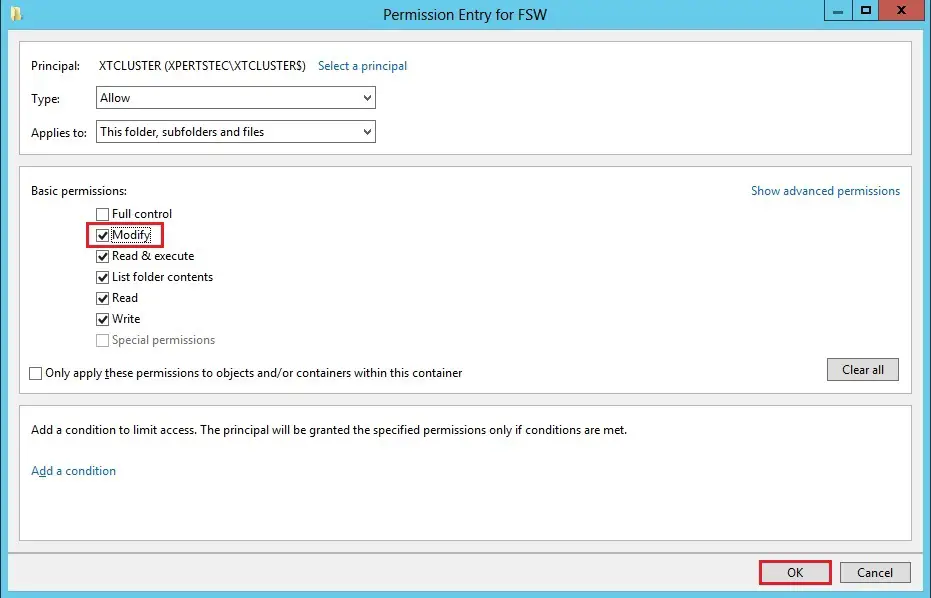
37- Under basic permissions check to Modify box and then click on ok.
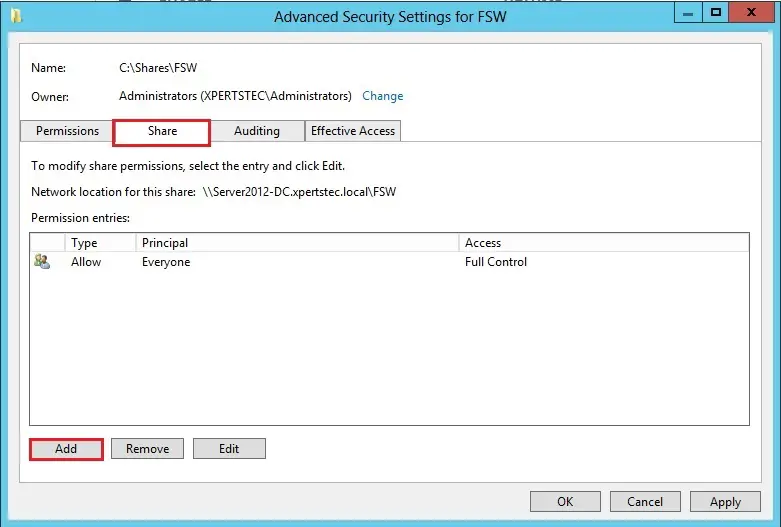
39- In advanced security settings, select the share tab and then click on the Add button.
40- Select object types.

41- Check the computer box and then click on ok.

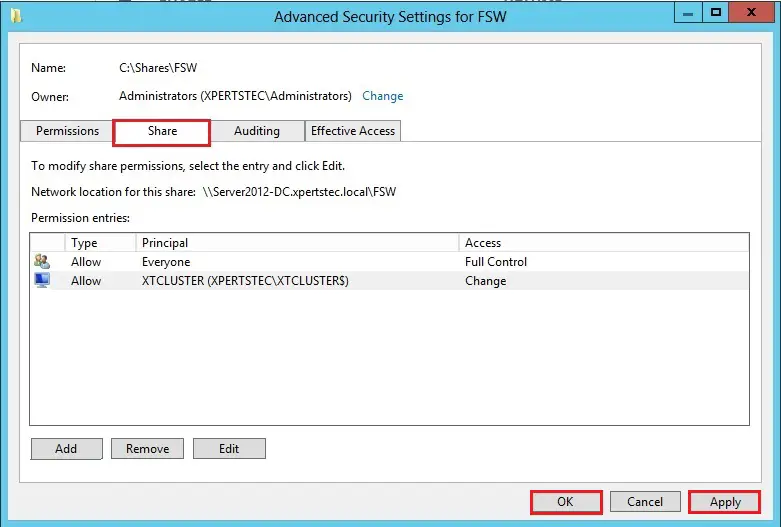
42- Type your Cluster name, click Check Names and then click on ok.

43- Click Apply and then ok button.
44- Read the share SMB confirmation summary and then click on Create.
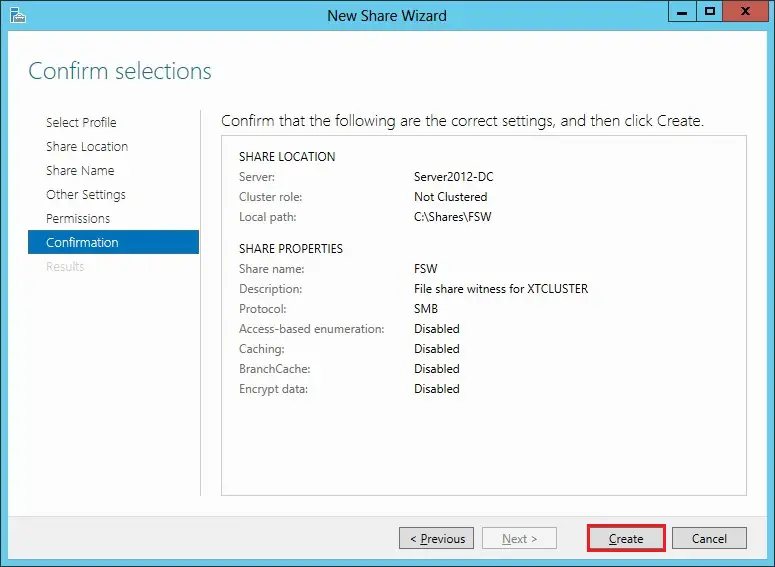
45- The SMB share was successfully created, so click Close.

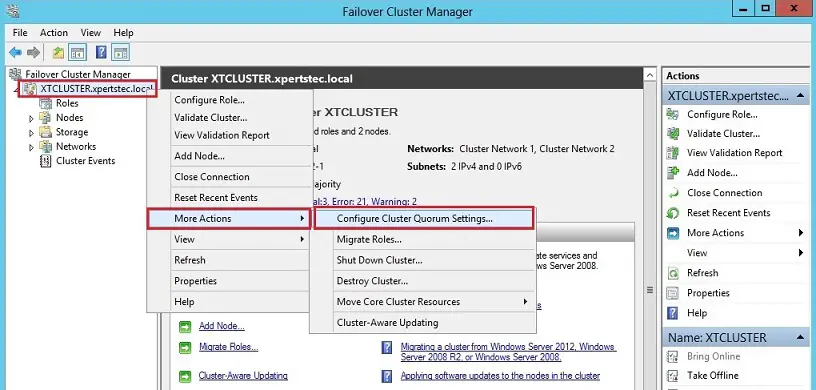
46- To configure Cluster Quorum share created on Server2012-DC, return to your Server2012-1 right-click XTCLUSTER.xpertstec.local and choose more actions and choose to configure cluster quorum settings.
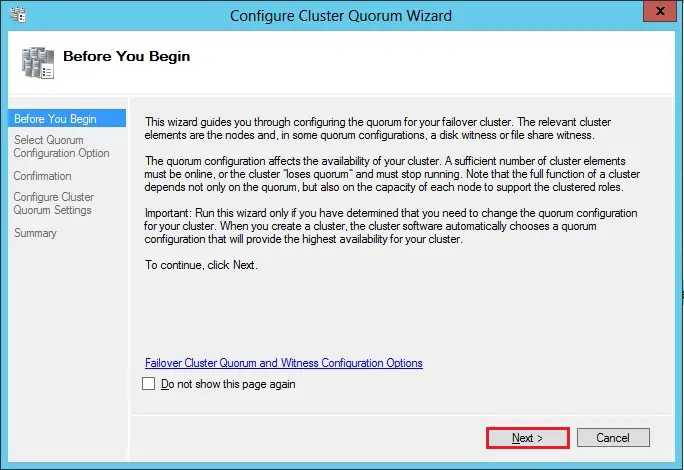
47- In configure cluster quorum wizard, so click next.
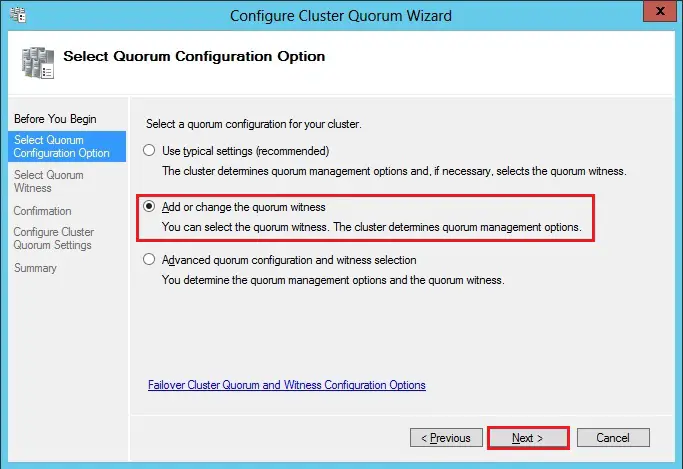
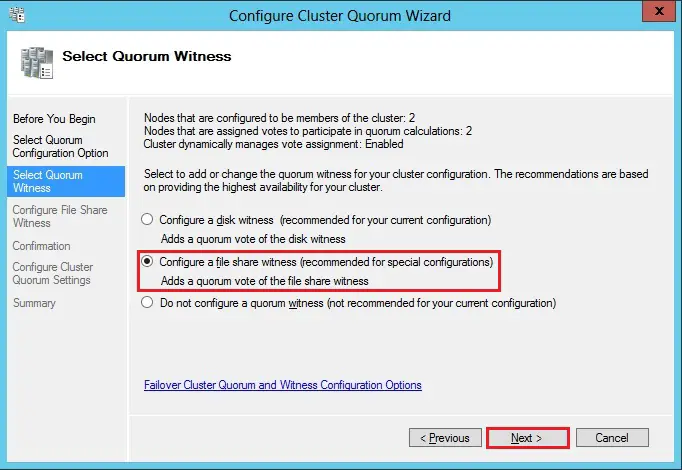
48- Select add or change the quorum witness option and then click on next.
49- Select configure a file share witness (recommended for special configurations) and then click on next.
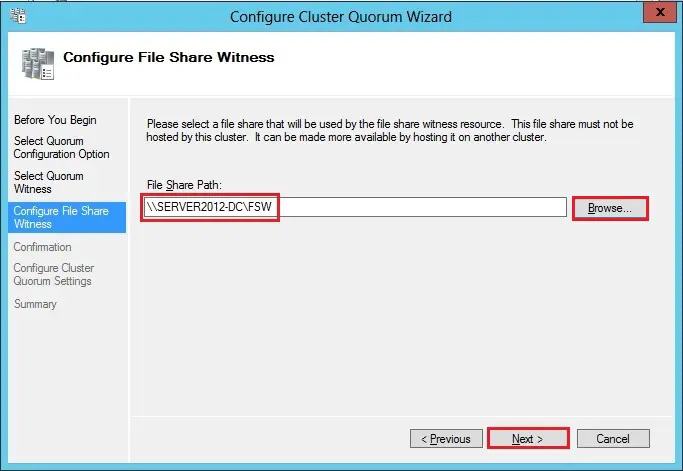
50- Click the Browse button and choose the trail of the file share witness that we created on the Server2012-DC and then click on next.
51- In configure cluster quorum wizard, so click next.
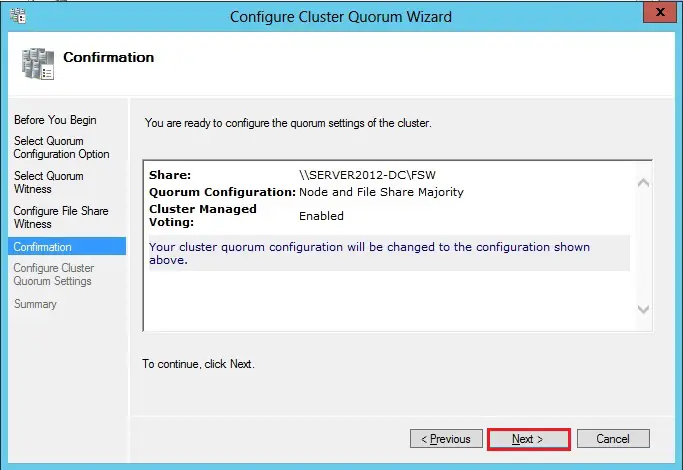
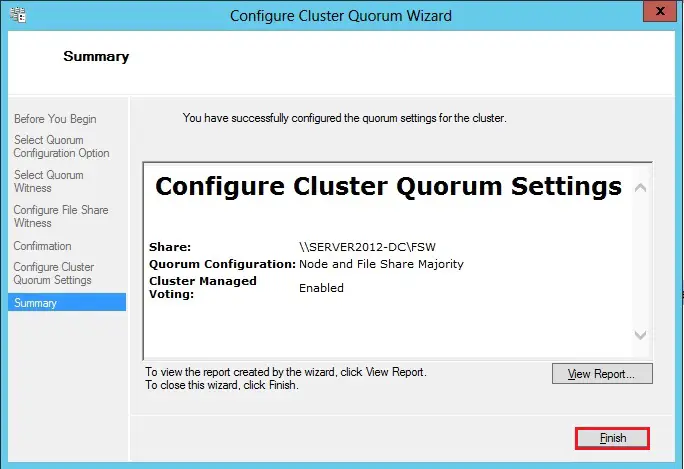
52- Review the configure cluster quorum settings summary and then click on Finish.
For more information click here


Keep functioning ,remarkable job!
Dear Riola,
Thank you
I haven?¦t checked in here for some time as I thought it was getting boring, but the last few posts are good quality so I guess I?¦ll add you back to my everyday bloglist. You deserve it my friend 🙂
Dear Iamhoff,
Thank you for your comments