
This blog will explain how to setup local administrator password solution. This guide is for creating, configuring, and deploying LAPS, Microsoft’s Local Administrator Password Solution.
Microsoft LAPS can be utilized to manage local administrator passwords on your domain-joined devices. LAPS (Local Administrator Password Solution) creates a unique and random password for each device client in your network and stores it in the Active Directory.
Microsoft Local Administrator Password Solution resolves this issue by establishing a unique, complex password for the local administrator account in all domain-joined devices. This password, set by Microsoft LAPS, will automatically change the password policy. The new passwords will be saved in the Active Directory, and authorized administrators can retrieve them from the Active Directory server when necessary.
Install Microsoft LAPS Software on Management Computers
The LAPS software should be installed on both management computers and client computers. The management features will be used to set up, configure, and manage LAPS.
You can install the LAPS management software on the domain controller or another domain-joined computer, such as Windows 10/11.
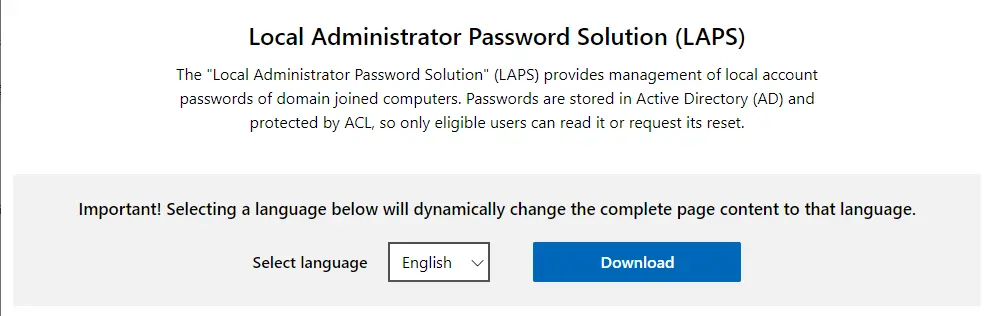
Download the local administrator password solution download LAPS from Microsoft.
Select a language and click on download.
Choose the download you want and click on download.
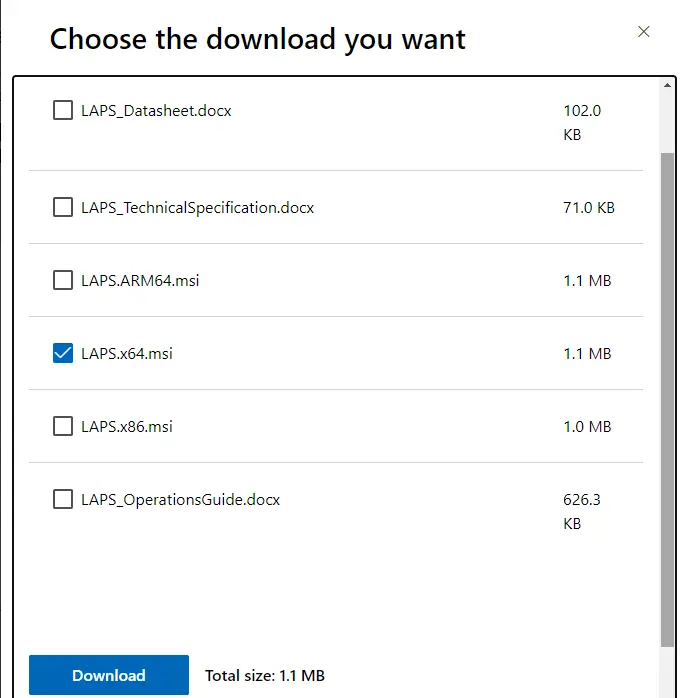
Double-click the file LAPS.x64.msi to begin the installation.
Click on the setup wizard screen.
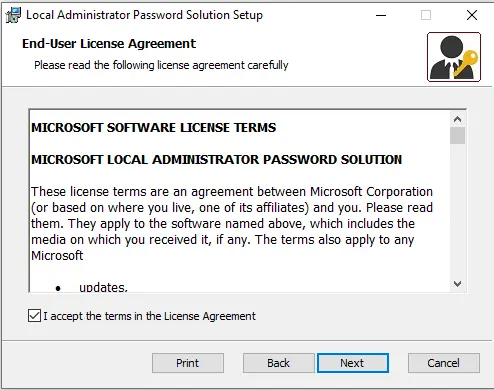
Accept the license agreement and click next.
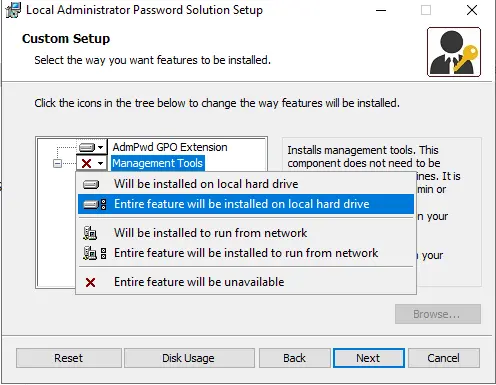
Click on Management Tools, select “Entire feature will be installed on local hard drive,” and select the next option.
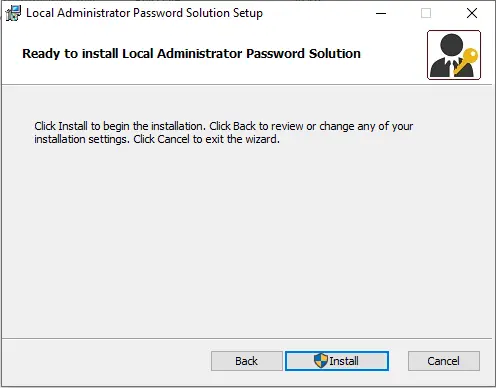
Click Install.
When the installation is complete, click Finish.

Open LAPS UI.
Create Security Groups for Local Administrator Password Solution
I have already created an OU named Organization and inside two more OU (Workstations,
Organization).
To create security groups, right-click on security groups (OU).
Select new and then group.
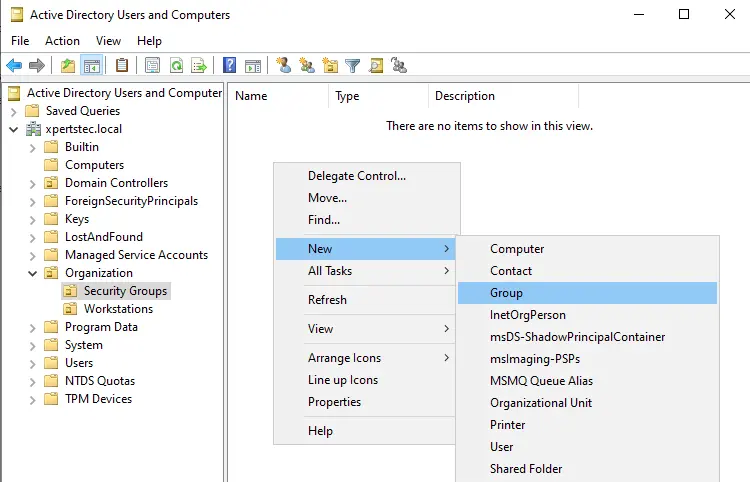
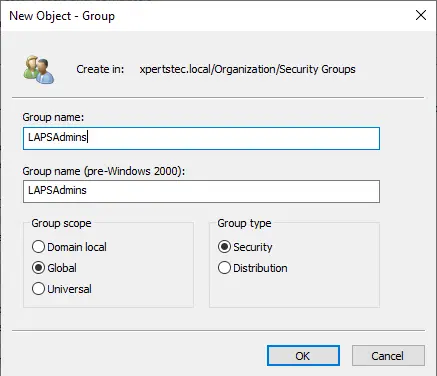
Type a security group name (LAPSAdmins) and click ok.
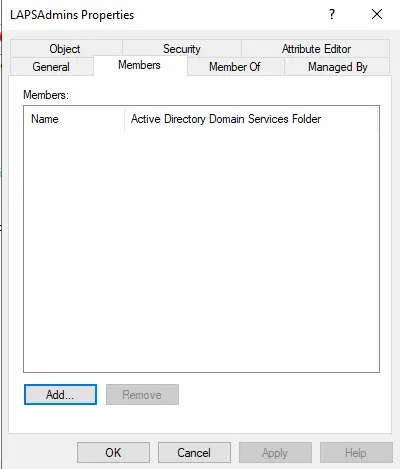
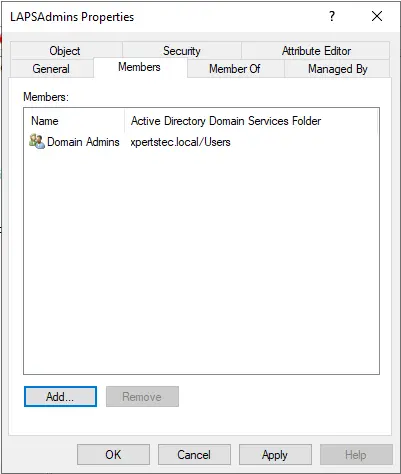
To assign security group permission, right-click on the security group and choose properties.

Select the Members tab and click on the Add button.
Type domain admins and click ok.
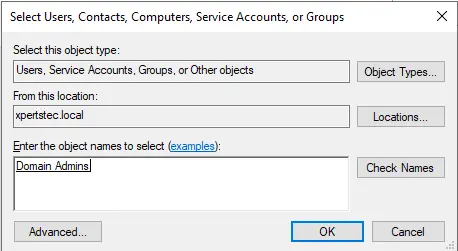
Verify security group permissions and click ok.
The LAPS software installation for the management computer is complete. The next step is to return to the management system to complete the LAPS setup.
In the above sample, “Workstations” is the OU I created for the PC components.
Assign Permissions to the Group for Password Access
In my demo environment, I possess a security group called “LAPSAdmins”. I require users in this group to verify the local administrators’ passwords. Before we assign permissions, let’s see who had the privilege to view the passwords by default.
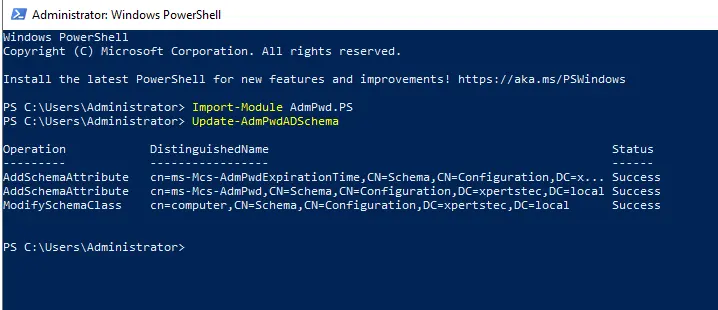
Extend the Active Directory Schema
You must log in with an account member of the Scheme admins group in Active Directory.
Run the two commands below:
Import-module AdmPwd.PS
Update-AdmPwdADSchema
Set Permissions in the Active Directory
With the PowerShell window still open (e.g., Import the AdmPwd.ps again), we will set the required permissions for LAPS. We will need to provide the SELF built-in account on the computer with write access so it can update the password in the Active Directory. We must also permit the administrators to read the stored LAPS password. Type the following command.
Set-AdmPwdComputerSelfPermission -OrgUnit Workstations

Set-AdmPwdReadPasswordPermission -Identity Workstations -AllowedPrincipals "LAPSAdmins"

Setting up the LAPS GPO
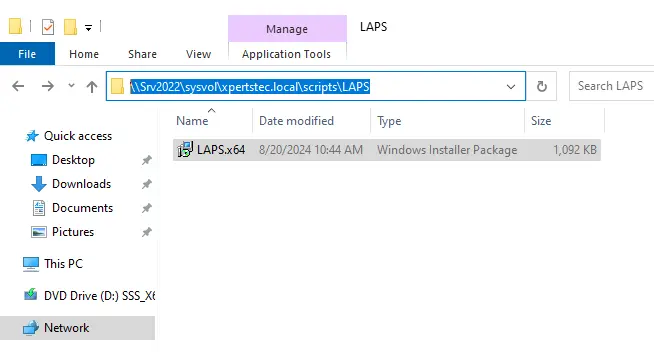
Go to:
\Srv2022sysvolxpertstec.localscripts
Srv2022 is an active directory server name.
Create a new folder.
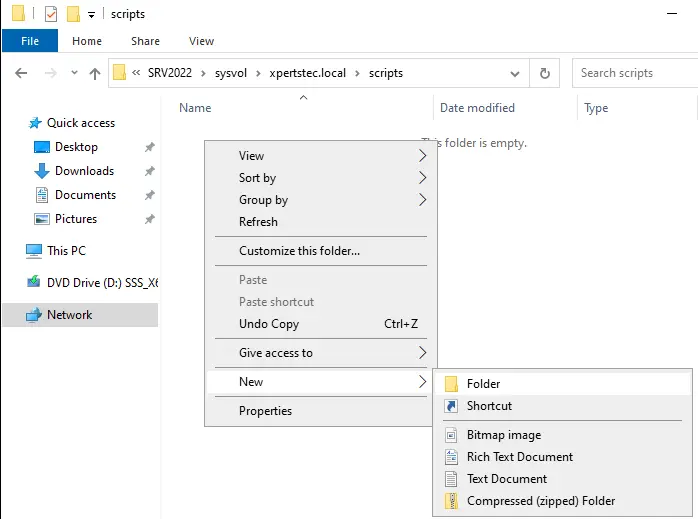
Type a name LAPS
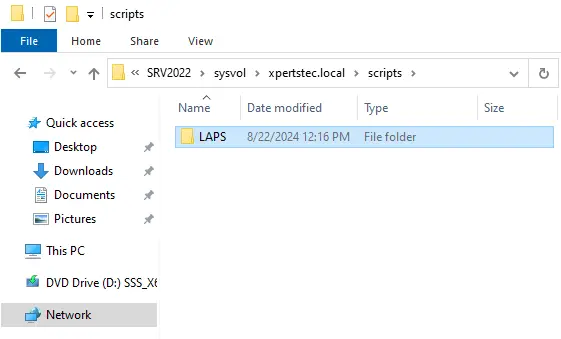
in the LAPS folder, and paste the LAPSx64 exe file.
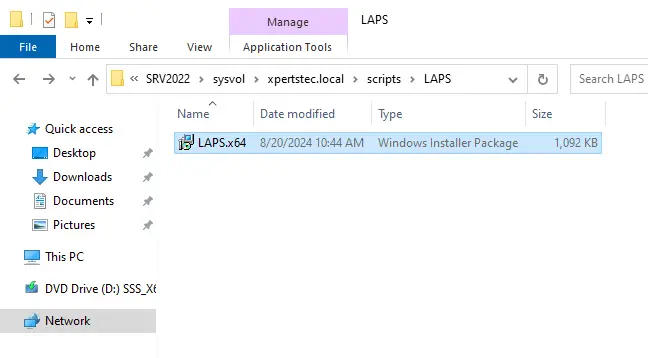
copy the path.
Configure Group Policy Settings for LAPS
The final configuration process is to create a group policy for the LAPS settings.
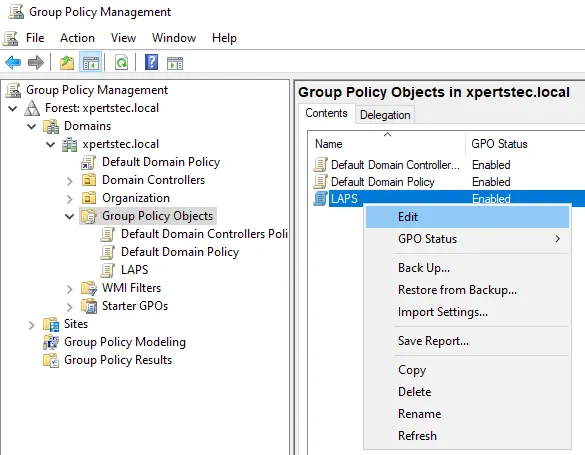
Open the group policy management console.

Create a new GPO on the OU that has your computers.
Right-click on group policy objects and choose new.
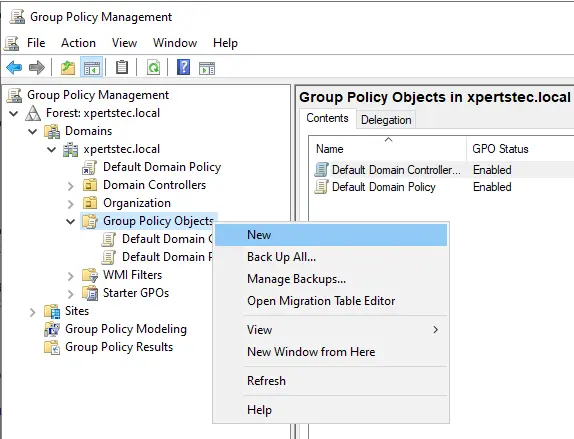
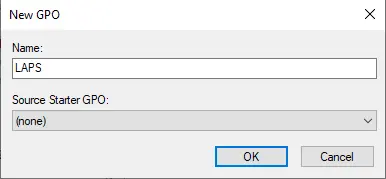
Give the GPO a name (LAPS) and select ok.
Edit the GPO
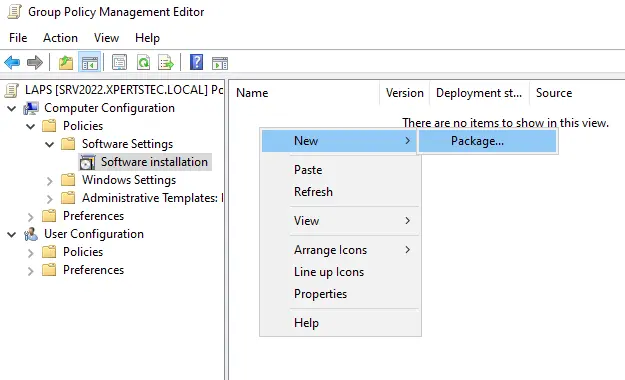
Go to:
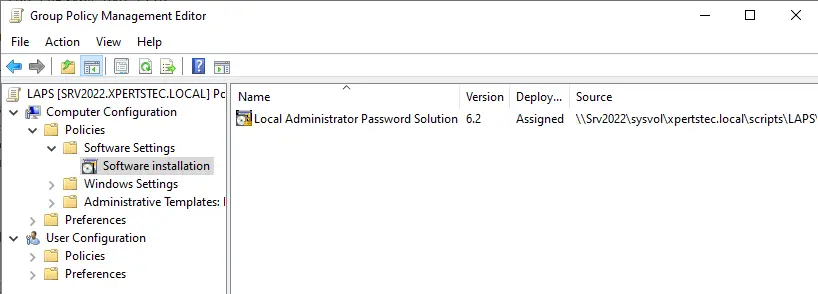
Computer configurationpoliciessoftware installation
Right-click, choose new, and then package.
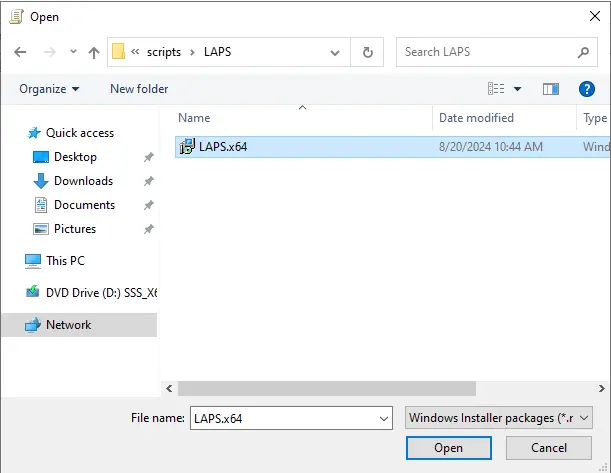
Go to:
\active directory serversysvolxpertstec.localscriptsLAPS
Select the LAPSx64.exe file and select open.
Click ok
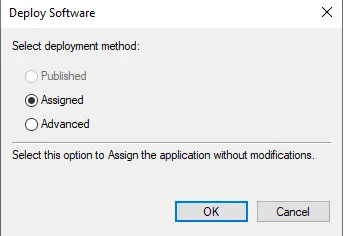
Now, you can see the local administrator password solutions that have been assigned.
Configure Windows Local Administrator Password Solution
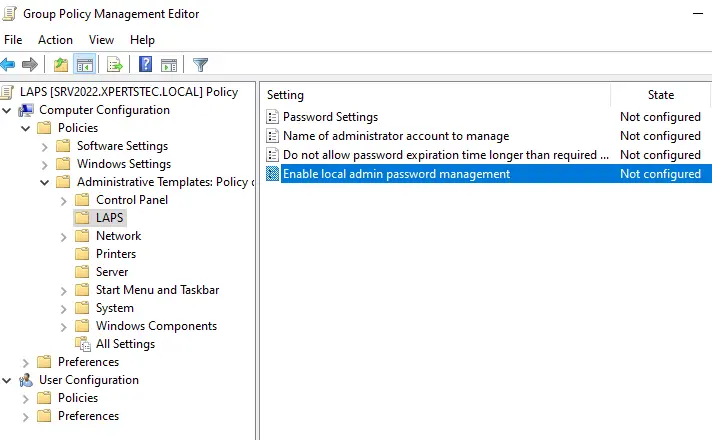
Browse to the following policy settings:
Computer ConfigurationPoliciesAdministrative TemplatesLAPS
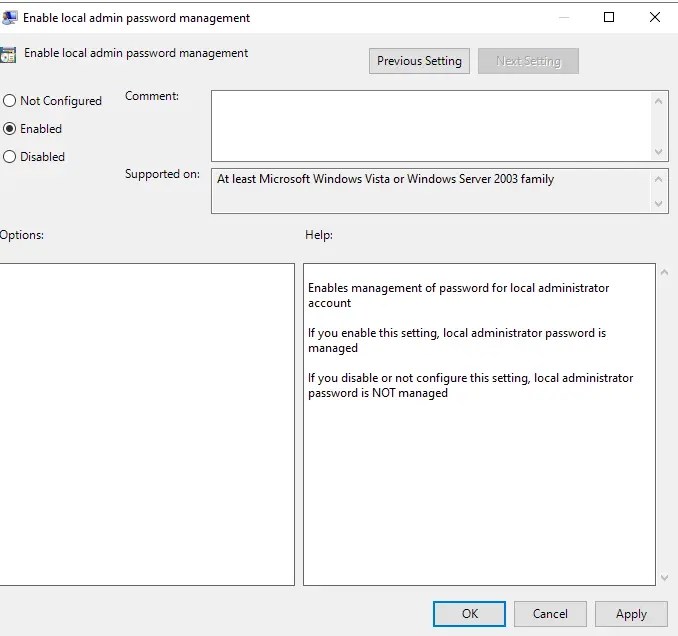
Open enable local admin password management.
Click on Enable and then OK.
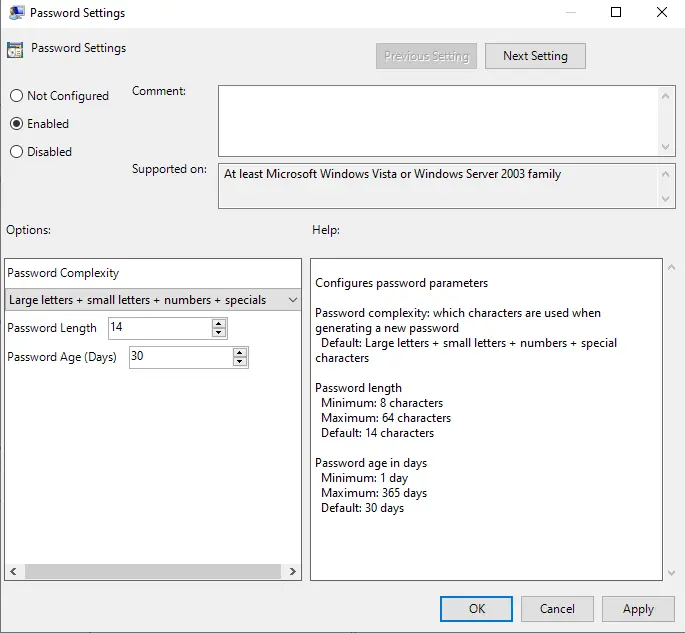
Click on the Policy Password Settings.
Select Enable. Then select the password complexity settings and click OK.
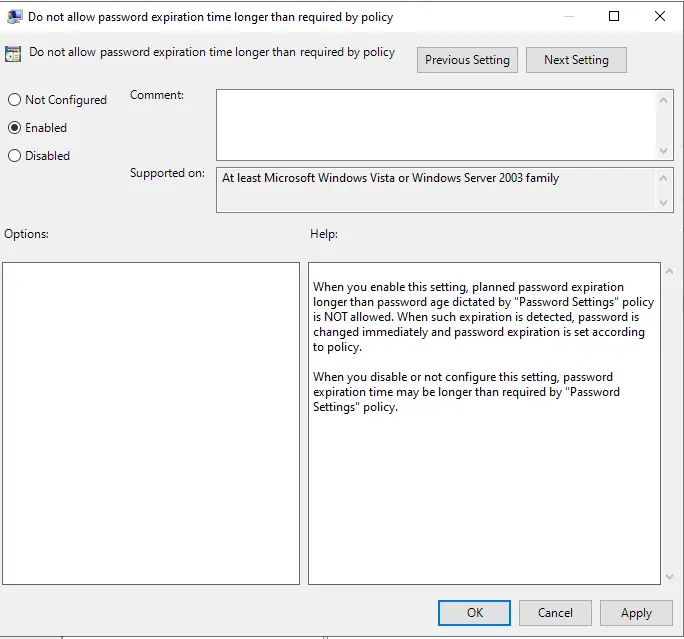
Enable “do not allow password expiration time longer than required by policy”.
If you have a custom local administrator account that you want to manage, you can enable the administrator account name to be managed.
Note: Even if you changed the built-in admin account, you do not need to configure this policy. This policy is only applicable for custom local admin accounts.
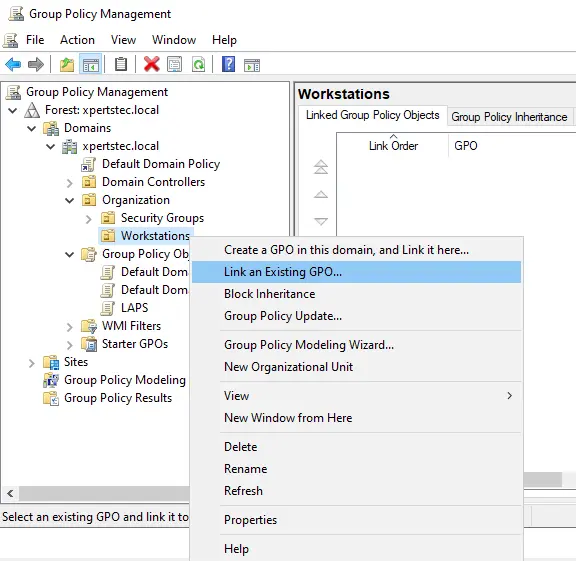
Link an Existing GPO
Right-click on workstations and choose link an existing GPO.
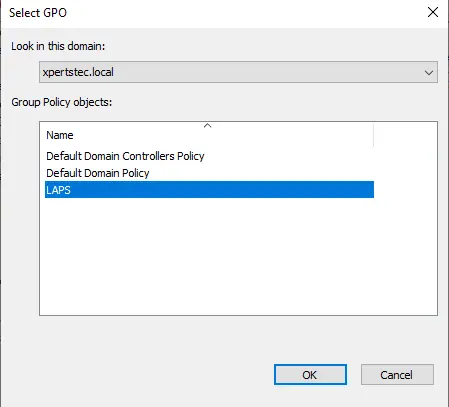
Select LAPS and click ok.
That completes the configuration process of Microsoft Laps.
How to View the Local Administrator Password with LAPS
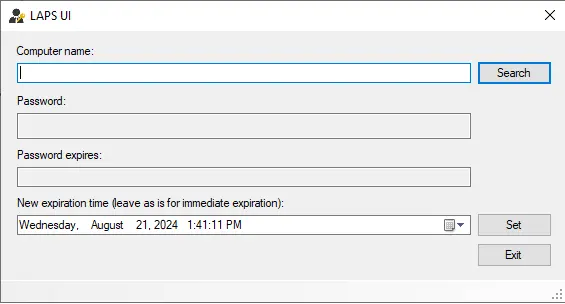
Open the LAPS UI program on your management computer.
Enter a computer name and click the search.
No password is found.
Login to your client’s computer and update the group policy.
Open the command prompt and type the following command.
Gpupdate /force
You need to restart your client’s computer.
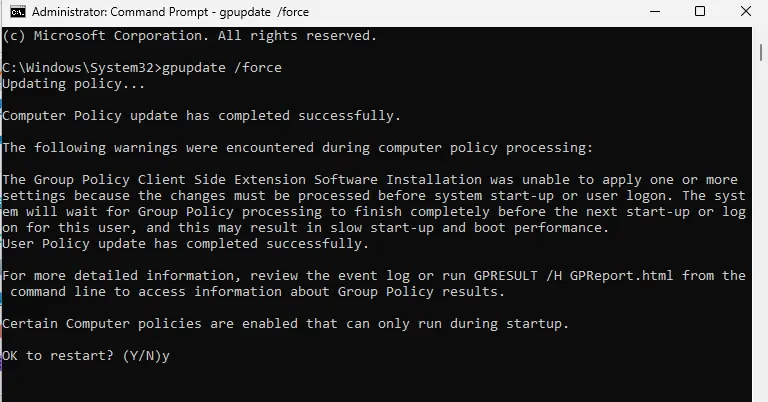
After restarting, update the group policy again.
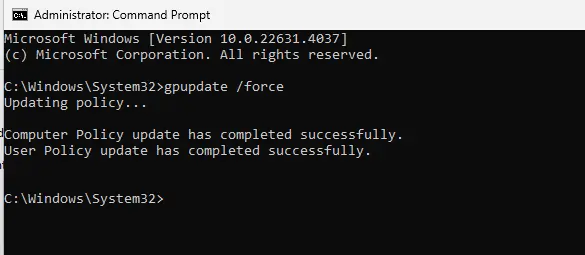
Go back to your active directory computer and click on search again.
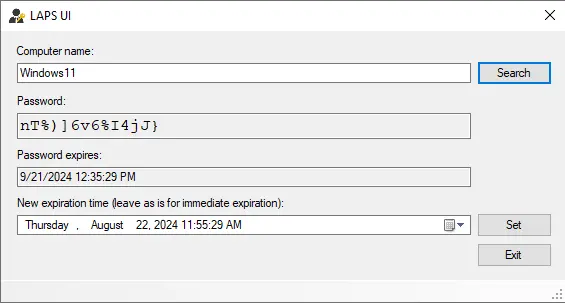
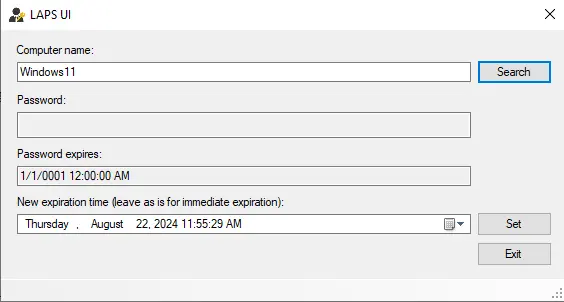
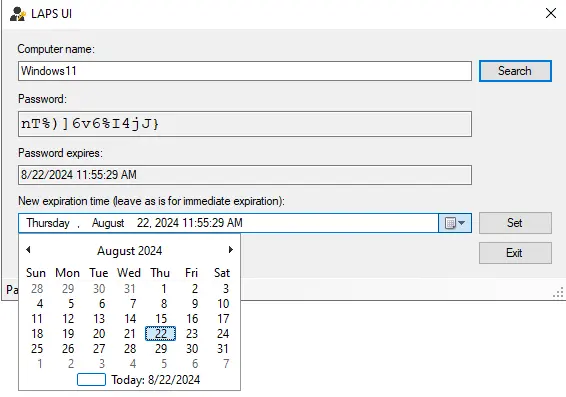
Now, you can select expiration time.
Above, you can see the local administrator password for Windows 11 and when the password expires.
Using PowerShell.
Get-AdmPwdPassword Windows11
Or right-click on the Windows11 client computer and select properties.
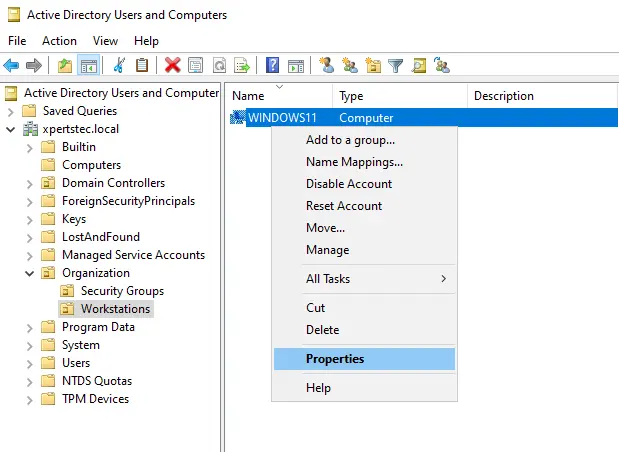
You can also view the password in Active Directory by opening the computer and selecting the Attribute Editor.
