In this guide, I will show you how to restore/migrate VM Veeam Backup for Microsoft Azure data to the original location. In the previous blog, we restore a virtual machine to a different location.
Veeam enables to recover a virtual machine to Azure from the latest recovery point. The main purpose of this feature is disaster recovery. In case of disaster, you can restore virtual machines in Azure.
Restore/Migrate Veeam Backup for Microsoft Azure
Recover Through the Appliance
The auto backup aspect creates snapshots of the instance (virtual machine) that hosts the Veeam Backup for Microsoft Azure solution based on the user-defined schedule. If the present Veeam Backup for Microsoft Azure instance is still recoverable, it can be used to restore from the auto backup snapshot.
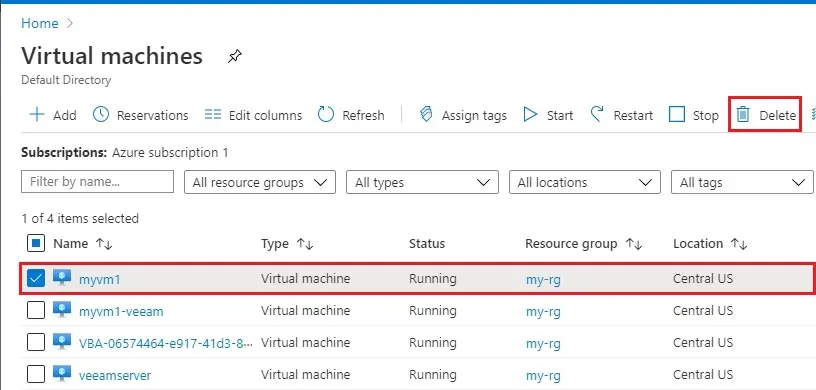
In this test lab, First I am going to delete my virtual machine form Azure virtual machine.
1- Select the virtual machine (myvm1) and then click delete.
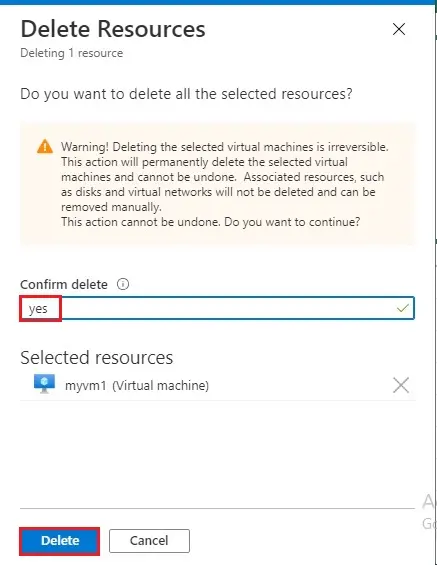
2- Type yes and then click delete.
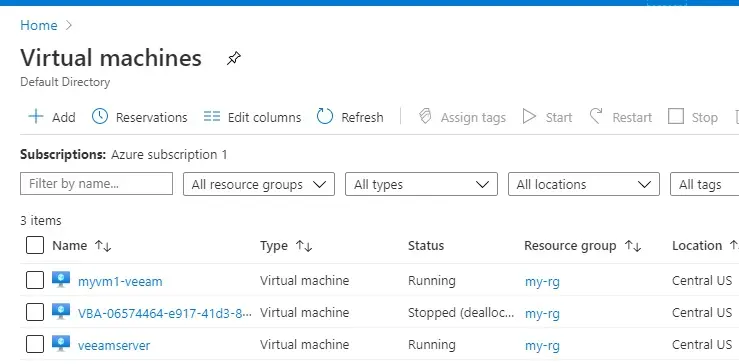
3- Virtual machine successfully deleted.
Recover Veeam Backup for Microsoft Azure instance to original location.
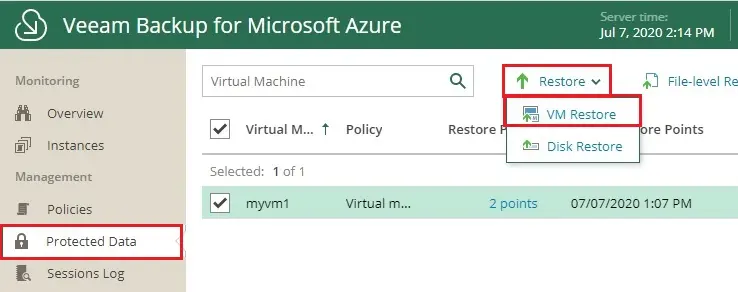
1- Choose the Protected Data under management and find the Veeam Backup for Microsoft Azure virtual machine.
Choose the Veeam Backup for Microsoft Azure virtual machine; click the Restore tab and then VM Restore on the toolbar.
2- Restore the virtual machine wizard, confirm the instance, and then click next.
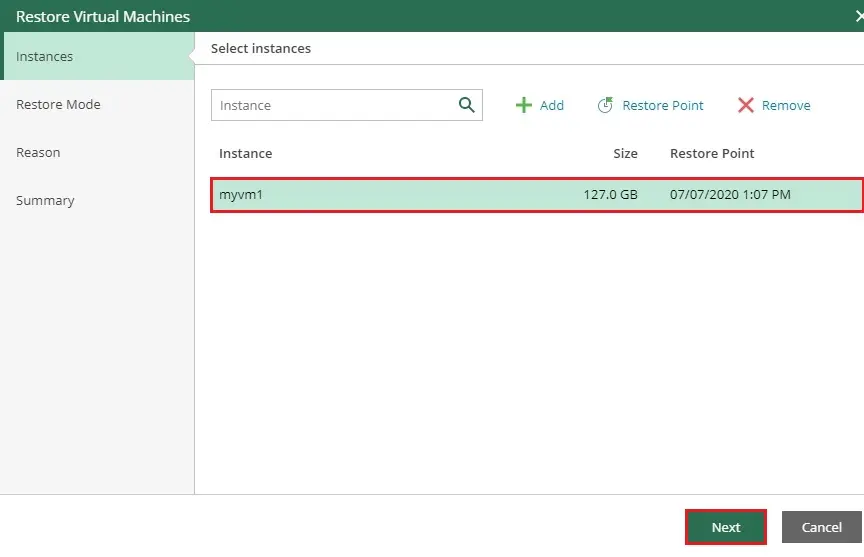
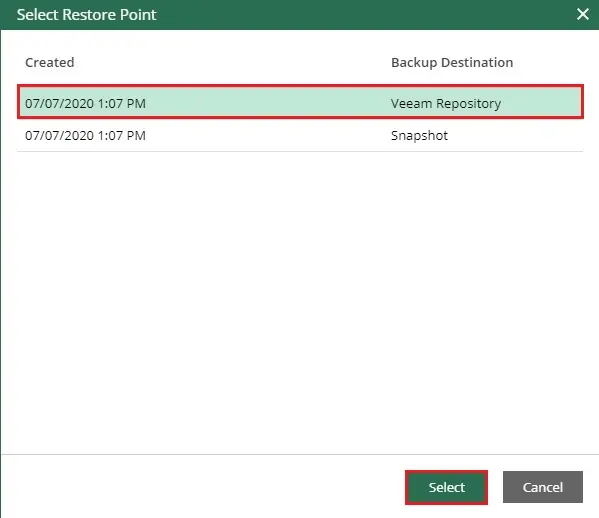
3- Choose a restore point and then click select.
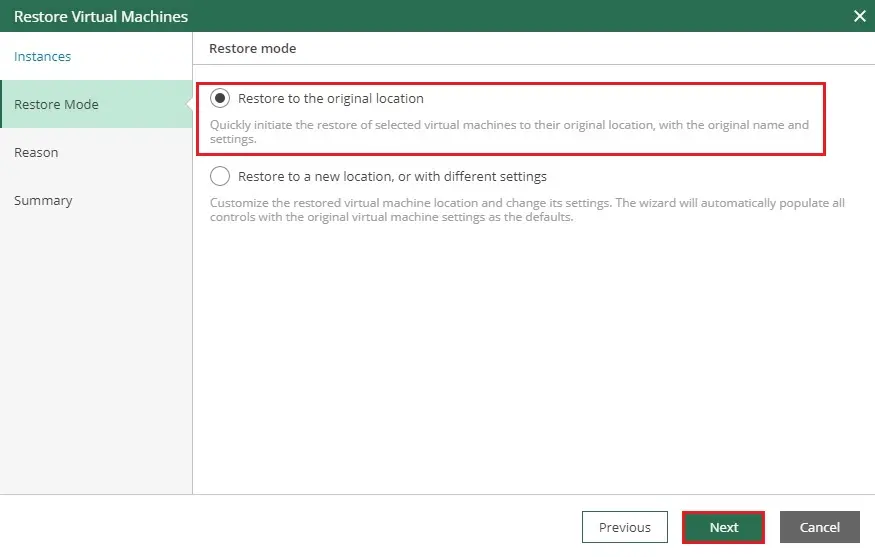
4- Note I am going to restore VM to its original location, because I have already deleted my VM. Click next.
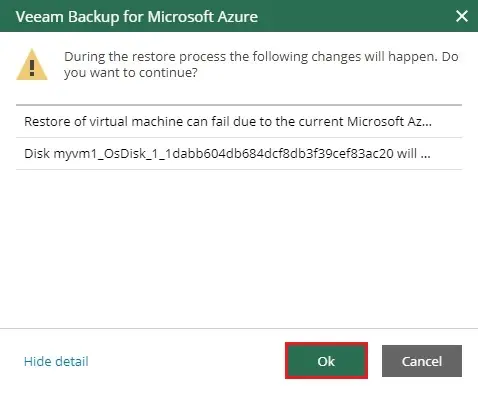
5- Veeam Backup for Microsoft Azure, read the text, and click ok.
6- Type a reason and then click next.
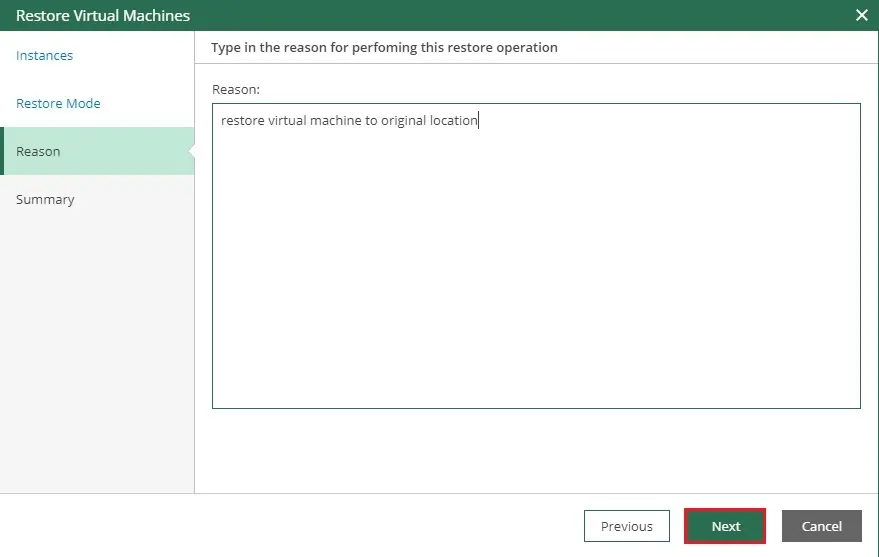
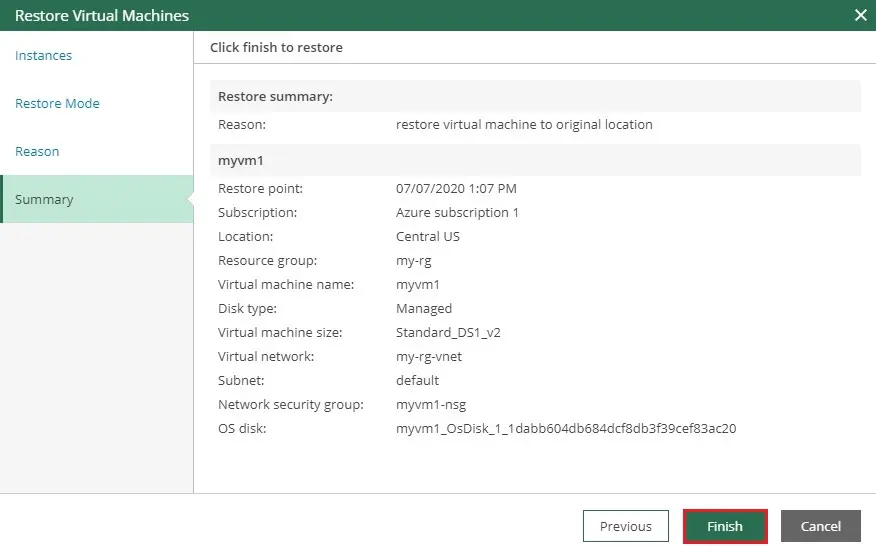
7- Review the restore summary and then click finish.
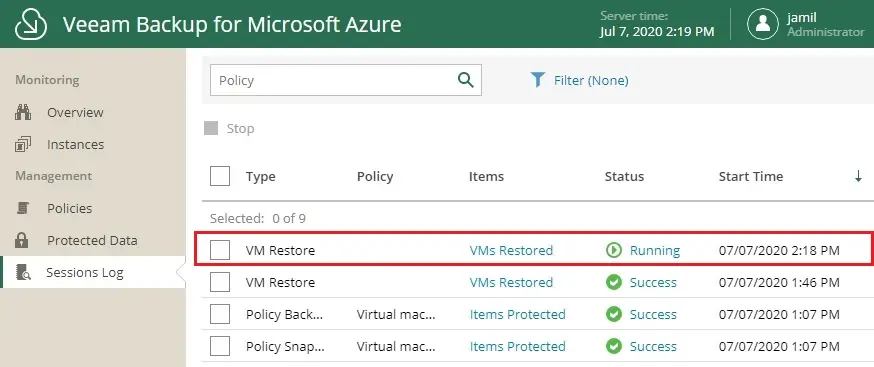
8- Now you can see VMs restored in running status.
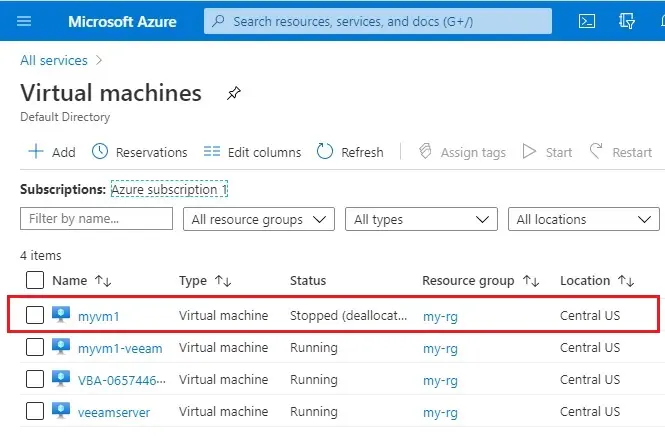
10- Successfully restored.
For more details, please visit VEEAM


