In this blog, I will show you how to integrate Azure Storage with Azure CDN. I will enable CDN (Azure content delivery) to cache content from Azure Storage. Azure CDN provides developers a global solving for delivering high-bandwidth content.
Integrate Azure Storage with Azure CDN
Sign in Azure portal with your Azure account.
Create a storage account
A storage account provides access to Azure Storage services. The storage account constitutes the highest level of the name-space for accessing every of the Azure Storage service components:
To create a storage account, you should be either the service administrator or a co-administrator for the associated subscription.
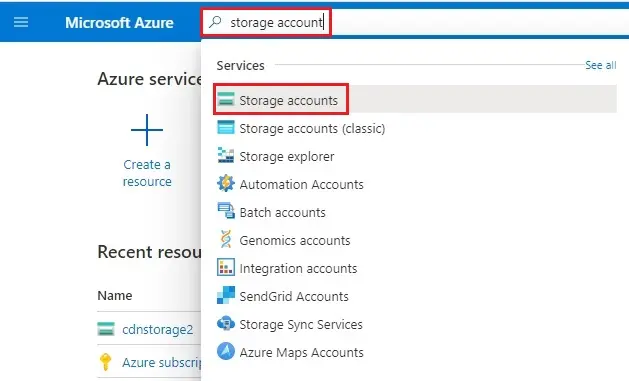
1- In the Azure portal, Search for Storage account and select Storage account.
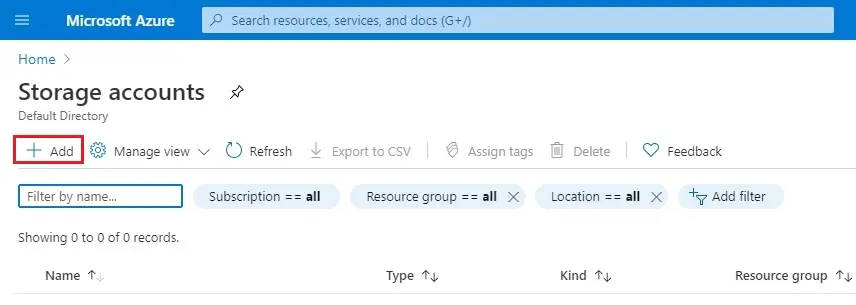
2- Click on + Add button.
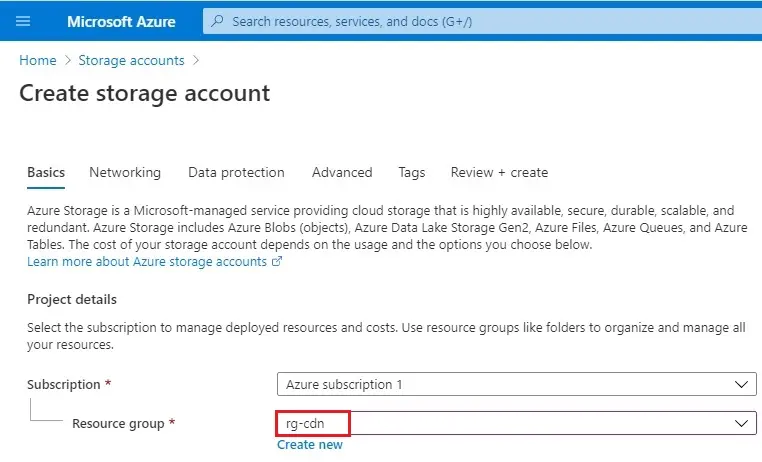
3- Select your Subscription
I am using an existing resource group (rg-cdn) already I have created.
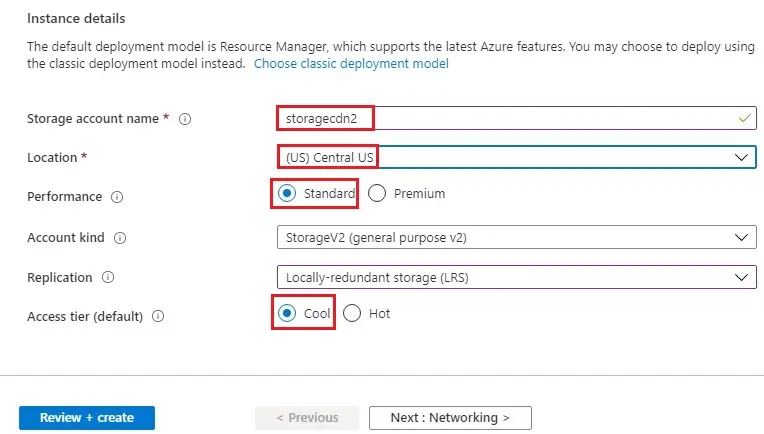
4- Instance details
Storage account name – Enter a name for the account using (storagecdn2)
Location – Central US
Performance – Standard
Account kind – StorageV2 (general purpose v2)
Replication Locally-redundant storage (LRS)
Access tier – cool
Click Next : Networking > and then Next : Data Protection >
5- Advance tab
Security – Secure transfer required and blob public access select enabled.
Select Review + create.

6- Then select Create.
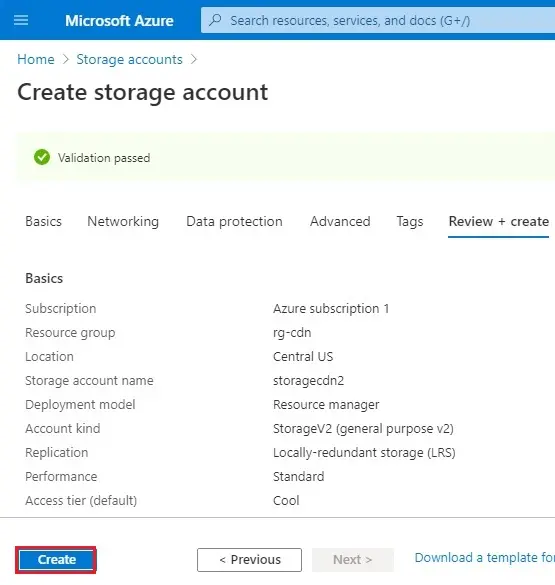
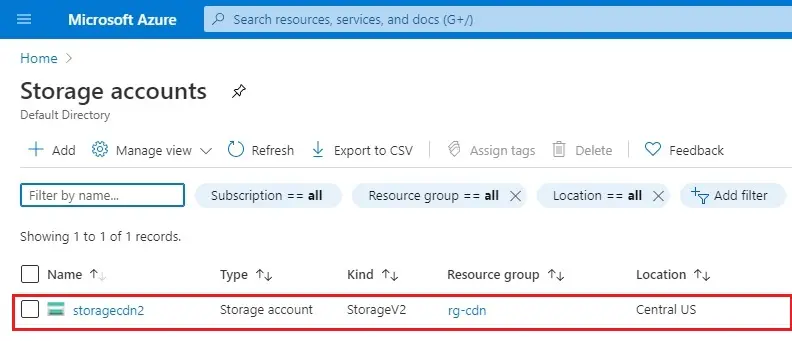
7- Storage account successfully created.
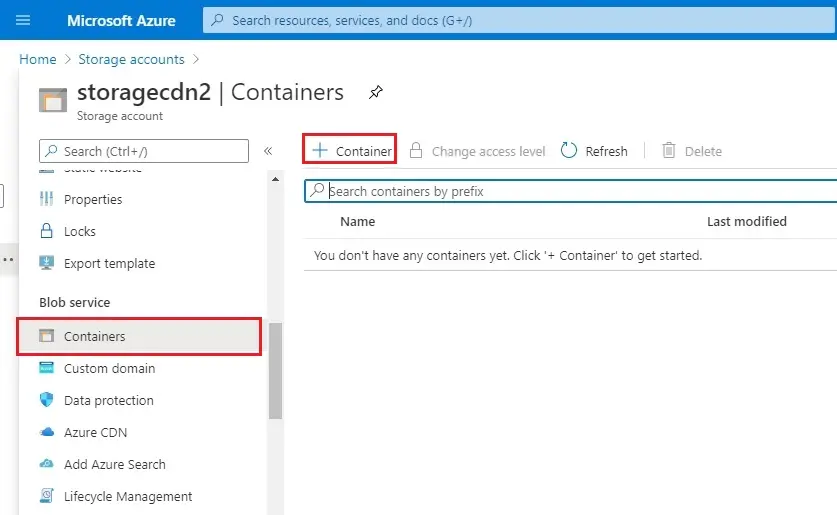
How to create a blob container.
1- Click on storage account, under blob service select containers and then + Container.
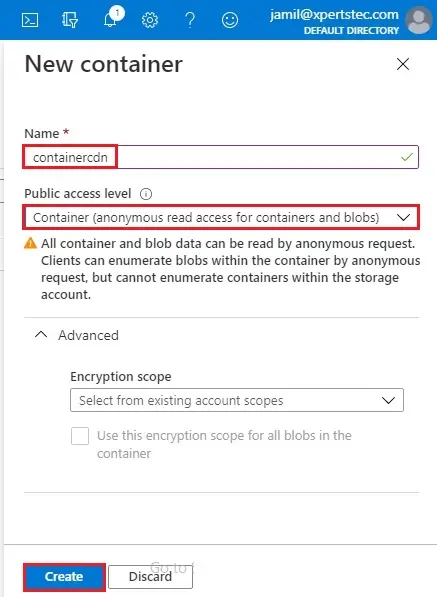
2- New container wizard, enter a container name (containercdn)
Public access level – choose container (anonymous read access …..)
Click create.
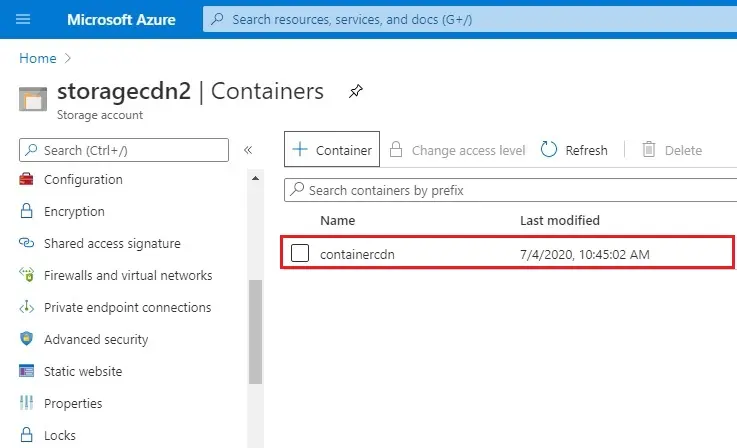
3- Container successfully created.
Upload Images to Container
1- Choose Containers (containdercdn), choose Upload tab, and then click on folder icon next to file.
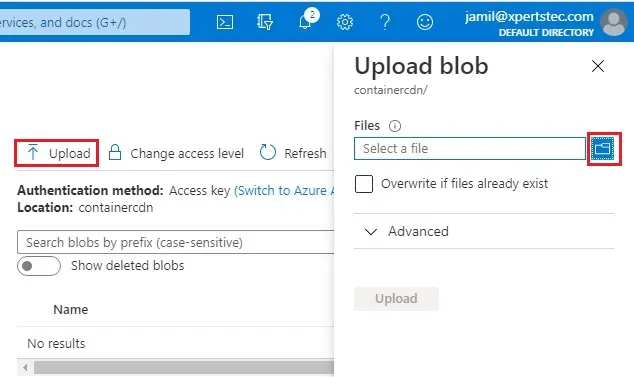
2- Select images and then click Open.

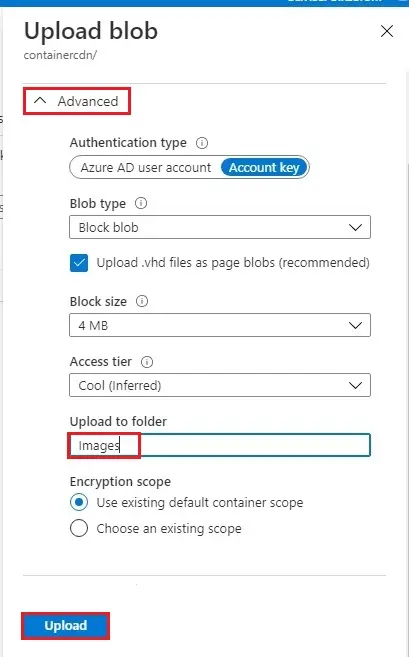
3- Advanced
Under upload to folder type a folder name (images) and then click upload.
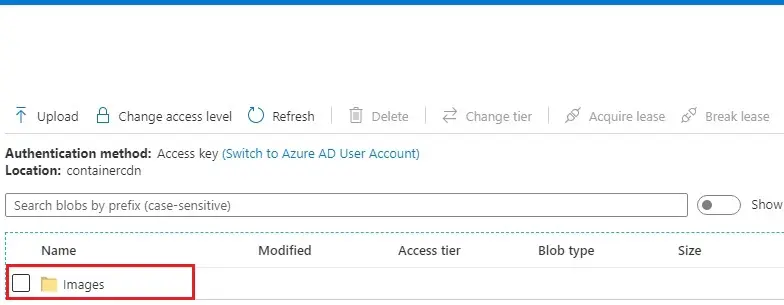
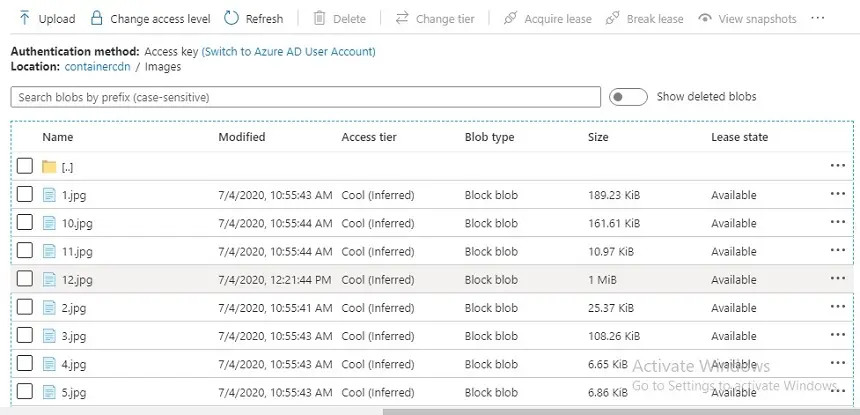
4- Now you can see folder and click on it.
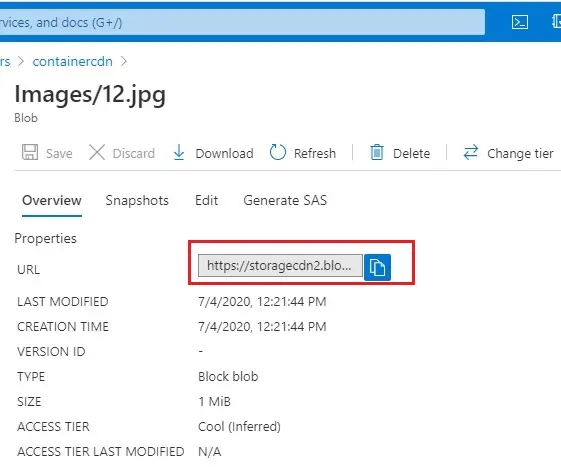
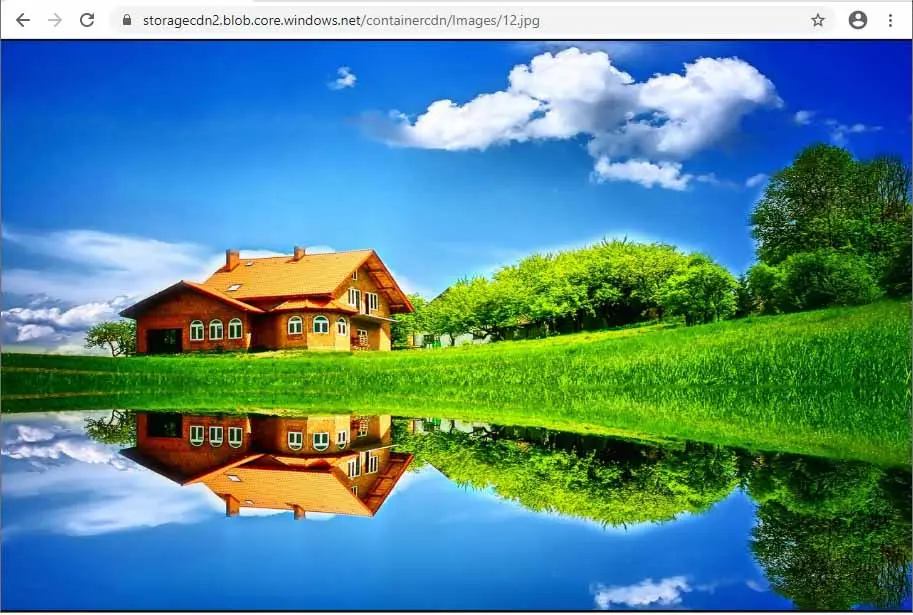
5- Click on image.
6- Here you can find the URL copy it.
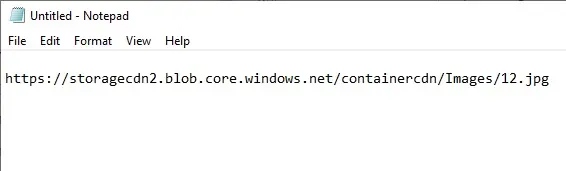
7- Paste in notepad.
Create a New CDN Profile
CDN profile is a container for CDN endpoints and a specifies pricing tier.
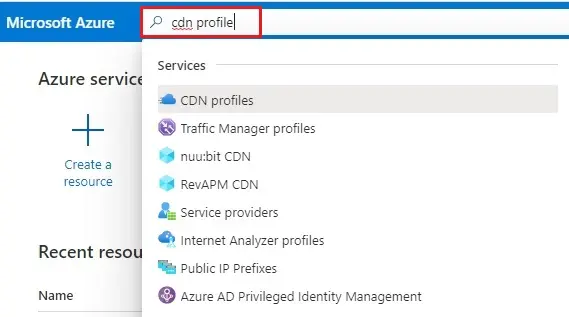
1- In the Azure portal search bar type CDN profile and then select it.
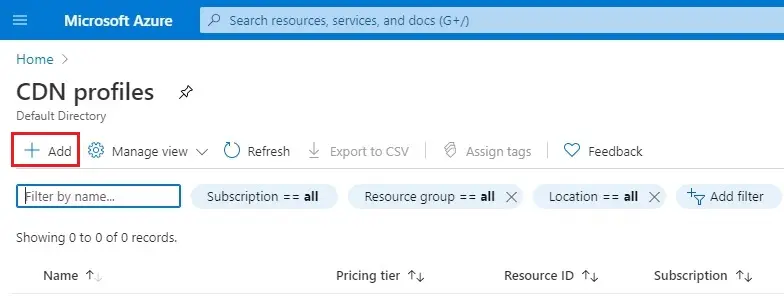
2- Select + Add
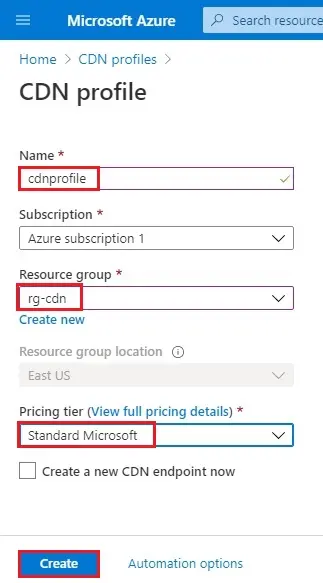
3- Enter the following values:
Name – cdnprofile
Subscription –
Resource group – rg-cdn
Resource group location – East US
Pricing tier – choose one
Leave unselected – Create a new CDN endpoint now
Click on Create to create the profile.
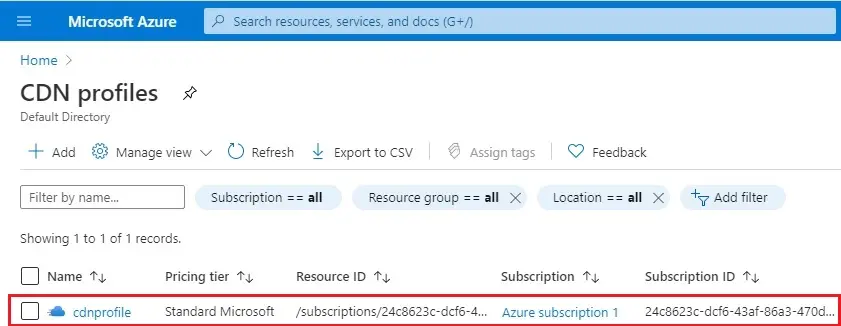
4- CDN profile.
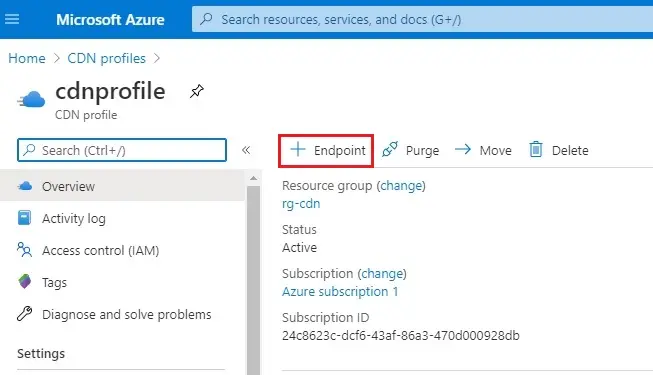
Create a new CDN Endpoint
After creating a CDN profile, you use it to create an endpoint.
1- In the Azure portal, select the CDN profile that you created in your dashboard.
On the CDN profile Overview, select + Endpoint.
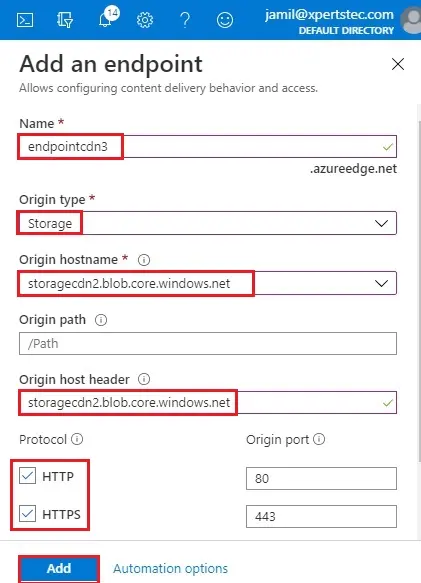
2- Add an endpoint wizard
Name – endpointcdn3
Origin type – Select Storage
hostname – Choose the hostname of the Azure Storage account
Origin path – Leave blank
Origin host header – Leave the default
Protocol – HTTP and HTTPS
Select Add to create the new endpoint
3- After the endpoint is successfully created, it appears in the list of endpoints for the profile.
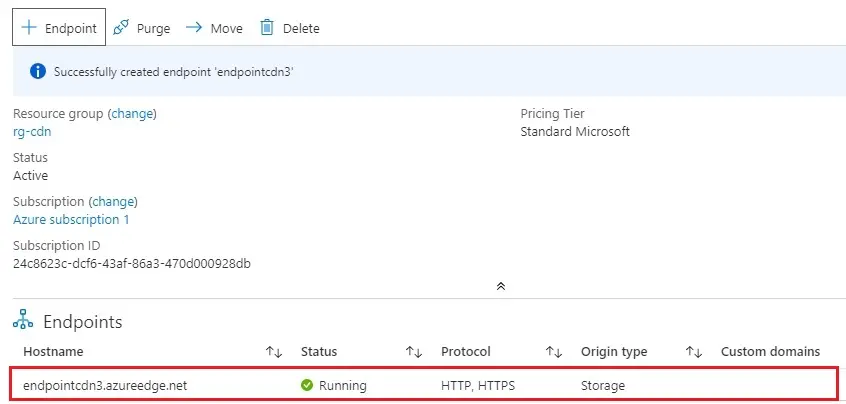
It takes the time for the endpoint to circulate depends on the pricing tier chooses when you created the profile.
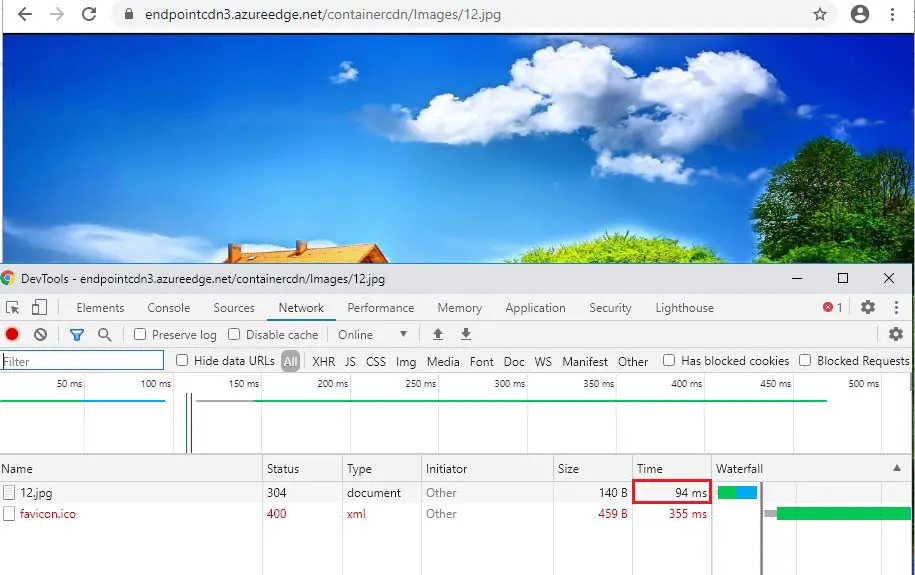
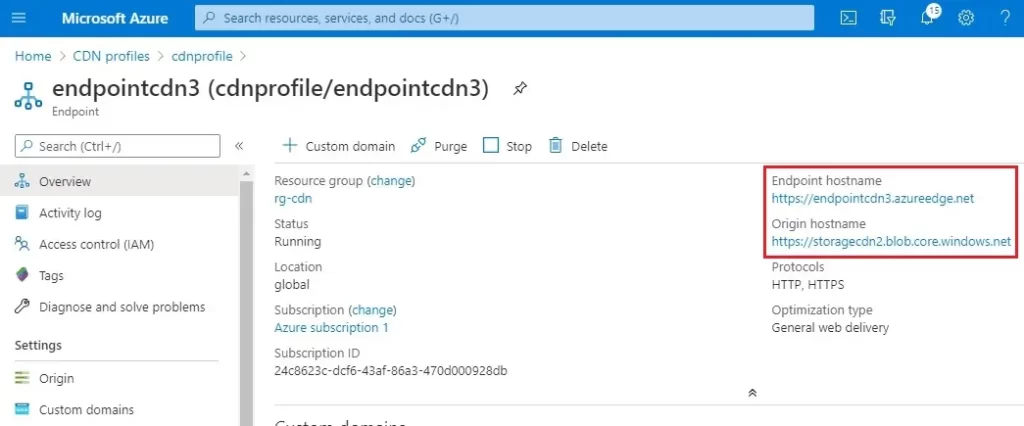
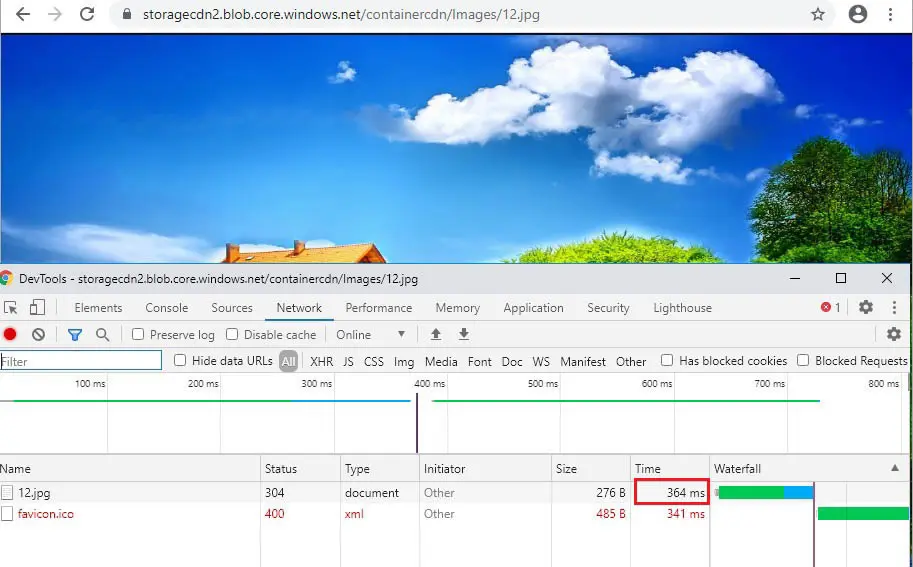
Access CDN Content
1- To access cached content on the CDN (Content Delivery Network), use the CDN URL provided in the portal. The endpoint address for a cached blob has the following format.
2- Storage blob image URL.
3- Links blob storage and CDN.
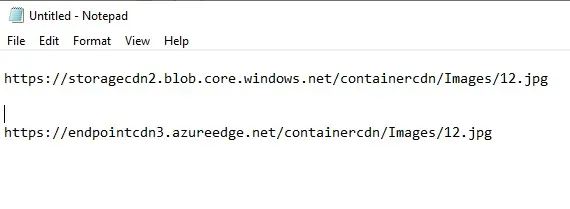
4- Blob Storage
5- CDN storage URL