Create recovery media Veeam agent. We can create a Veeam Recovery Media, a recovery media for our computer. The Veeam agent recovery media includes all data that is required to run the Microsoft Windows. If the computer stops working or the hard drive fails. You can boot from the Veeam Agent Recovery Media.
Instead of booting from the hard drive. After booting, we can use Veeam and Microsoft tools to fix errors. Recover the system image of our computer and our data.
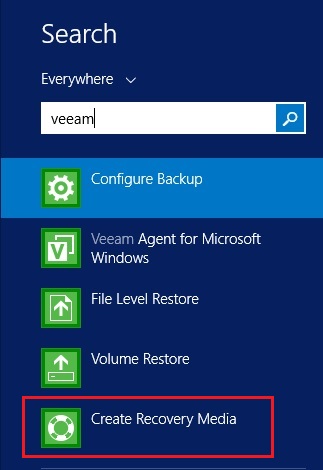
1- Search create recovery media
2- Now the wizard is detecting available media

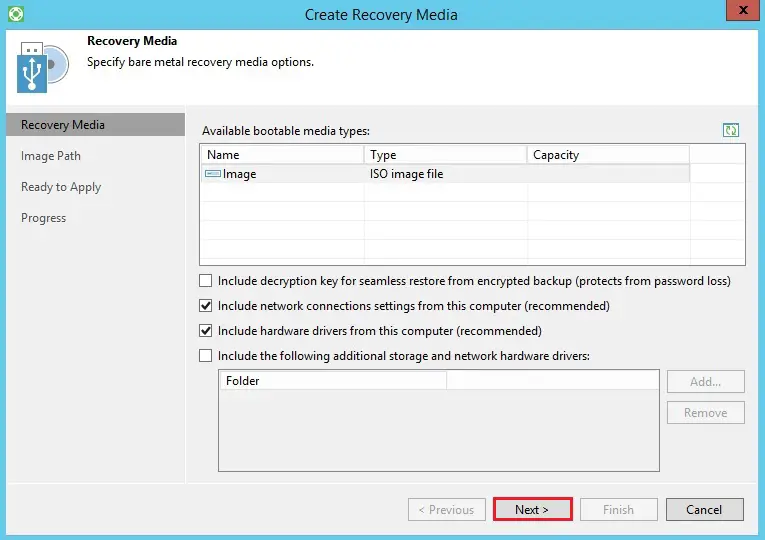
3- You can specify bare metal recovery media options. I would like to create as ISO media. Then I chose an image type ISO image file as available bootable media and I choose to Include network connections settings from this system – recommended and included hardware drivers from this computer – recommended to contain drivers and network connections settings.
Then click on Next Button.
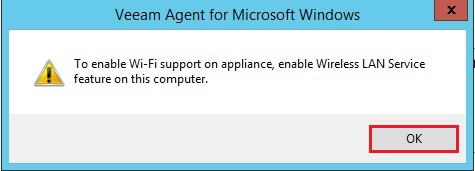
4- The Veeam recovery agent for Microsoft Windows, to enable Wi-Fi support windows then click ok
5- Now determine where you need to save the created Veeam recovery media ISO file by browsing the target path.
I need to save the created Veeam agent recovery media ISO file in a shared folder. Ensure that you have to ensure to this folder and write permissions on it.
Click on next

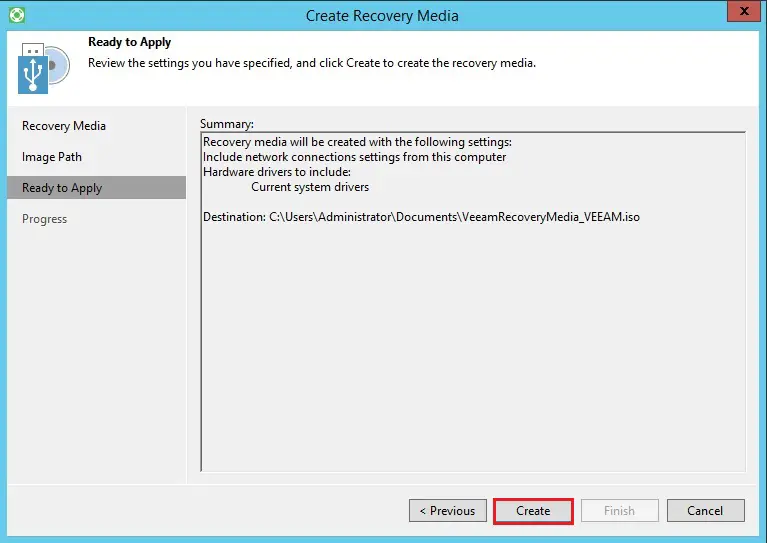
6- Recovery Media configuration is complete. then, click on the Create button.
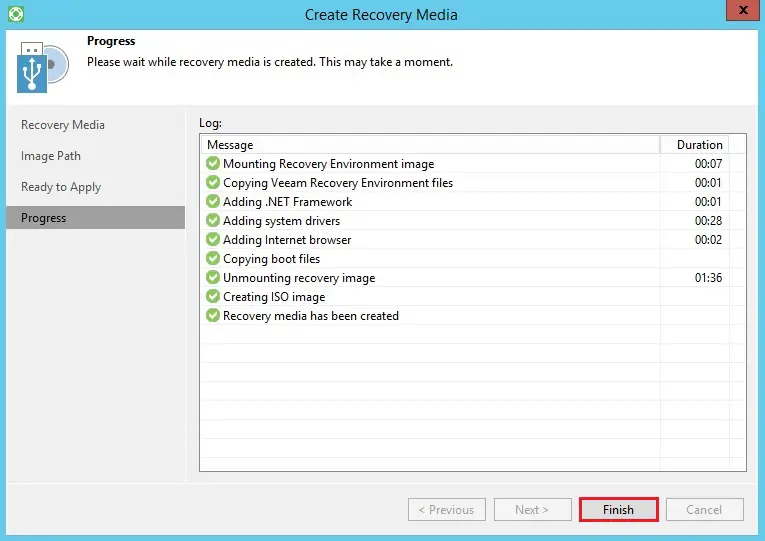
7- The Recovery Media successfully created, then click on the finish button.
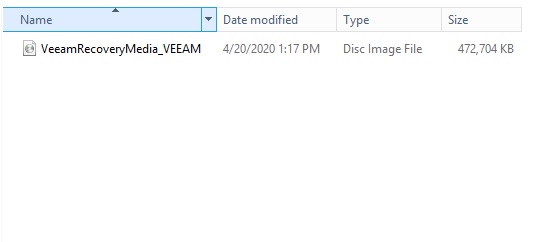
8- The Veeam recovery media ISO file.
Like and subscribe our YouTube channel to watch updated videos.
For more information click here
[recent_post_carousel design=”design-1″]