In this article, we will learn how to change mouse pointer color and size in Windows 11. Windows 11, like the earlier version, permits you to change the mouse pointer (cursor) color and size. Windows 11, lets you increase the mouse pointer size and change the color.
Let’s see there are different options are available and how we can apply them to Windows 11.
Steps to Change Mouse Cursor Color and Size
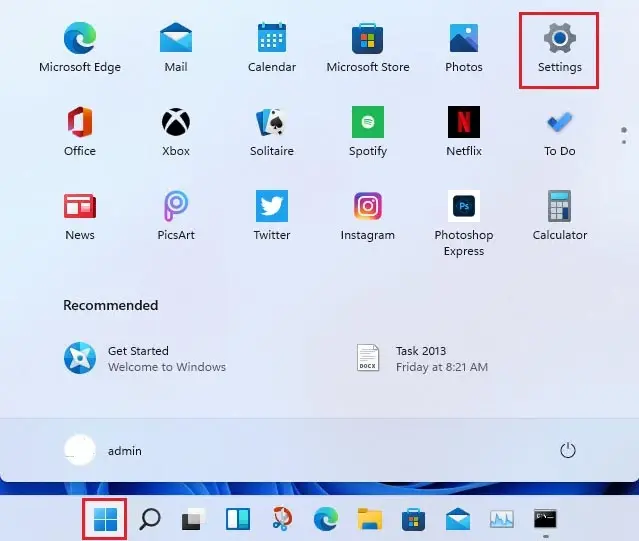
Hold the Windows+I key from your keyboard to launch settings. Or You can press the Windows Start Menu and then select the Windows settings app.
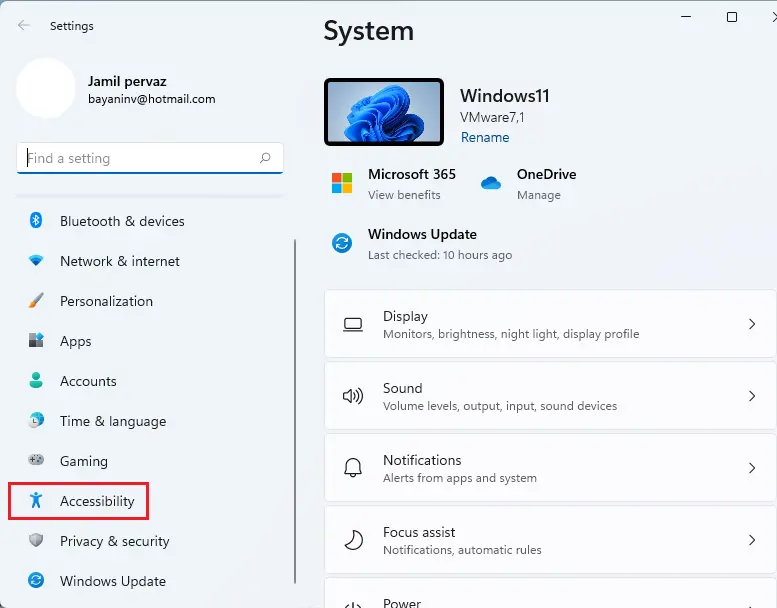
Select the Accessibility menu from the list.
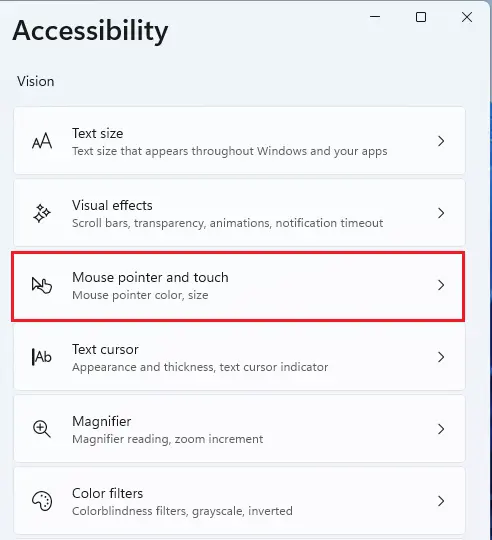
Choose the Mouse pointer and touch settings.
Now you are in the Mouse pointer and touch settings where we can change the size and color of your mouse pointer.
How to Change the Pointer Color
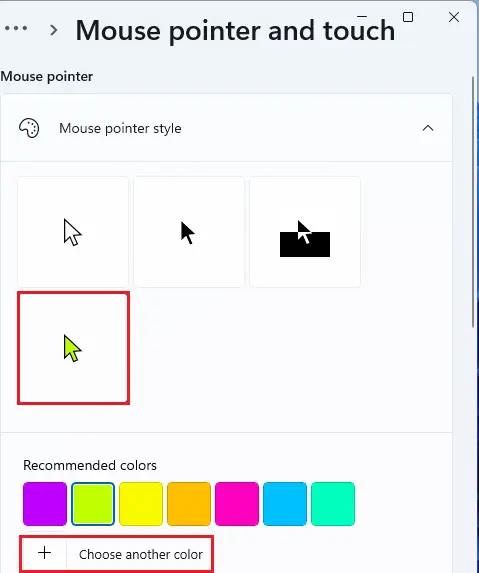
You will find different options under Mouse Pointer Style. Let’s see what these other options are.
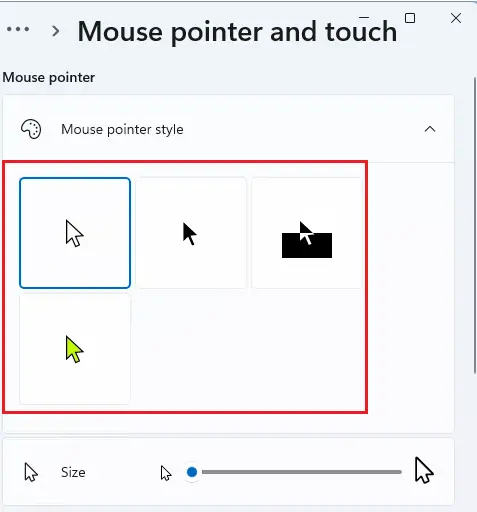
The line color will be selected by default when we click on the Custom option. You can choose any other color from the list below. Or click on choose other colors from one that is not listed below.
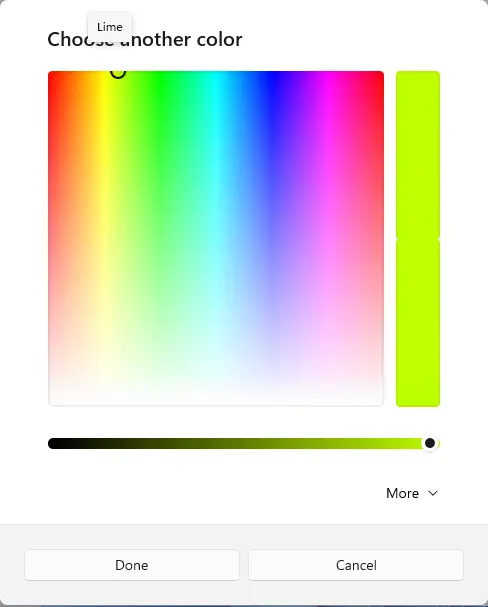
Here you can select any color that you want for the pointer. Select a particular portion in the box and then use the below slider to adjust the color value. Select the Done button to apply the changes to the mouse pointer color.
How to Change the Mouse Cursor Size
To increase the cursor size, drag the slider next to the size on your right. By default, the pointer size is set to 1, which one is the minimum size? you can increase it up to 15.
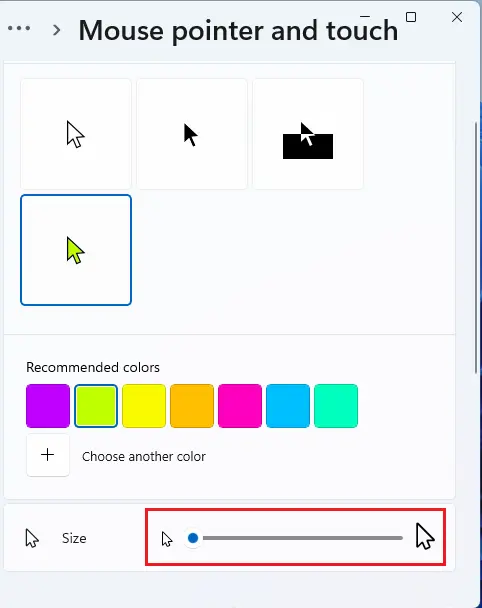
The volume numbers mentioned here would not construct much sense until we drag the slider ourselves. Also, the cursor size will shift while dragging the slider, and you can stop dragging further when it reaches the desired size.
Refer to Microsoft to learn in detail.

