This article will provide steps to upgrade VMware Workstation Player 16 to VMware Workstation Pro 16. The below steps will provide you how to upgrade VMware Player to Workstation.
Before upgrading to VMware Workstation Pro v16:
Please make sure that your physical machine (Server/Computer) meets the system requirements. For more details, check the Introduction and System Requirements section in using VMware Workstation Pro 16.
Shut down your virtual machines.
Upgrading
To upgrade VMware Player to Workstation Pro 16
1- Open VMware Workstation Player and select upgrade to VMware Workstation.
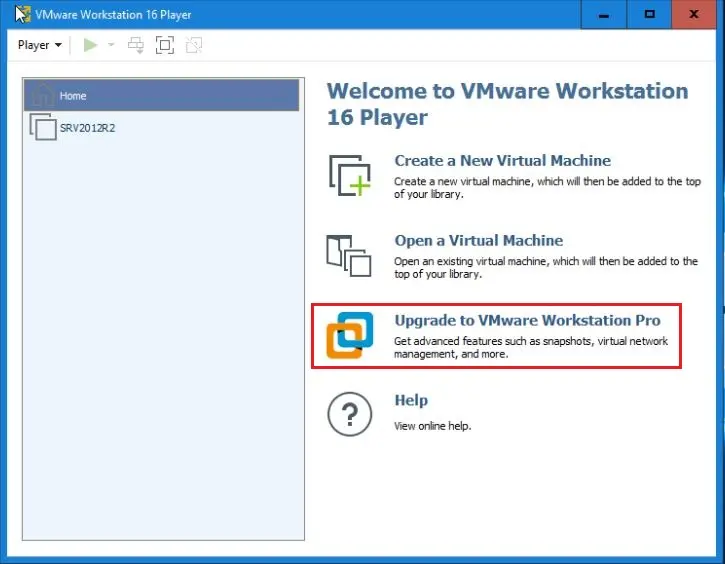
2- It will open VMware Workstation Download Center.
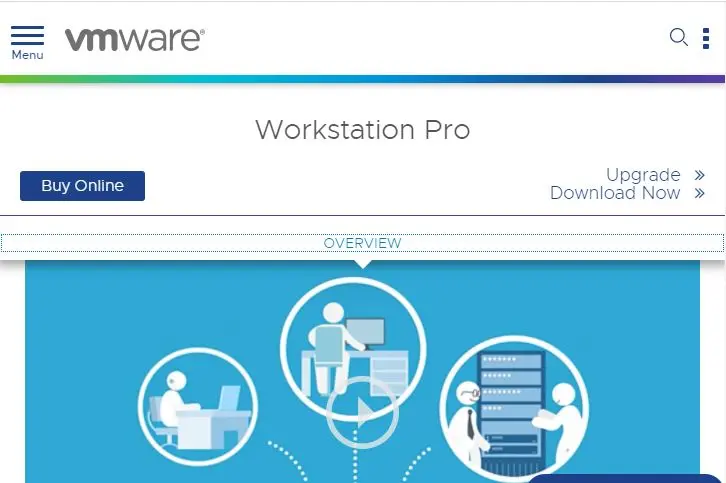
3- Based on your requirements, Select Downloads Now for VMware Workstation Pro 15 for Linux or VMware Workstation Pro 15 for Windows.
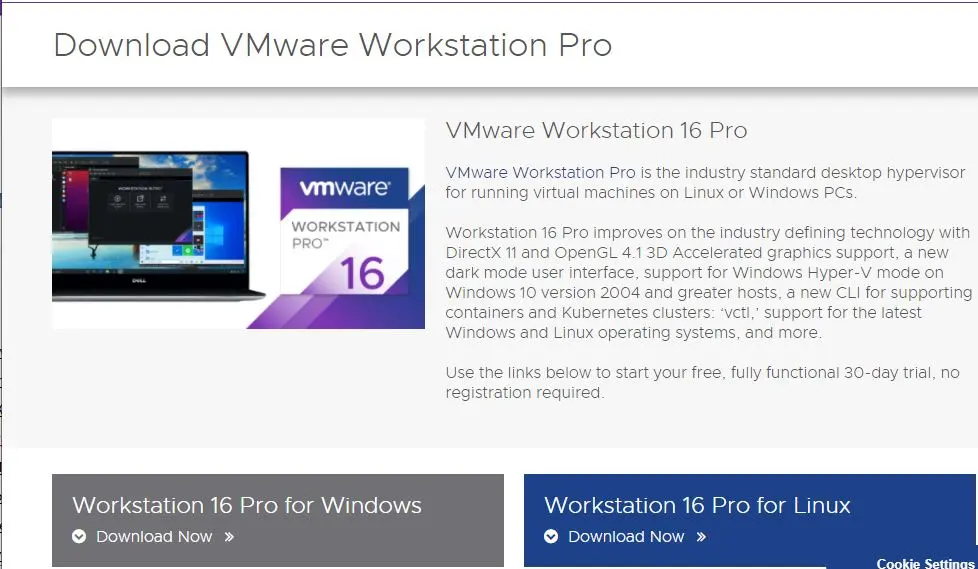
4- Log in to your My VMware profile. If you do not have a profile, create one and then click Download.
Go to your download folder and then run the VMware Workstation setup file.
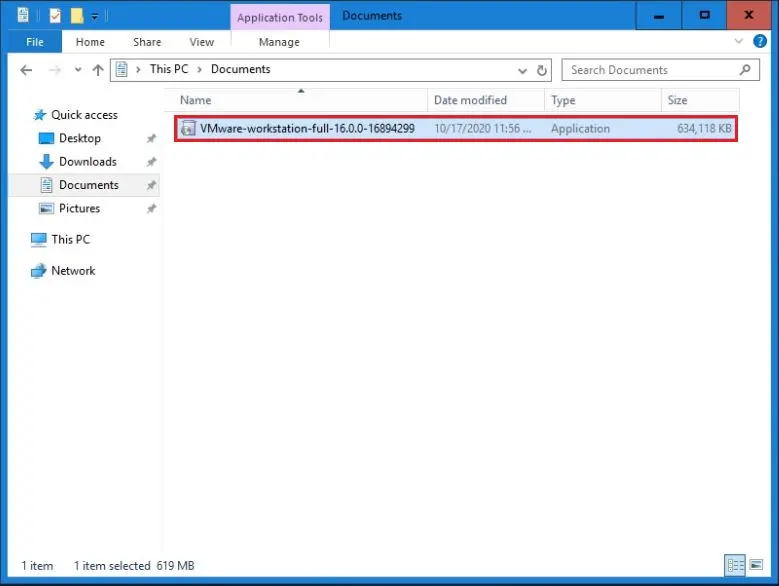
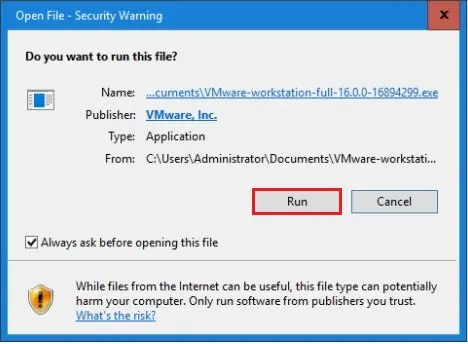
5- Select run
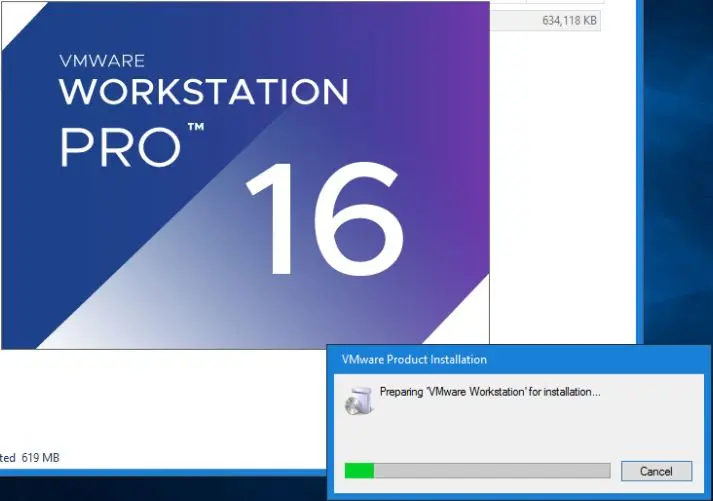
6- Preparing “VMware Workstation” for installation.
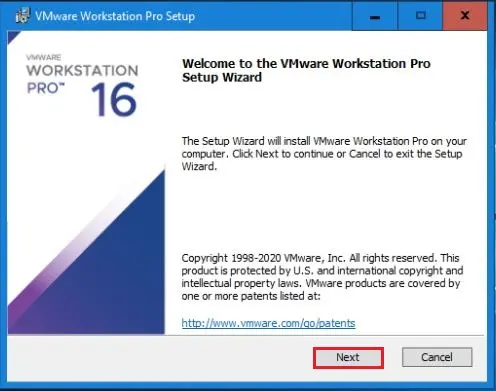
7- VMware Workstation Pro welcome screen Pro setup wizard, click next.
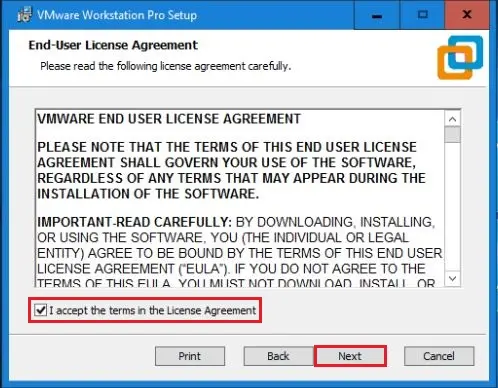
8- Choose the end-user license agreement and then click next.
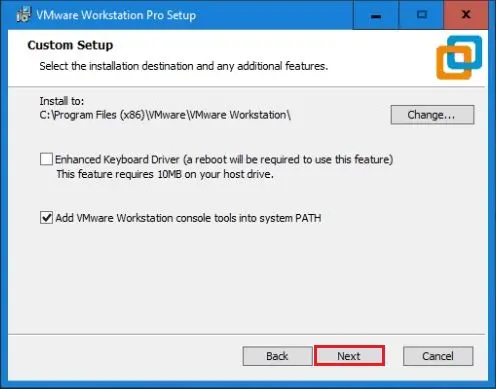
9- VMware Workstation Pro setup, Custom Setup click next.
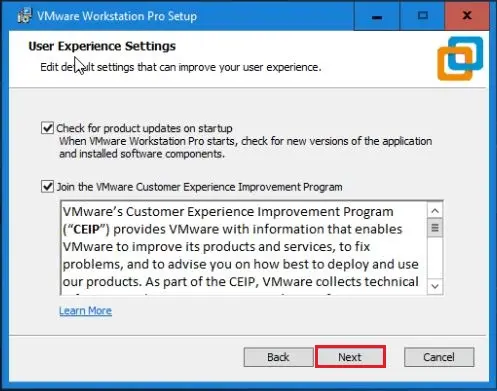
10- User experience settings, click next.
11- Click next.
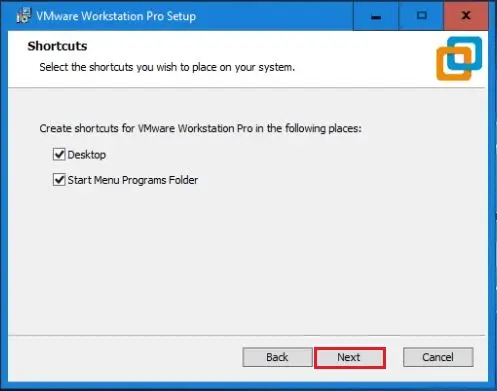
12- Ready to install VMware Workstation Pro? Click install.
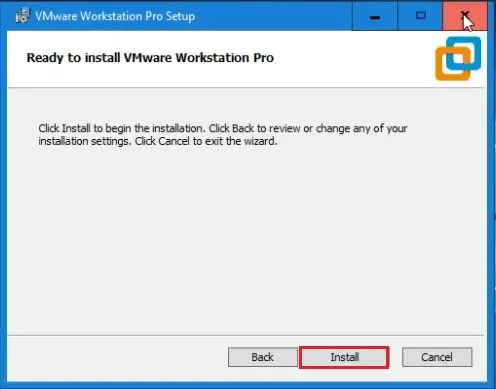
13- Installing VMware Workstation Pro.
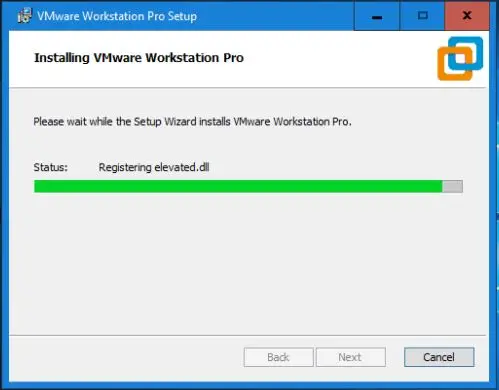
14- Click License.
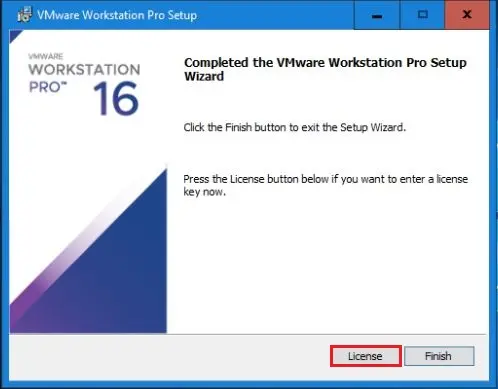
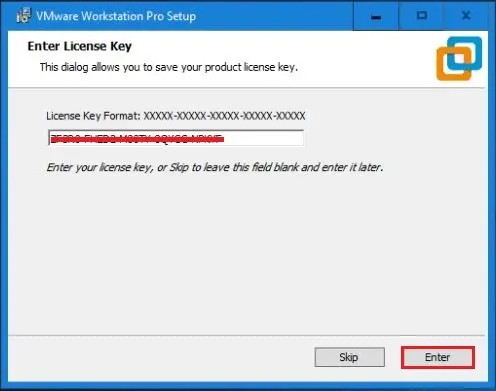
15- Type license key and then click enter.
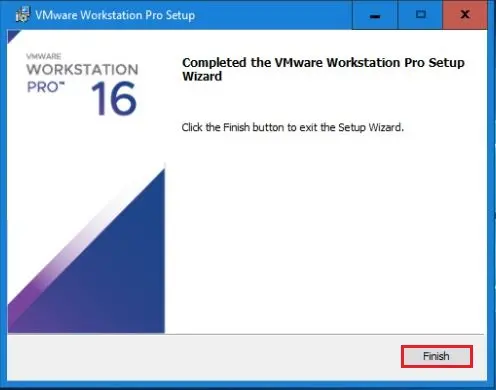
16- VMware Workstation Pro successfully upgraded, click finish.
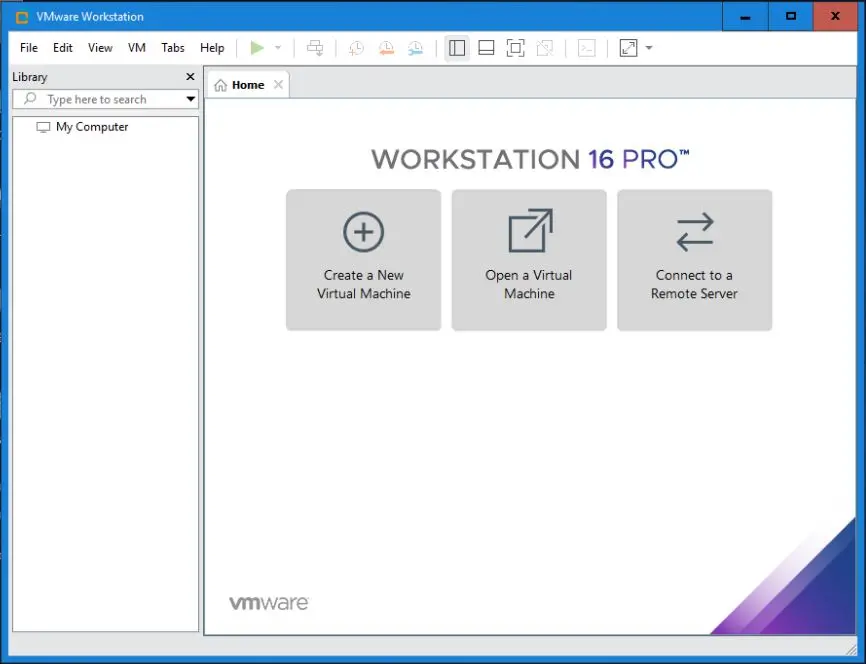
17- VMware Workstation 16 Pro interface.
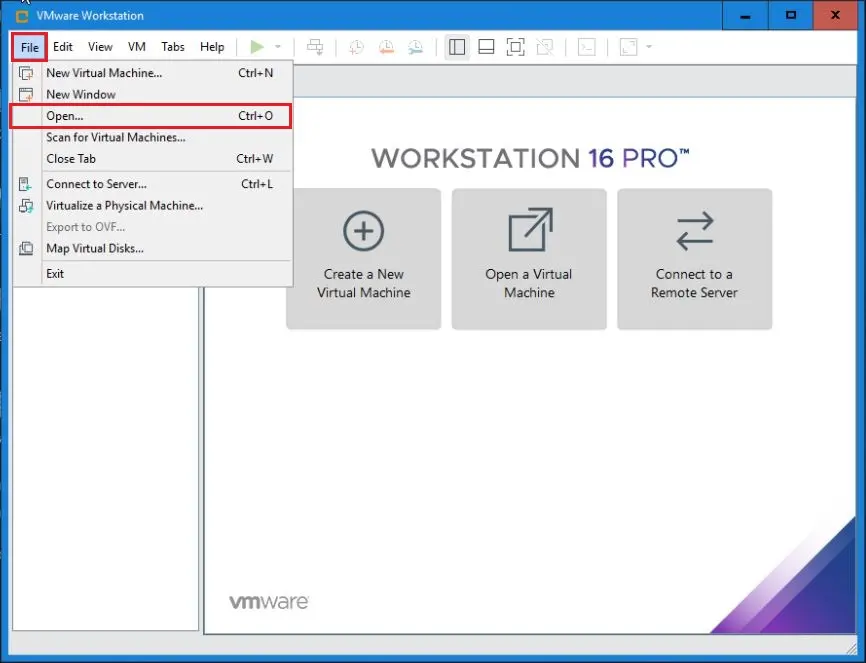
18- Select file and then select open to open the virtual machine.
Upgrade the virtual machine hardware version:
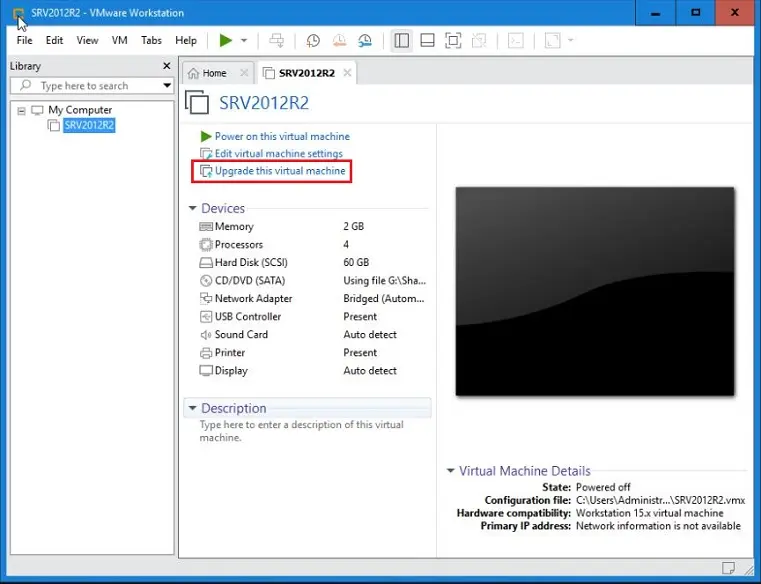
19- Select the Upgrade the virtual machine (Hardware version) on the Virtual Machine Summary page.
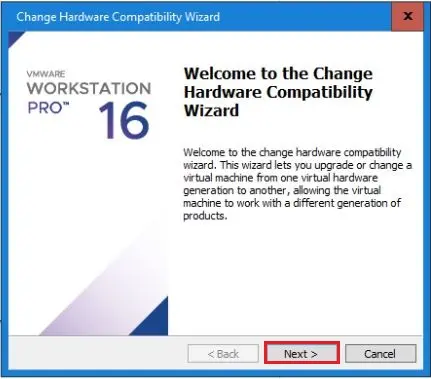
20- Welcome to the change hardware compatibility wizard, click next.
21- Choose hardware compatibility and then click next.
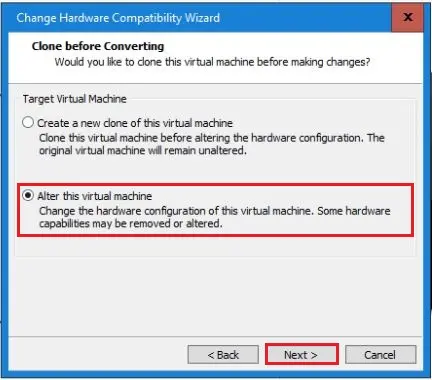
21- Choose alter the virtual machine and then click next.
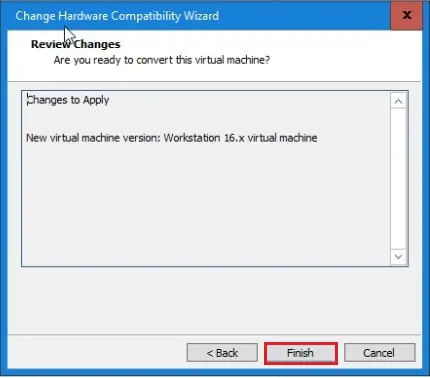
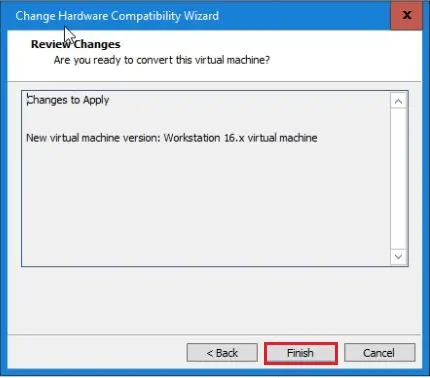
22- Click Finish when the process is complete.
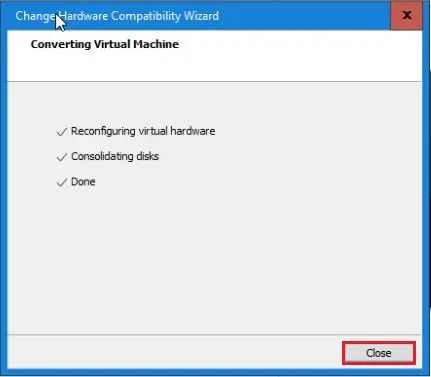
23- Converting virtual machine successfully completed; click close.
