Install Openfiler is an OS that gives file-based network-attached storage and block-based cargo area network, Openfiler may be a good choice to line up a storage appliance to supply shared storage with NFS or iSCSI.
To installing openfiler attend download latest openfiler software from Here download
Creating a virtual machine.
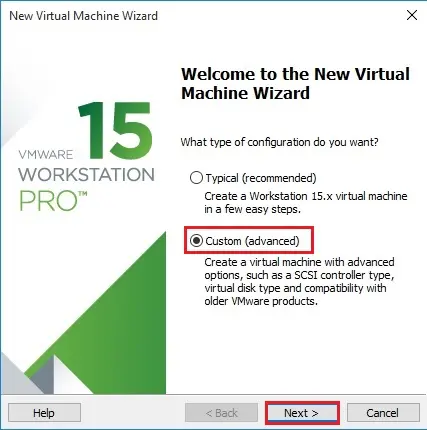
1- Launch VMware Workstation click Create a replacement Virtual Machine.

2- Select the option of the virtual machine you would like to create and click on next.
Note: Custom – this provides you a choice to create a virtual machine and choose its hardware compatibility. you’ll choose between Workstation 15.x, Workstation 14.x, and etc.
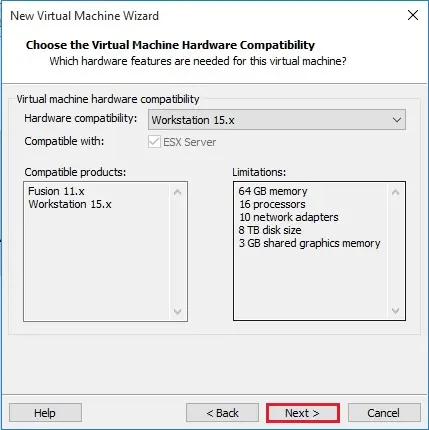
3- Select Hardware compatibility and click next.
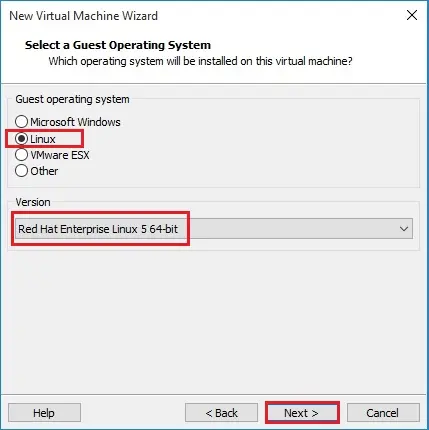
4- Select your guest operating system (OS) You can install the OS using,
Installer disc image file (ISO) I am selecting .iso and Click on Browse and select the operating system you want to install and click Next.
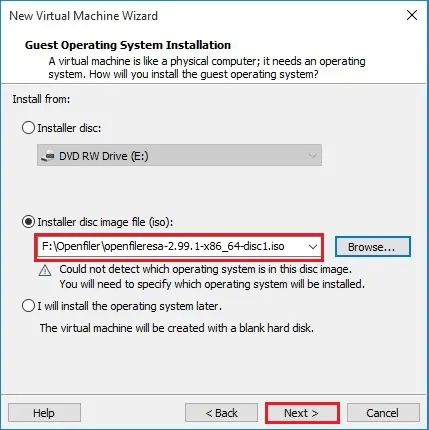
5- Select a Guest operation system and click next.
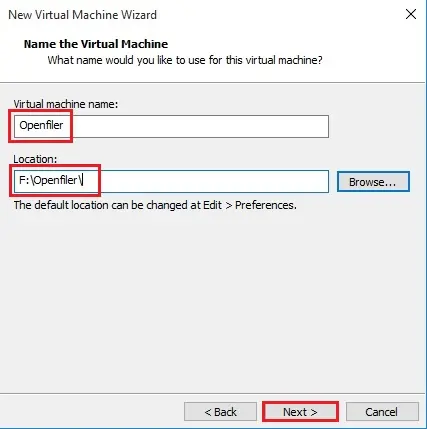
6- Type a virtual machine name and specify a location for virtual machine files to be saved or leave it as default settings and click next.
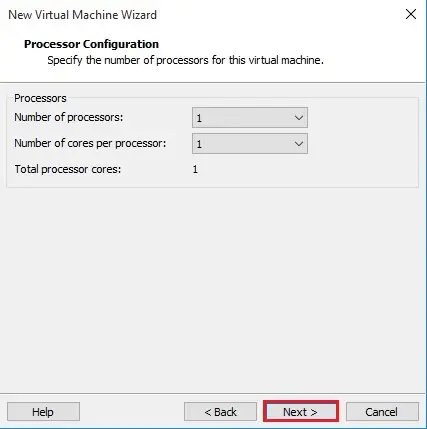
7- Select the number of processors and click next.
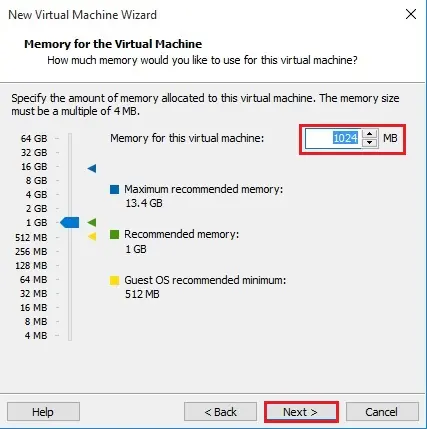
8- Select the number of Memory for this virtual machine and click next.
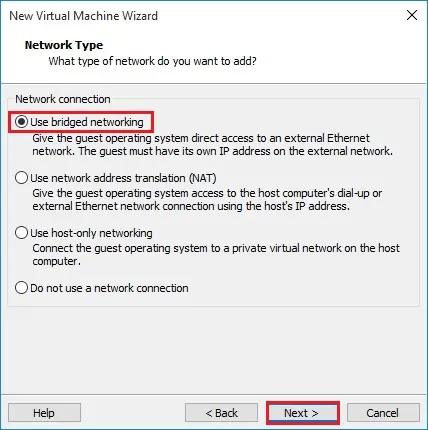
9- Select Network Type and click Next.
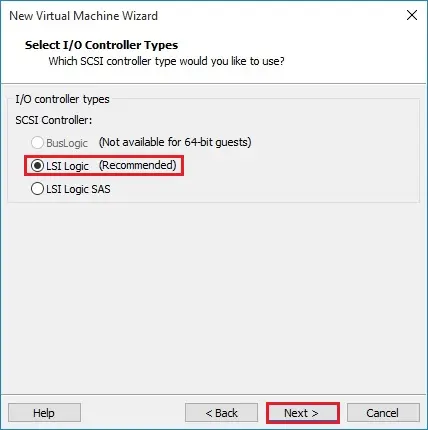
10- Click next.
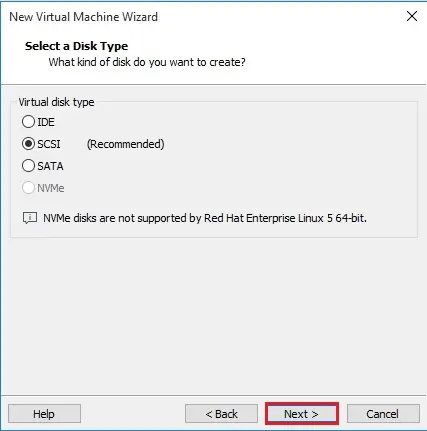
11- Click Next.
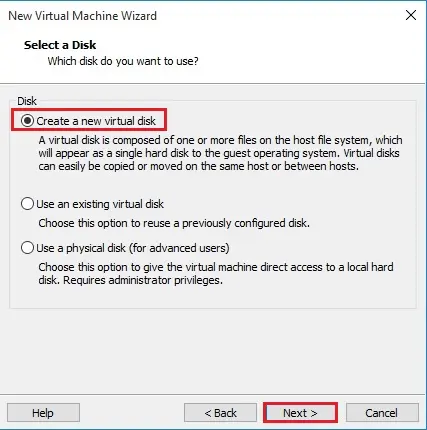
12- Select Create a new virtual disk option and click next.
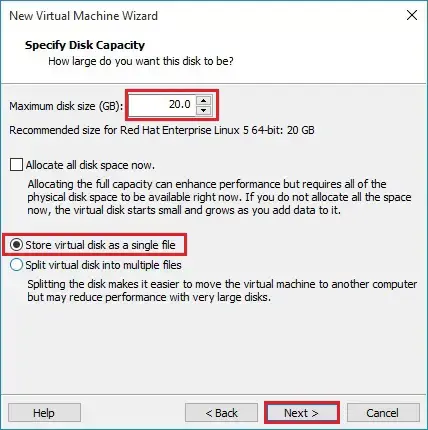
13- Specify disk capacity of the virtual machine’s disk size
Select store the virtual disk as a single file or split the virtual disk into multiple files and click next.
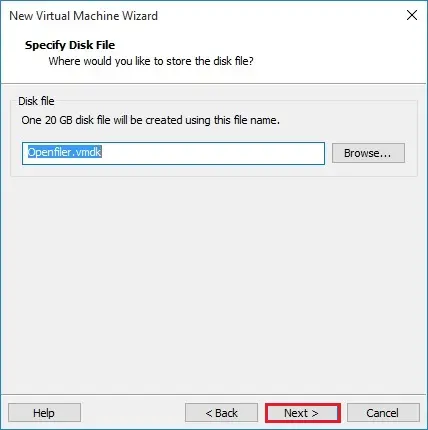
14- Click Next.
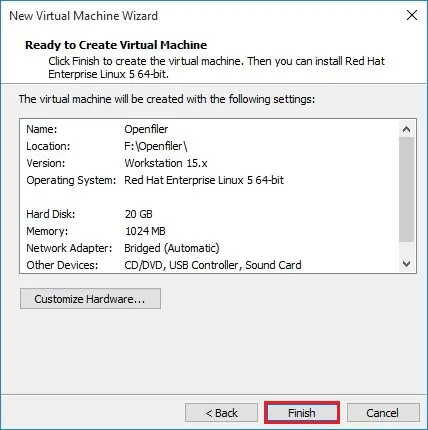
15- Click finish.
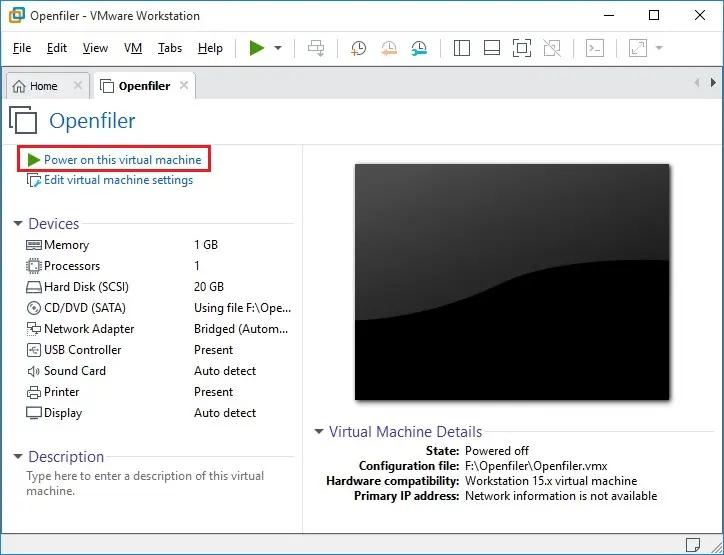
16- Click on Power on this virtual machine.
Install Openfiler
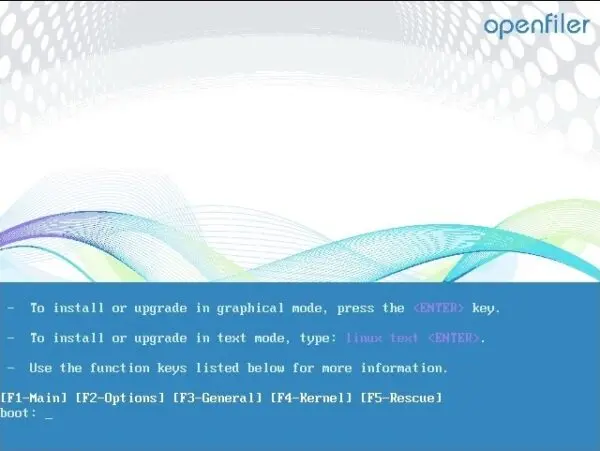
17- Boot the virtual machine with the installation ISO and Press Enter to start the installation.
18- Click next.

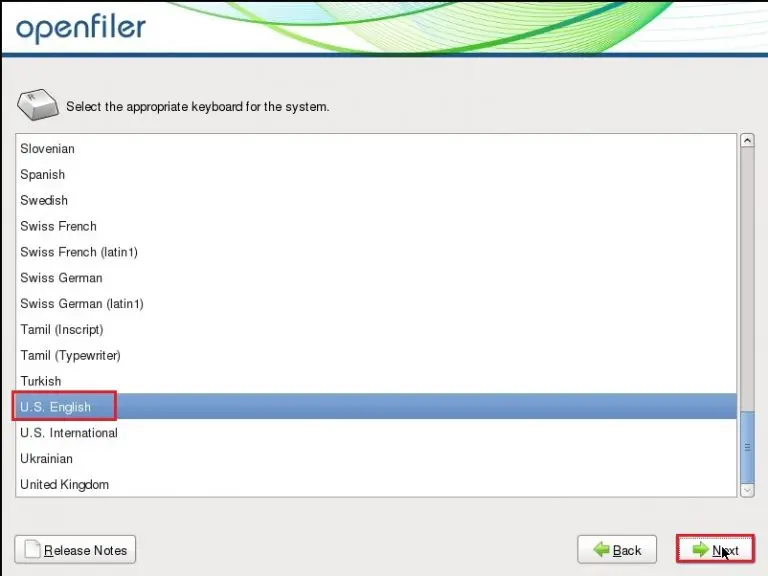
19- Select languages and click next.
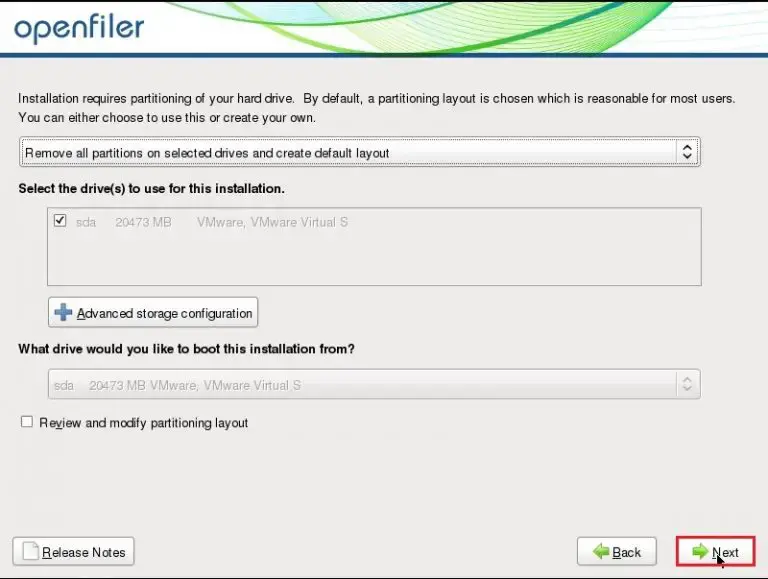
20- Would you like to initialize this disk, erasing all data click Yes.

21- Click next.
22- Click yes.

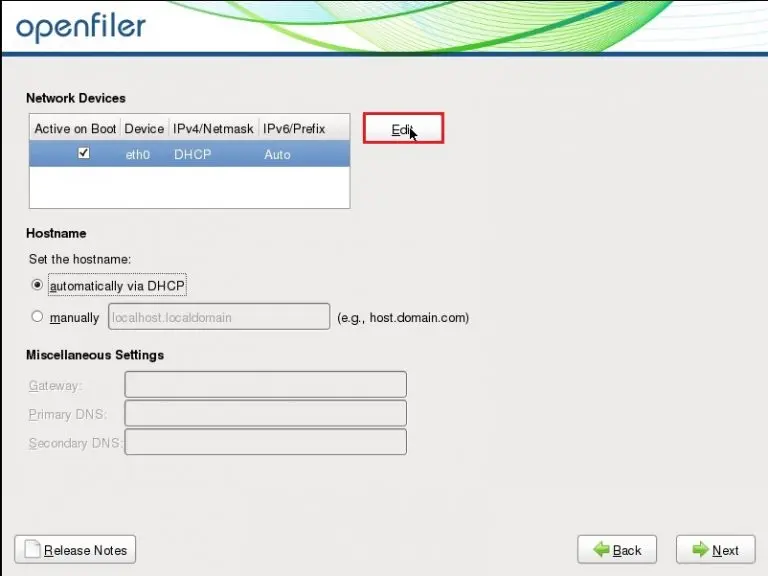
23- By default network, your network adapter will be configured for DHCP, recommenced to set that for manual and type your hostname and other settings
Under network devices click Edit.
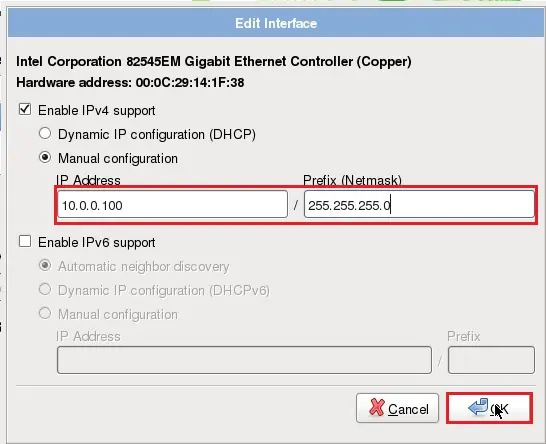
24- Enable IPv4 > type IP Address and Netmask and click ok.
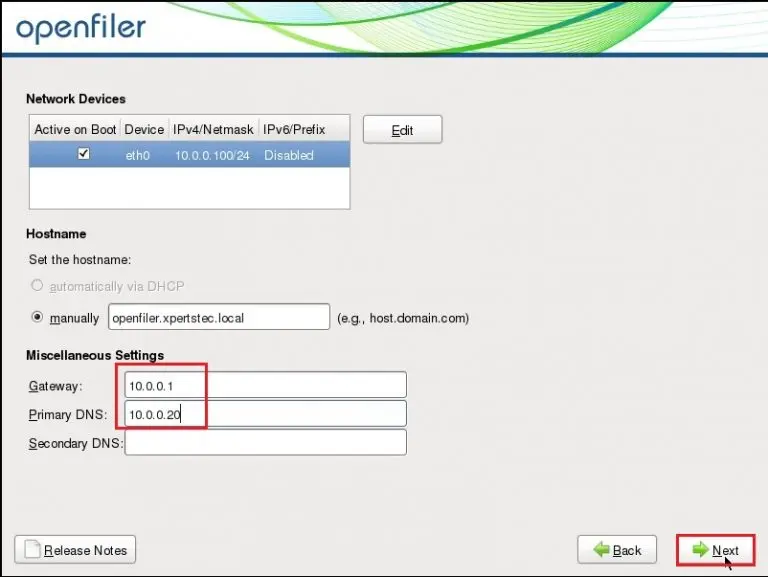
25- Type Gateway > Primary DNS and click next.
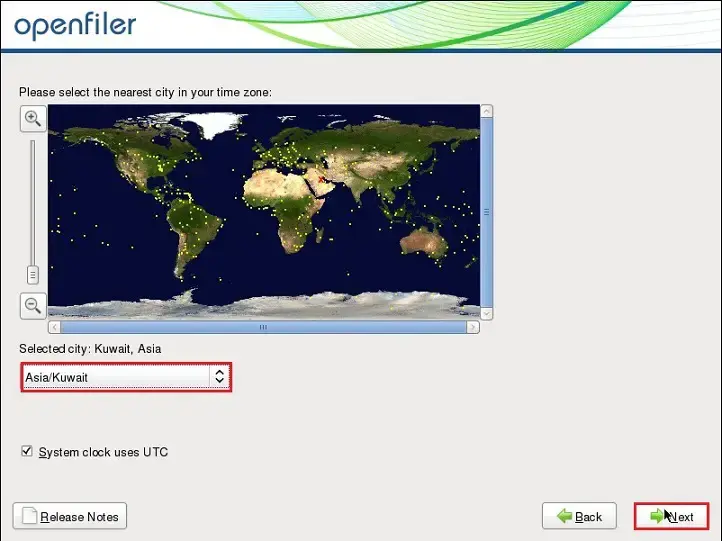
26- Select your time zone and click next.
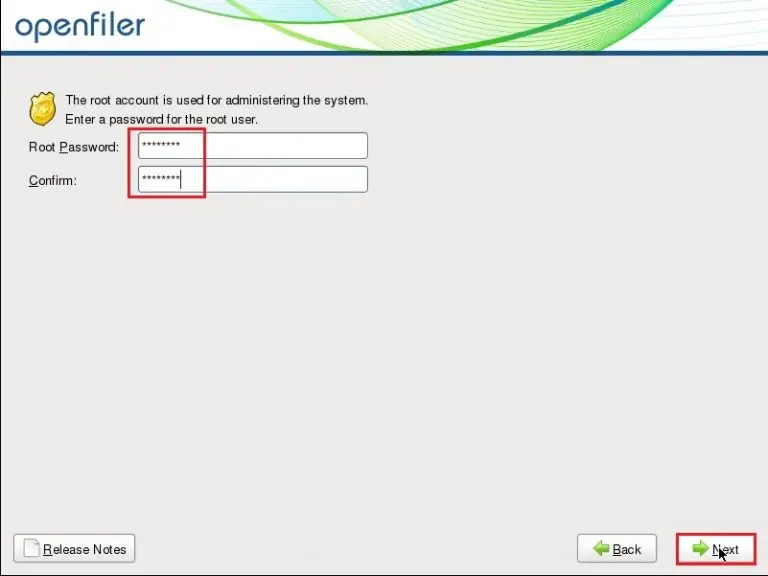
27- Type Root password > Confirm password and click next.
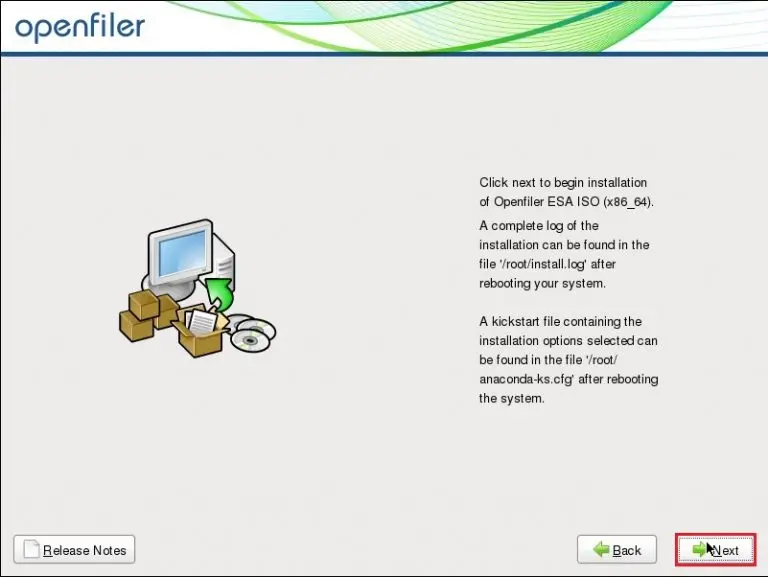
28- Click next to start the installation.
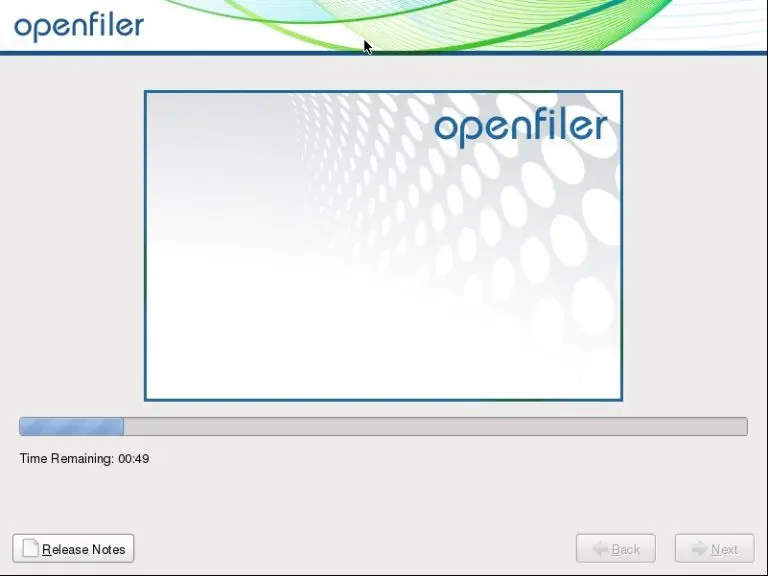
29- Default running process.
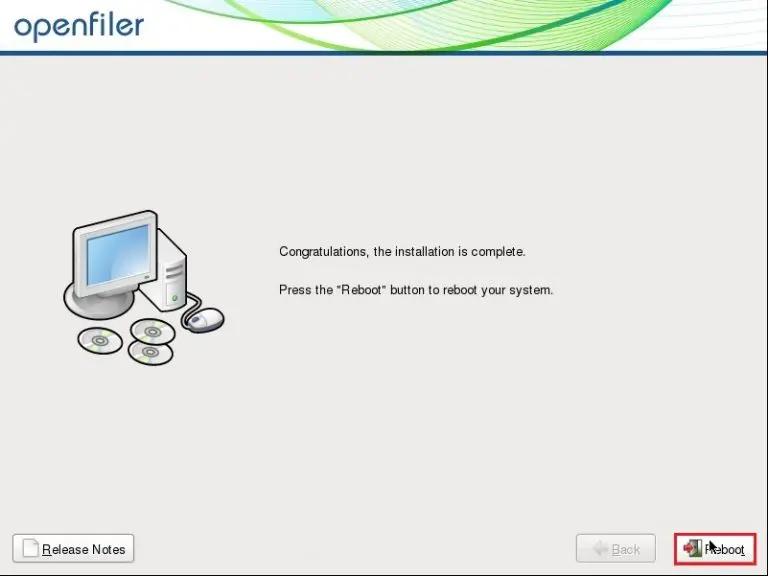
30- Installation completed and click reboot.
31- After rebooting.

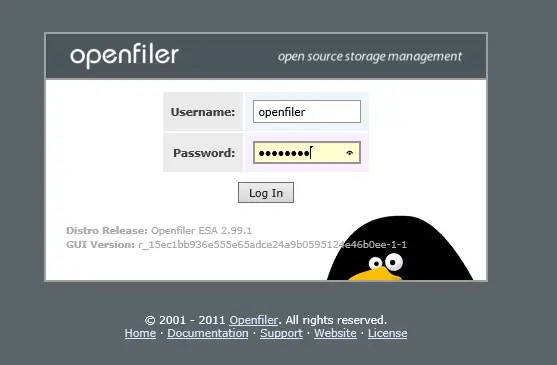
32-you can access web administration GUI console from the browser.
Default username openfiler
Default password password