
Migrate vCenter to VCSA, First blog, migrate Windows vCenter Server to VCSA Part-01. In the blog, migrate – Stage 2: vCenter Server.
Migrate Windows vCenter Server
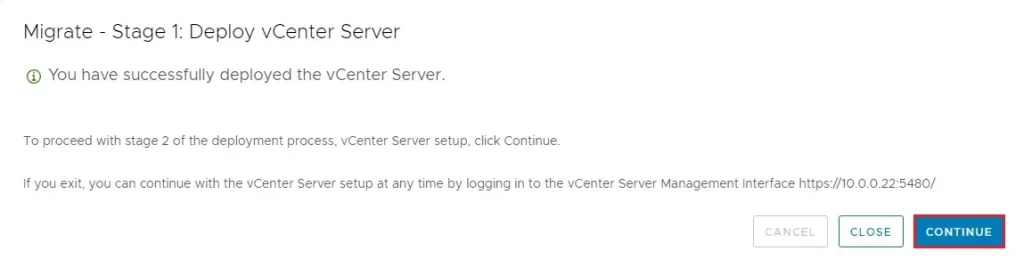
1- Migrate – Stage 1: Deploy vCenter Server, then click continue
2- Migrate Windows vCenter Server, introduction option and then click next to begin the migration wizard.

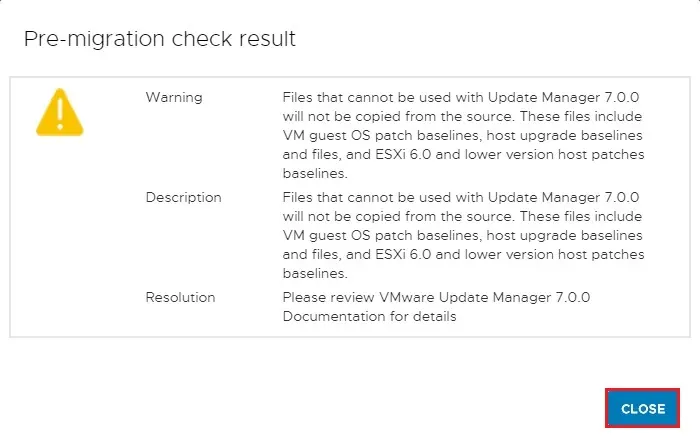
3- Migrate Windows vCenter Server pre-migration check result then click close
The source VMware vCenter details are imported from stage 1.
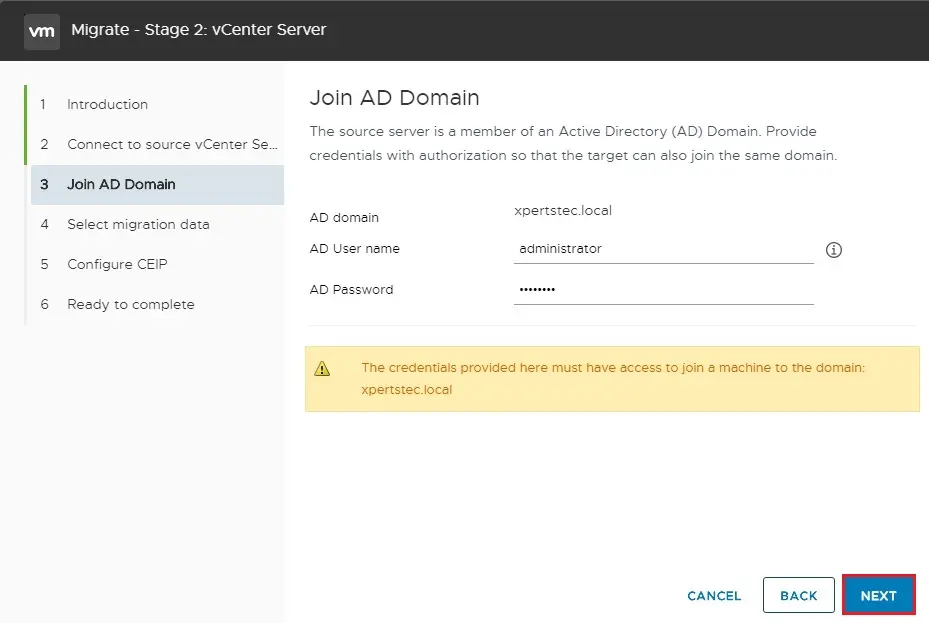
4- My source Windows vCenter Server join to a domain, Type AD credentials to join the VCSA to the domain.
Click Next
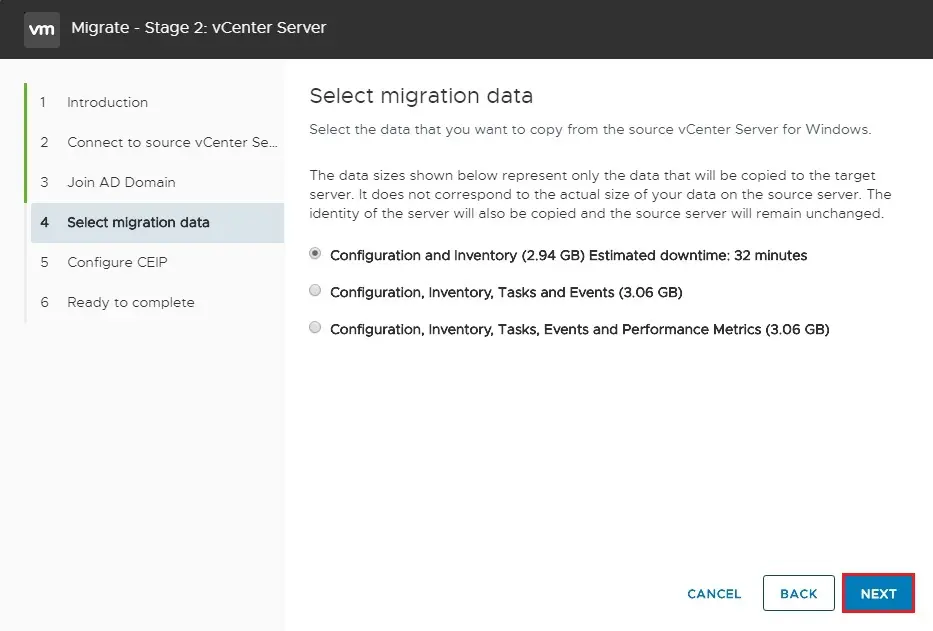
5- Select the data to migrate and then click next
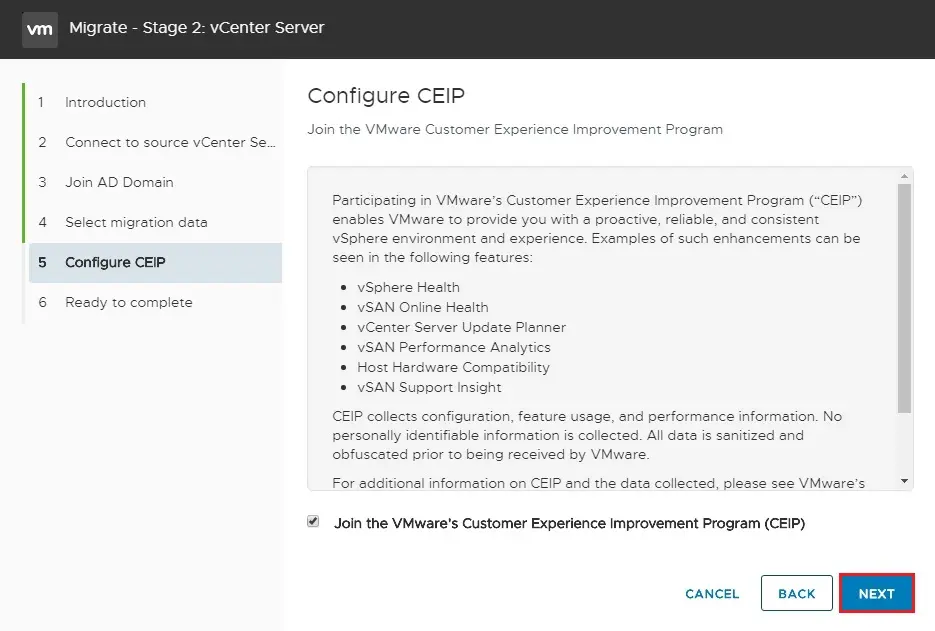
6- Select whether or not to join the VMware Customer Experience Improvement Program and then click Next.
7- Review the migrated Windows VMware vCenter summary settings and then click Finish. Data will now be migrated to the VCSA

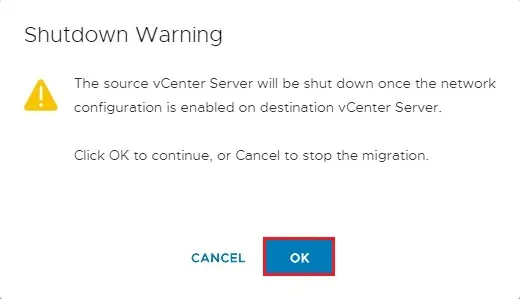
8- Once complete the Windows VMware vCenter Server will be powered off and the network settings transferred to the vCenter 7.0 (VCSA). If you urgently need to power back on the Windows server to retrieve files or such like and then do so with the vNICs disconnected, otherwise you will cause an IP/host name conflict on the network
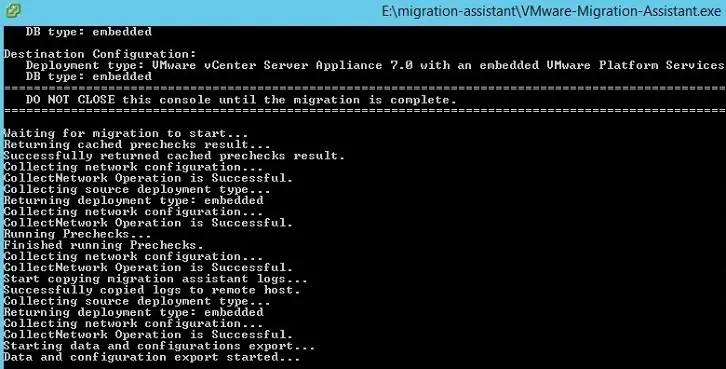
9- View the VMware Migration Assistant progress
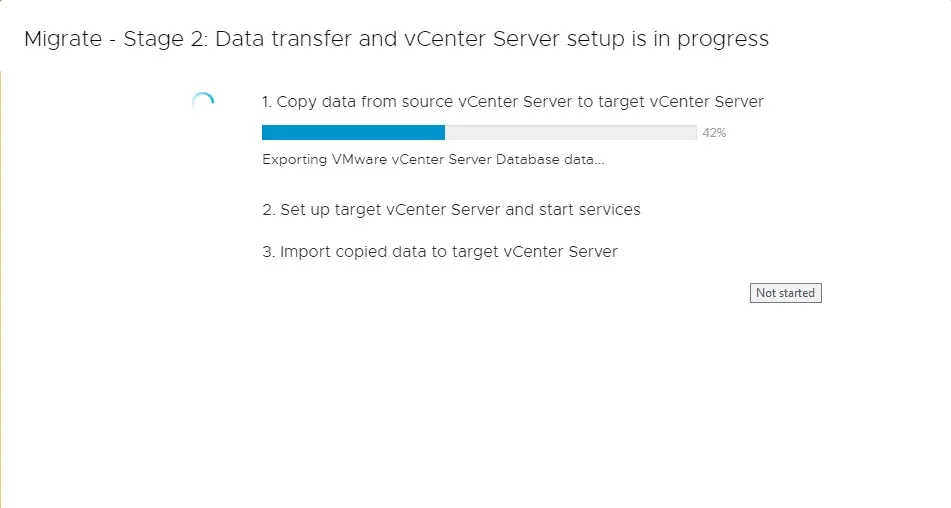
10- Migrate Windows vCenter Server start copy data from source to target
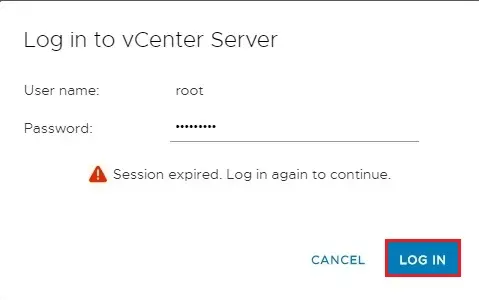
11- Log in to your vCenter Server type password and then click login
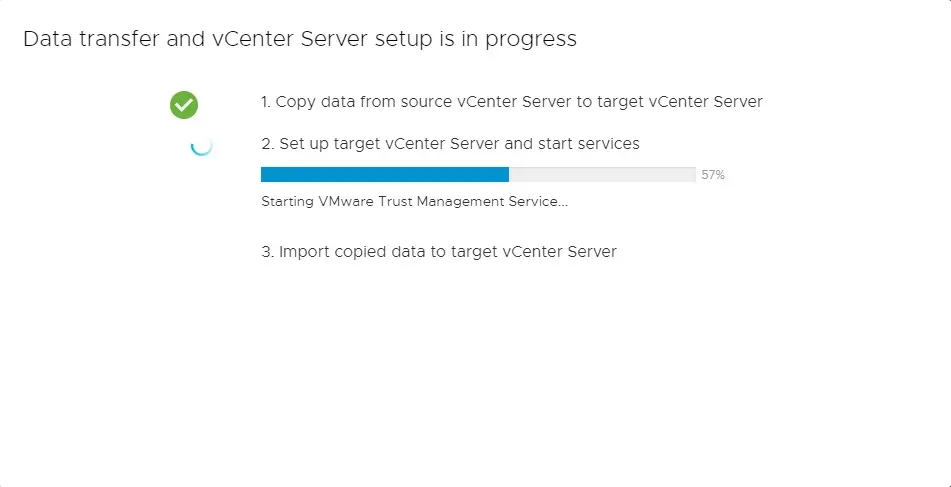
12- Set up target vCenter Server
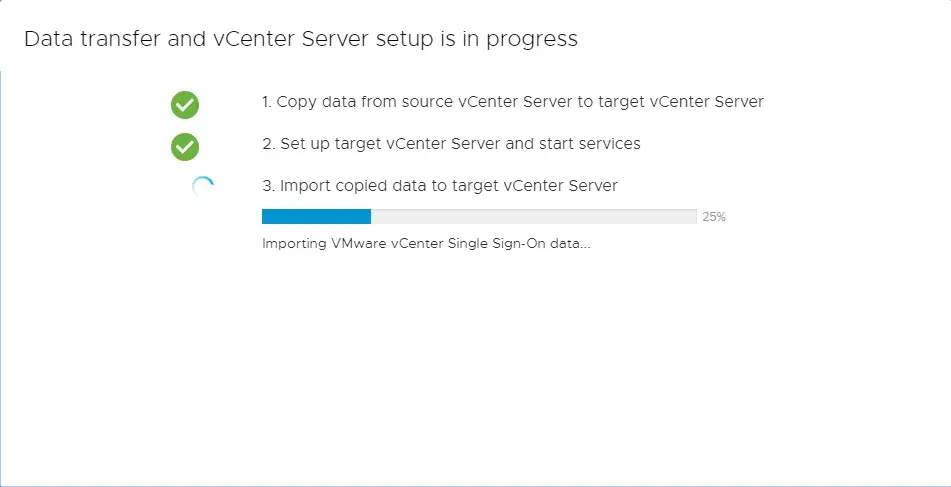
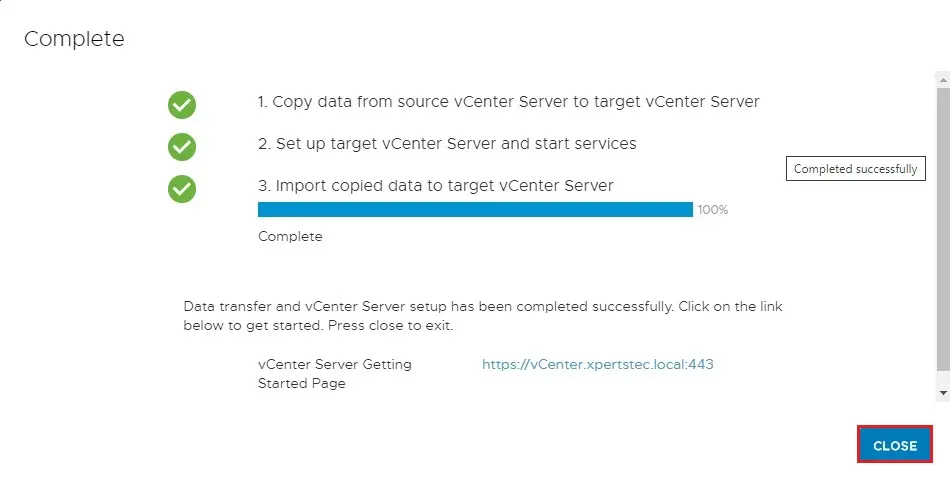
13- Import copied data to target vCenter Server
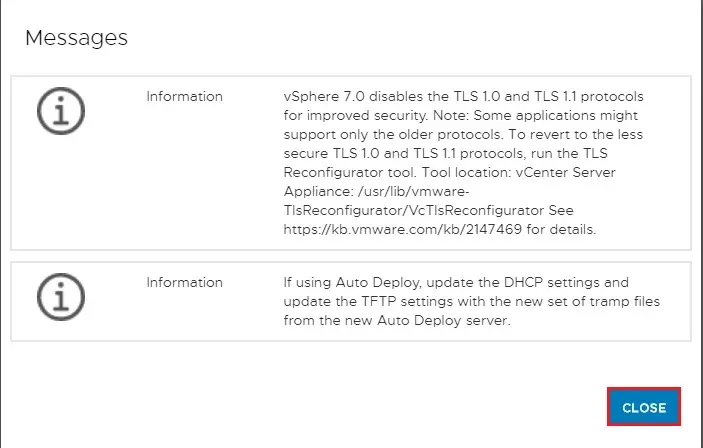
14- Click close
15- Windows vCenter Server successfully migrated to VCSA
Post-Installation
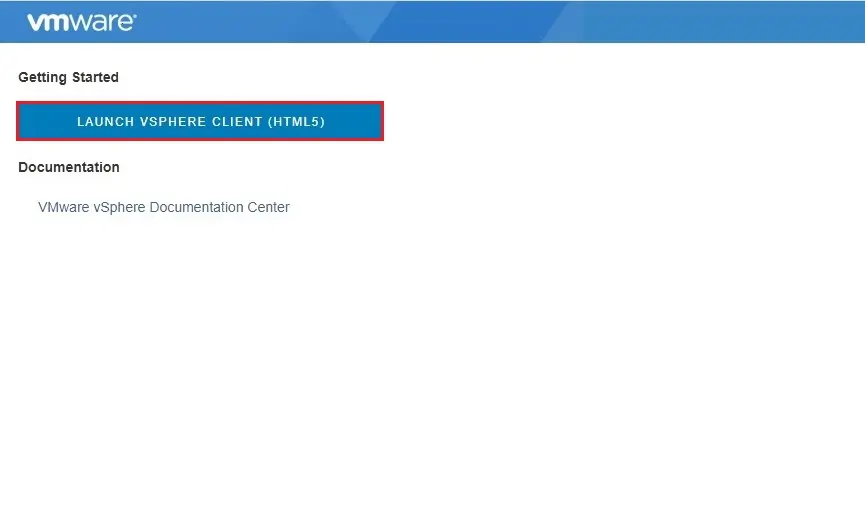
16- Connect to the vCenter Server using the IP or FQDN of the vCenter. Click on Launch vSphere Client (HTML5).
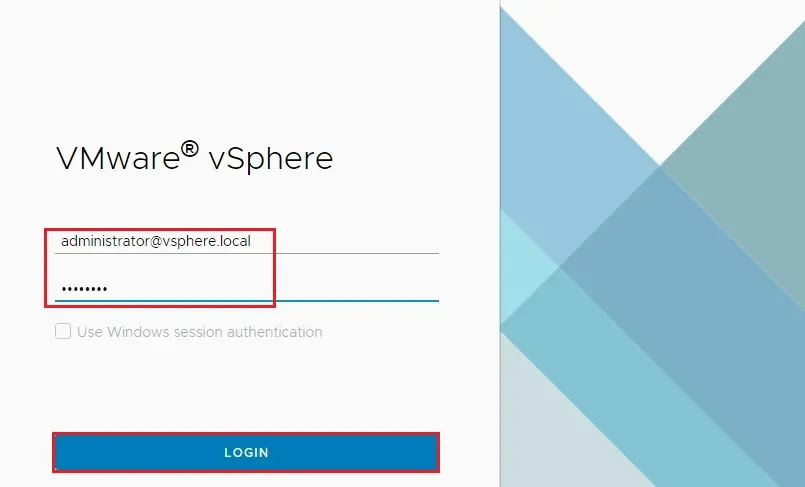
17- Type vCenter Server username, password and then click on login
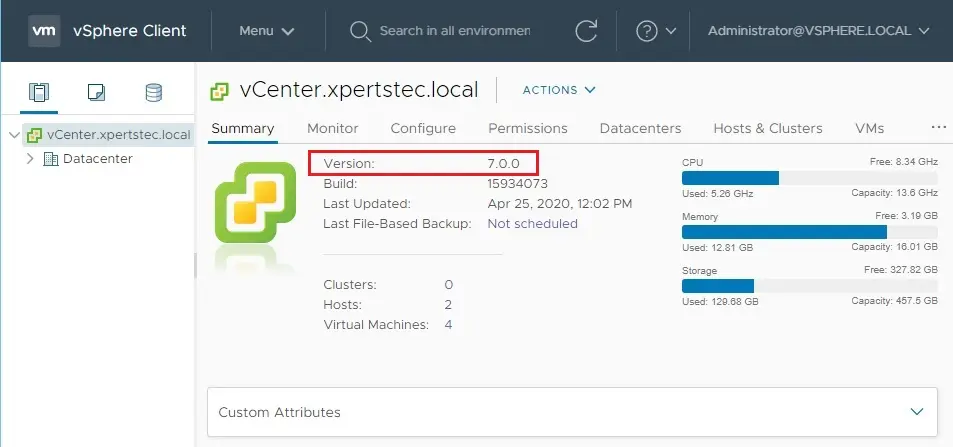
18- After successfully login with vCenter Server you can see Windows vCenter Server successfully migrate to vCenter Server 7.
For more details click here