Install and Configure VMware vSphere ESXi 6.7,
How to Download VMware vSphere ESXi Host
First, we need to create an account, after creating an account you can download the trial version for 60 days.
Now I have my download ready and I am ready to install.
Install and Configure VMware vSphere ESXi 6.7
In this blog, I am going to install and Configure VMware vSphere ESXi 6.7 Host inside VMware Workstation 15.
1- First, we’d like to make a virtual machine in VMware Workstation, change the boot option from the bios else from ISO.
How to Create a VM in VMware Workstation
2- VMware ESXI 6.7 first screen appears.
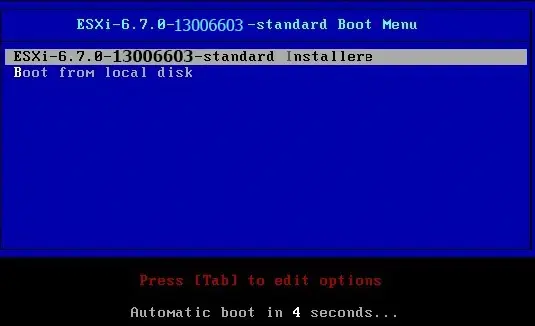
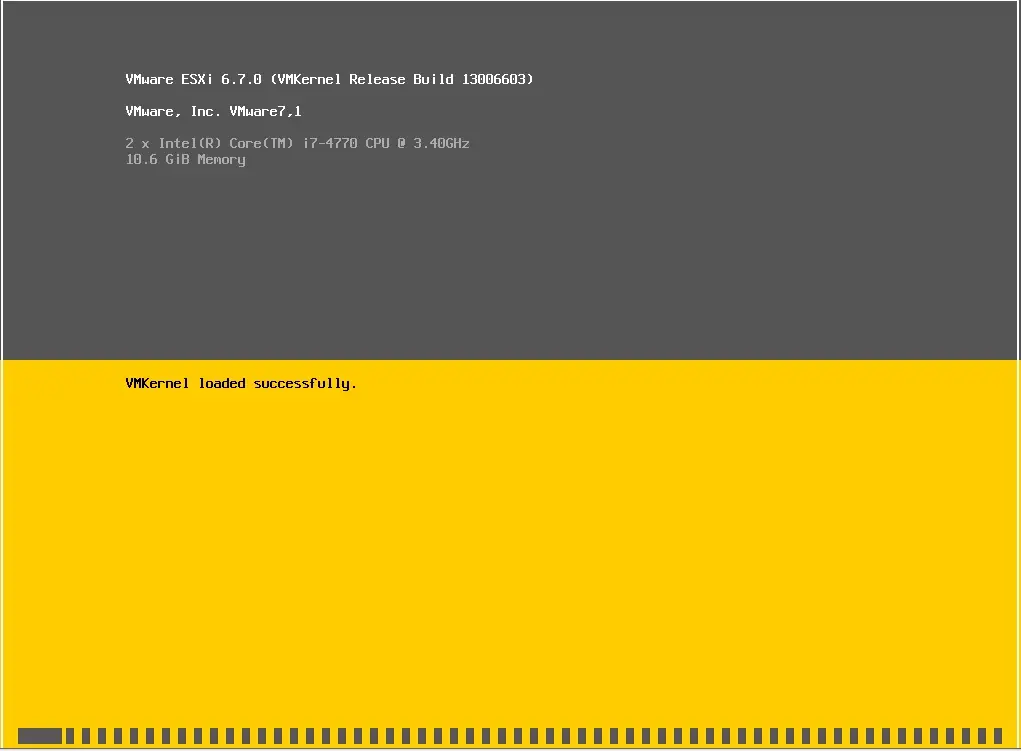
3- It starts loading the files into memory to install the VMware ESXi 6.7.
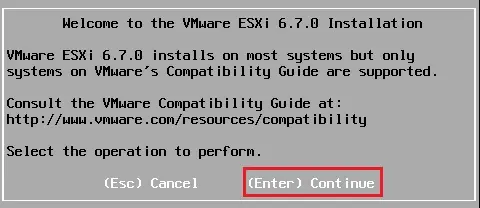
4- Press enter to start the installation.
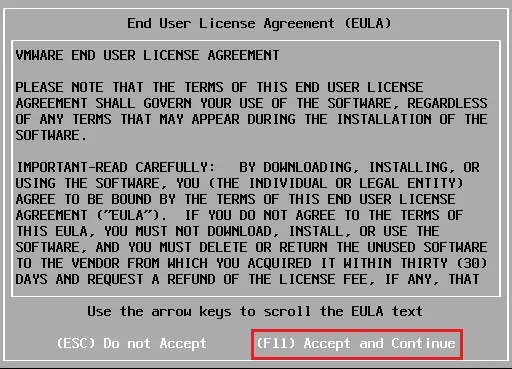
5- Press the F11 key to accept the user license.
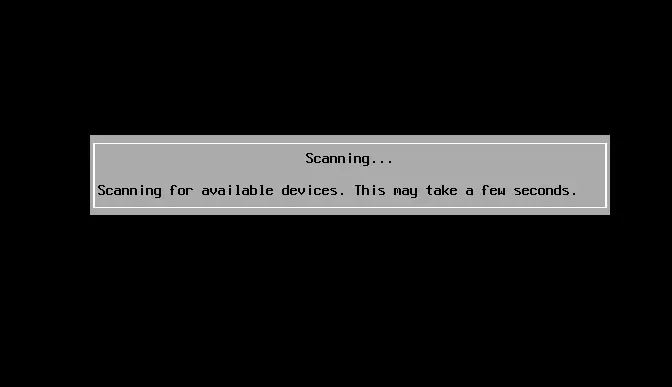
6- It starts scanning for the available devices.
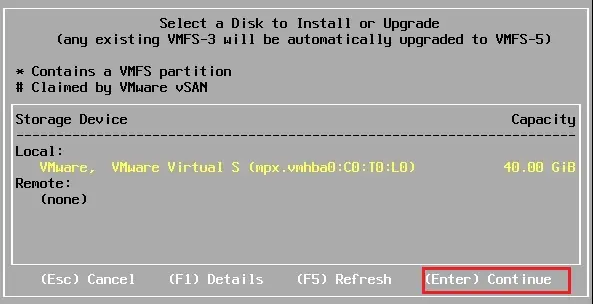
7- Select a disk to install VMware ESXI, and press enter.
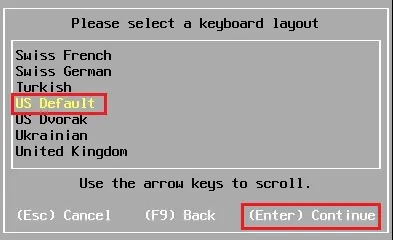
8- We need to select the keyboard layout and press enter to continue.
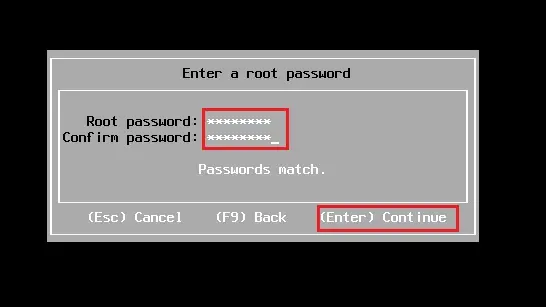
9- Enter a root password, confirm password and press enter to continue.
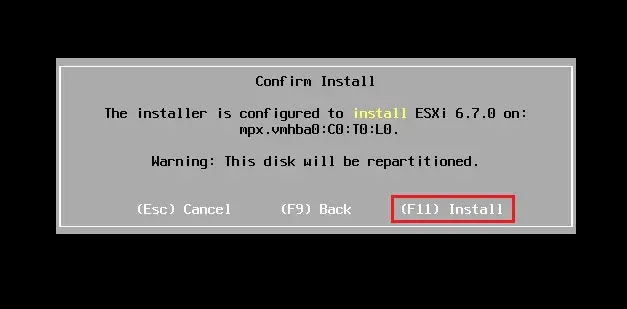
10- The installer is configured to install VMware ESXI 6.7, so Press F11 to start the installation.
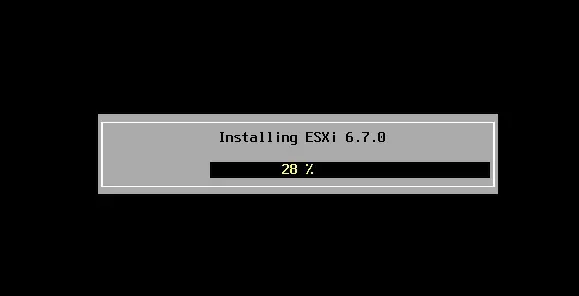
11- The ESXi installation in progress will not take a few minutes to complete.
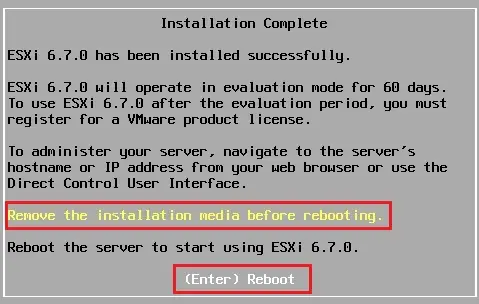
12- VMware ESXi 6.7 installation successfully completed, please remove the installation media and press enter to reboot the host.
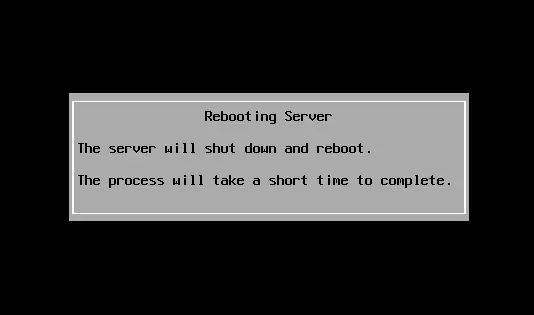
13- The ESXi host server is rebooting.
14- After successfully installing.
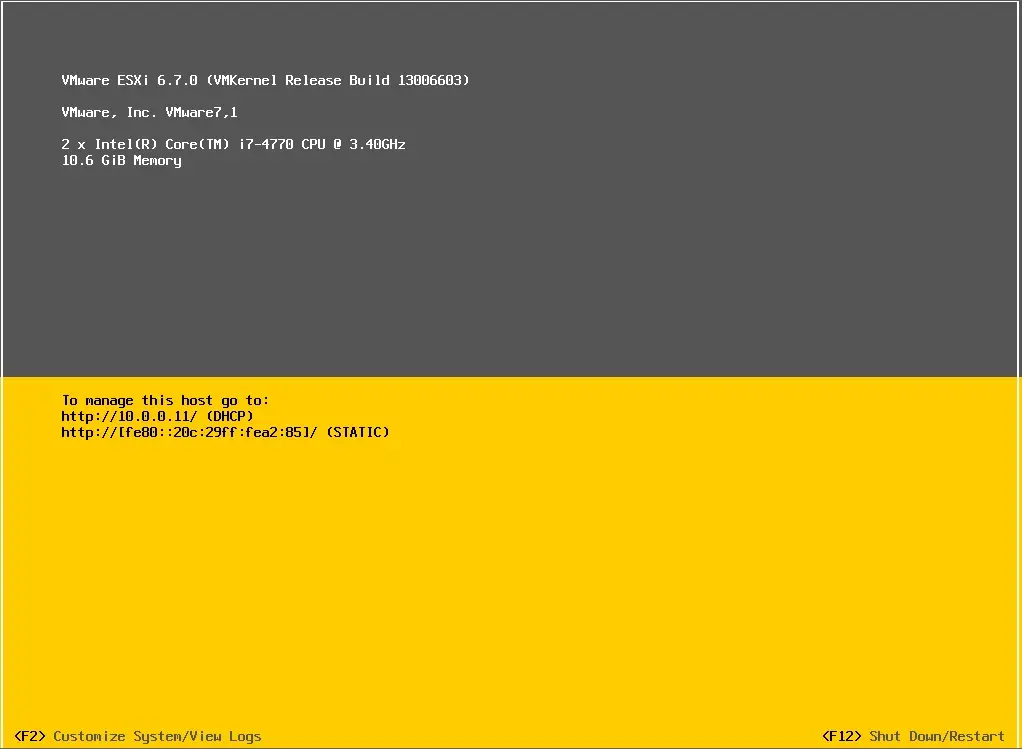
How to configure VMware vSphere ESXi 6.7
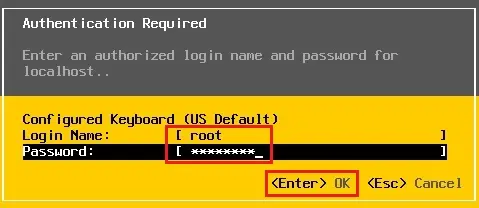
15- Once we have our VMware ESXi 6.7 host installed, we need to configure Press f2 for all options. F12 to restart and turn off the ESXi host, press F2, type the root password, and press enter to continue.
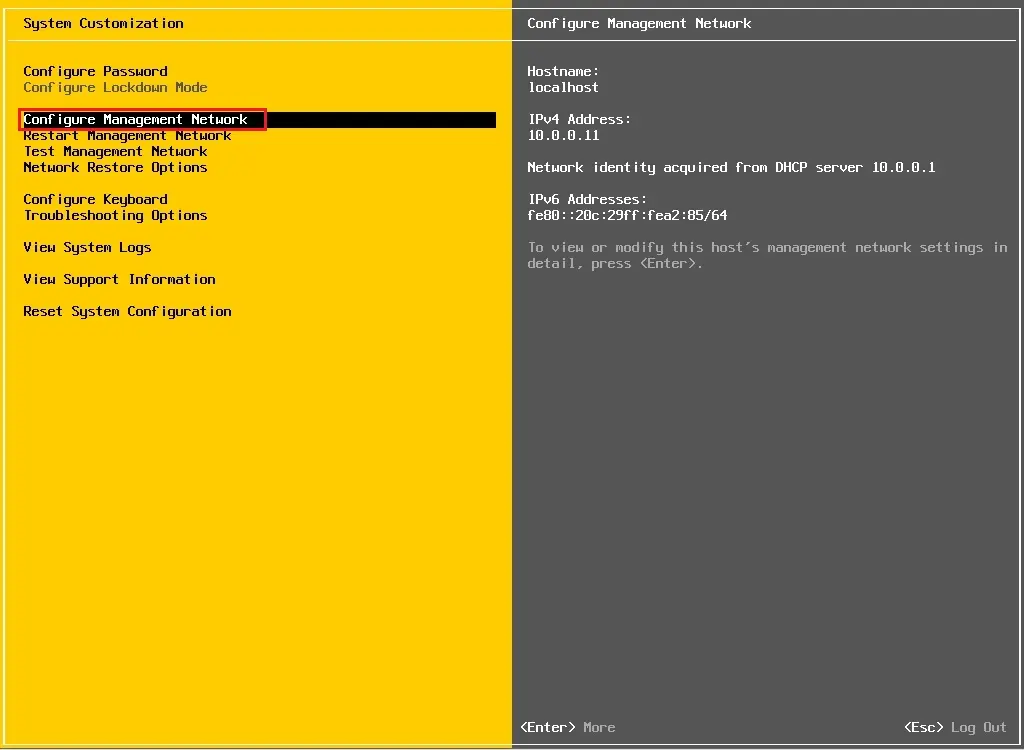
16- Select the Configure Management network alternative and then press enter.
17- Select the IPv4 configuration option and then press enter.
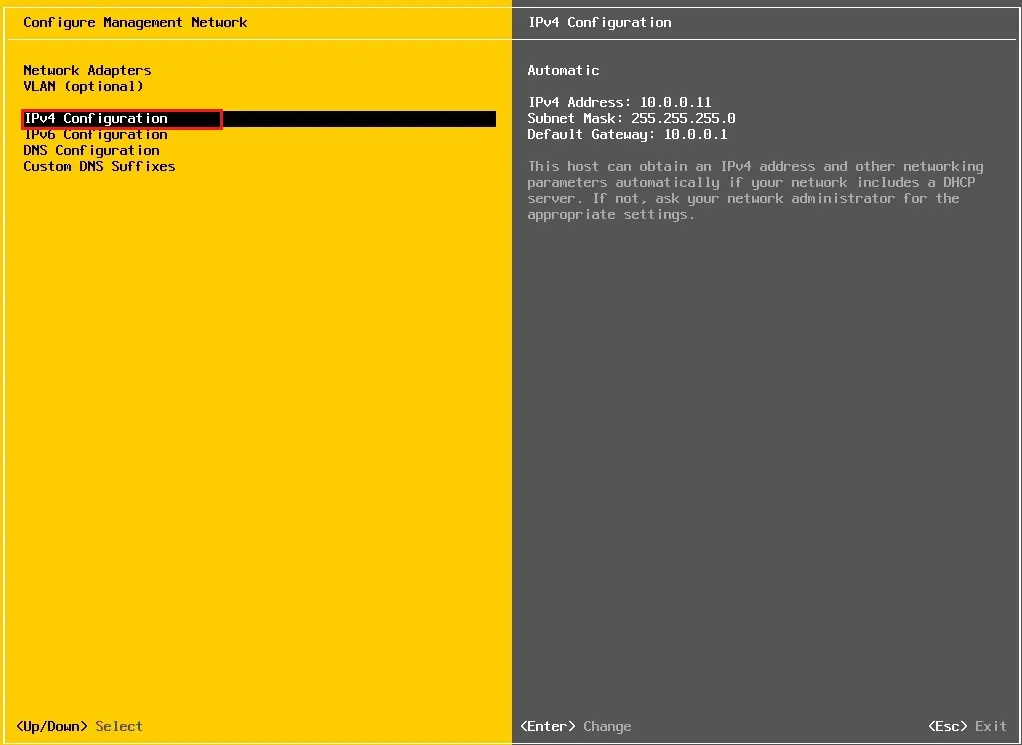
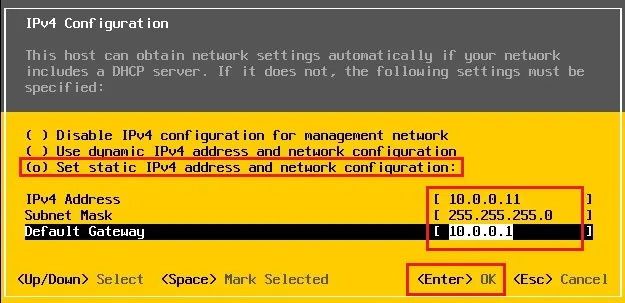
18- Select set static IPv4 address and network configuration, type your IP Address, subnet mask, default gateway, so press enter.
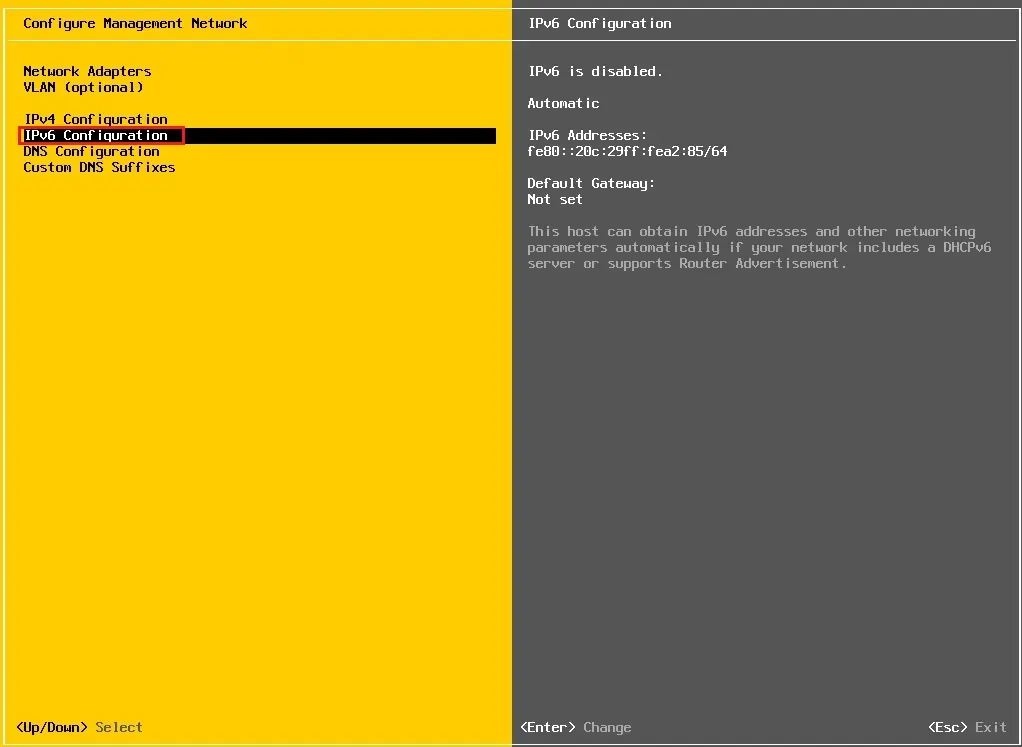
19- Select the IPv6 configuration option and then press enter.
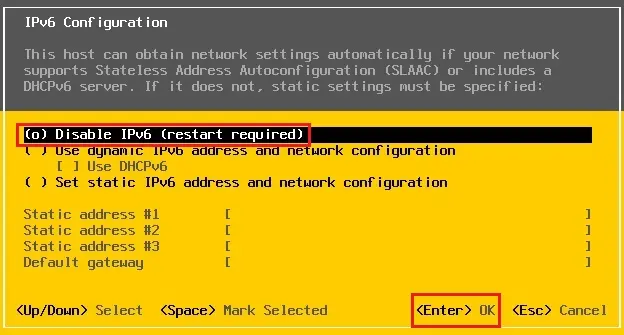
20- I recommend that if can disable IPv6 (restart required) and so press enter.
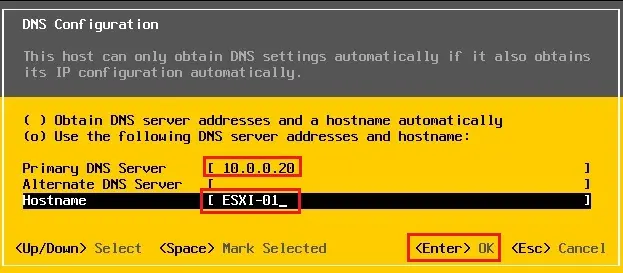
21- Select the DNS Configuration option and then press enter.
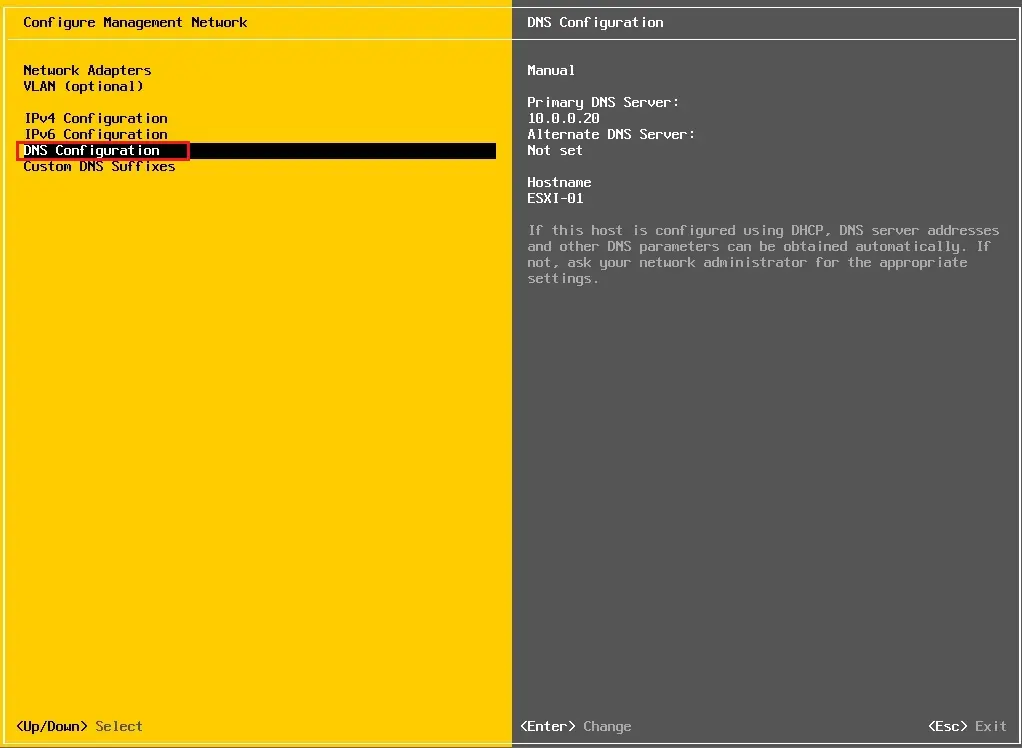
22- Type your primary DNS server IP Address and hostname and press enter.
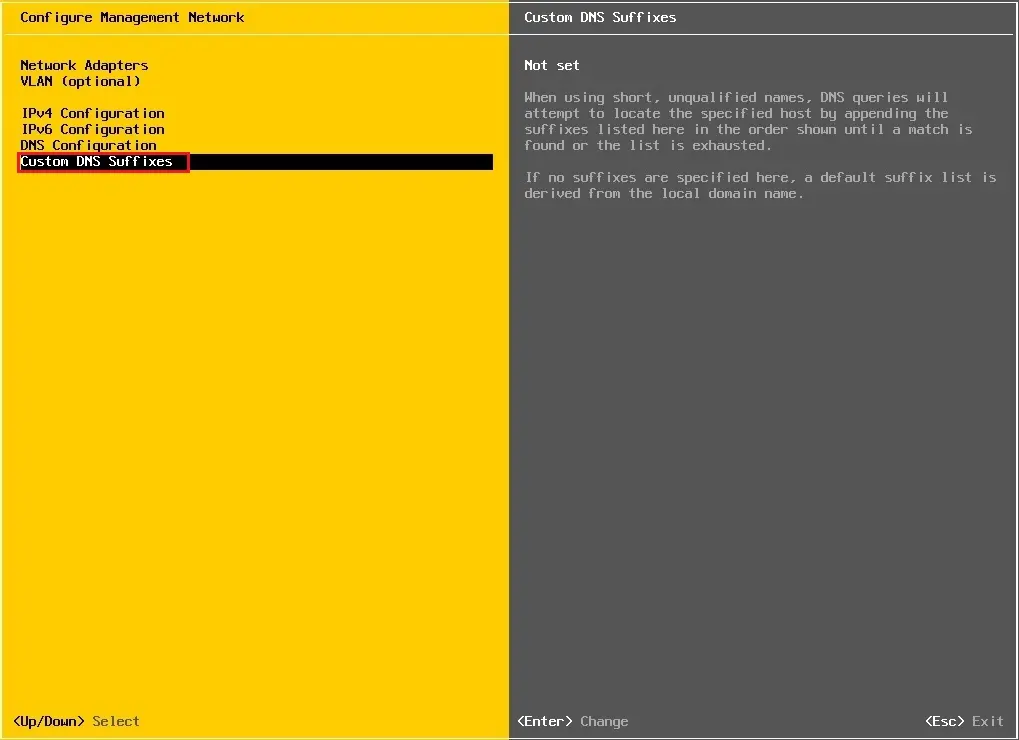
23- Select the custom DNS suffixes option and then press enter.
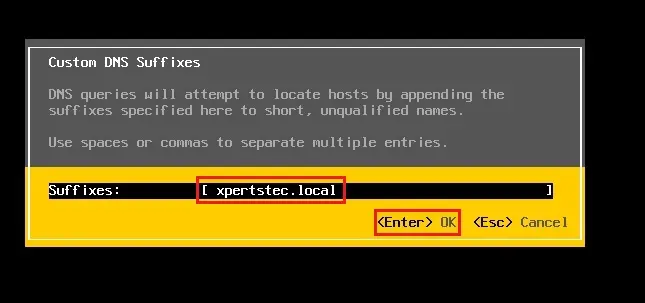
24- Type custom DNS suffixes and then press enter.
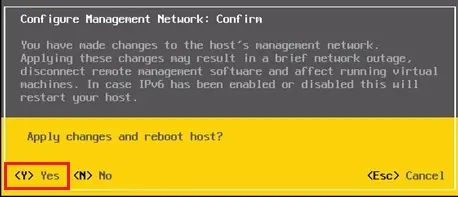
25- Press the Esc button and Y button to apply changes and then reboot the host.
26- Now, the VMware ESXi 6.7 host configuration is completed.
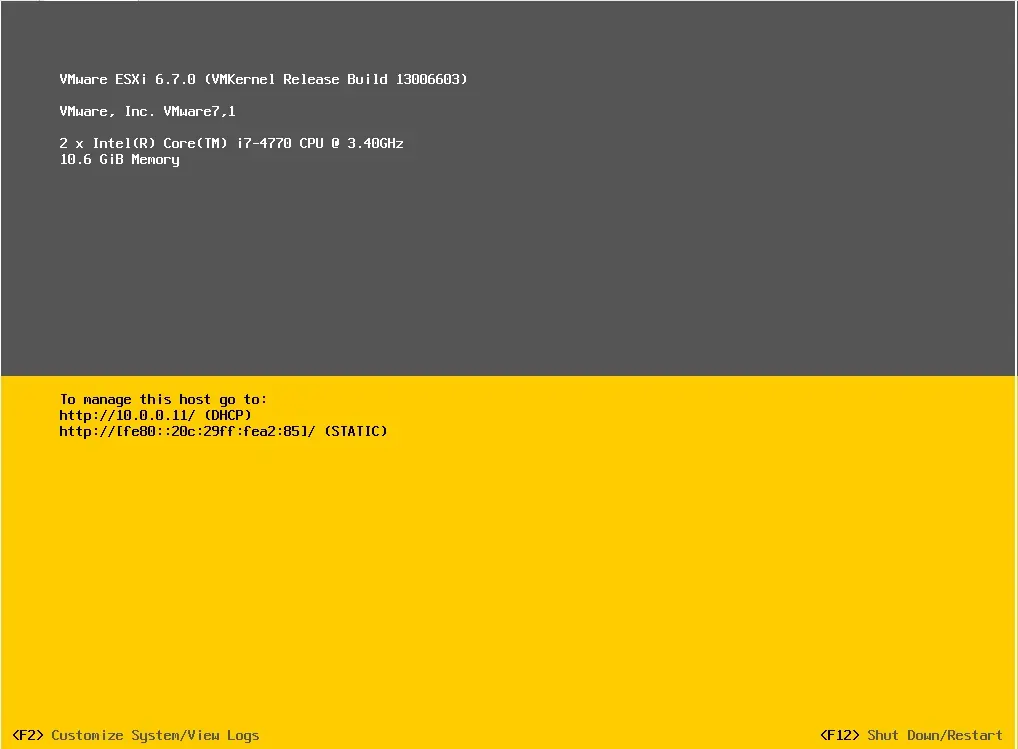
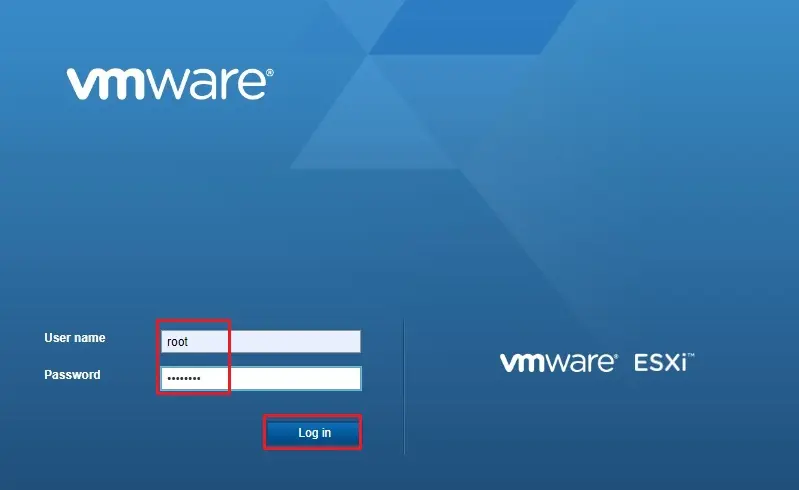
27- Now you can type your ESXi hostname or IP Address in your browser and access your ESXi with the web client, so type your root user name and password and click the Login button.
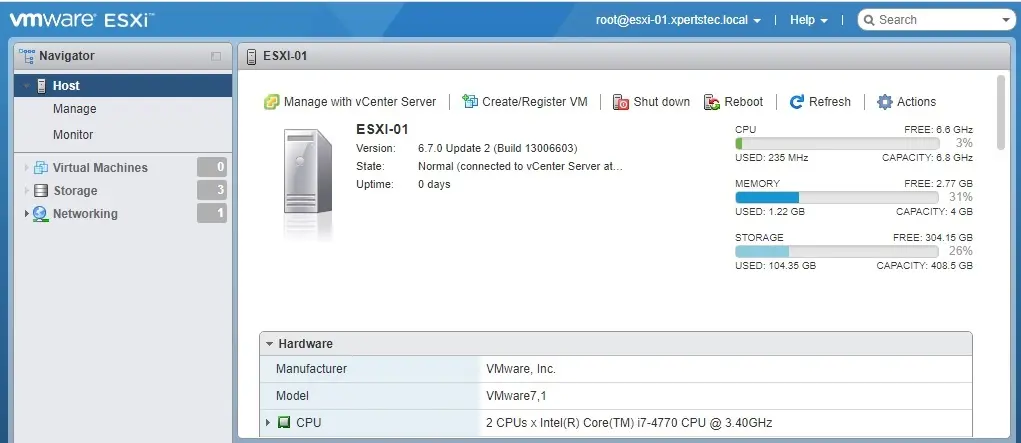
28- Now the VMware vSphere ESXi 6.7 host is ready.
Related: Active Directory Authentication vCenter Server.


No Comments
Valuable information. Fortunate me I found your web site
accidentally, and I am shocked why this accident did not took place earlier!
I bookmarked it.
Thank you