")
Configure VCSA 7 Appliance as a new vCenter Server. In the first blog, I deploy vCenter 7 in VMware Workstation 15. In this second blog, I will configure the VCSA 7 Appliance as a new vCenter Server in VMware Workstation.
Deploy vCenter 7 in VMware Workstation
1- Open a browser and type the FQDN address of the VCSA followed by port 5480 (for example – https://vcenter.xpertstec.local:5480) and then press enter.
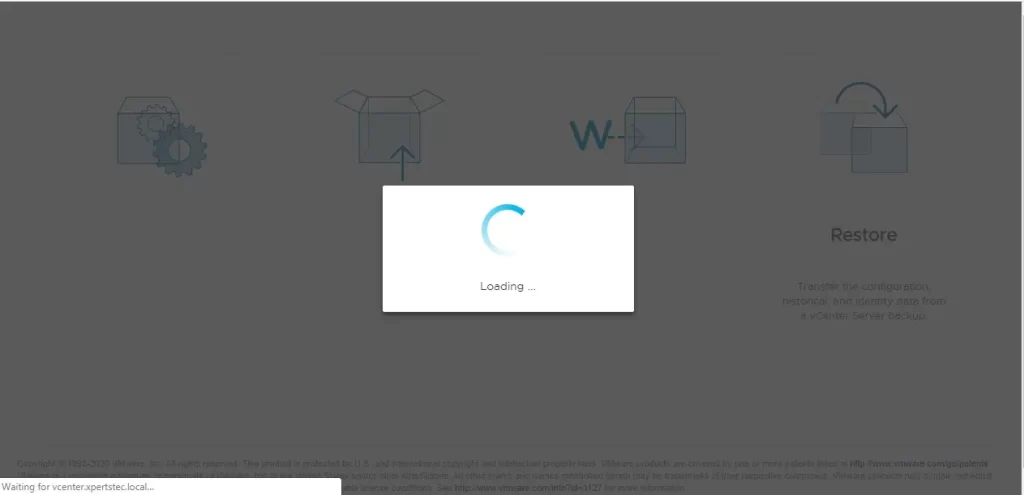
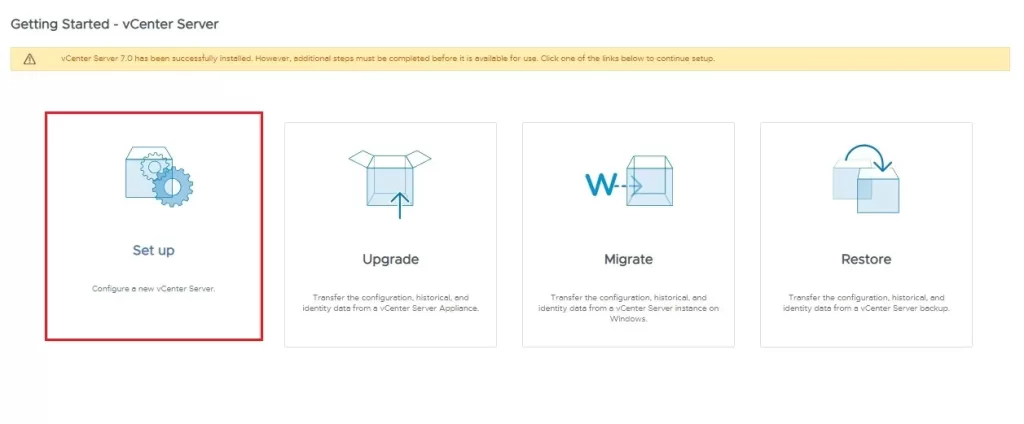
2- Once the installation of the packages is completed successfully, select the Set Up option to configure this Appliance as a new vCenter Server.
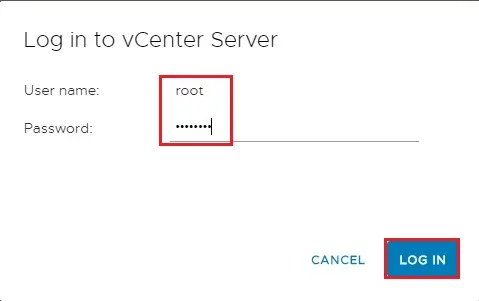
3- Type the root password and then click LOG IN.
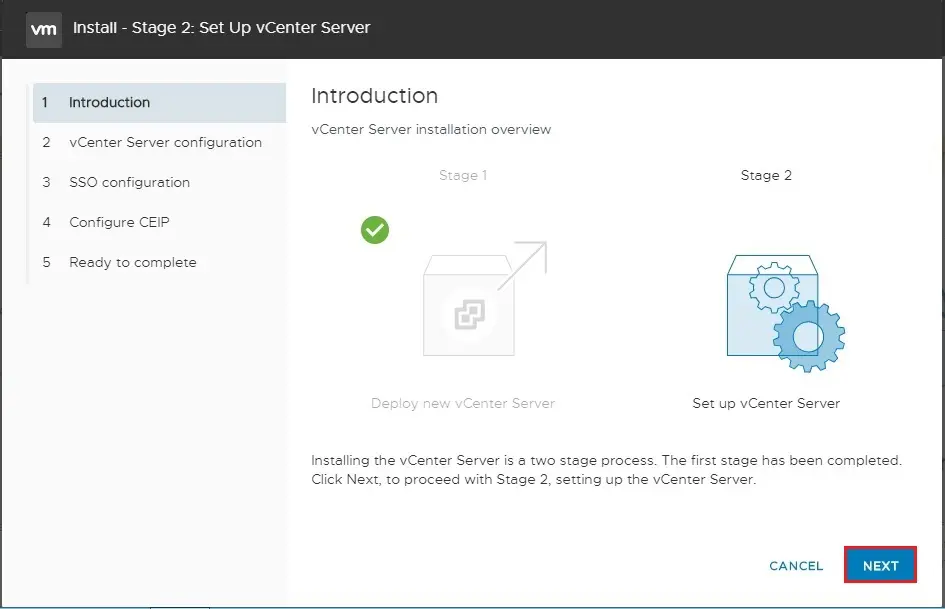
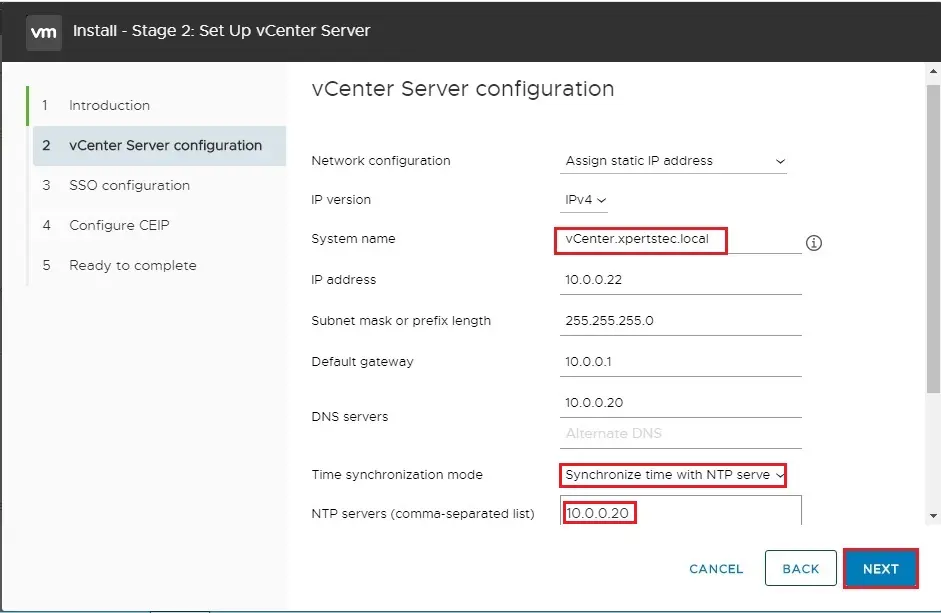
4- Install – Stage 2: Setup Up vCenter Server Appliance, Click next.
5- Check system name, Select Synchronize time with NTP server, type your NTP server IP address and then click next.
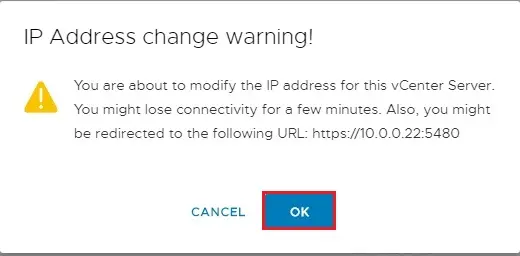
6- IP address change warning, so click ok.
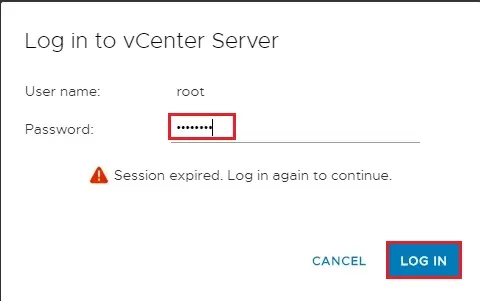
7- Again type the root password and then click LOG IN.
8- Select Create a new SSO domain, type single sign-on domain name, a password for the administrator account and then click next.

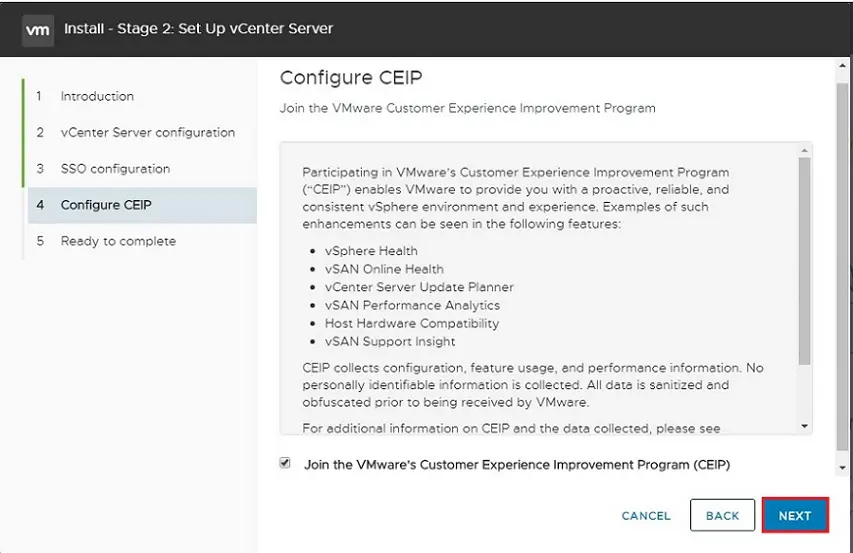
9- Install – Stage 2: Set Up vCenter Server configure CEIP, click next.
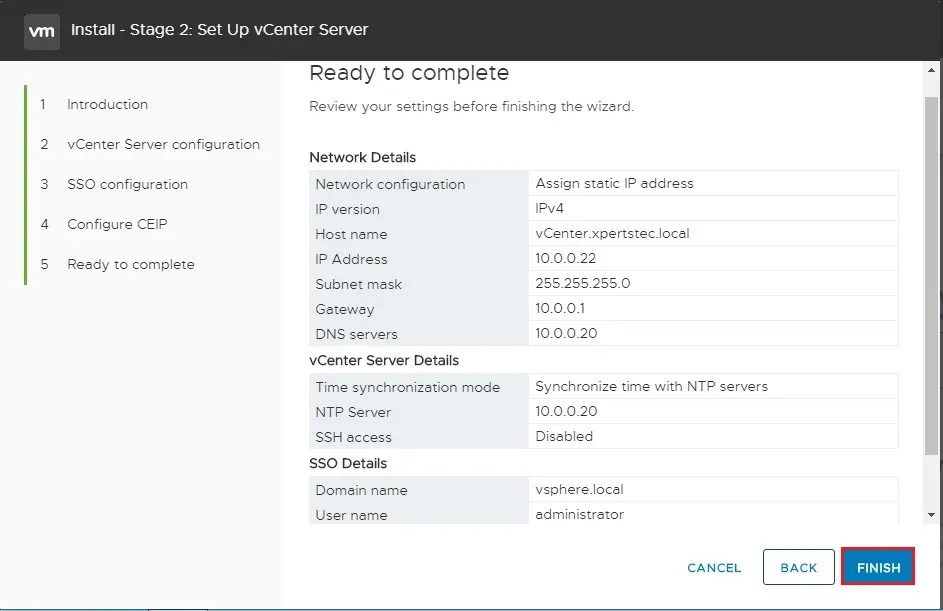
10- Review the vCenter Server 7 configuration details and click finish to start the configuration.
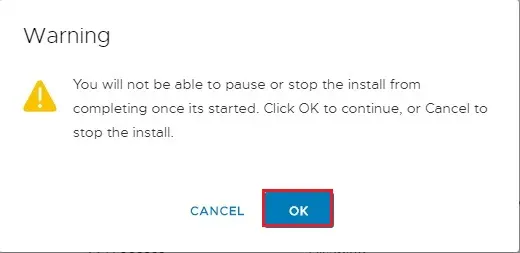
11- Click ok.
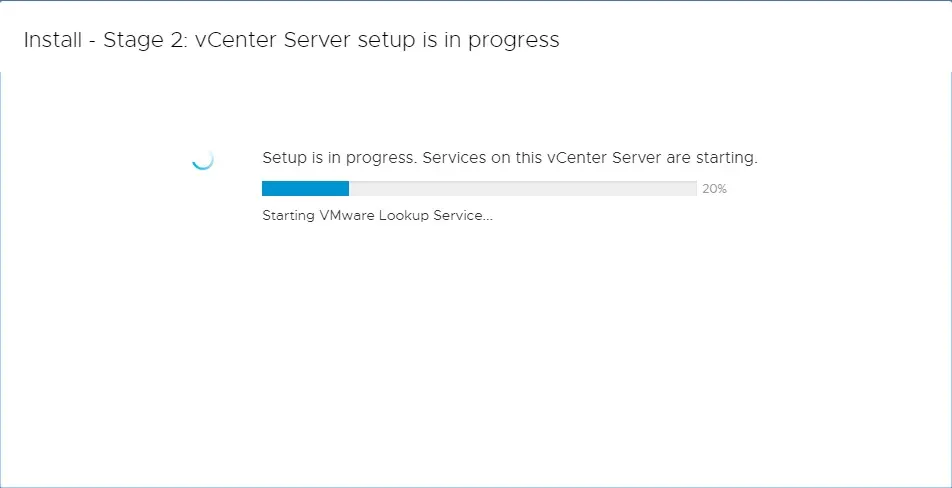
12- VCSA 7 installation starts (wait around 15 minutes).
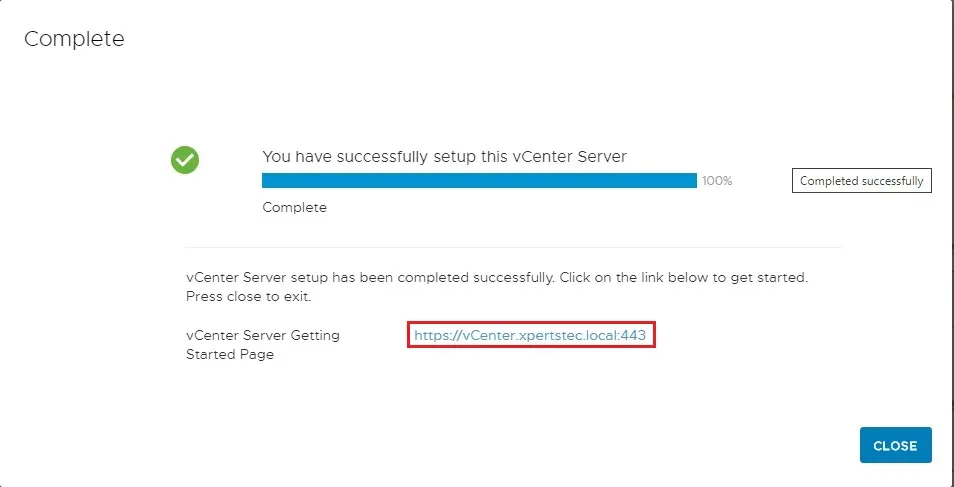
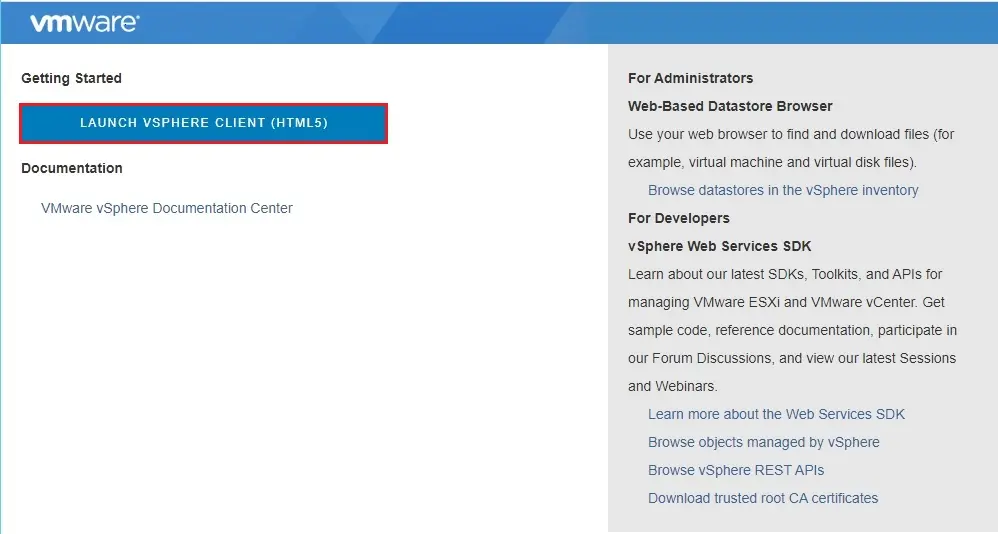
13- vCenter Server setup has been completed successfully, click on the vCenter Server Getting Started link to start.
14- The vCenter home page appears; select Launch vSphere Client (HTML5).
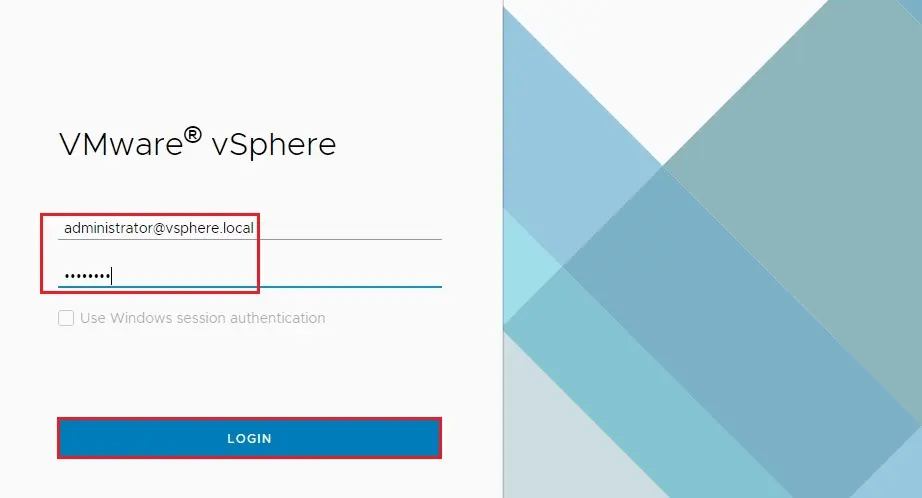
15- Type administrator@vsphere.
local, password and then click LOGIN.
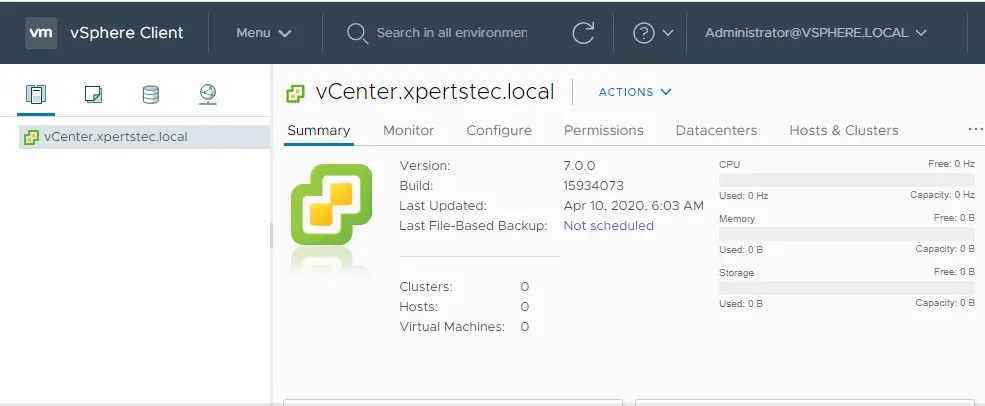
16- You have now successfully installed the vCenter Server in VMware Workstation 15.
For more details click here