


Deploy vCenter 7 in VMware Workstation, in this blog, I want to deploy VMware vCenter 7 in VMware Workstation 15, so we had to import the appliance from the.OVA template, and then configure the virtual machine as a new vCenter server. I am deploying this vCenter server 7 in a lab environment.
Step by Step Deploying VCSA 7 in VMware Workstation.
Before importing the VM from the .OVA template, first we need to create an A and PTR record in our active directory DNS server for the vCenter. If we didn’t create host a record in DNS manager then the auto-configuration of the vCenter 7 virtual machine will fail. It’s an appliance, you can’t customize the VM as you wish.
You could only increase or reduce the VM resources (for example CPU, Memory) on this appliance.
vCenter Server 7 Requirements
Host A Record
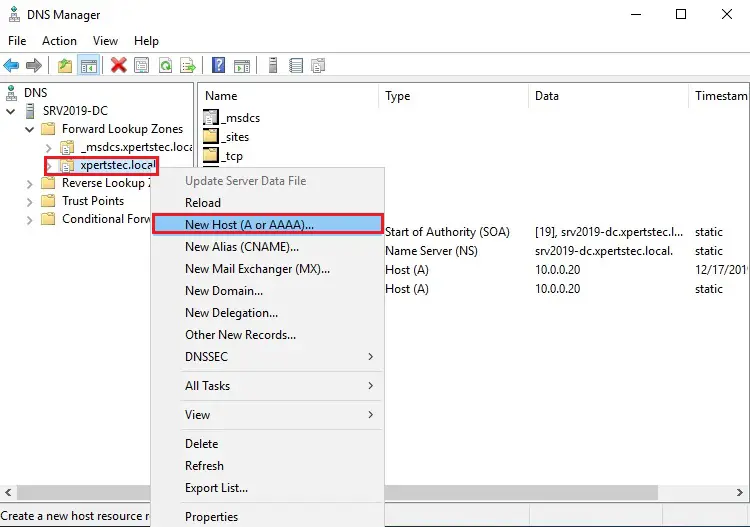
1- Open your DNS Manager Console, Expand your DNS (SRV2019-DC), Expand Forward Lookup Zones, right-click on your local domain(xpertstec.local) and then select New Host (A or AAA)…
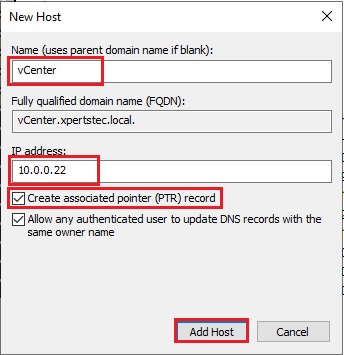
2- Type a name and IP address that you want to assign to the vCenter Virtual Machine, Select the Create associated pointer (PTR) record box, also select the Allow any authenticated user to update DNS records with the same owner name box and then click the Add Host button.
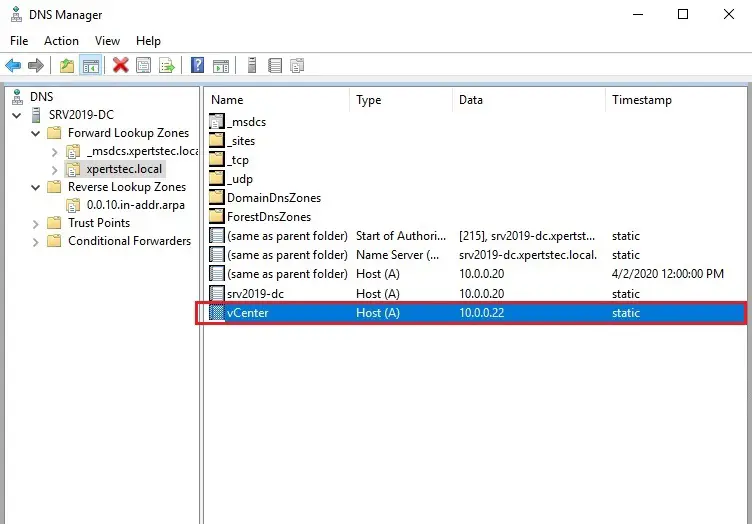
3- vCenter Host A record successfully created.
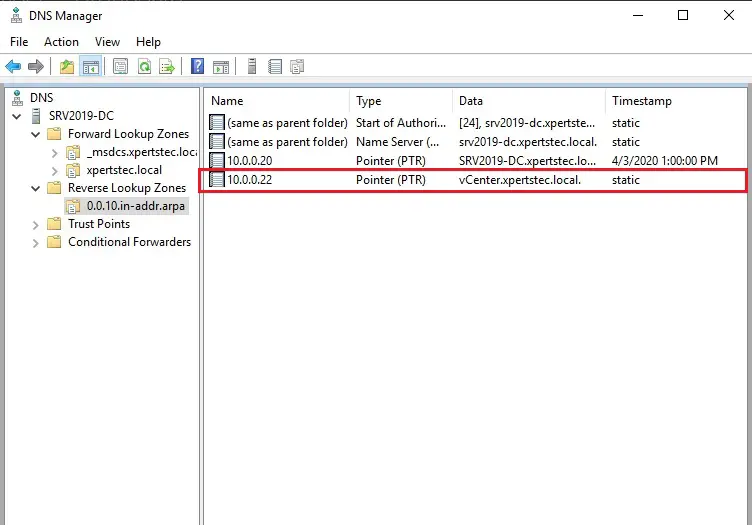
4- Now you can see in the Reverse Lookup Zones.
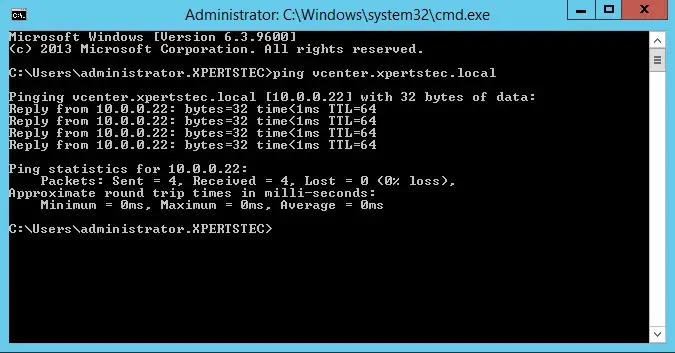
5- Test your DNS entry by type vcenter.xpertstec.local
VMware vCenter Server 7 deployment procedure on VMware Workstation 15.
Download VMware vCenter 7 from VMware Website
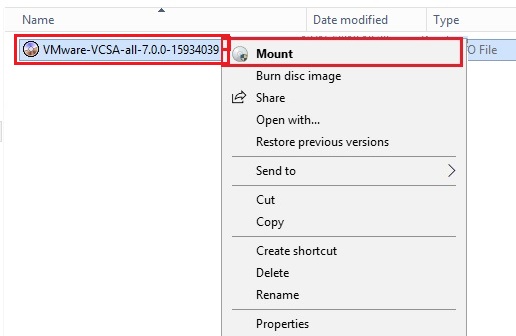
6- After downloading VMware 7, go to your download folder and right-click on VMware-VCSA-all-7.0 ISO file and then select Mount.
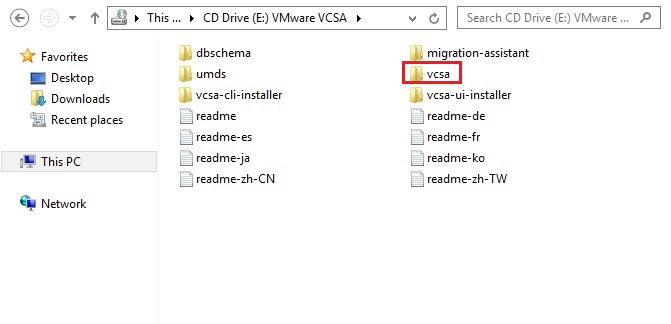
7- Deploy vCenter 7, open your DVD/CDROM drive and then open vcsa directory.
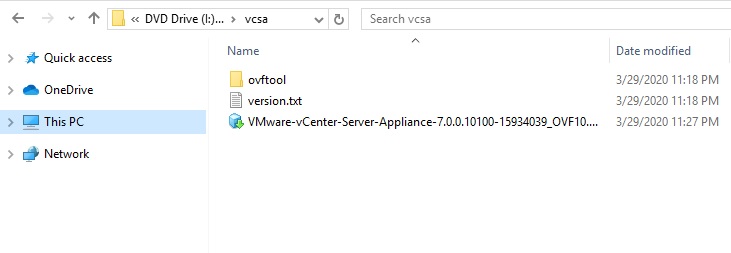
8- Deploy vCenter 7 here you can find the VMware vCenter Server Appliance 7.ova file for deployment.
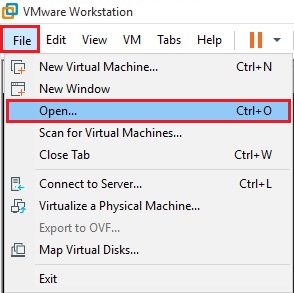
9- Open VMware workstation, then click on File and select Open.
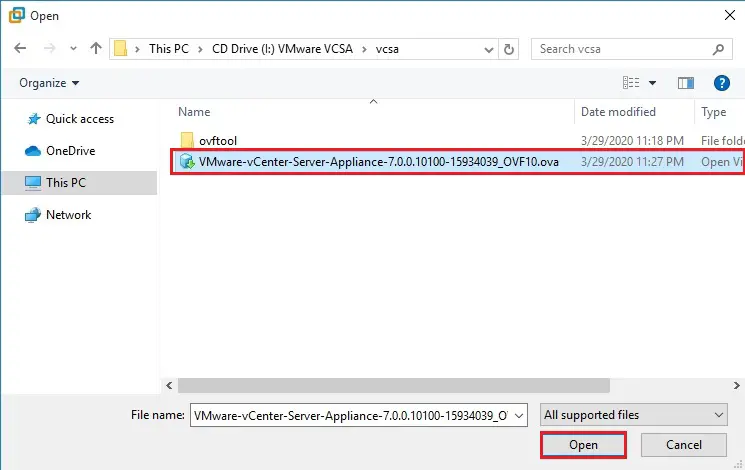
10- Select the VCSA 7 OVA file and then click open.
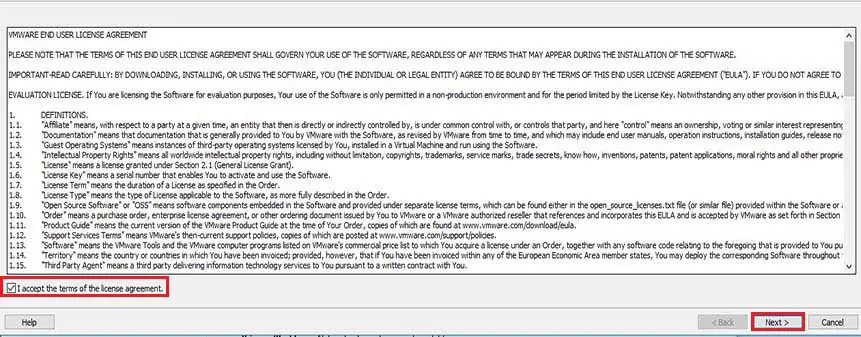
11- In the import Virtual Machine wizard, select I accept the terms of the license agreement and then click next.
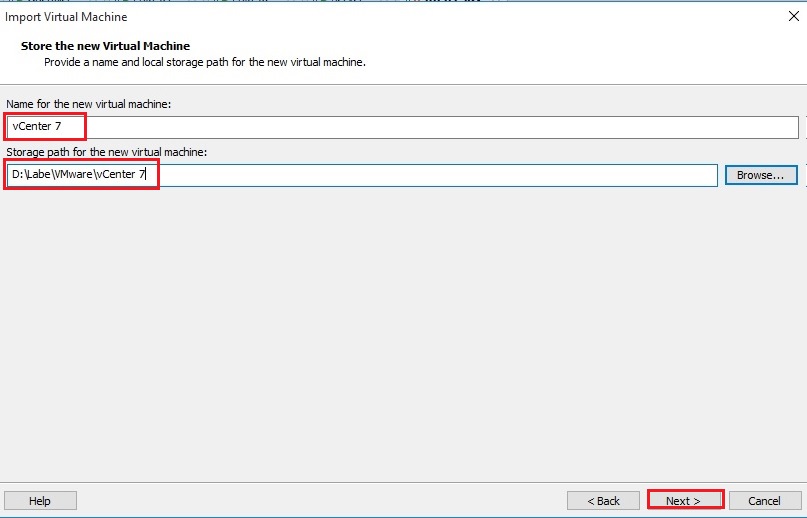
12- Type a name for the virtual appliance; provide a path where you want to store the virtual machine files. This will be the name that we will see in the VMware Workstation inventory and then click next.
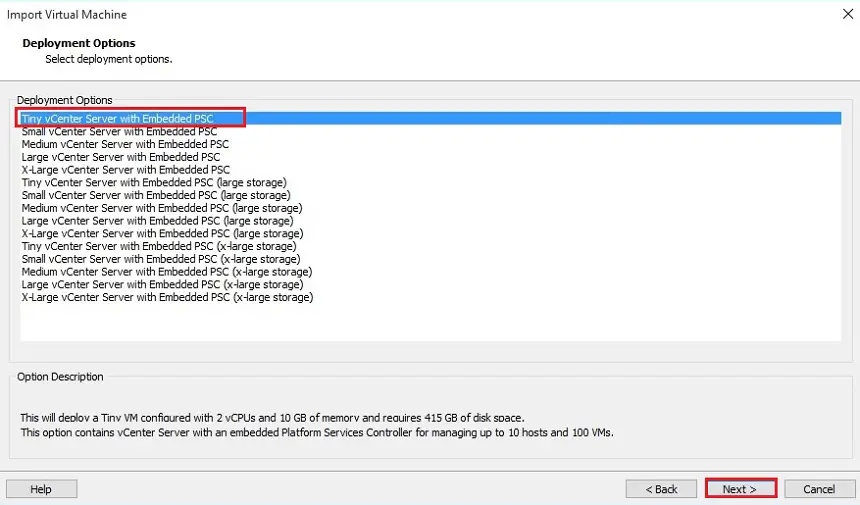
13- Here I am going to select the smallest type of appliance that can be deployed, Tiny vCenter Server with Embedded PSC because I am testing in my test lab.
vCenter Networking Configuration
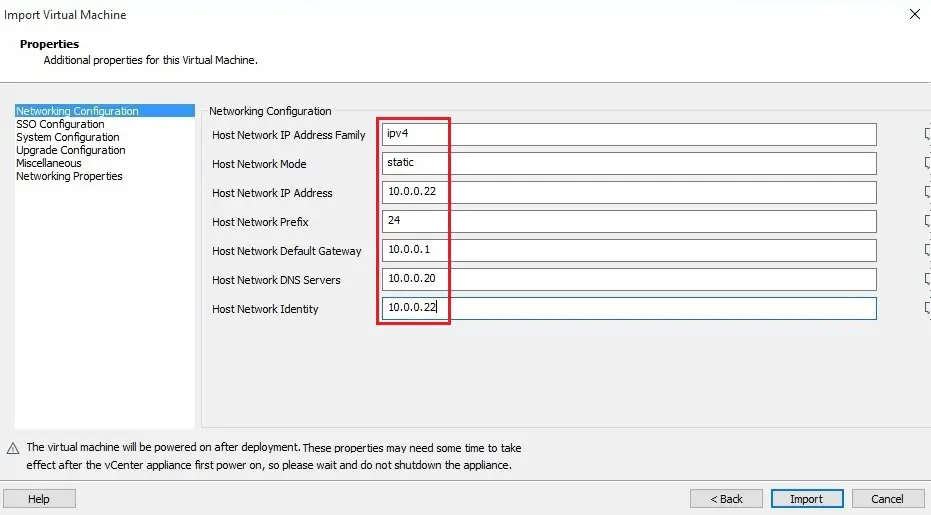
14- In this import virtual machine wizard screen, we need to configure the VCSA settings. What we configure here will be passed on by VMware Workstation 15 to the guest OS, to configure the appliance.
Host Network IP Address Family
Here we are using an IPv4 address or an IPv6 for VCSA 7.
Host Network Mode
The configuration box where we declare if the VCSA should use a DHCP server or a static IP address.
Host Network IP Address
This is the host IP address that the VCSA 7.0 will have after deployment. This must be the IP used when we created the A and PTR records in DNS.
Host Network Prefix
This is the subnet mask for the VCSA. But we can’t just type the subnet mask as we do on a Windows computer.
Host Network Default Gateway
Here you can type the default gateway the appliance.
Host Network DNS Servers
The IP address of the DNS server the appliance will use for name resolution. Multiple IP addresses must be separated by comma.
Host Network Identity
This is the FQDN of the vCenter. The name requires to match the A record we created earlier in DNS.
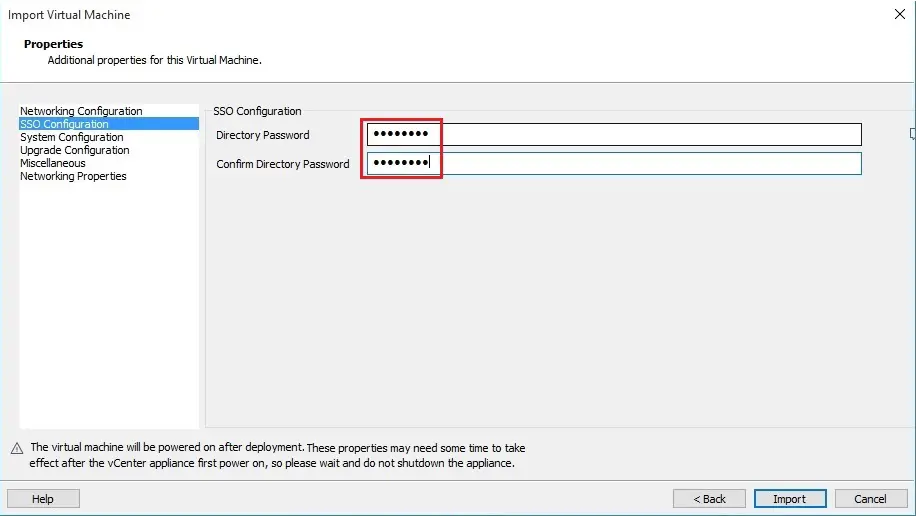
15- In the SSO Configuration screen, we need to provide the SSO password that we will use to further configure for the appliance.
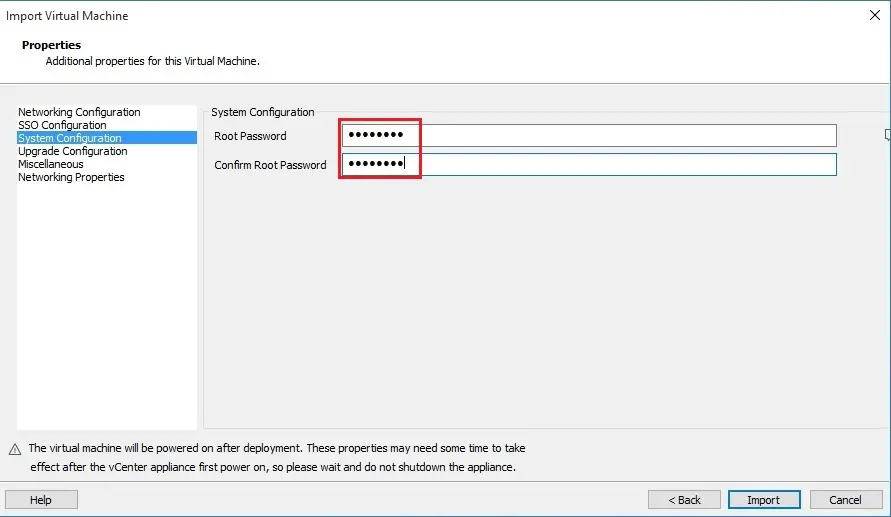
16- In the System Configuration screen we need to type the root appliance password, this is needed when connecting to the console’s appliance for configuration or troubleshooting.
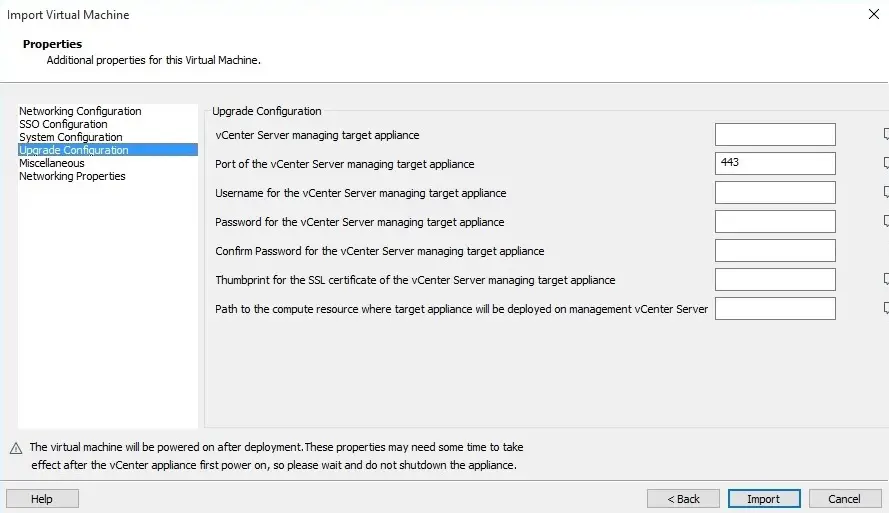
17- VCSA 7 upgrade configuration.
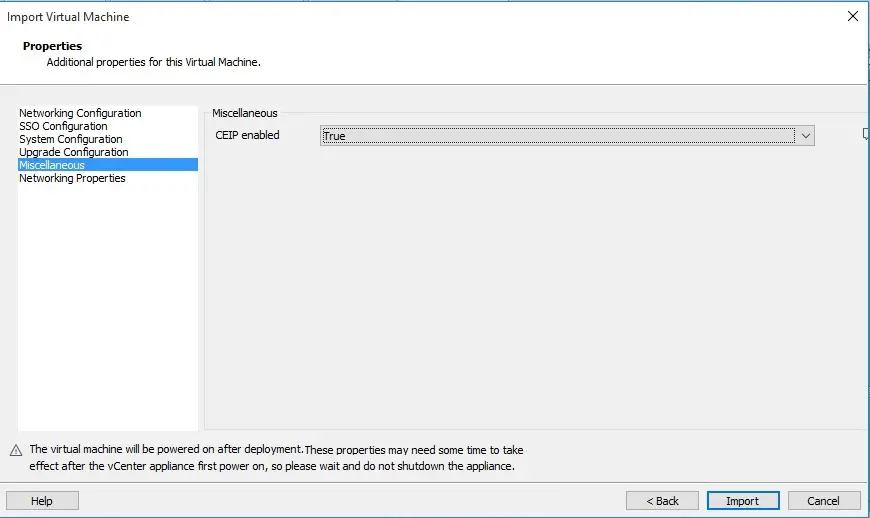
18- In the Miscellaneous screen, here you can select True from the CEIP enabled option.
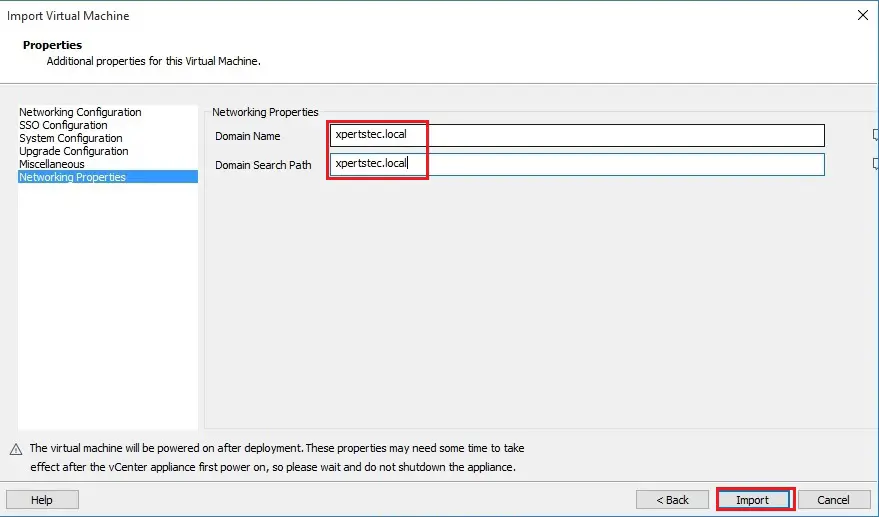
19- In the Networking Properties options, we need to provide the FQDM domain name, the domain search path, and then click the Import button.
vCenter 7 Deploying in VMware Wrokstation
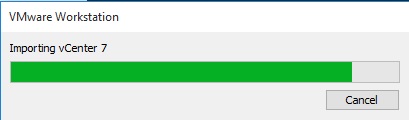
20- The import VCSA 7 process in progress, this will take just a few minutes to complete the vCenter 7 OVA.
21- Make sure you connect the Virtual Machine network adapter to the network, so it will connect with the DNS server. If no connectivity to the DNS server is found, you will be getting an error.
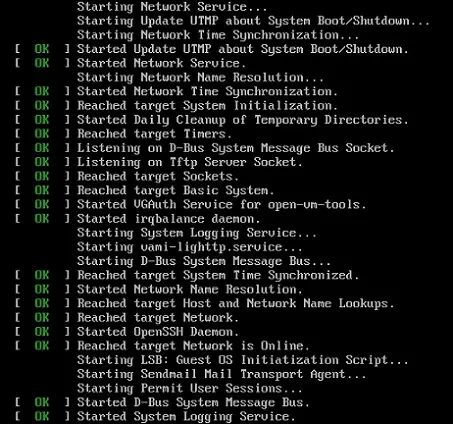
22- VCSA 7 deploying in progress.
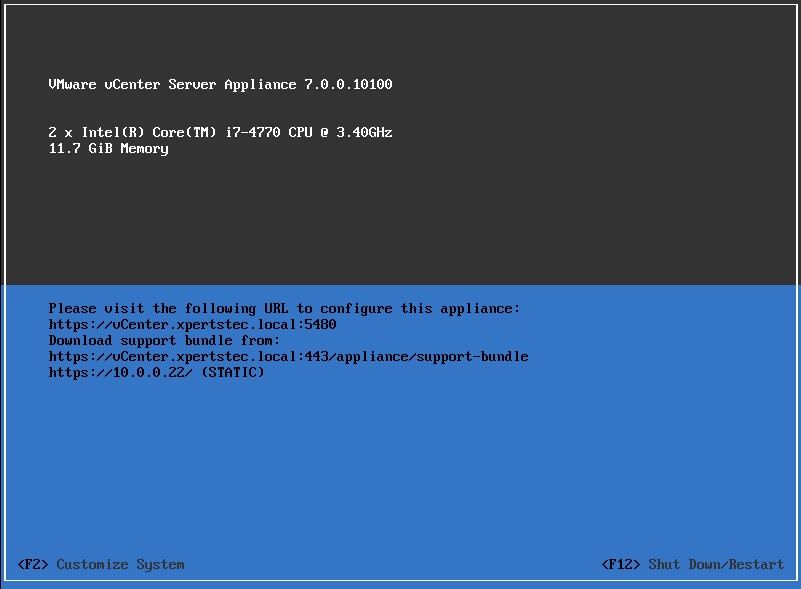
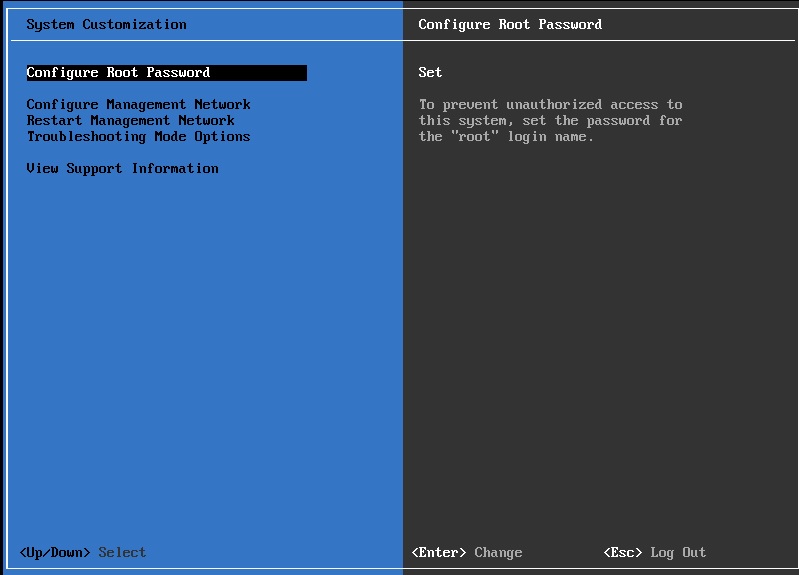
23- If you want to reconfigure your VCSA appliance settings then Press F2.
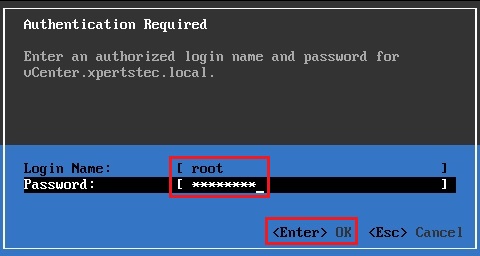
24- Type Log in name, password and then press enter.
25- VCSA 7 System Customization.
How to Deploy Vcenter 7.0 in VMware Workstation Second Part
continuously i used to read smaller content that as well clear their motive, and that is also happening with this post which I am reading at this time.|
Dear Mason,
thank you
I am not sure where you’re getting your info, but great topic. I needs to spend some time learning more or understanding more. Thanks for excellent info I was looking for this information for my mission.|
Dear Humberto,
thank you
Genuinely when someone doesn’t be aware of afterward its up to other people that they will assist, so here it takes place.|
I don’t know whether it’s just me or if perhaps everybody else experiencing issues with your site. It appears as though some of the text in your posts are running off the screen. Can somebody else please comment and let me know if this is happening to them too? This may be a issue with my internet browser because I’ve had this happen before. Cheers|
Dear Cristopher, thank you for point out, please can you check with another browser like chrome firefox. thank you
Very good article. I am experiencing some of these issues as well..|
Dear Brent thank you
Fascinating blog! Is your theme custom made or did you download it from somewhere? A theme like yours with a few simple adjustements would really make my blog stand out. Please let me know where you got your theme. Bless you|
Dear Myron, thank you, do you need same theme?
Thanks in favor of sharing such a pleasant thought, piece of writing is fastidious, thats why i have read it entirely|
Dear Nelly,
My pleasure
I every time used to read piece of writing in news papers but now as I am a user of net thus from now I am using net for content, thanks to web.|
Dear Royce
thank you
I simply want to say I am newbie to weblog and actually savored you’re web site. Almost certainly I’m likely to bookmark your website . You actually come with wonderful writings. Cheers for sharing your website page.
Thank you
I’m more than happy to find this site. I need to to thank you for your time for this fantastic read!! I definitely savored every part of it and I have you bookmarked to check out new things on your website.
Thank you
I’m very pleased to discover this page. I need to to thank you for one’s time for this fantastic read!! I definitely really liked every part of it and I also have you bookmarked to see new information in your website.
Dear Jamel,
Thank you for your feedback
I am a regular reader, how are you, everybody?
This piece of writing posted at this site is truly fastidious.
We are fine thank you
Thank you
I just want to say I’m all new to blogs and absolutely savored your blog site. Probably I’m planning to bookmark your blog post . You really have excellent articles and reviews. Regards for sharing with us your website page.
Thank you, Gaston Migdal, for your feedback