
Openfiler iSCSI Storage ESXi 7, In this article I am going to connect Openfiler to VMware ESXi 7 Host as iscsi storage using VMware ESXi host.
Connect Openfiler ad iSCSI storage to ESXi 7 Host
How to Install Openfiler click here
Configure Openfiler as iSCSI shared storage Click here
1- Open web browser, type your ESXi host name or IP Address, type username and password and click log in.
VMware ESXi 7 Host
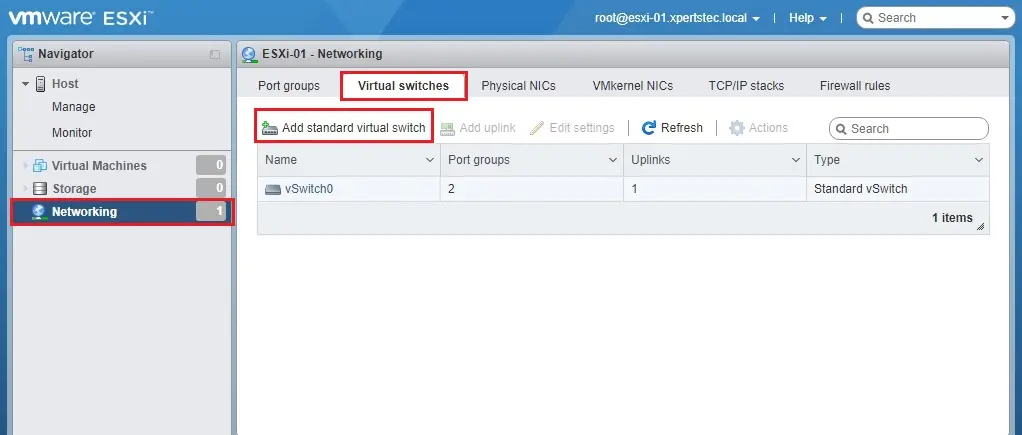
2- After login ESXi host, Select Network options, select Virtual switches tab and click Add standard virtual switch.
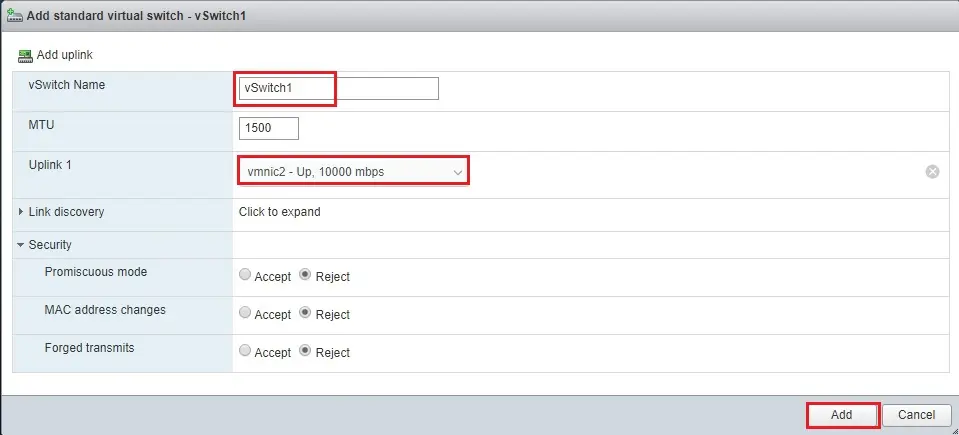
3- Type a vSwitch name, select your network adapter uplink and click the add button.
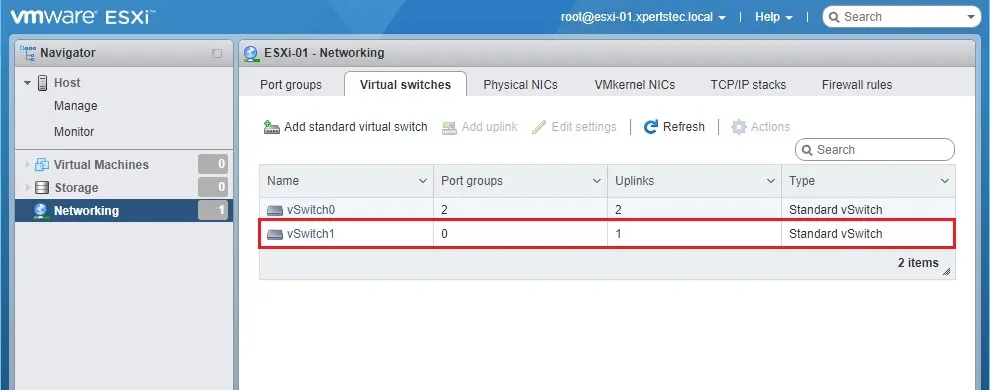
4- Virtual switch successfully created.
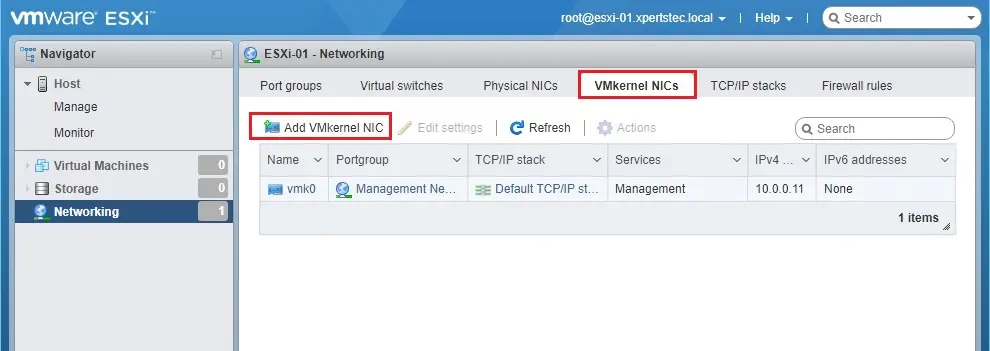
5- Networking option, select VMkernel NICs tab and click add VMKernel NIC
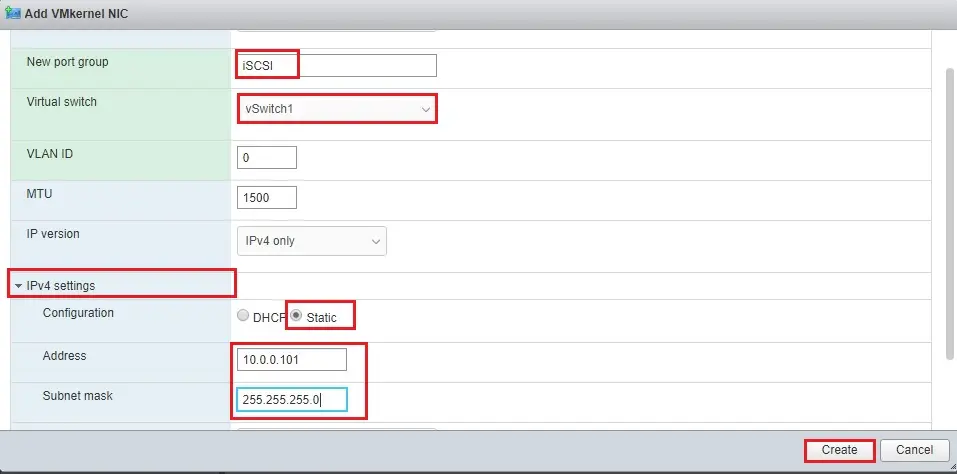
6- VMkernel NIC wizard, type new port group, select newly created vSwitch1, under IPv4 Settings, click static, type IP Address, subnet mask and then click the create button.
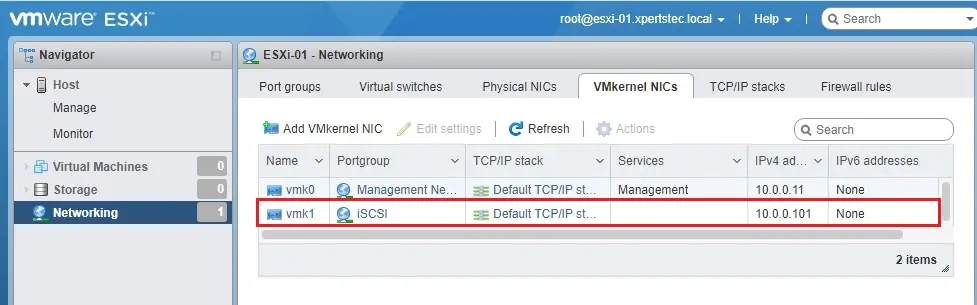
7- VMware NICs successfully created.
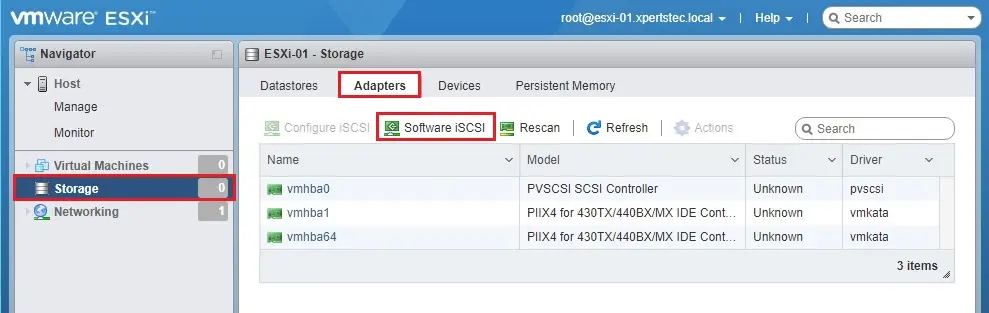
8- Select Storage options, Adapter tab and then click Software iSCSI.
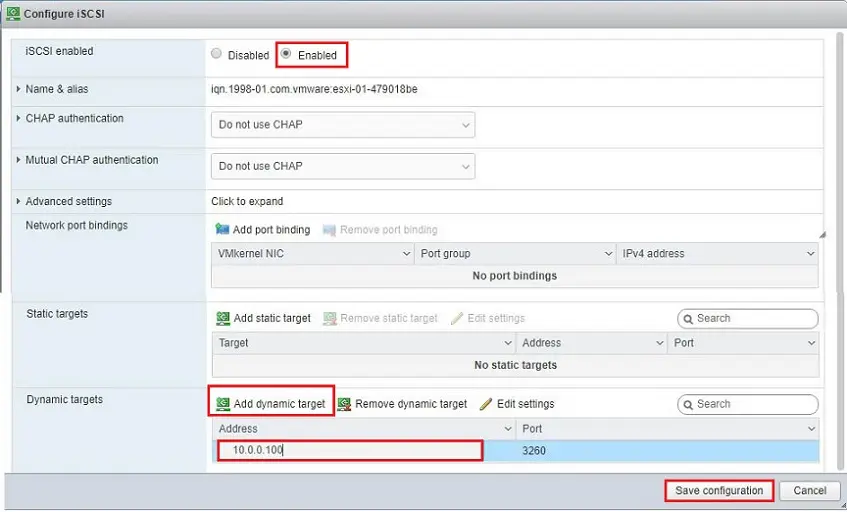
9- Select iSCSI enabled, select dynamic targets option, click add the dynamic target, type your openfiler iSCSI storage IP Address and then click save the configuration.
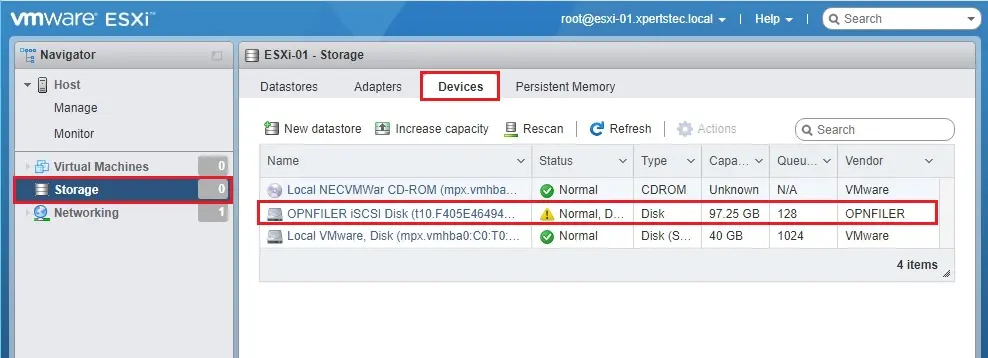
10- Storage option, As you can see Openfiler device shows under the devices tab.
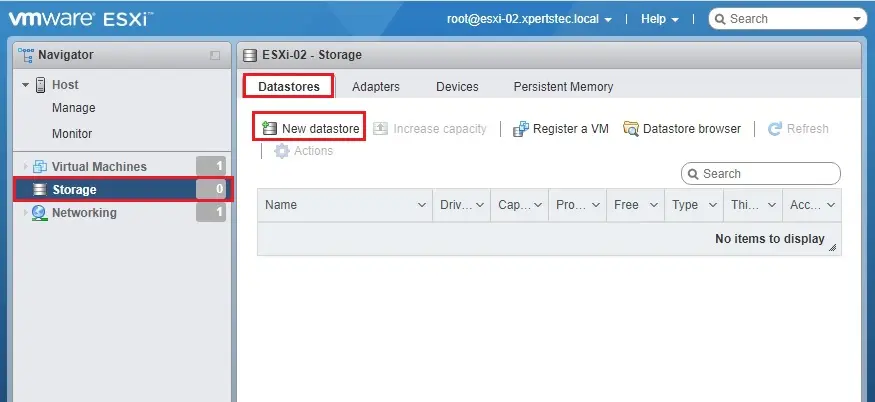
11- For the storage option, click the Datastore tab and then click New Datastore.
12- New datastore wizard, select Create new VMFS datastore, and then click on Next.

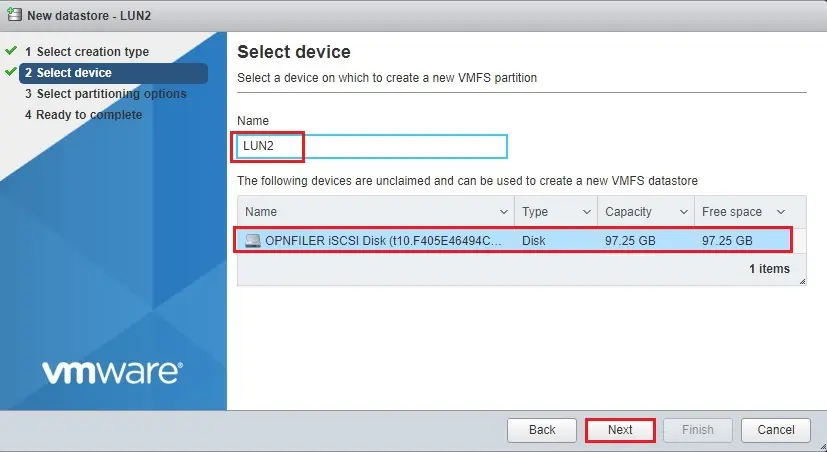
13- Type a datastore name, select Openfiler iSCSI disk and then click on Next.
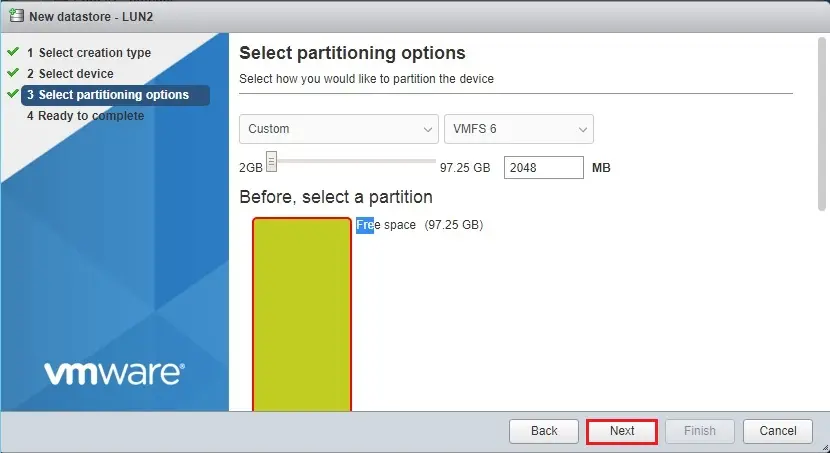
14- Select partitioning options, use full disk or custom, so select the VMFS version and then click next.
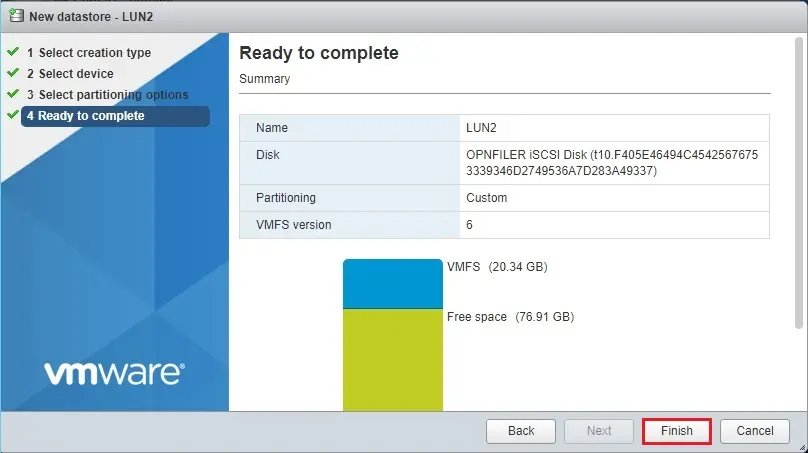
15- Review the Openfiler iSCSI storage ESXi datastore details and then click Finish to complete the process.
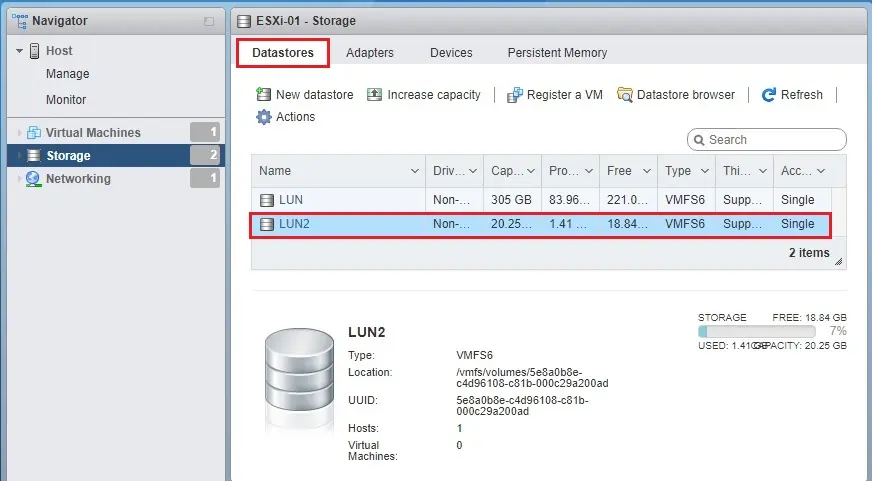
16- Datastore successfully added.
If you would like to know more about how to add openfiler iscsi storage then click here
Read more: How to change the Fujitsu Siemens Eternus DX90 Storage disk.