
Install AOMEI Backupper standard is a free backup and recovery software. It allows you to back up the entire system, files, folders, hard disk drives, partitions backup, and then you can restore them. AOMEI Backupper free includes a disk imaging and cloning tool which can be used to create an exact image of your entire system hard disk drive and operating system, to migrate to another hard disk if desired, for (Windows 10, 8, 8.1, 7, XP, Vista).
Download AOMEI Backupper Standard Free
Install AOMEI Backupper Standard Free
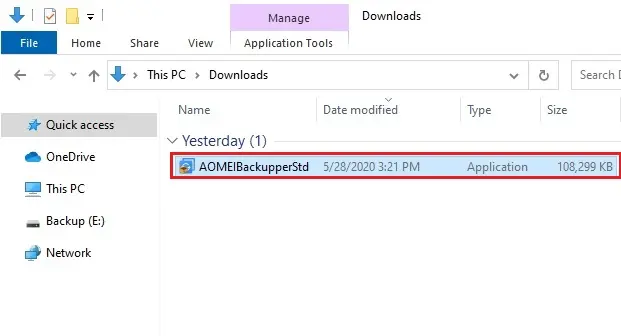
1- Double click on AOMEBackupperSTD.ese file to begin the setup.
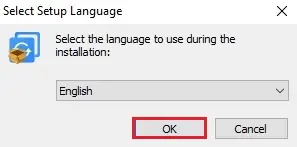
2- Select the language and then click OK.
3- Click on skip button.

4- AOMEI Backupper Standard wizard click Install Now button.

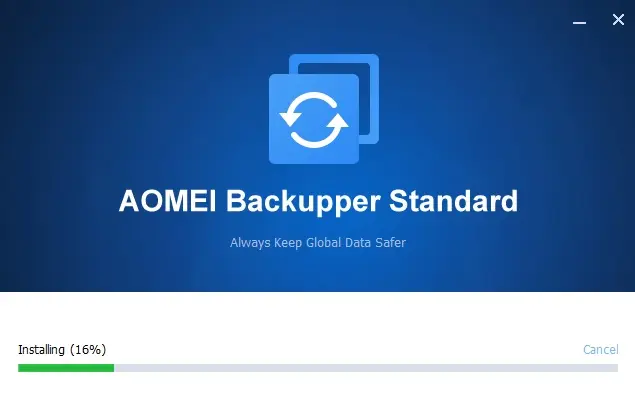
5- AOMEI Backupper Standard installation in progress.
6- Installation process successfully completed.

How to Backup Entire System in AOMEI Backupper Free
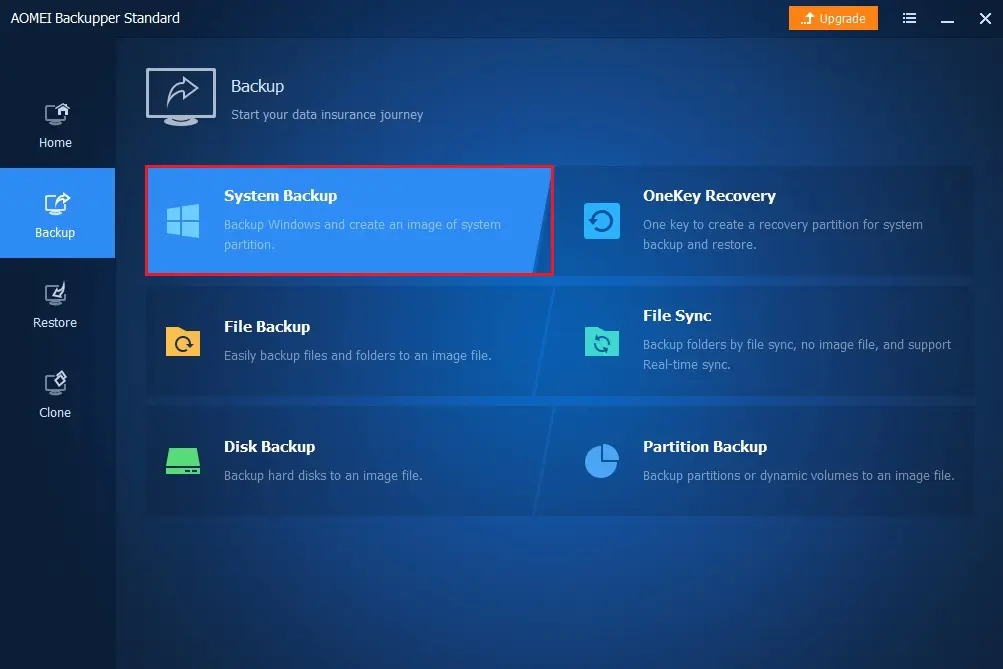
1- AOMEI Backupper will allow you to back up the entire system drive completely, including system files, boot files and etc.
AOMEI Backupper free, select the Backup tab.
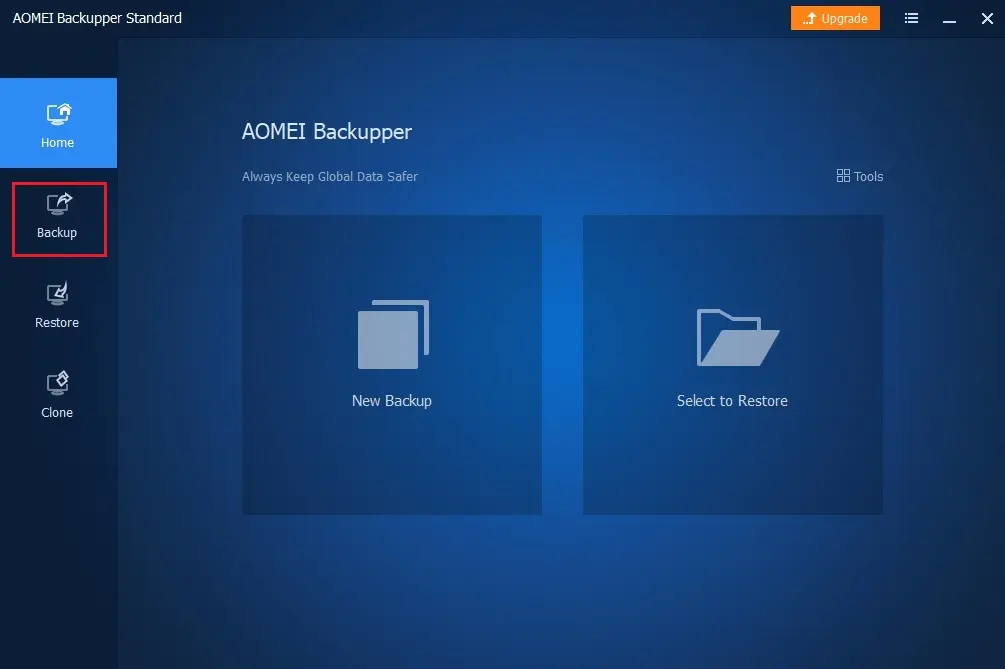
2- Select System Backup option.
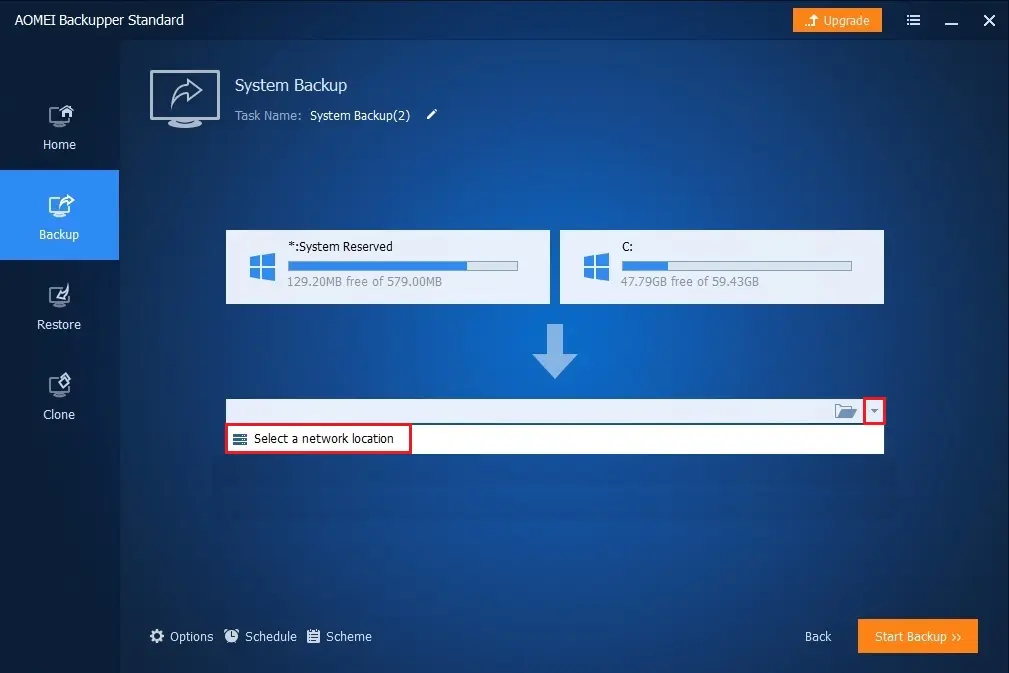
3- Select a destination path to save backup image files (you can save to external drive, USB stick or etc. (I am going to save on a network drive) select network location.
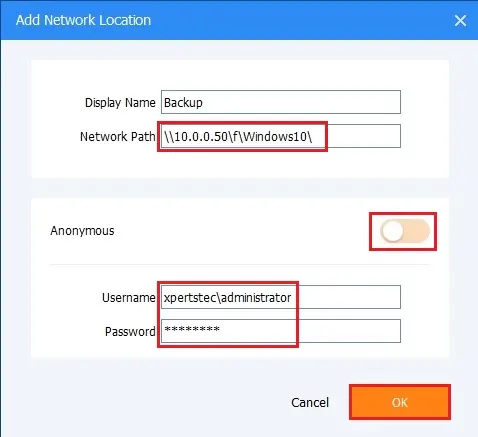
4- Select Add network location.

5- Enter your network path, user credentials and then click OK.
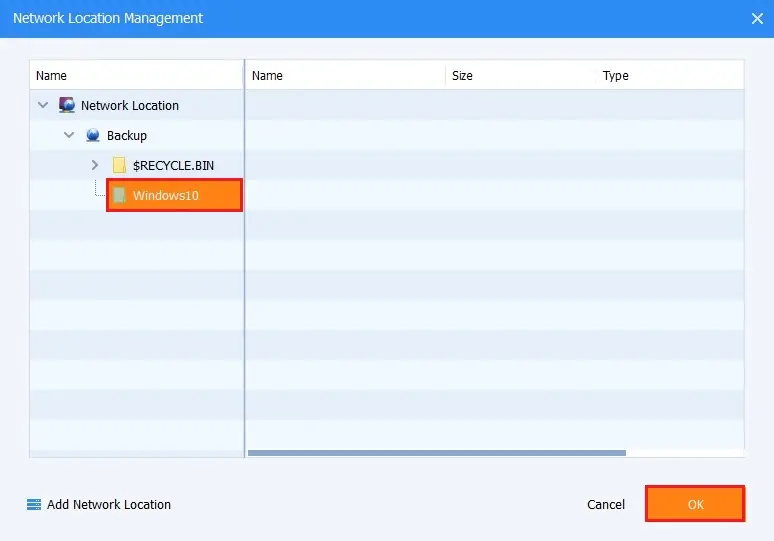
6- Select a network folder where you want to save the backup and then click OK.
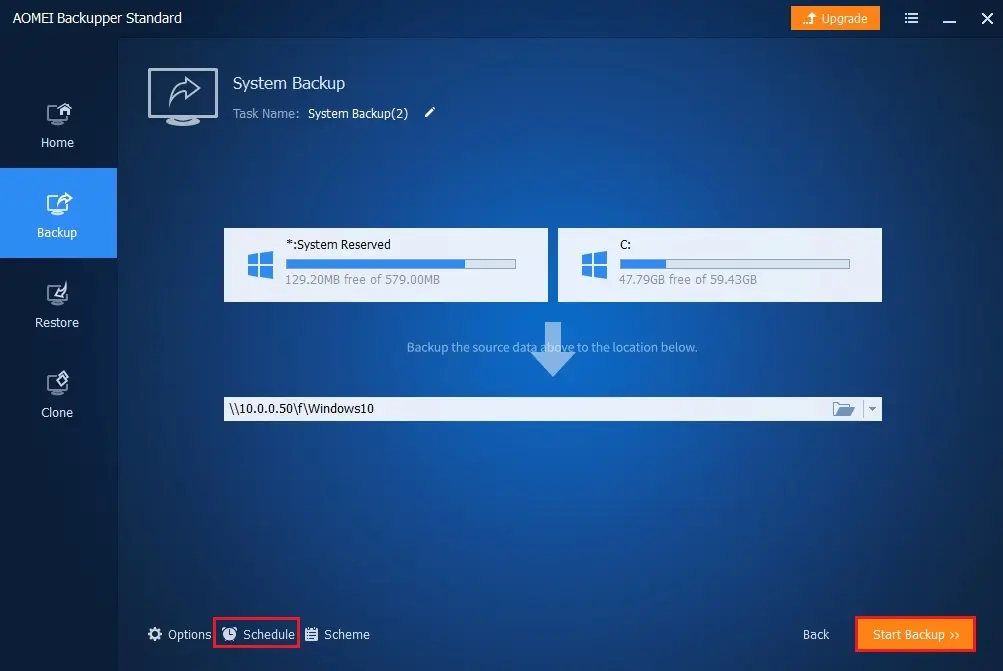
7- We can rename the backup using the Task Name field. We can see the partitions includes as part of the system backup are listed automatically. Click on schedule button to set the backup schedule.
Select the Start Backup >> button to start the backup process.
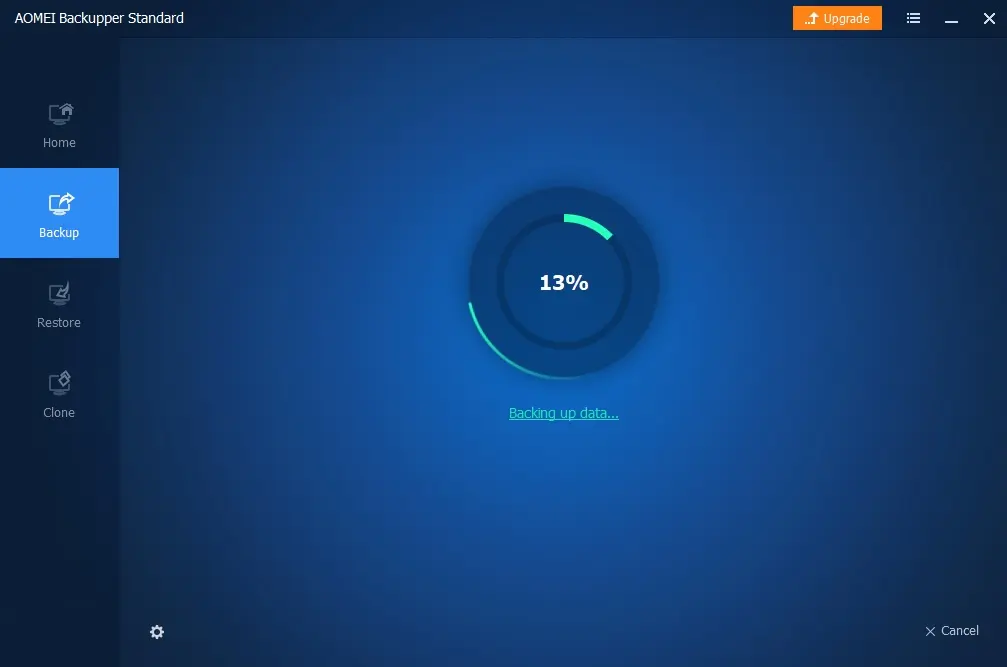
8- Backup is running.
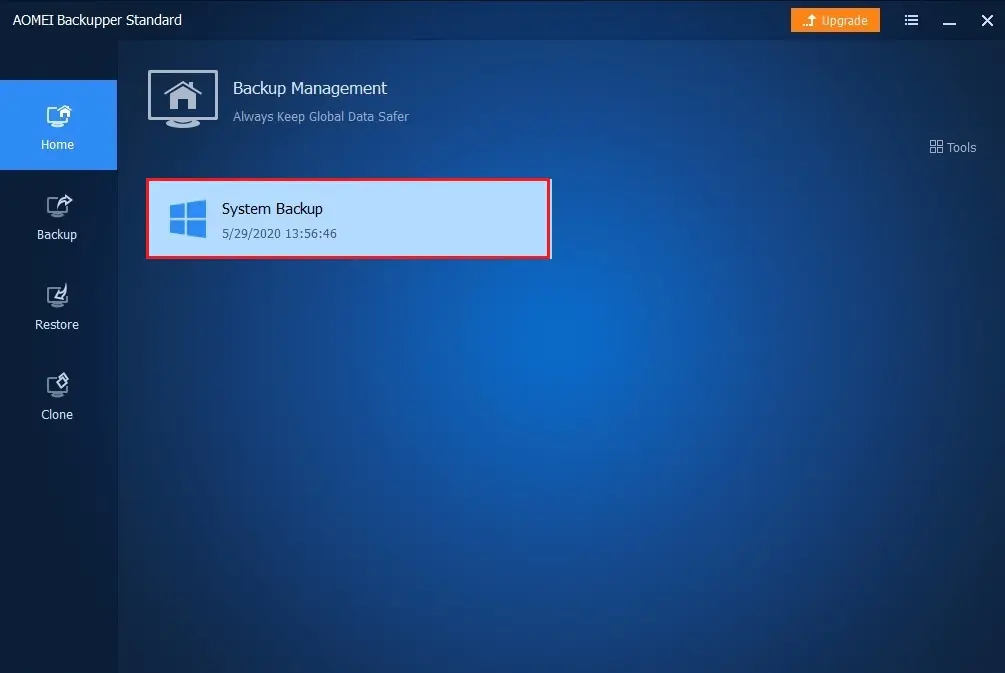
9- Backup successfully completed, click the Finish button.

10- Now you can see System Backup.
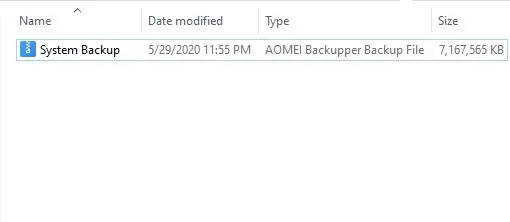
11- Now you can check the destination location there is a backup image (.adi).
Related: How to Create AOMEI Bootable Media.