In this article, I will configure the VTL StarWind Virtual Tape Library Software. Read my previous blog about how to Install Starwind.
StarWind Virtual Tape Library Configure
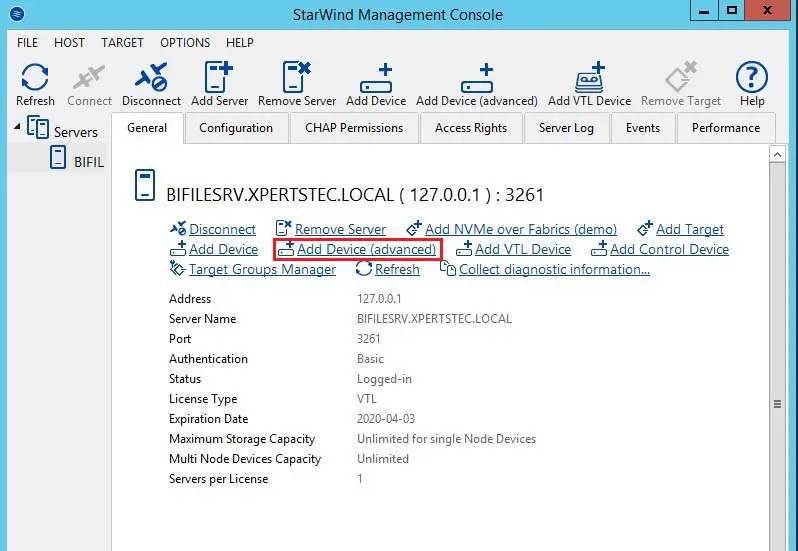
1- Run the StarWind Management Console and Click on Add Device (advanced).
![starwind management console](https://xpertstec.com/wp-content/uploads/2020/04/starwind-management-console.webp)
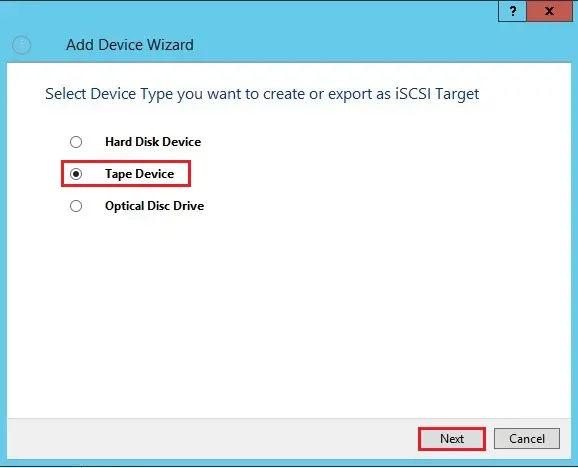
2- Add Device Wizard, choose Tap Device option and click on Next Button.
![starwind virtual tape device](https://xpertstec.com/wp-content/uploads/2020/04/starwind-tape-device.webp)
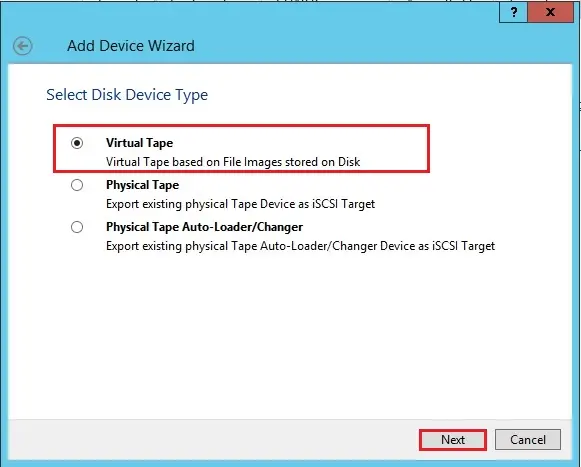
3- Select Virtual Tape and click next.
![starwind wizard virtual tape](https://xpertstec.com/wp-content/uploads/2020/04/starwind-wizard-virtual-tape.webp)
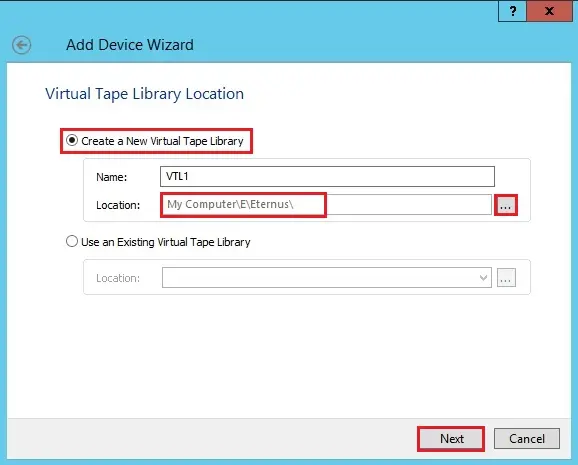
4- Select create a new virtual tape library, click on … button to select the VTL location and click next.
![starwind virtual tape wizard new vtl](https://xpertstec.com/wp-content/uploads/2020/04/starwind-wizard-new-vtl.webp)
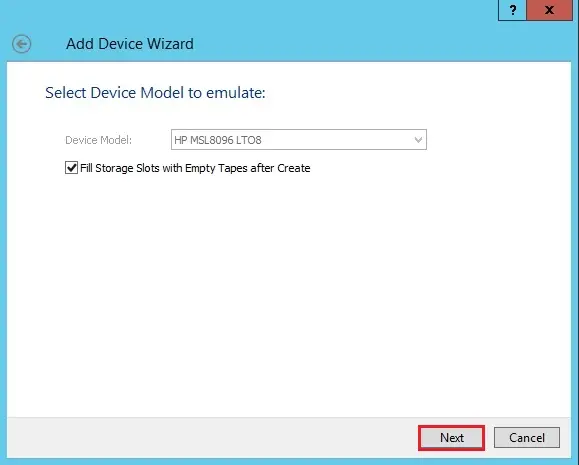
5- Select virtual tape device model and click next.
![starwind virtual tape wizard device model](https://xpertstec.com/wp-content/uploads/2020/04/starwind-virtual-tape-wizard-device-model.webp)
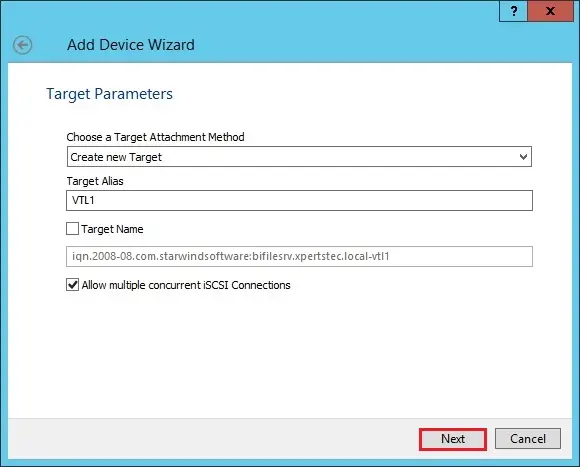
6- Virtual tape Target Parameters for Connection, click on next button.
![starwind virtual tape wizard target parameter](https://xpertstec.com/wp-content/uploads/2020/04/starwind-virtual-tape-wizard-target-parameter.webp)
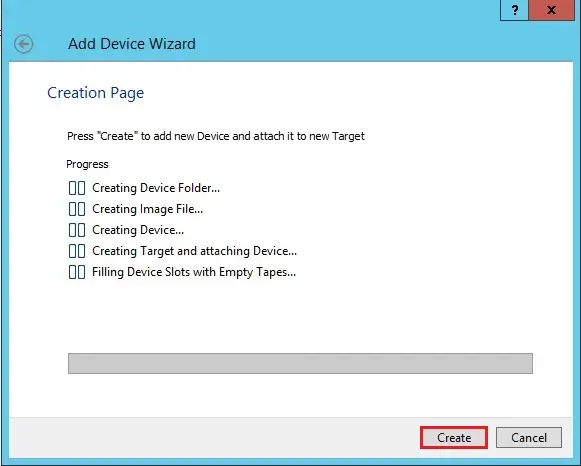
7- Click the create button to create the Device and wait for sometimes to complete the virtual tape process.
![starwind virtual tape creation page](https://xpertstec.com/wp-content/uploads/2020/04/starwind-virtual-tape-creation-page.webp)
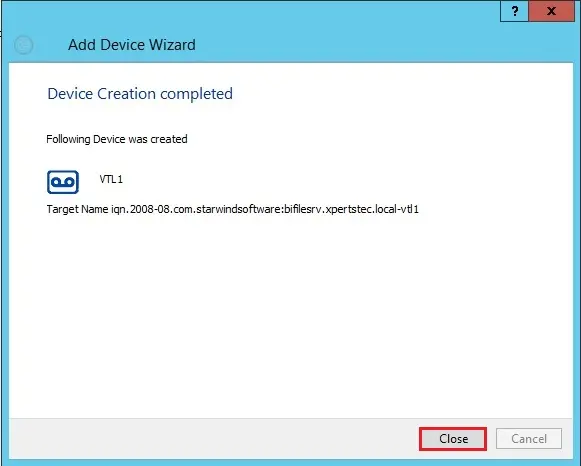
8- Virtual tape library VTL device created successfully, click on close button.
![starwind virtual tape vtl1](https://xpertstec.com/wp-content/uploads/2020/04/starwind-virtual-tape-vtl1.webp)
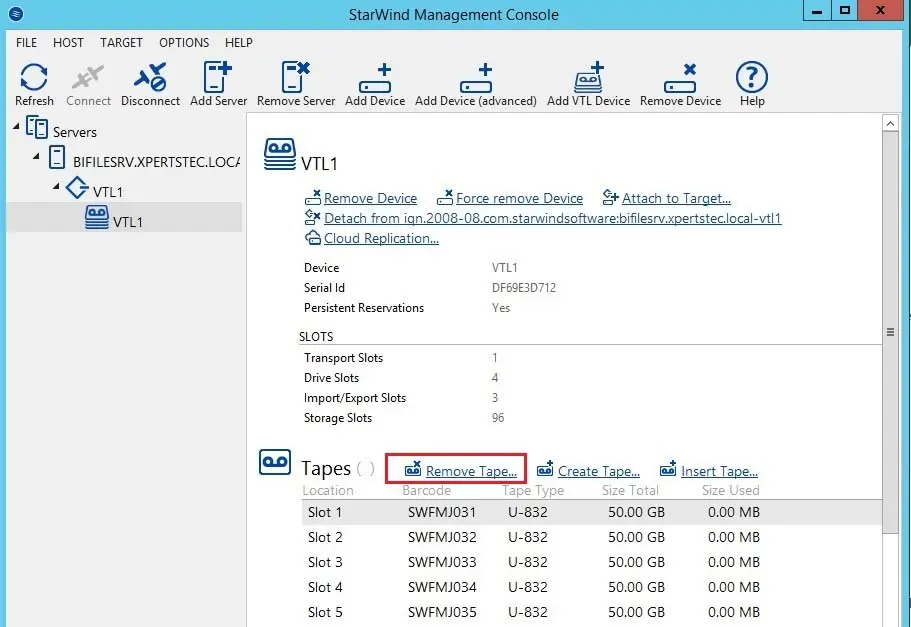
9- By Default it will create lots of tapes so we need to remove tapes.
![starwind virtual tape management console](https://xpertstec.com/wp-content/uploads/2020/04/starwind-virtual-tape-management-console-.webp)
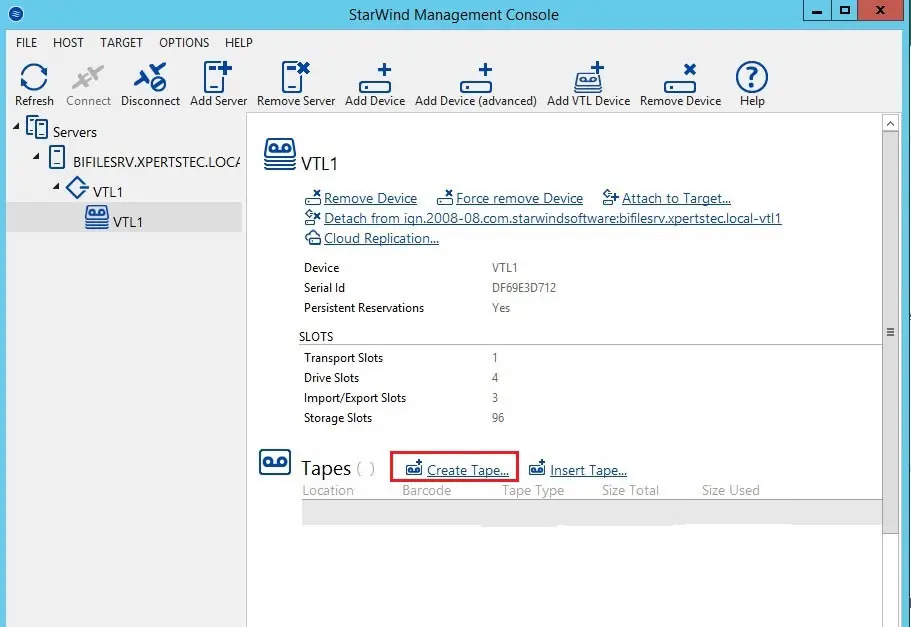
10- How to create Virtual tape library VTL Tapes. Click create tape.
![starwind management console](https://xpertstec.com/wp-content/uploads/2020/04/starwind-management-console-1.webp)
11- Specify the virtual tape path and then click next.
![starwind create tape](https://xpertstec.com/wp-content/uploads/2020/04/starwind-create-tape.webp)
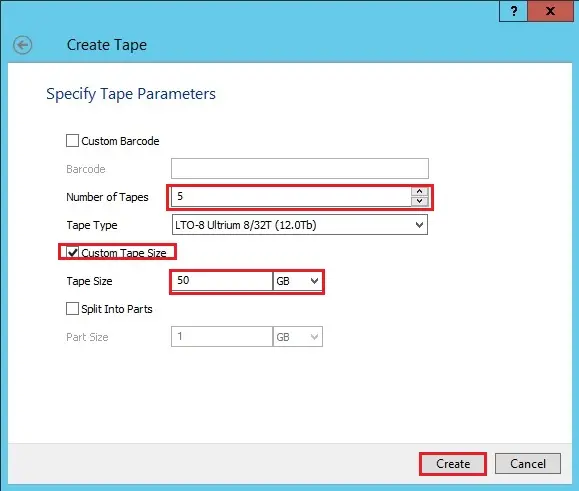
12- Select tape quantities, select custom tape size, and then click Create.
![starwind create tape parameter](https://xpertstec.com/wp-content/uploads/2020/04/starwind-create-tape-parameter.webp)
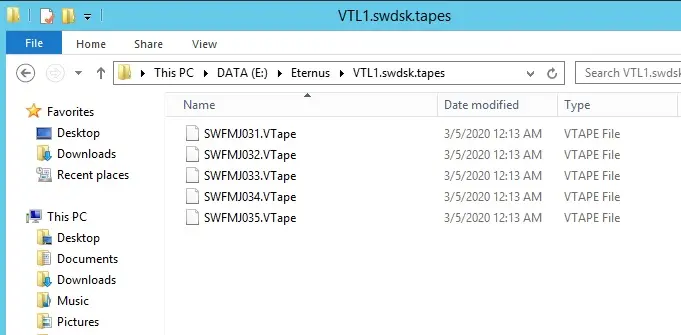
13- VTL tapes created.
![windows explorer](https://xpertstec.com/wp-content/uploads/2020/04/windows-explorer-1.webp)
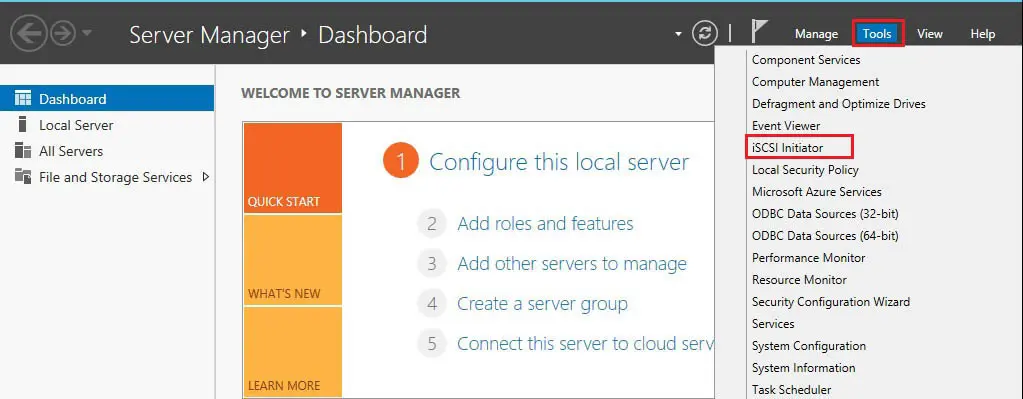
14- Open server manager, select tools and then click iSCSI initiator.
![server manager](https://xpertstec.com/wp-content/uploads/2020/04/server-manager.webp)
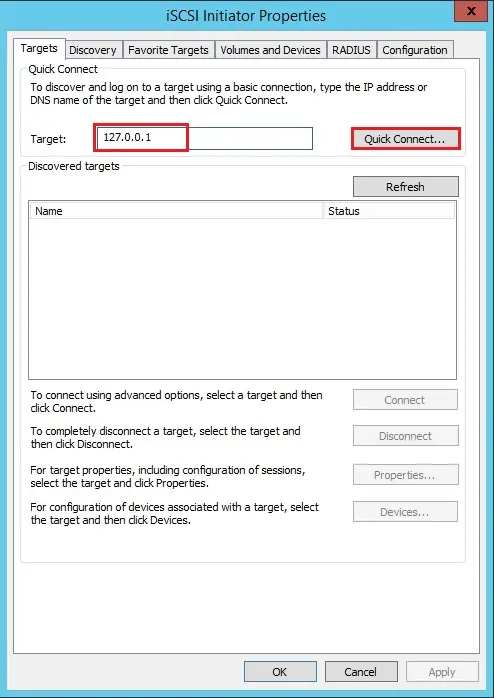
15- Type the tape drive host IP address and then click on quick connect button.
![iscsi initiator properties](https://xpertstec.com/wp-content/uploads/2020/04/iscsi-initiator-properties.webp)
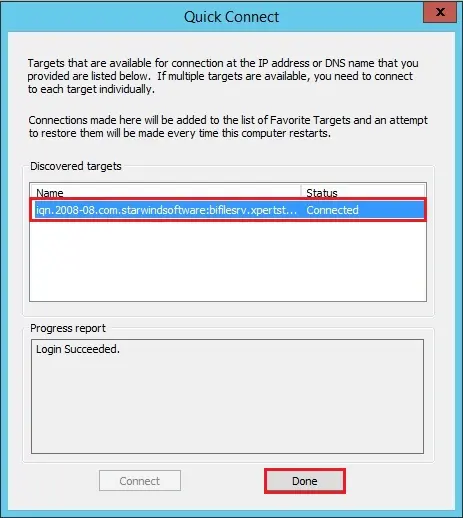
16- The target iSCSI has been connected and then click on done button.
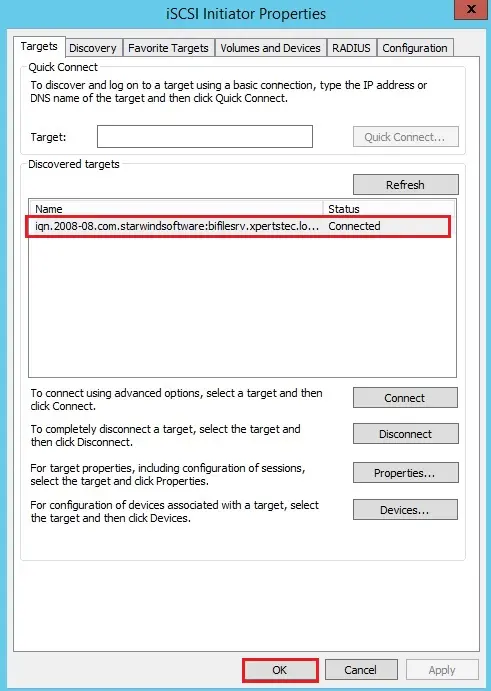
![iscsi initiator quick connect](https://xpertstec.com/wp-content/uploads/2020/04/iscsi-initiator-quick-connect.webp)
17- Click ok.
![iscsi initiator properties](https://xpertstec.com/wp-content/uploads/2020/04/iscsi-initiator-properties-1.webp)
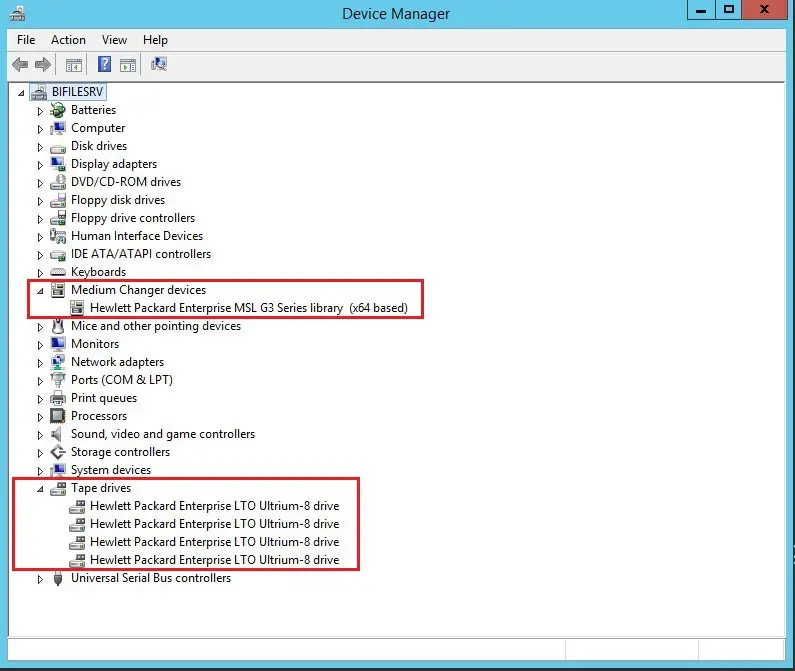
18- Open device manager, you can see tape device is showing and we need to install tape drive driver.
![device manager](https://xpertstec.com/wp-content/uploads/2020/04/device-manager.webp)
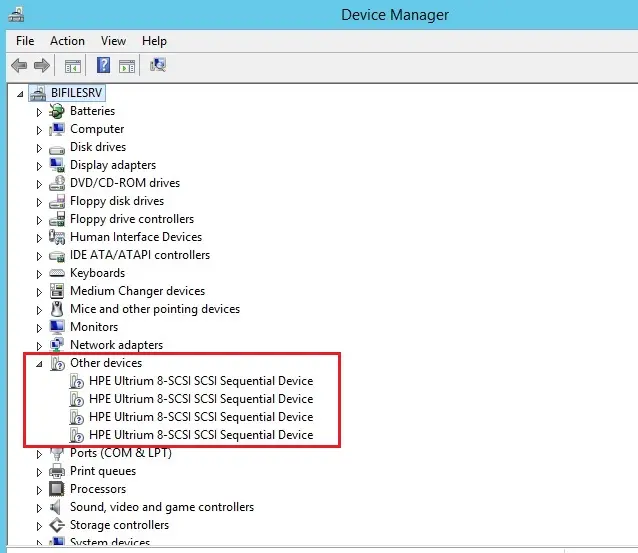
HPE StoreEver Tape Driver
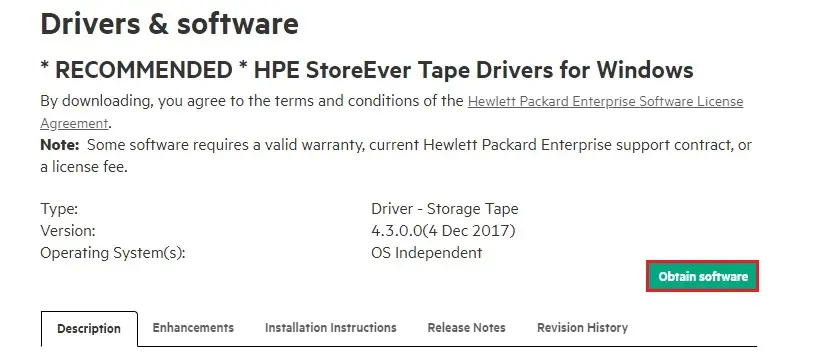
19- Now we need to install Tape Library Driver, first we need to download the HPE StoreEver tape driver Download Driver from HPE Official Website.
![hp storage hpe driver](https://xpertstec.com/wp-content/uploads/2020/04/hp-storage-hpe-driver.webp)
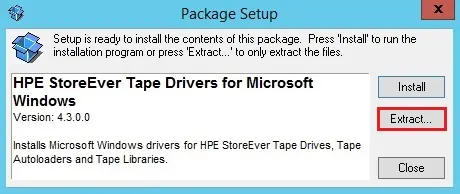
20- Double-click on the HPE Driver Setup file to run the setup.
![windows explorer](https://xpertstec.com/wp-content/uploads/2020/04/windows-explorer-2.webp)
21- Click on the Extract button
![hpe package setup](https://xpertstec.com/wp-content/uploads/2020/04/hpe-package-setup.webp)
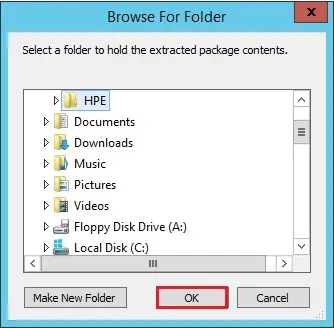
22- Select the folder where you want to extract the HPE StoreEver Tape driver and then click ok.
![browse folder](https://xpertstec.com/wp-content/uploads/2020/04/browse-folder.webp)
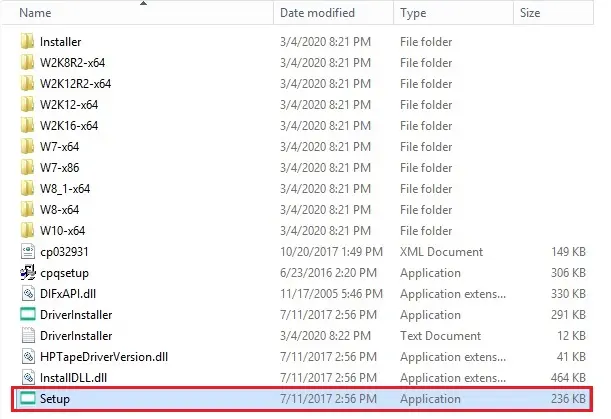
23- Open the extracted file folder and then double-click on the setup file to install the tape driver.
![windows explorer](https://xpertstec.com/wp-content/uploads/2020/04/windows-explorer-3.webp)
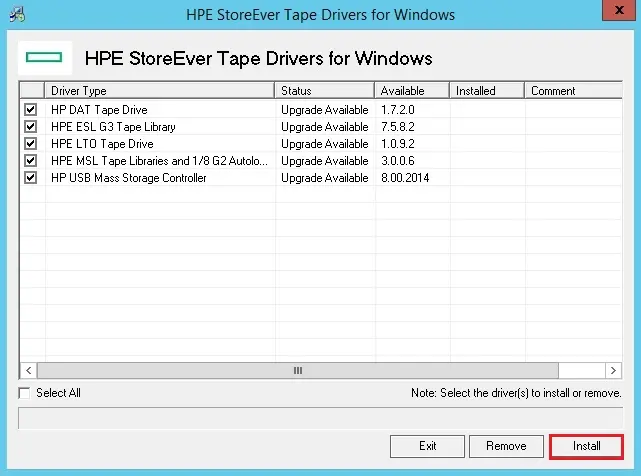
24- HPE Tape drivers showing, so click on install button.
![hp starwind virtual tape](https://xpertstec.com/wp-content/uploads/2020/04/hp-starwind-virtual-tape.webp)
25- HPE Tape Driver installed, so click on OK button.
![hp storeever starwind virtual](https://xpertstec.com/wp-content/uploads/2020/04/hp-storeever-starwind-virtual.webp)
26- Click Exit.
![hp storeever starwind virtual](https://xpertstec.com/wp-content/uploads/2020/04/hp-storeever-starwind-virtual-1.webp)
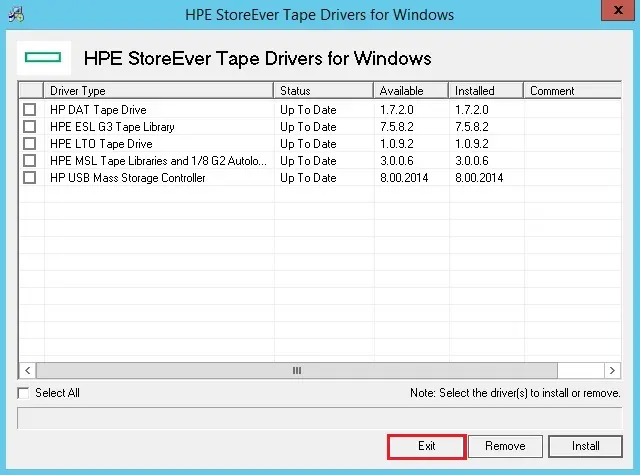
27- HPE Tape driver successfully installed.
![device manager](https://xpertstec.com/wp-content/uploads/2020/04/device-manager-1.webp)
Like and subscribe our YouTube channel to watch updated videos.