In this blog, I am going to show you how to resize partition with AOMEI partition assistant. We can resize partition easily and accurately with the help of the AOMEI Partition Assistant. Resizing disk partition includes shrinking & extending partition.
Why do we need to resize a partition?
Resizing partition means resizing a partition as we like, either shrink it or extend it. But when we shrink a disk partition, we can at most shrink it to the size of its used space so that we can use the partitions with more pliability. For instance, we can store files or applications on any one of the partitions. If the system partition is running low disk space, we can increase its size with the space shrunk from other partitions. Besides, we can create a new partition with the room get from other partitions.
I want to increase my C drive with a self-supporting (Windows) function but I didn’t know how for it seems very difficult. Being neither a technical guy nor a computer professional, I’m normally been caught by problems. It is extremely irritating! But now, I have not been troubled by such problems anymore using AOMEI Partition Assistant Professional. It really helps me to manage my system disks very well with its insightful interface and simple steps. Anyway, it is compatible with Windows 7/8/10/11.
Resize partition with Partition Assistant
To increase partition means expand partition size; here you notice two points below:
There should be an unallocated space locating on the same hard disk as the partition we want to extend. If there isn’t any unallocated space, we need to shrink other partitions to generate the unallocated space.
The unallocated space must be adjacent to the partition we need to extend, anyway it is before the target partition or behind it. It isn’t, we could use the feature Move Partition to adjust the position of it.
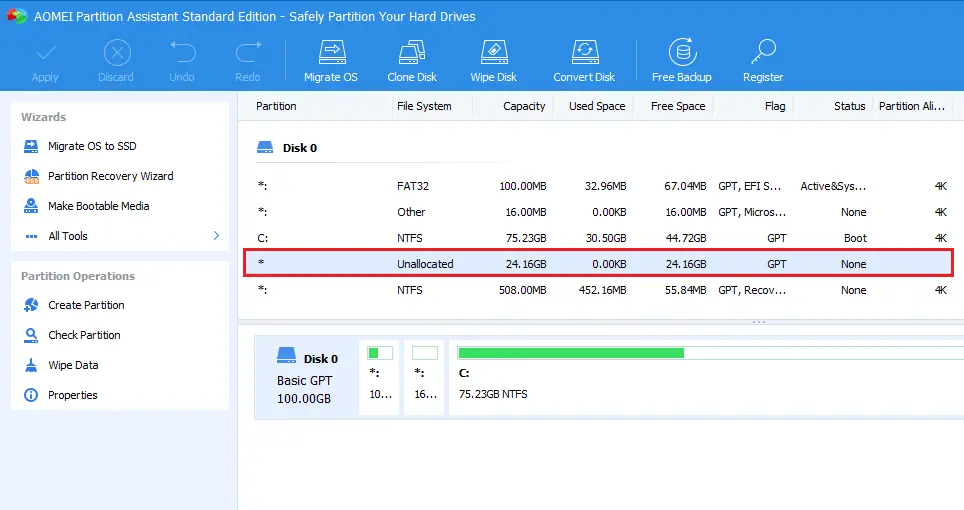
Install and open AOMEI Partition Assistant. In the AOMEI Partition console, you can the whole partition configuration.
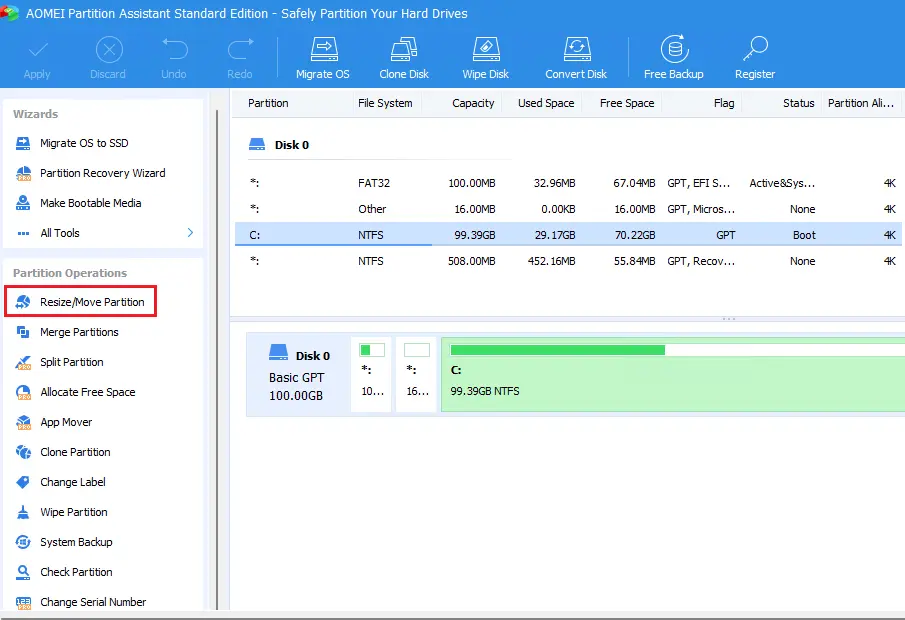
Select the partition (here is the C drive) you want to resize and then select Resize/Move Partition under Partition operations.
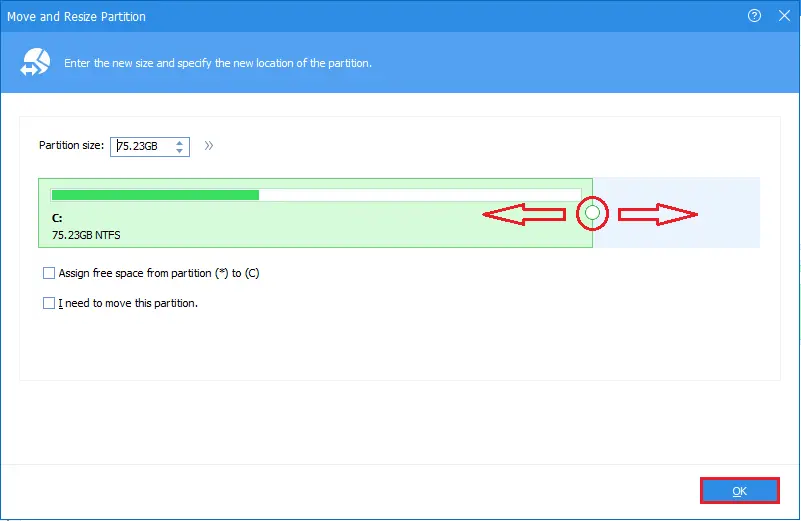
AOMEI Move and Resize window open up, position the mouse cursor on the right border of the partition and then drag the border rightwards to extend the partition. Click Ok.
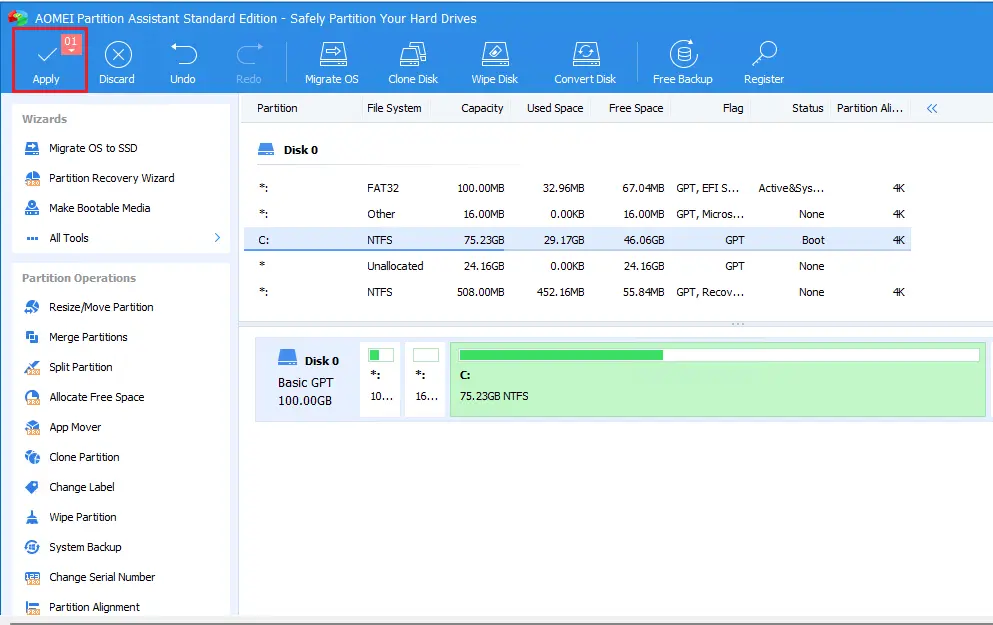
Please preview the partition to be extended and then click the Apply menu on the toolbar to commit the operation.
Select the proceed button.
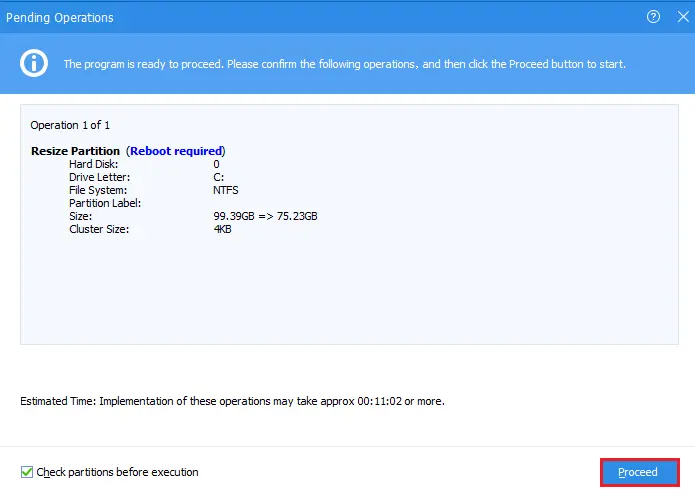
The Move/Resize operation will be performed under Windows PE mode and PreOS Mode and your system will reboot when.
Note: If you are resizing your server partition and the server RAID is configured, then you can choose PreOS mode. In this example, I am resizing my desktop partition.
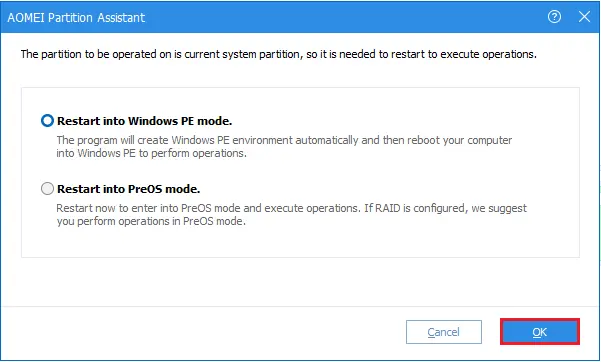
Resize a partition on which the AOMEI Partition Assistant installation file is.
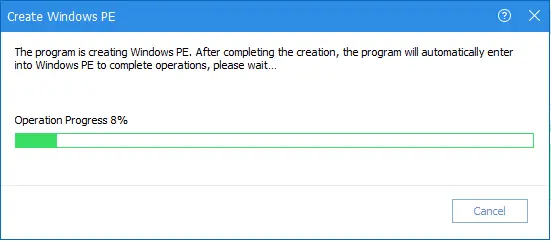
Resize a partition where applications are running.
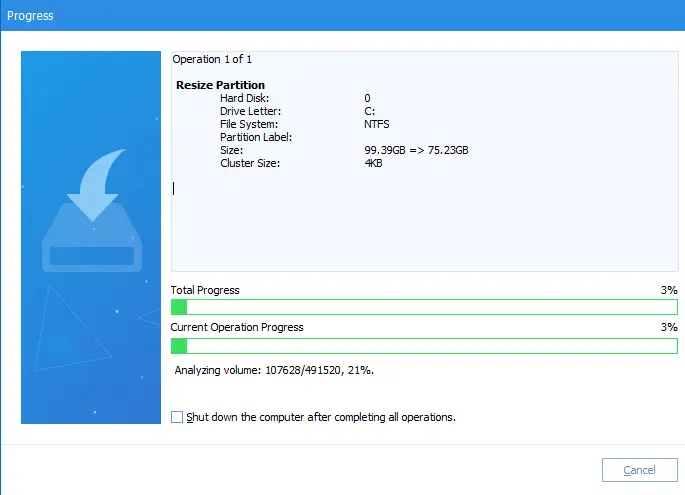
Your computer will automatically restart.
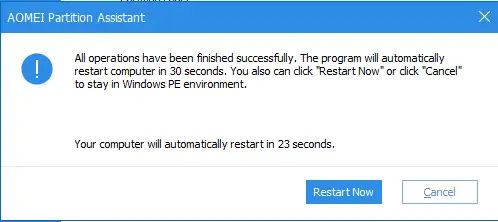
Here you can see unallocated space after resizing the partition.
Related: How to Merge Partitions using AOMEI Partition Assistant.


