How to Create Partition using AOMEI Partition Assistant
In this article, Have a look on how to how to create new partition using AOMEI Partition Assistant in Windows XP/11. AOMEI Partition Assistant will assist you to create partitions without any limit, in spite of the fact that there is no unallocated space.
About Creating Partition
To create a partition is actually to partition a hard drive. Only after creating partitions on a disk can you make use of the drive to save all kinds of data. All physical parameters of a disk are set when we make the partition on it, which includes MBR (Main Boot Record) and the destination for saving boot record backup. When restoring the system, the whole c disk (the computer disk) will be formatted. If all the data is saved in drive C, they will all be cleaned and cannot be restored.
Too many other things in the system disk will slow down the system’s running.
If there are several partitions and every partition stores different sorts of data, it is convenient for users to manage them.
Before You Start
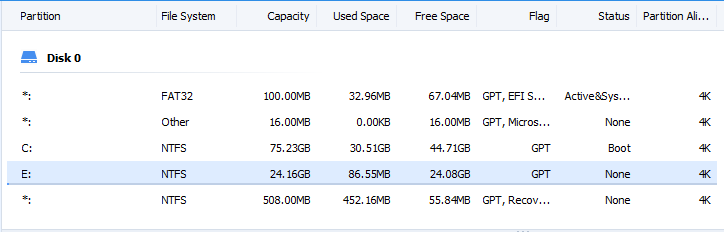
For MBR disk, satisfy how many partitions are there already on the hard drive. Because MBR disk only supports creating up to four primary partitions or three primary partitions and one extended partition which might include one or more logical partitions. For the GPT disk, we can create partitions without limitation. And we can have more primary partitions. Despite that, the Windows implementation restrains things to 128 partitions.
How to Create Partition
AOMEI Partition Assistant provides 2 methods to create the partition, please choose the one which is more suitable for you.
Download AOMEI Partition Assistant in order to follow the steps.
Create partition with unallocated space
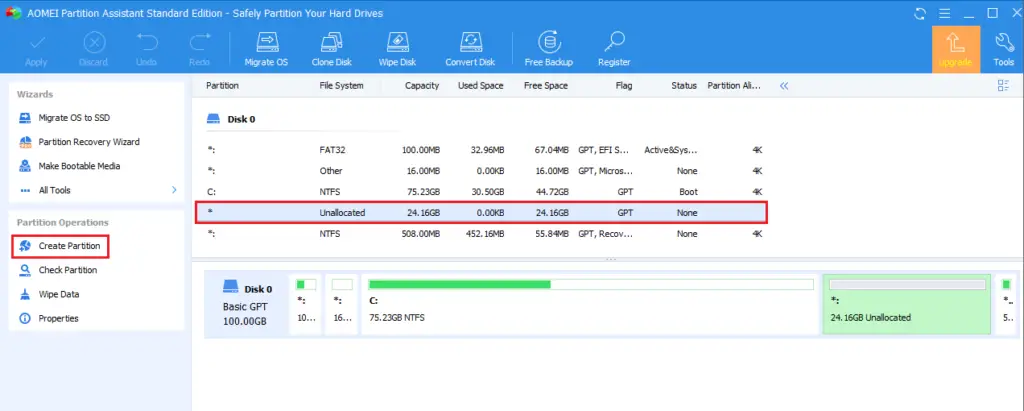
Install and open AOMEI Partition Assistant. Select the unallocated space and then select Create Partition on your left side (if there is no unallocated space, please the Solution 2).
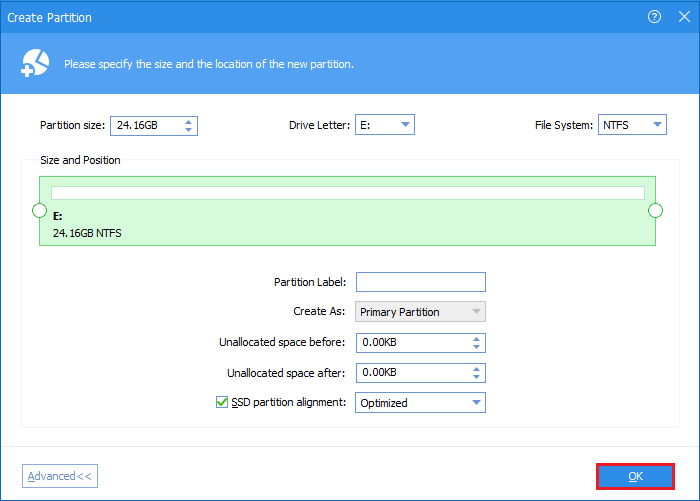
Create Partition windows will pop up, Select the Advanced to specify the information for your new partition, including partition size and position, label, drive letter, files system, and partition type (primary or logical). You can also specify the partition size by dragging both edges. After all the settings are completed and then select the OK to continue.
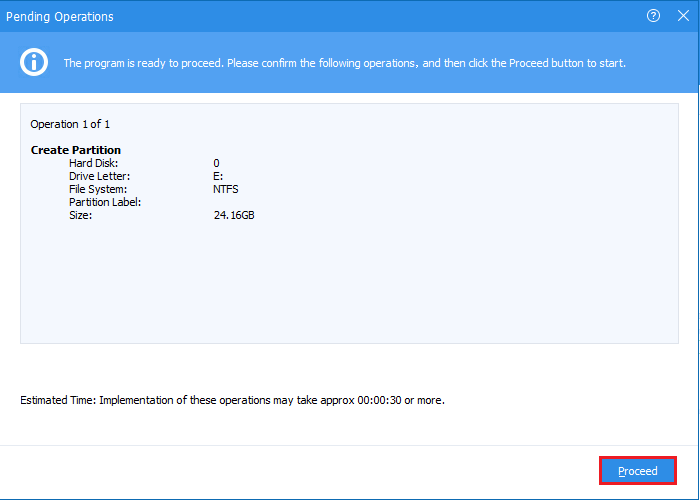
You can view the newly created partition and then choose the Apply on the toolbar to commit the Pending Operations.

Tips:
Recommended: You set the file system as NTFS.
If you select the drive letter as none, the partition will be hidden, in other words, you can’t view it on My PC.
Select proceed.
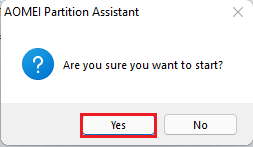
Select Yes.
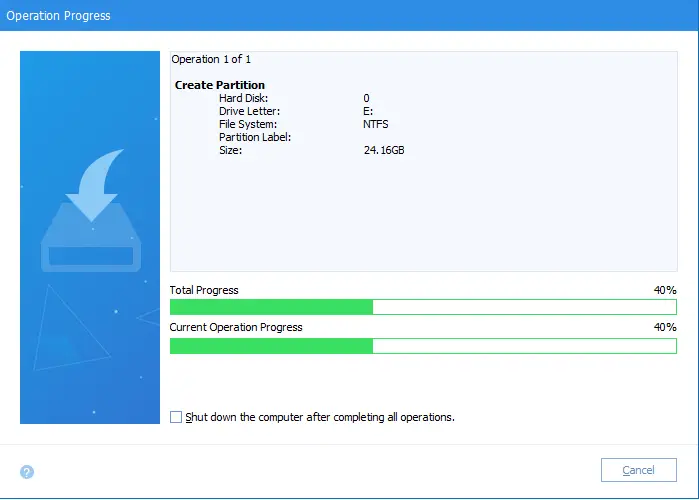
Creating a partition is in progress.
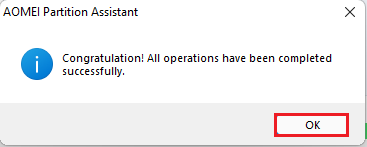
Select ok.
Now you can see the partition successfully created.