
In this blog, you will learn how to map network drives via Group Policy in Windows Server 2022. How can I configure a GPO for mapping shared drives and automatically provide users with access when they log on? Providing users with access to shared folders can be beneficial. It allows you to control your IT infrastructure while allowing people to share the necessary resources.
Map Network Drives via Group Policy
Map a Department Network Drive
I will map network drives with group policy for the Accounts department. I will use item-level targeting, so it only maps this drive for users in the Accounts organization unit.
You could also use a Security Group to target a certain group of users. This will be mapped to a network share that only the HR department has access to.
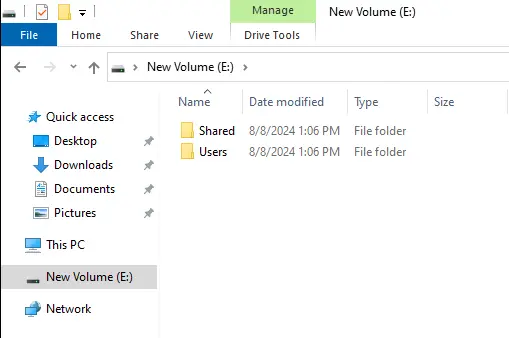
I have created two shared folders (Shared for Accounts department and Users for individuals).
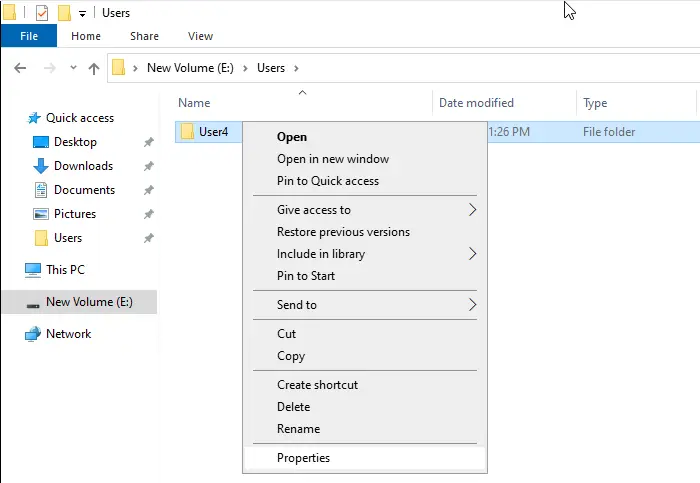
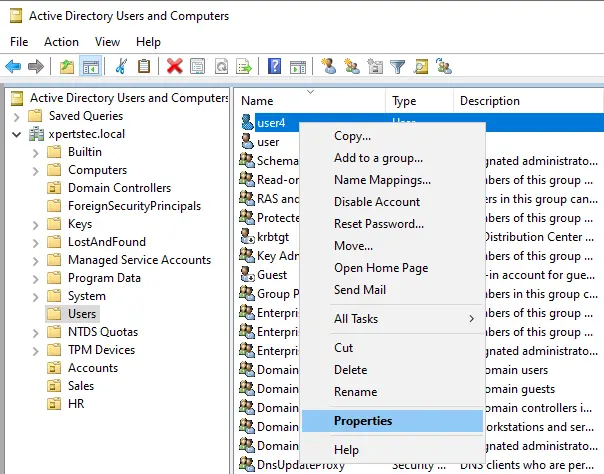
Open the users’ folder.
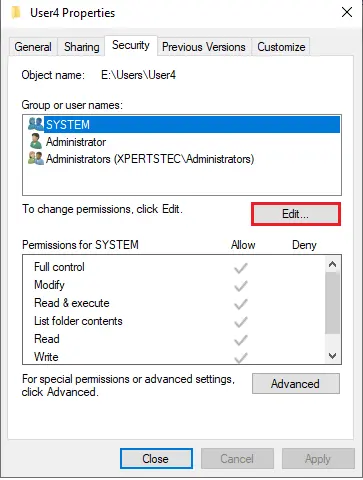
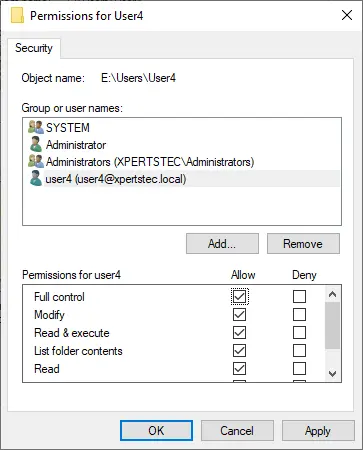
Right-click on a user, select properties and verify the permissions.

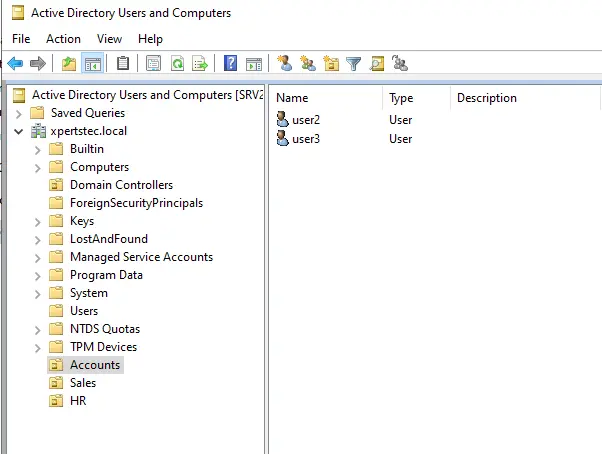
Active Directory Users and Computers
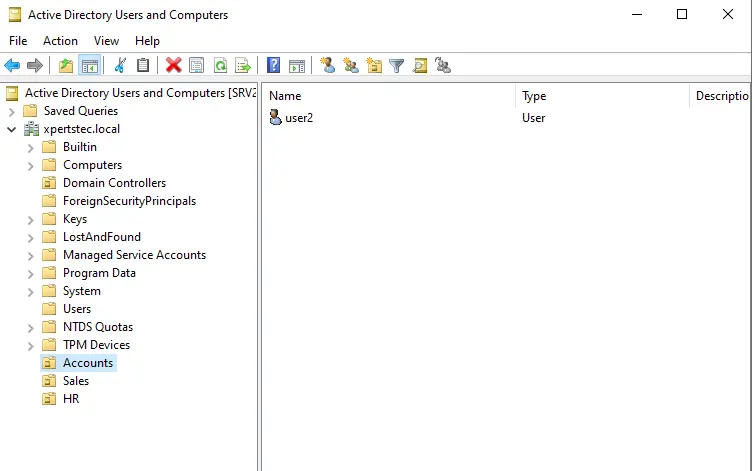
We have created organization units (Account, etc.….) in the Active Directory users and computers. I am going to map a network drive for accounts departments. I have moved a user named user2 to the accounts organization unit.
Create a GPO & Link a New GPO
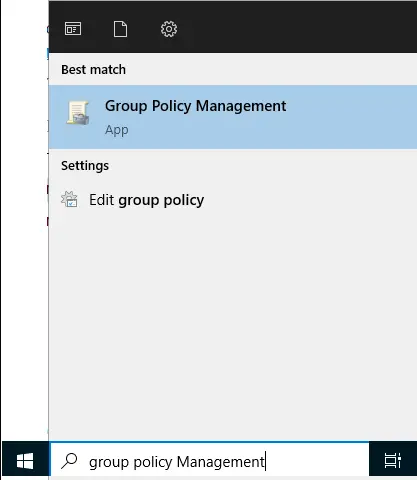
Open the Group Policy Management Console by searching in Windows.
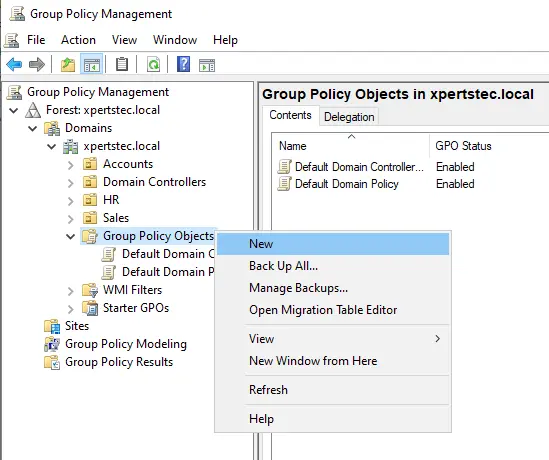
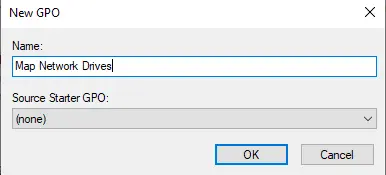
In the Group Policy Management Console, click on the group policy object and select Create a new GPO.
You can name the new GPO whatever you like; I’ve created a map network drive for all computer users.
I can also add additional drive mappings to this GPO.
The new GPO is now created and linked, so it is time to configure the settings.
Configure GPO Settings
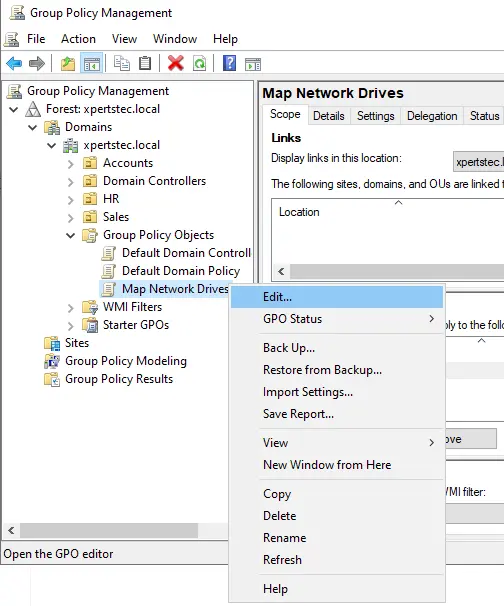
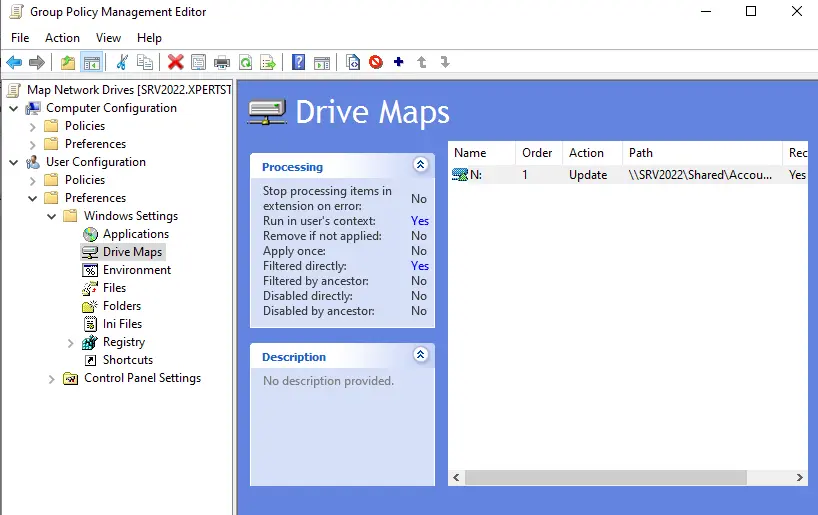
Right-click on the GPO (Map Network Drives) and select edit.
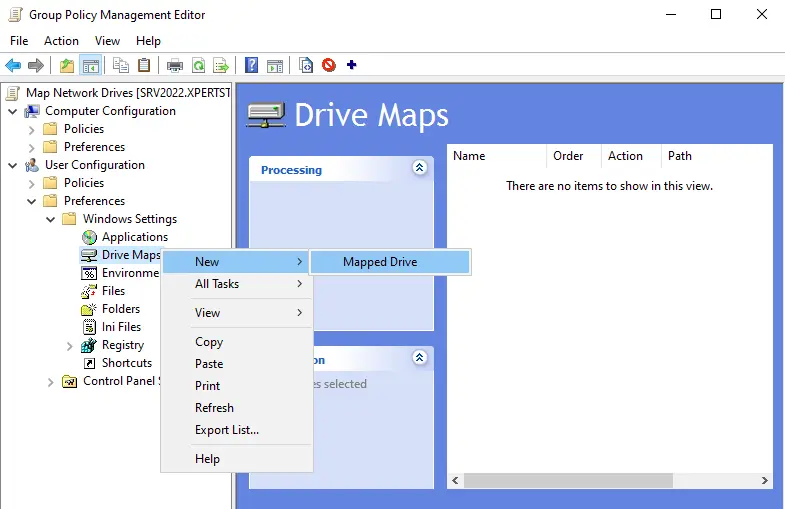
Access User Configuration/Preferences/Windows Settings/Drive Mappings.
Right-click Drive Maps, Select New and then Mapped Drive.
Configure Drive Mapping Properties
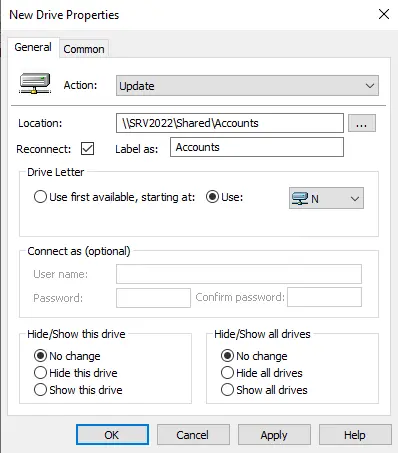
General Tab Settings
Action updates
Locate the path to the shared/folder you want to map a drive.
Select a drive letter
Label as: This is optional, but may be beneficial for users.
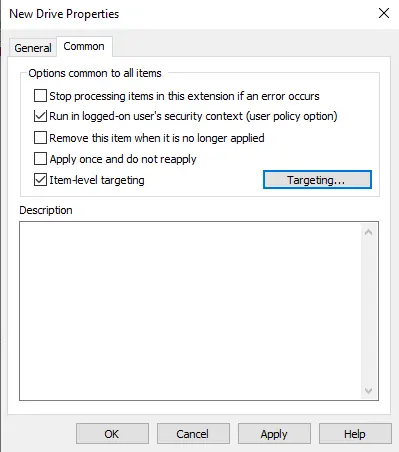
Click on the Common Tab
Select Run in the logged-on user’s security context.
Select Item-level Targeting
Click on the Targeting Button

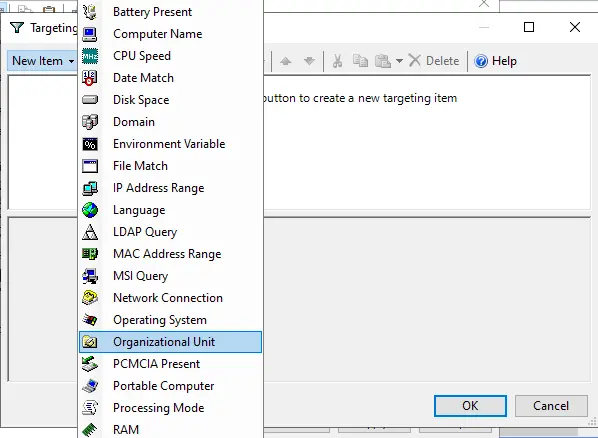
Select New Item
Select Organization Unit
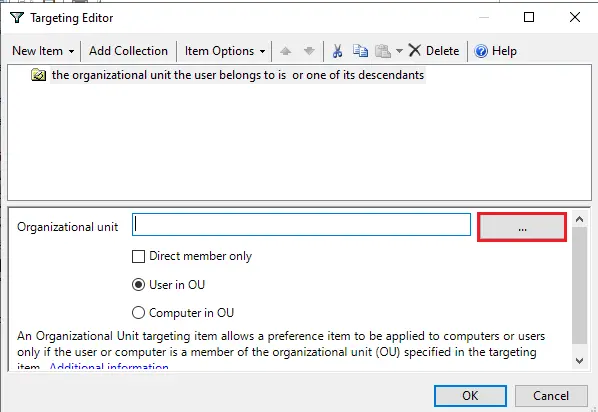
Click on the three dots buttons.
Select your OU, the one you want to use for this network drive mapping.
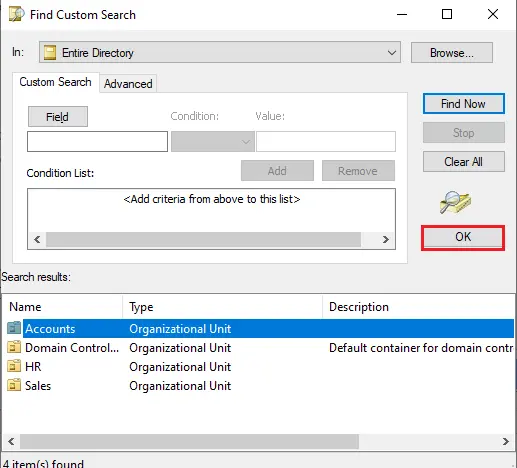
Click ok.
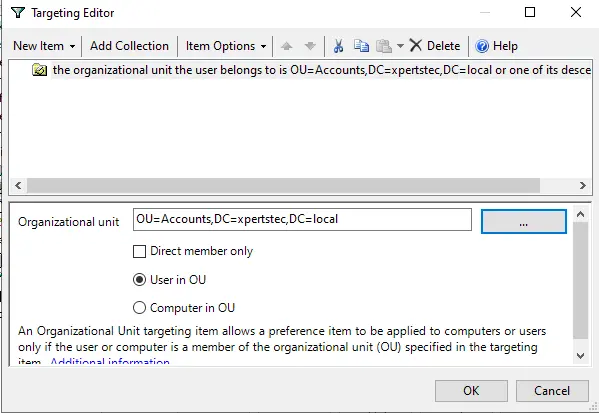
Click the ok button to close the new drive properties.
This completes the GPO settings.
This will be a user-based GPO, so make sure you link it to a location that will attract users. I have all my users separated into an OU called Accounts so that I can create and link the GPO there.
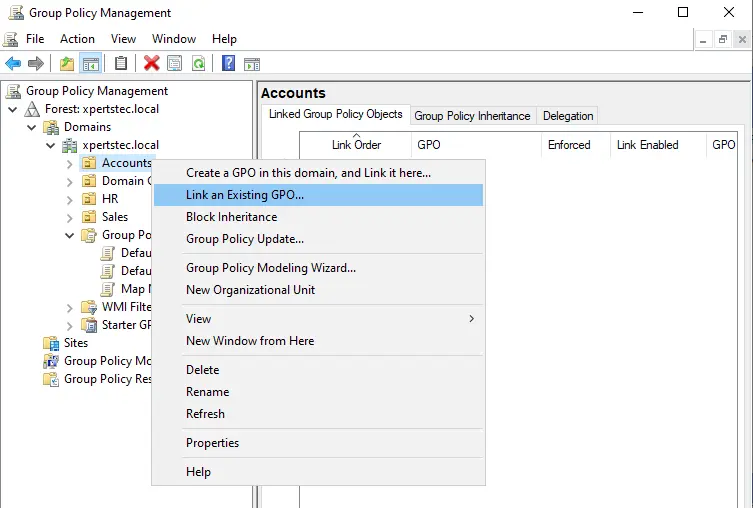
How to Link Existing GPO to OU
Right-click on an Organization Unit and select the existing GPO.
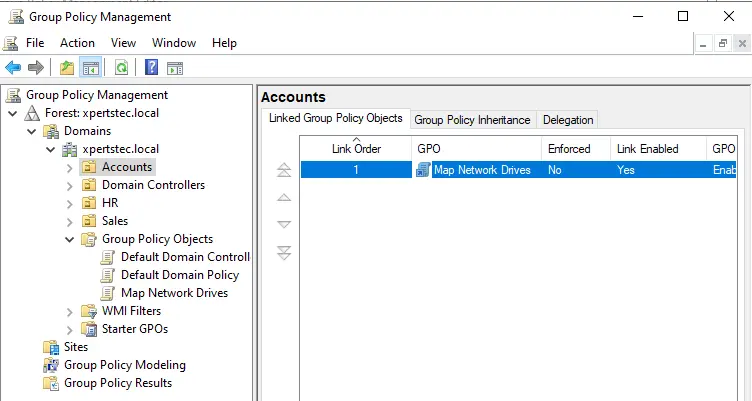
Select a group policy object (Map Network Drives) and click ok.
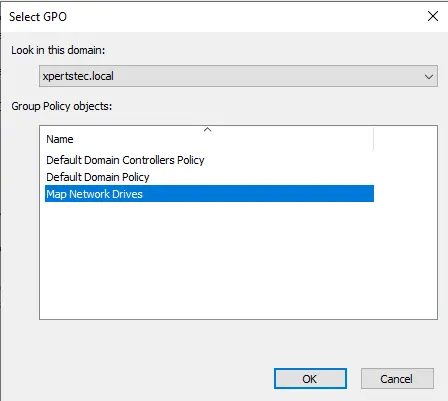
Now you can see the GPO successfully linked.
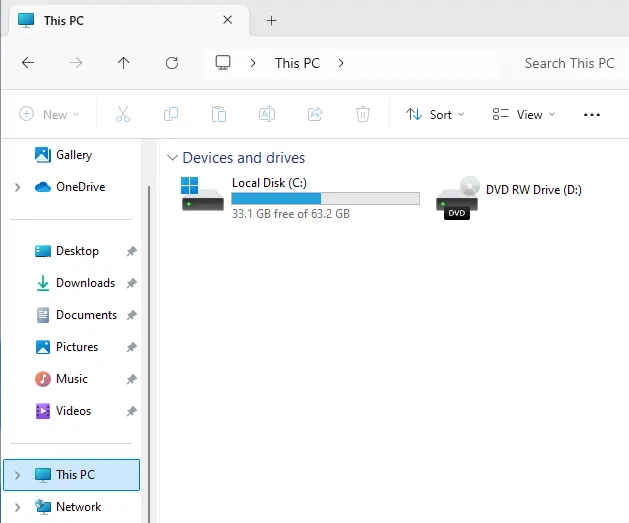
Log in with a user’s PC, and you can see the map drive not displayed.
Reboot User’s Computer to Process GPO
I must reboot the user’s PC or run gpupdate /force.
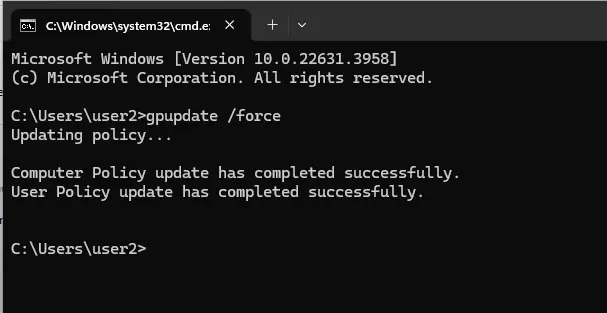
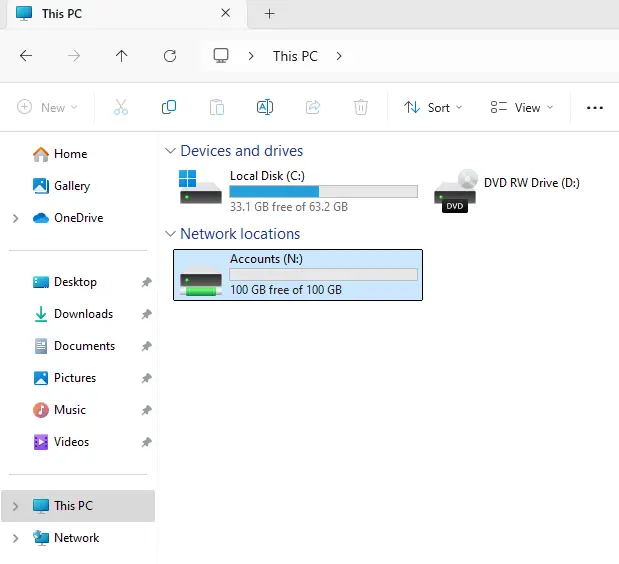
The next time a user from the accounts users logs in, they should be able to see a mapped drive.
In the active directory users and computers, now, any user I put in the HR folder can access this drive. If you don’t want to use an organizational unit, you can also target a group of users by using a Security group.
Map a Network Drive Using Group Policy for Individual Users
This example maps a drive for individuals, providing each user with a personal folder to save files.
You can create a new GPO or add to an existing one, I have all my drive mappings available in one GPO.
This example requires a folder to be created on a network share that matches the user’s login name. You will need to modify the NTFS permissions so that only the individual user has permission to access it.
Create Roaming Profiles
Roaming profiles allow users to log on to any computer in their organization and have all their personal files and settings available to that computer. This is a powerful feature that is easy to configure.
Create a folder on your server’s local hard drive.
Click the folder you created, scroll down, and click Properties.
Open the sharing tab and click Advanced Sharing.
Check the Share this Folder and click on Permissions.
Select Everyone from Group or usernames and click Remove.
Click Add and add a user to who you want to provide access.
Click on the security tab and select edit.
Select add
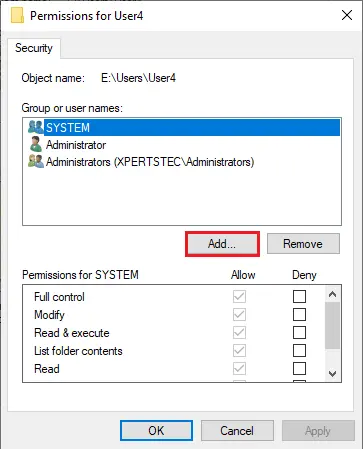
Enter a user and select click ok.
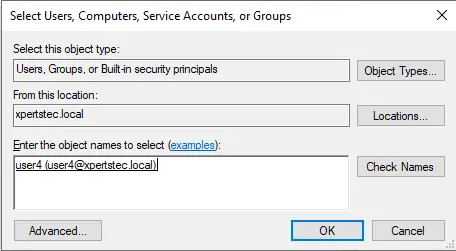
Allow full control by checking the checkboxes and clicking OK.
Active Directory Users and Computers
Select all users who would like their roaming profile to be created. Right-click and click Properties.
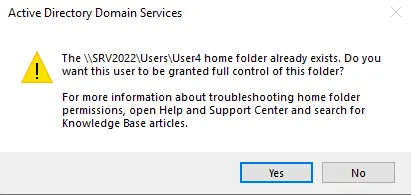
Check the connect under the home folder and use a letter to map the network drive. Provide the network path of the folder you copied. It should be in the format ServerNameFolderName%username%. Click OK. You are creating a roaming profile for Active Directory users.
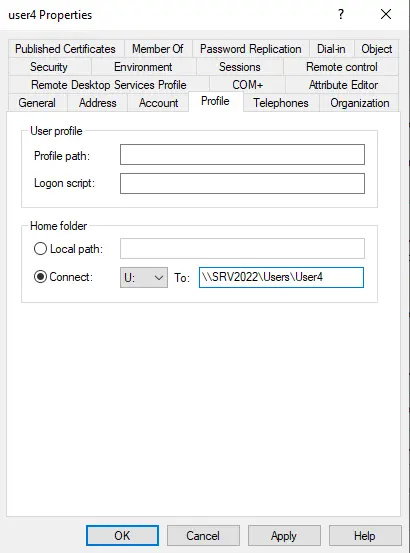
Click ok.
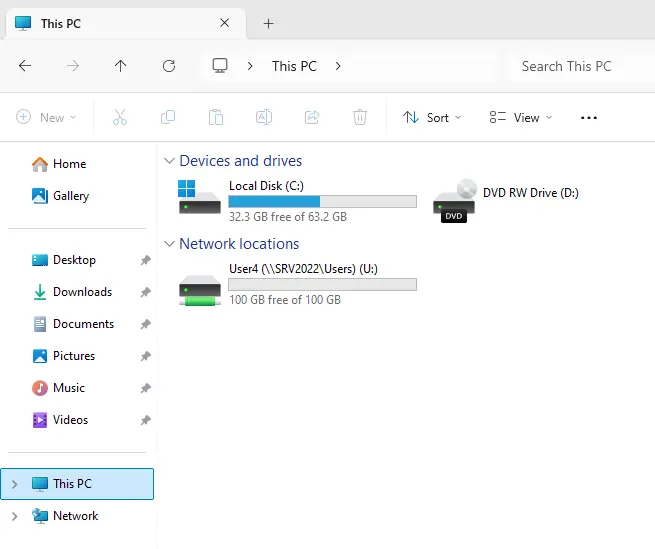
Now login with the user’s PC.
Please visit Microsoft to learn more about GPO.
Related: How to Restrict Control Panel Access with Group Policy
#MapNetworkDrive #GroupPolicy #WindowsServer2022 #gpo