
Let’s see how to create a system restore point in Windows 11 and then bring back Windows 11 to an earlier state. A restore point creates imitate of the system files on the computer at the instant it’s created. This means you can return your system to its original condition should any errors occur when, for example, you run system utilities or installing drivers. It’s a great idea to create a restore point when your system is in a steady, working state. Create one before making meaningful computer changes or installing unknown or new unknown software; if anything goes Incorrect, you can revert your operating system to the restore point.
A System Restore permit you to undo system changes that may be causing problems. System Restore is a Windows feature designed to create a restore point (snapshot) of the systems current working condition as a restore point when devices changes are detected. If a crucial problem occurs after installing a Windows update, installing driver, application, or after modifying computer settings incorrectly using any other tool, you can use any of the available restore points to revert your system to an earlier point in time to resolve the issue without losing your data.
- Using System Properties
- Create system restore point with PowerShell
- To Create Restore Point Using Command Prompt
- How to fix can’t create a system restore point?
- To Change system restore frequency in Registry Editor
- To enable system restore via Group Policy Editor
- How to turn on Volume Shadow Copy service
- How to Schedule System Restore Point
- System Restore: Frequently Asked Questions FAQ’s
Create System Restore Point in Windows 11
If you know the changes you need to make may lead to damage of data or your computer being unstable, then you need to create a restore point before doing changes. Windows 11 helps you restore your system back to a fine state.
Using System Properties
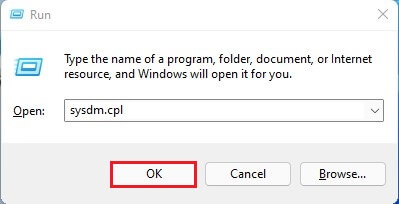
To create a restore point in Windows 11, press the Windows key + R on the keyboard to launch the Run app. Then type sysdm.cpl and hit Enter to launch.
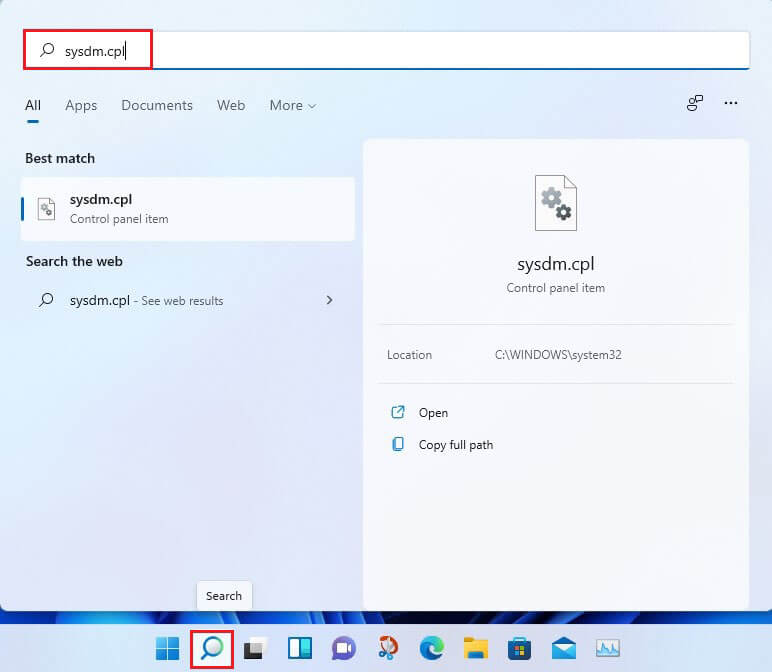
Alternatively, click on the Windows search bar, type sysdm.cpl, and open it.
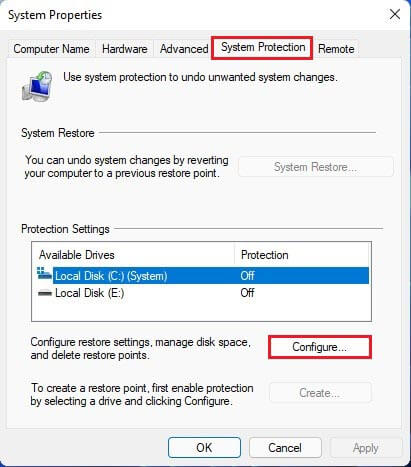
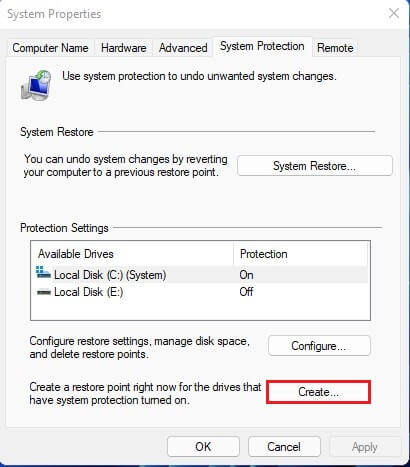
It will open the System Properties settings and then select System Protection tab.
Here you might see your Local Disk (C:) (System) drive Protection Off, click the Configure button.
Turn on the system protection radio button and then click ok to save your changes. Performing this will enable System Protection on your local system disk drive.
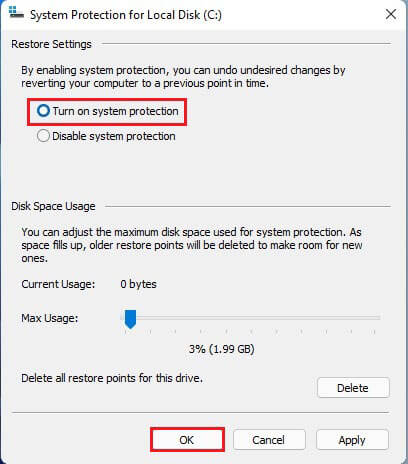
After System protection is turned on, select the Create button to create a restore point.
Type the restore point name and then select Create.
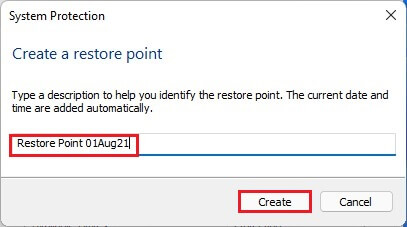
Creating a restore point

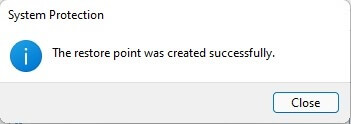
Windows system restores point successfully completed for the computer that you can restore to in case the system becomes unstable.
How to Do Windows 11 System Restore
The system restore option is available in Windows 11, but by default it’s disabled.
Create system restore point with PowerShell
Admin rights users can create restore points with PowerShell as well.
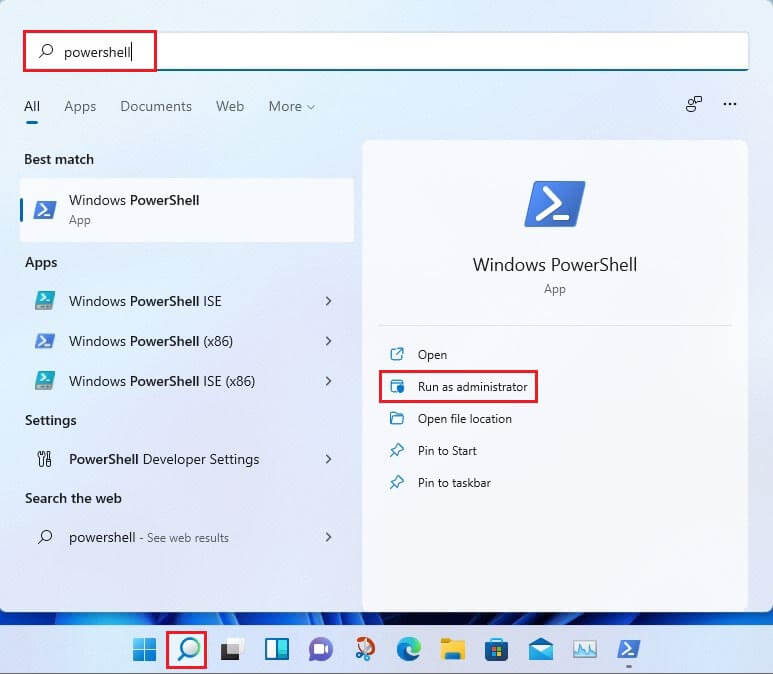
Select Windows search button, type PowerShell, and then select Run as administrator.
Now enter the below command
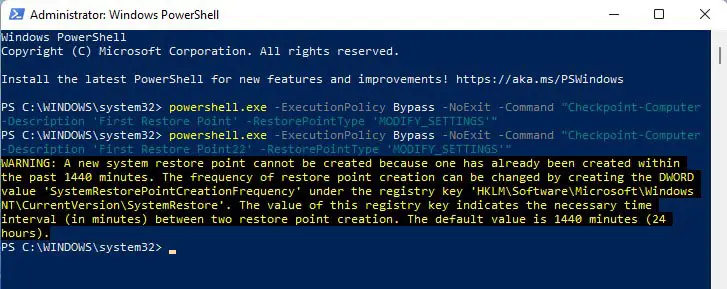
powershell.exe -ExecutionPolicy Bypass -NoExit -Command “Checkpoint-Computer -Description ‘Restore Point Name’ -RestorePointType ‘MODIFY_SETTINGS'”
Change Restore Point Name with whatever you want to name the restore point.

Might be PowerShell displays a warning (see in the below pic) saying that you cannot create more than one system restore point in 24 hours. Providing steps below.
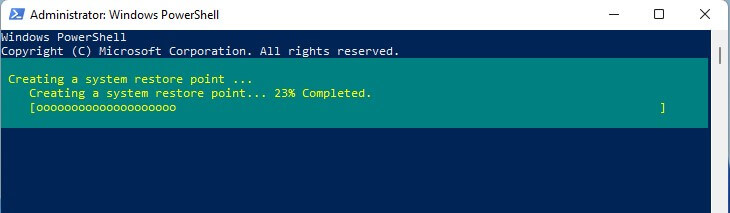
You can see the progress report of the restore point creation.
To Create Restore Point Using Command Prompt
Another way to create a restore point is with Command Prompt.
Select search bar, type cmd, and then click on Run as administrator.

Enter the below command
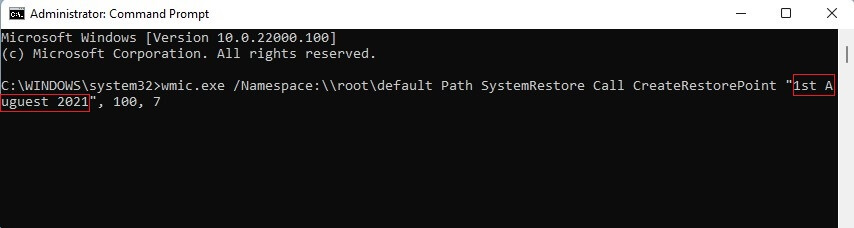
wmic.exe /Namespace:\root\default Path SystemRestore Call CreateRestorePoint “Restore Point Name”, 100, 7
Change Restore Point Name in the below command with whatever you wish to name the restore point and then hit enter.
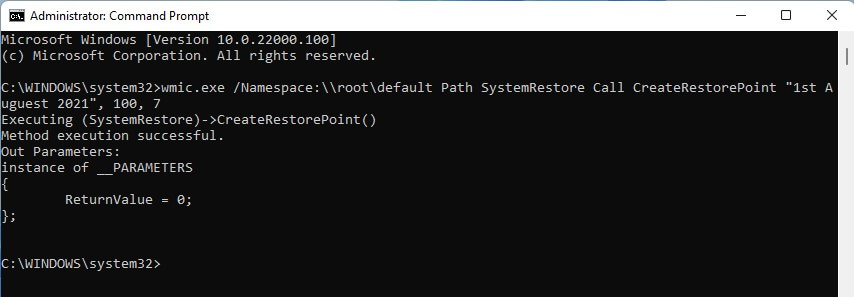
When you received the “Method execution successful” and “ReturnValue=0” messages this means your system restore point is successfully created.
How to fix can’t create a system restore point?
There is might be some reasons, you may unable to create a system restore point. But there are some easy fixes that you can solve the issue.
To Change system restore frequency in Registry Editor
As mentioned above, by default, Windows only allows you to create one system restore point if one has already been created in the last 24 hours. This could be difficult, principally if you are looking to edit the registry settings but want to make sure that there’s a restore point in case things goes wrong. To permit the creation of system restore points at any time, you will be eligible to change the frequency of system restore points.
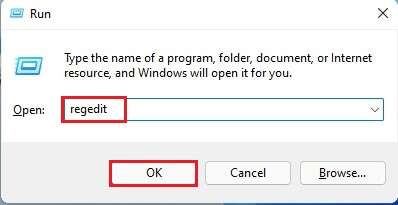
Hold Win + R key to launch the RUN box, type regedit, and then press enter.
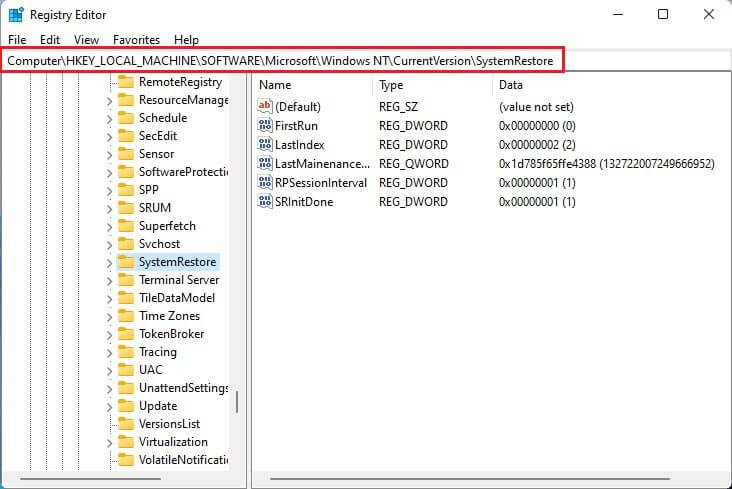
Now, navigate to the following address.
Computer\HKEY_LOCAL_MACHINE\SOFTWARE\Microsoft\Windows NT\CurrentVersion\SystemRestore
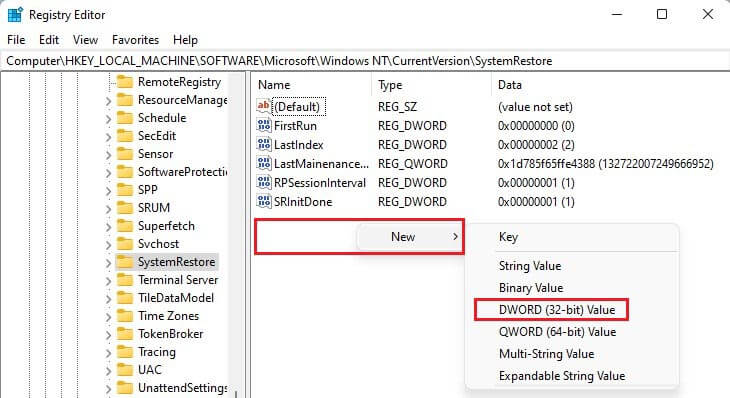
Right-click empty place, choose New and then select DWORD (32-bit) Value.
Copy SystemRestorePointCreationFrequency and paste it.
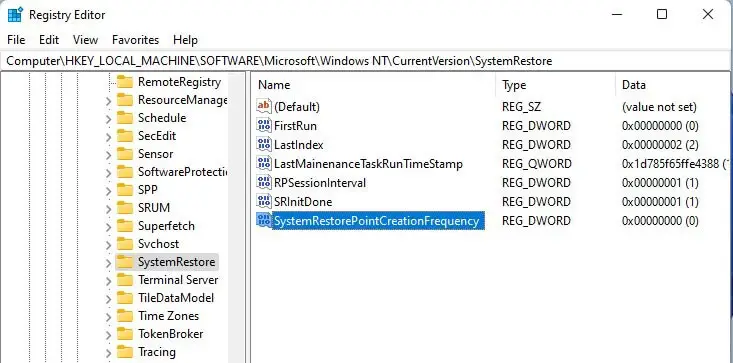
Leave it default and close the registry editor. Now you are able to create a snapshot (system restore point) manually without considering any frequency limitations.
To enable system restore via Group Policy Editor
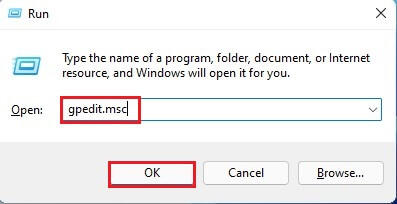
Press Windows key + R to open the RUN, type gpedit.msc, and then press enter.
Group Policy Editor Window will pop up. From the left pane, expand Administrative Templates > System > System Restore.
On the right, these two Settings should be set to Not configured.
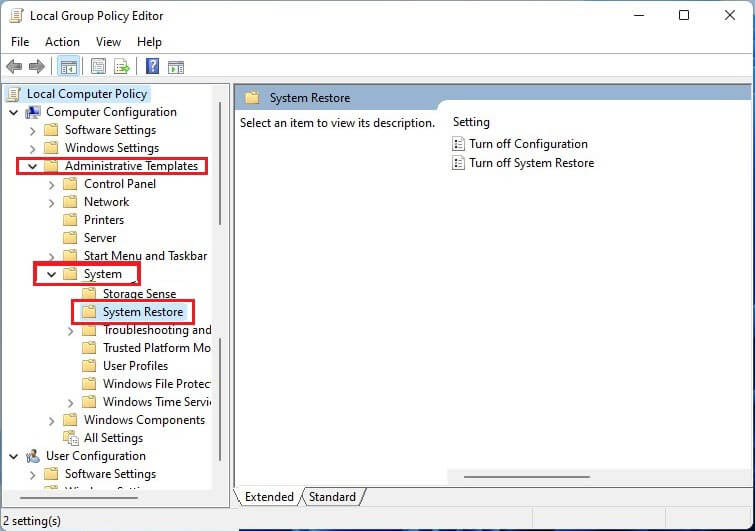
If any of them is enabled, double-click on it to open and then set it to Not configured.
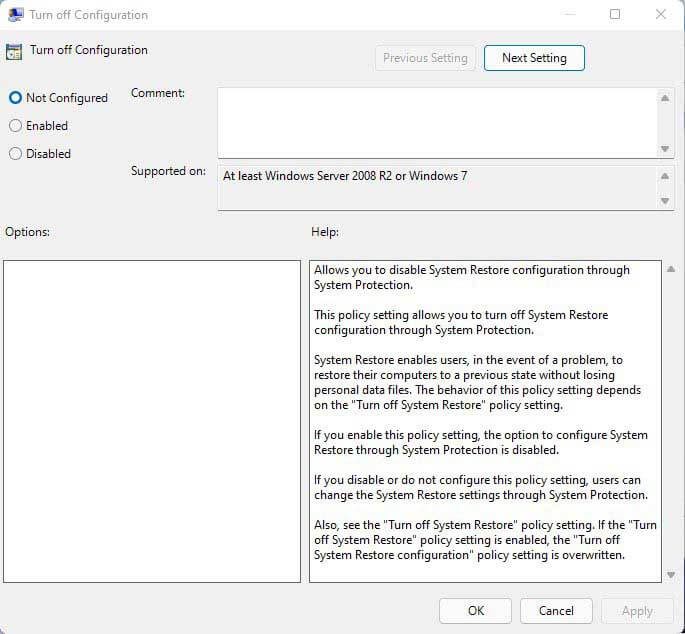
Now you must be able to create a system restore point.
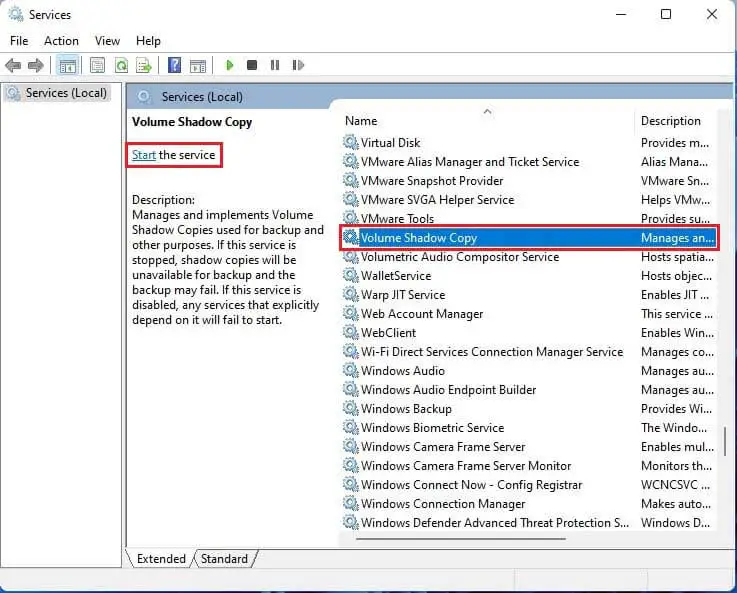
How to turn on Volume Shadow Copy service
When you’re unable to create a system restore point, here is another fix that you may wish to implement is to turn the Volume Shadow Copy service.
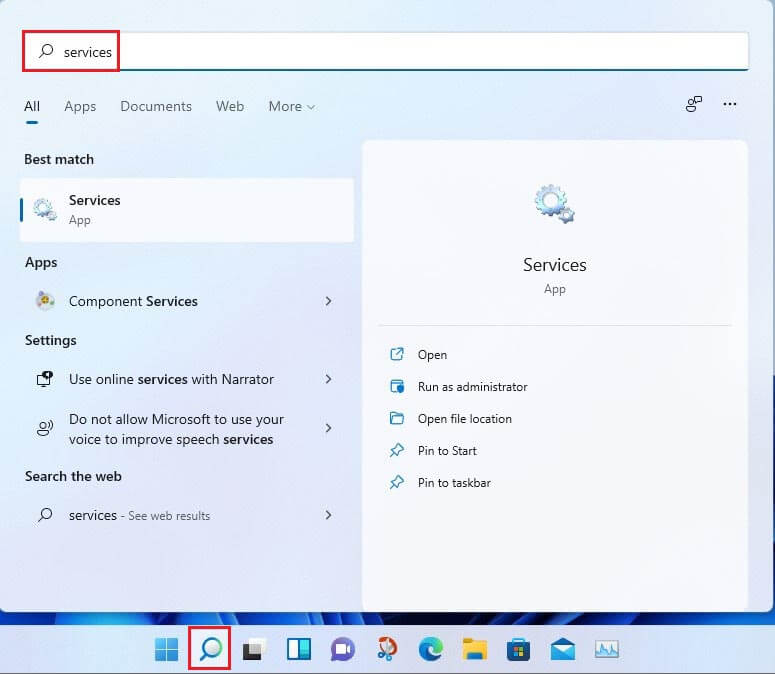
Open Windows search, type services, and then hit enter.
Scroll down and find the Volume Shadow Copy service.
Click on Start the service if the service isn’t already running.
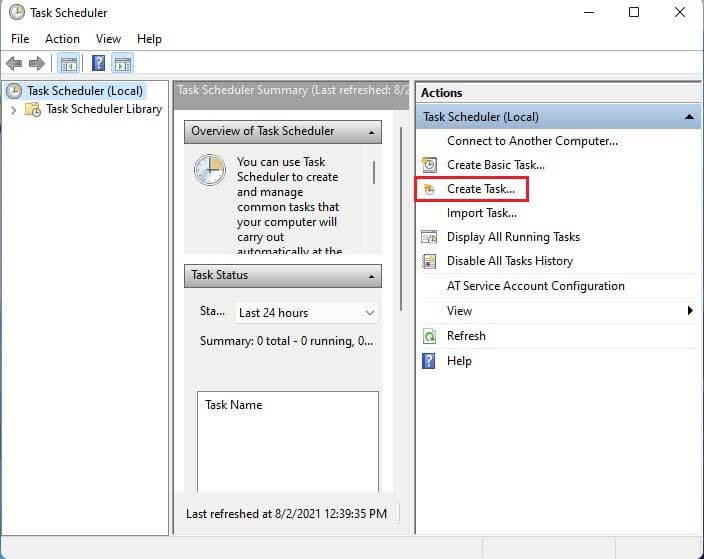
How to Schedule System Restore Point
Now, this step is to create a task in Windows Task Scheduler so that a restore point will create whenever Windows starts.
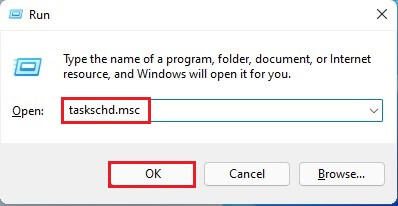
To do this, press Win + R key to the open the Run box, type taskschd.msc, and then press enter.
In the right panel under the Action menu click on Create Task.
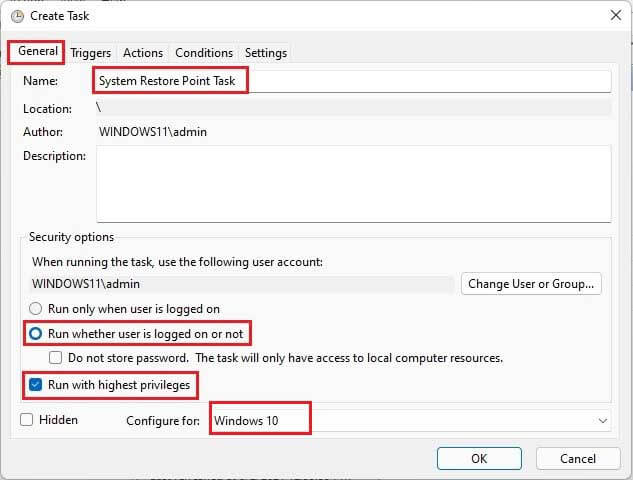
Select the General tab, type this task a name, and select radio buttons “Run whether a user is logged on or not”, and “Run with highest privileges”.
Next to Configure for select Windows 10.
No need to worry if Windows 11 is not among the options. As there is no steady build for Windows 11 yet.
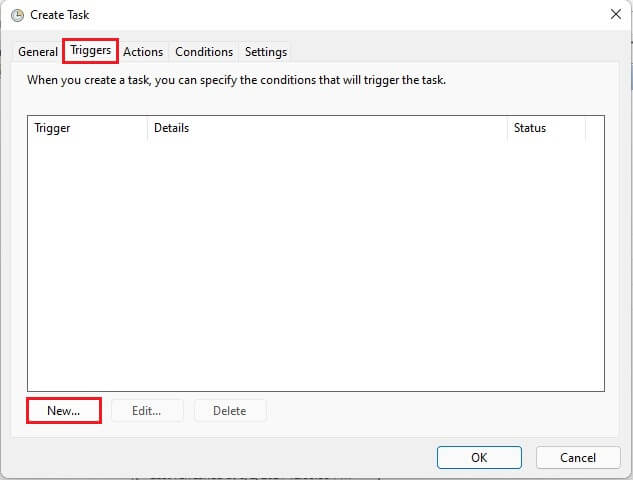
Select the Triggers tab and then click on New at the bottom.
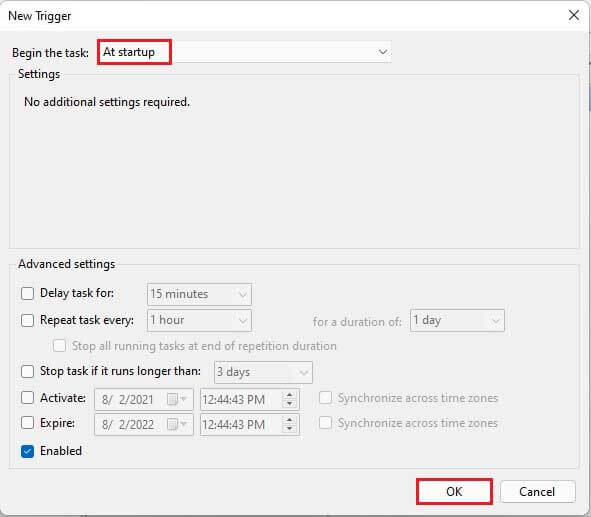
Next to Begin this task, select At startup and then click ok.
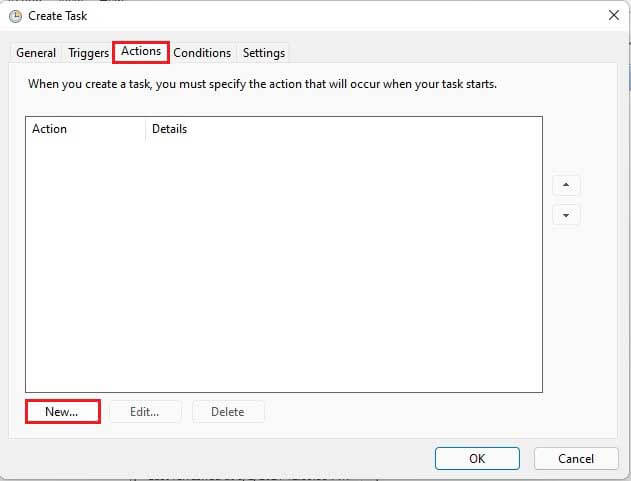
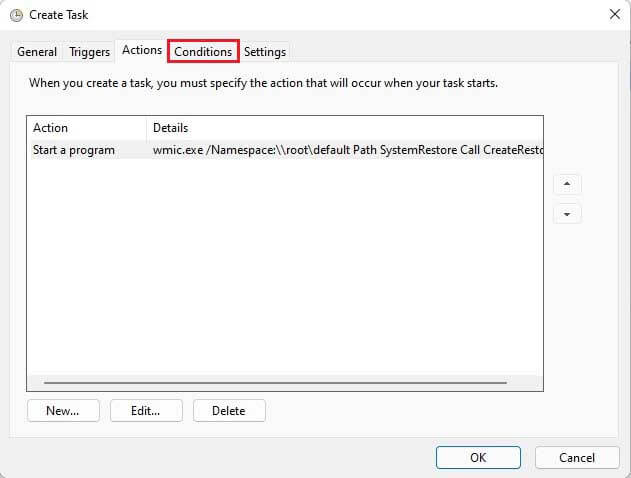
Select the Actions tab and then click on New at the bottom.
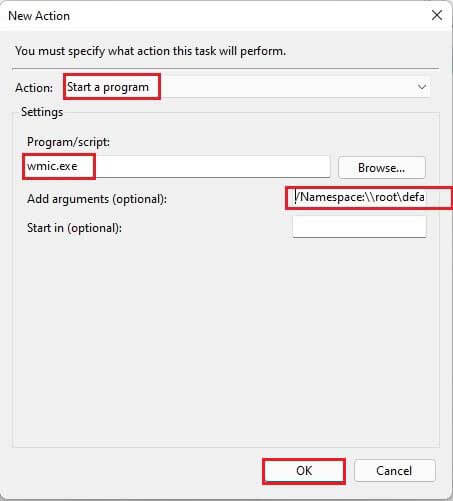
In the New Action window, Start a program (default) settings next to action is selected.
Program/script field, enter wmic.exe.
Next to Add arguments (optional), enter the below command:
/Namespace:\root\default Path SystemRestore Call CreateRestorePoint “Startup Restore Point”, 100, 7
Then click ok.
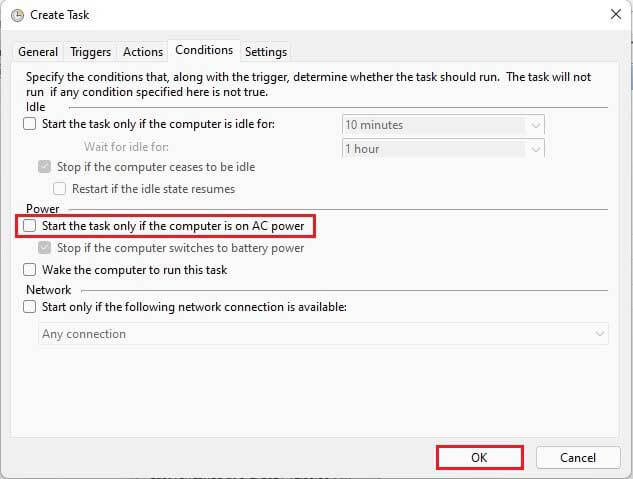
Select Conditions tab.
If you’re working on a laptop, untick the option under Power name Start the task only if the computer is on AC power and then click ok.
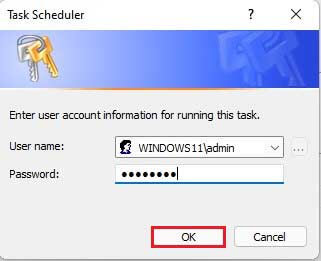
Task Scheduler window will open, type your credentials to complete setting up the task. Click ok.
Whenever you start your computer, a system restore point will be created.
Note:
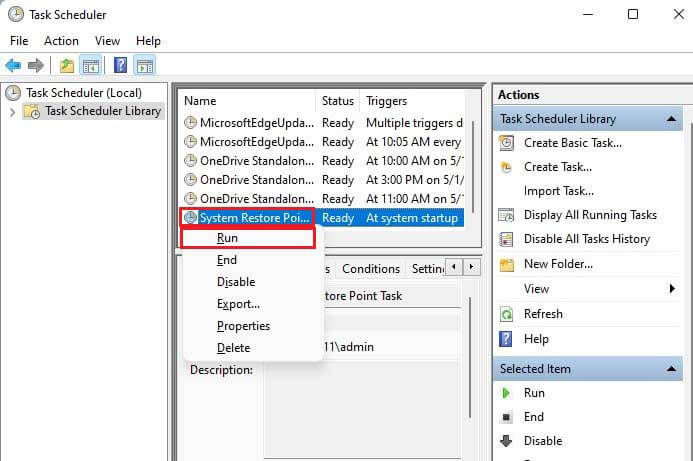
You are almost done setting up the scheduled system restore point. You can find the task in the task scheduler window. To confirm if the task is running as setup, right-click on the system restore task and then select Run. This action must create a new restore point.
System Restore: Frequently Asked Questions FAQ’s
What happens when you create a restore point?
Windows takes a snapshot of your computer data as it is at a specific time. The descriptions of the operating system are thus saved so that you can return back to it in case things go incorrect.
Why did my system restore points disappear?
The most general reason is the system restore option was disabled manually. Each time the system restore option is disabled, the system restore points are deleted. Also, this condition may be caused by the installation of Windows susceptibilities or other important updates or the incidental deletion of the Disk Cleanup utility.
How long does Windows 11 keep restore points?
The retaining is 90 days, and the earlier restore points increased this date will be deleted automatically to make room for a new one.
Will System Restore bring back deleted files?
System Restore only works for system programs or files. If you delete any special data, such as videos, pictures, documents, etc., it won’t help.
Does Windows 11 create automatic restore points?
Yes, by default Windows 11 has its System Properties set to automatically create system restore points from time to time, for example when you make important changes or any update to your system.
How long does a system restore point take?
It depends on how much data needs to be saved, creating a system restore point can take wherever from a few minutes to a few hours. Though, if after five to six hours you find that a restore point is still being created, it is probably that Windows has run into some problems. In such a scenario, you might need to cancel the whole process and then start again.
Can I undo the changes System Restore makes?
Yes. Each time when you use System Restore, a restore point is created before processing, so you can undo the changes if they don’t fix the problem. If you use System Restore when using the System Recovery Options or the computer is in safe mode, you can’t undo the restore process. Despite that, you can run System Restore again and then choose a different restore point, if one exists.
What files are changed during a system restore?
System Restore affects programs, Windows system files, and registry settings. It can also make changes to batch files, scripts, and other types of practicable files created under any user account on your system. System Restore does not affect personal data, such as documents, email, or photos, so it can’t help you restore a deleted file. If you have a backup of your data, you can restore the files from a backup.
What if System Restore doesn’t fix the problem?
If System Restore doesn’t fix the issue, you can undo the restore process or try selecting a different restore point. If System Restore doesn’t show any restore points to select from, please ensure you have system protection turned on and that you have free space on your hard disk and if the System Restore does not fix your problem, you can also try an advanced recovery method.
Conclusion:
This blog showed you how to create Windows 11 System Restore point to restore Windows systems to an earlier state. If you find any problems above, please write a comment.
For more information read About Windows 11