Are you still running Windows 7? It’s time to upgrade Windows 7 to Windows 10. Here are the instructions that you will need to keep files and apps without any issues.
Before you start the process, make sure that your Windows 7 installation has been activated. First, checkthatr Windows 7 has been activated right-click on the My Computer icon and then select Properties. You can see the Windows Activation status.
Backup your files. The Windows Media Creation tool permits you an option to keep your current files and settings after the upgrade and it works too but it is always better to be safe rather than sorry.
Read thie article: How to Login with Windows 7 Automatically.
Media Creation Tool
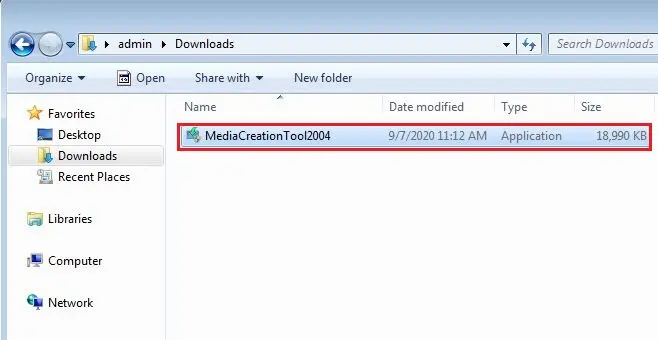
Download and then run the Media Creation tool.

1- Double-click on MediaCreationTool.exe to launch the Windows 10 setup wizard.
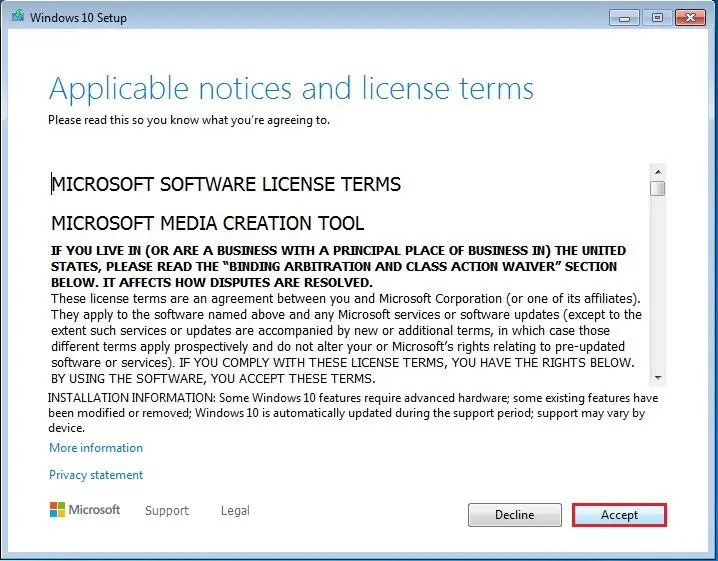
2- Click Accept to the licensing agreement.
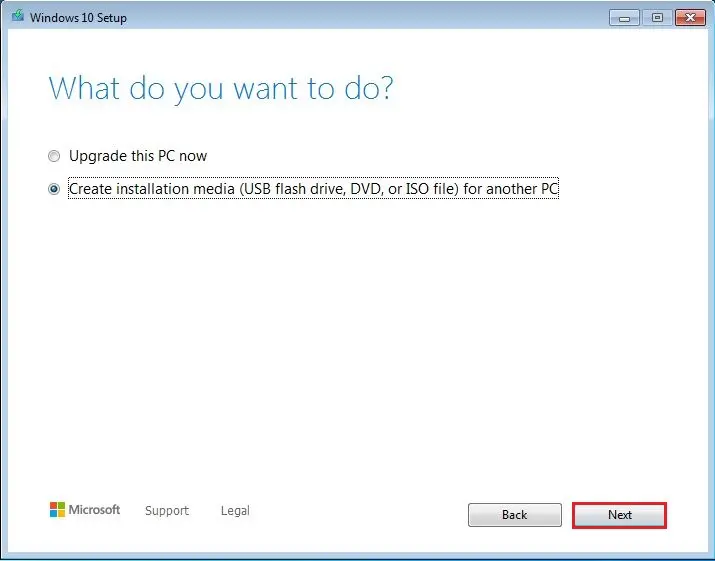
3- Select upgrade this pc now if you want to upgrade the current Windows installation or if you want to create installation media (USB or DVD) for a different system, and then click Next.
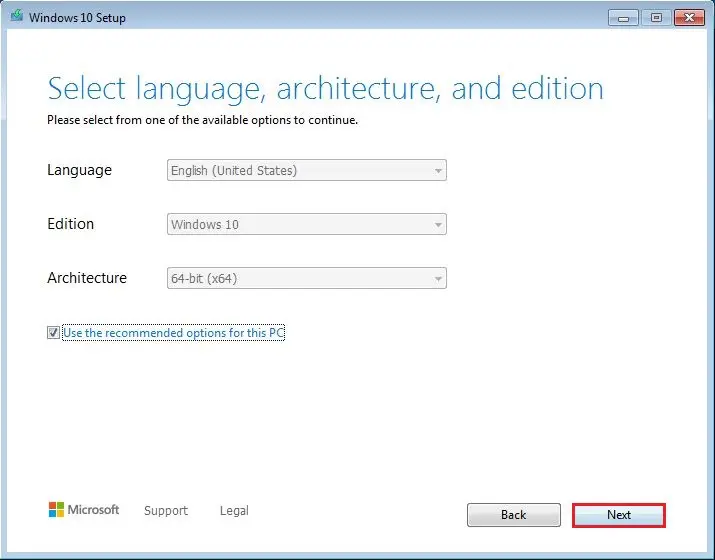
4- Please check “Use the recommended options for this PC” is selected. If you would like to manually configure language, edition, architecture, you can uncheck it. Click Next.
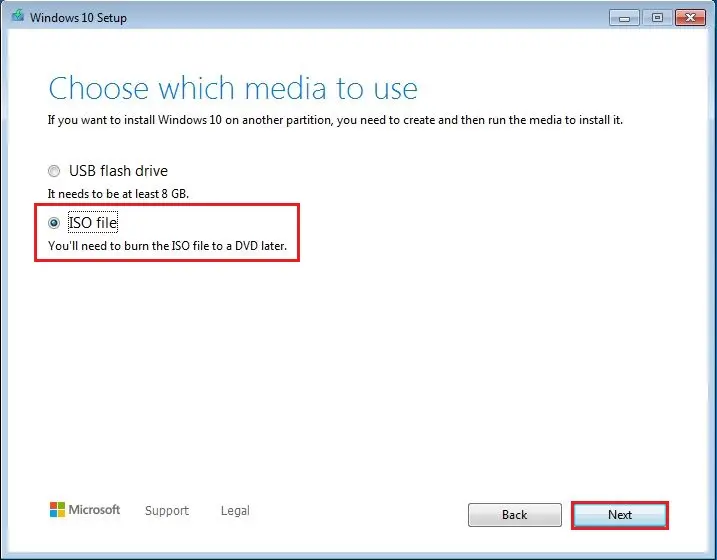
5- Make sure that your USB flash drive is connected to your PC if you want to create USB media. I am selecting the ISO file option, so later I will create DVD or USB bootable media, and click Next.
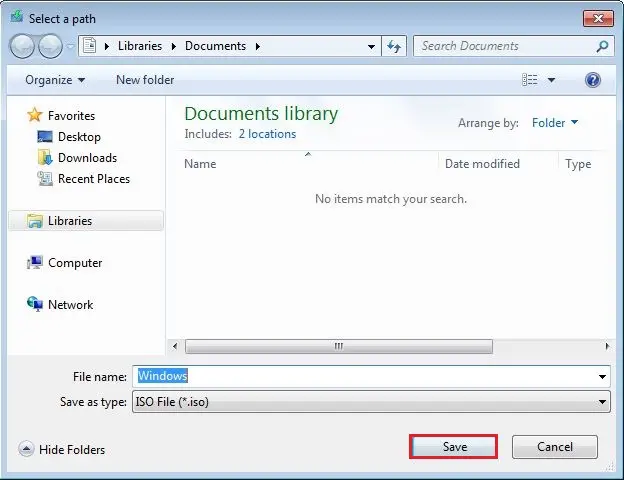
6- Select the location where you want to save the ISO file and click save.
7- The Media Creation Tool will start downloading. This is the long waiting periods you will encounter during the upgrade. The files are now downloading and it can take up to 1 to 2 hours on a moderately fast connection.
Once the process is finished, and try to upgrade Windows. Burn this ISO file to USB or DVD.
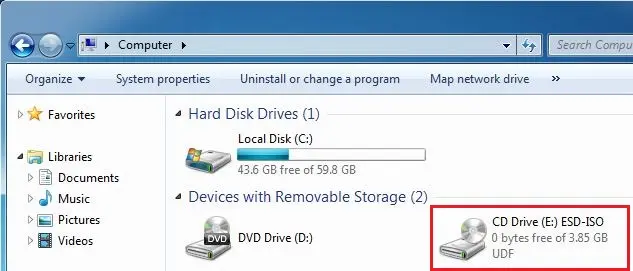
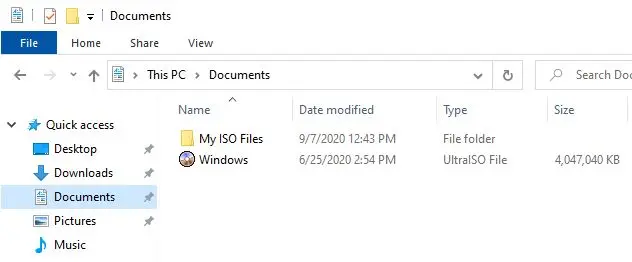
You can use ultra ISO software to mount this ISO file.
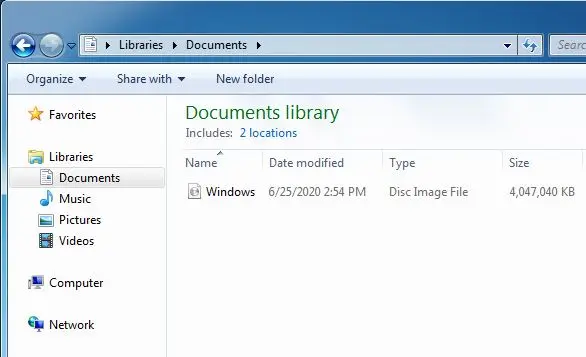
Upgrade Windows 7 to Windows 10
8- Open drive
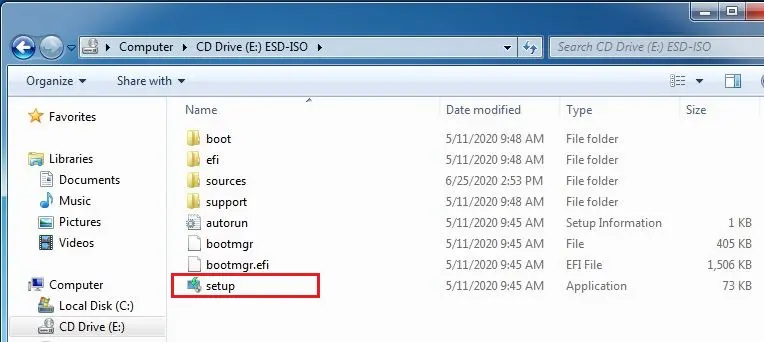
9- Run the setup
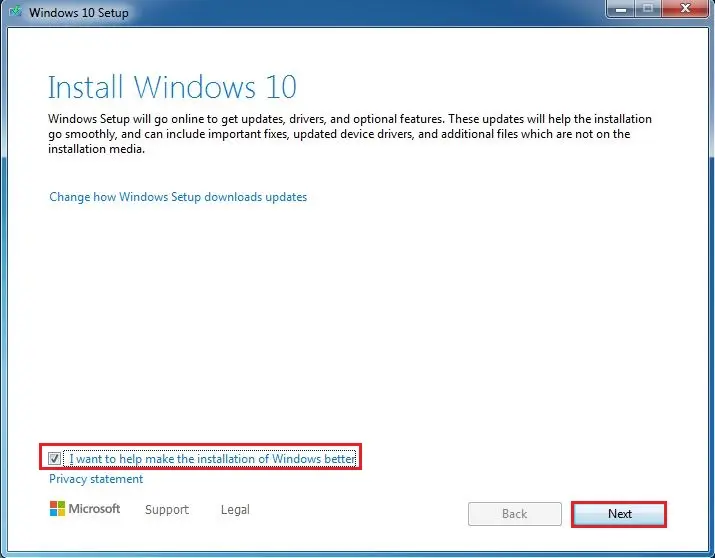
10- Select check box I want to ……. Click next.
11- Accept the license agreement.
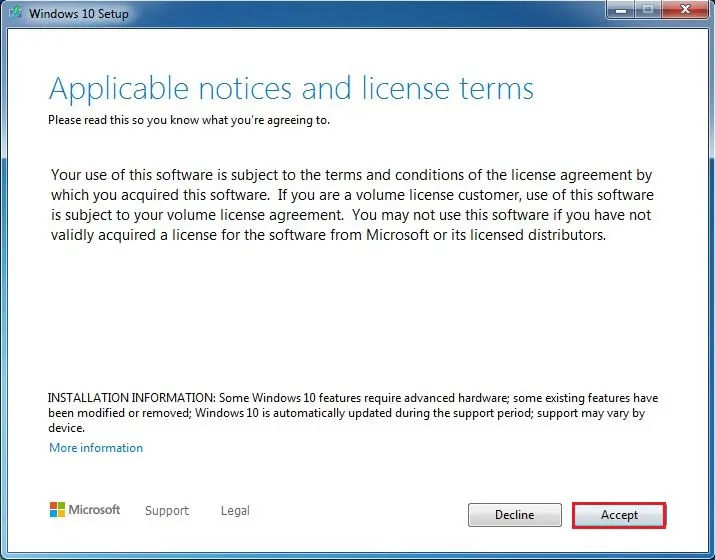
12- It will tell you if you want to keep all your files and apps after the upgrade. By default, it will remain everything however, if you are looking to start fresh with no apps or files, click the “Change what to keep” option. This Windows tool will give you three options- keep files and apps, keep files but not apps, & keep nothing. Choose what you want to do and click next.
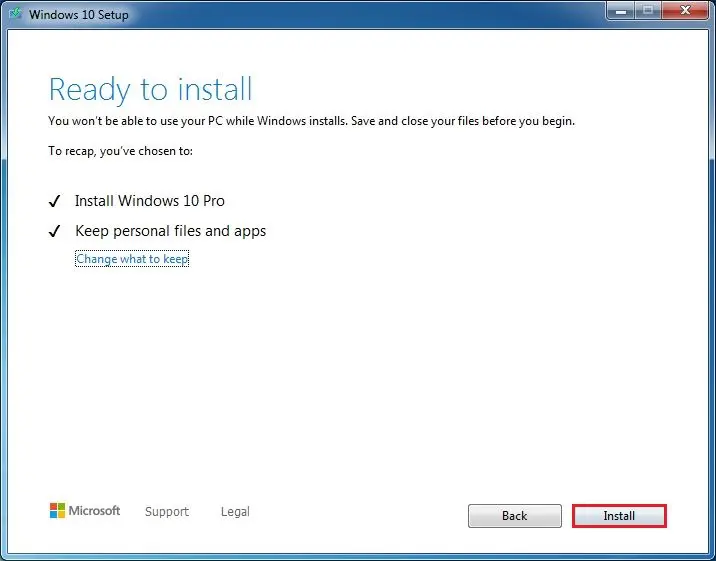
13- The rest of the update is divided into three steps the first of which is copying files.
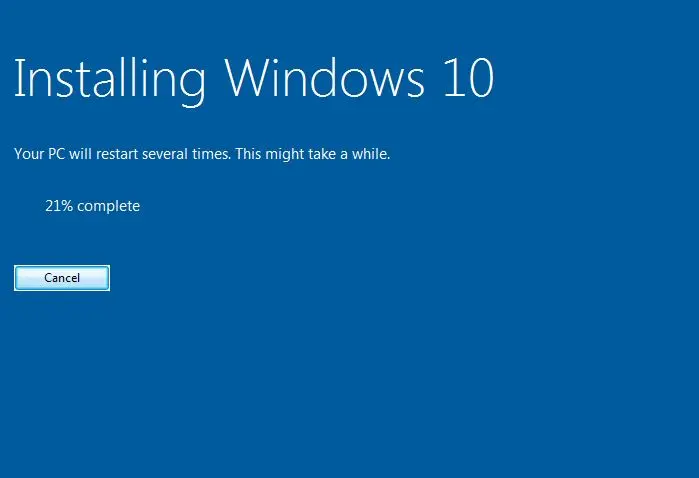
14- Your computer will restart after copying files and then you will move to the next step, “Installing features & drivers”.
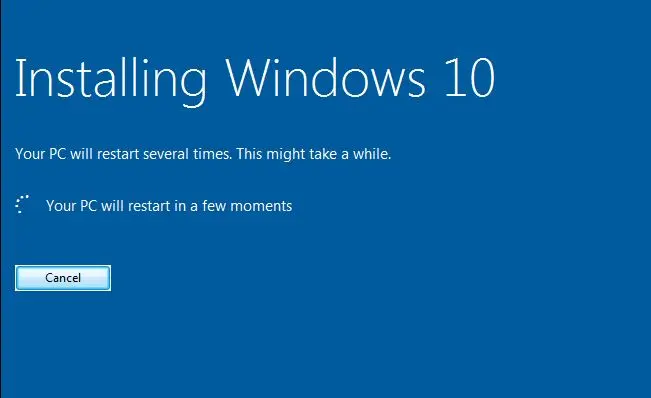
15- Windows upgrade takes time and several times Windows upgrade will tell you it is preparing something and that it will only take few minutes for it to do. It can actually take several minutes to do that so don’t worry and happy upgrading!

16- Windows 10 working on updates
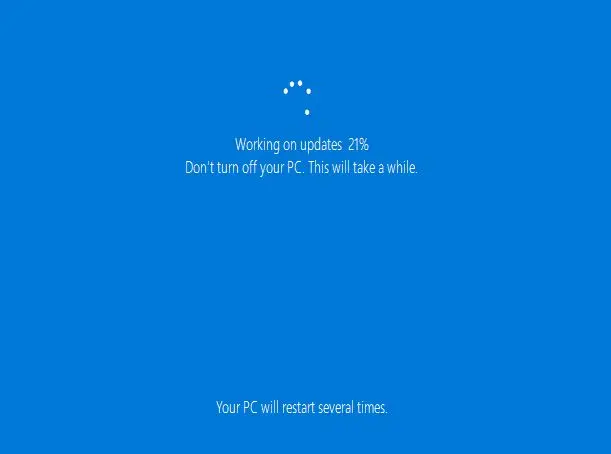
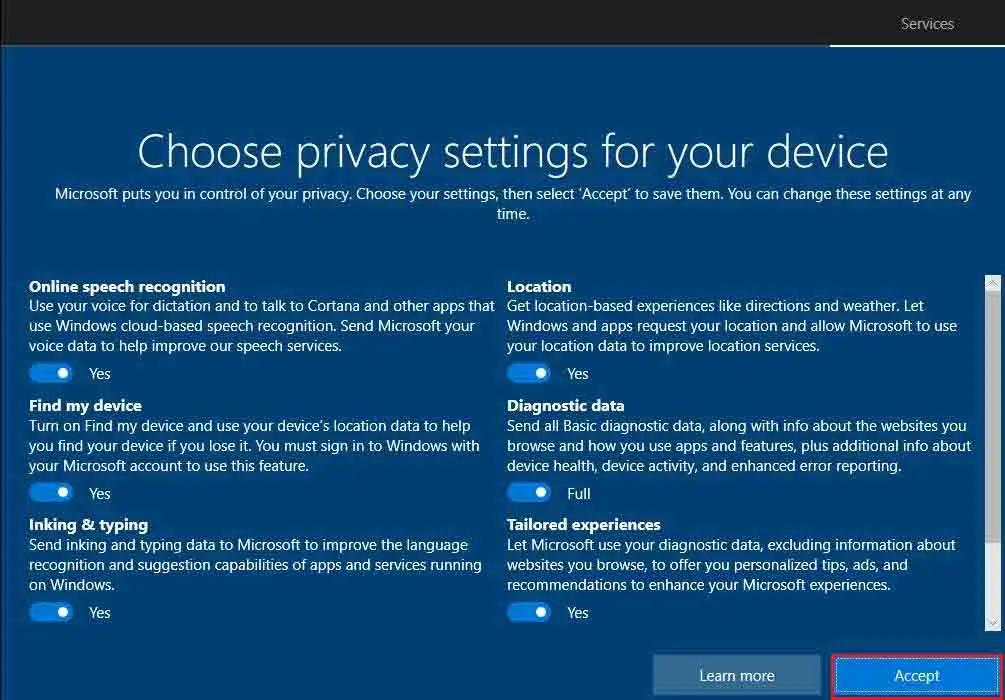
17- Select accept
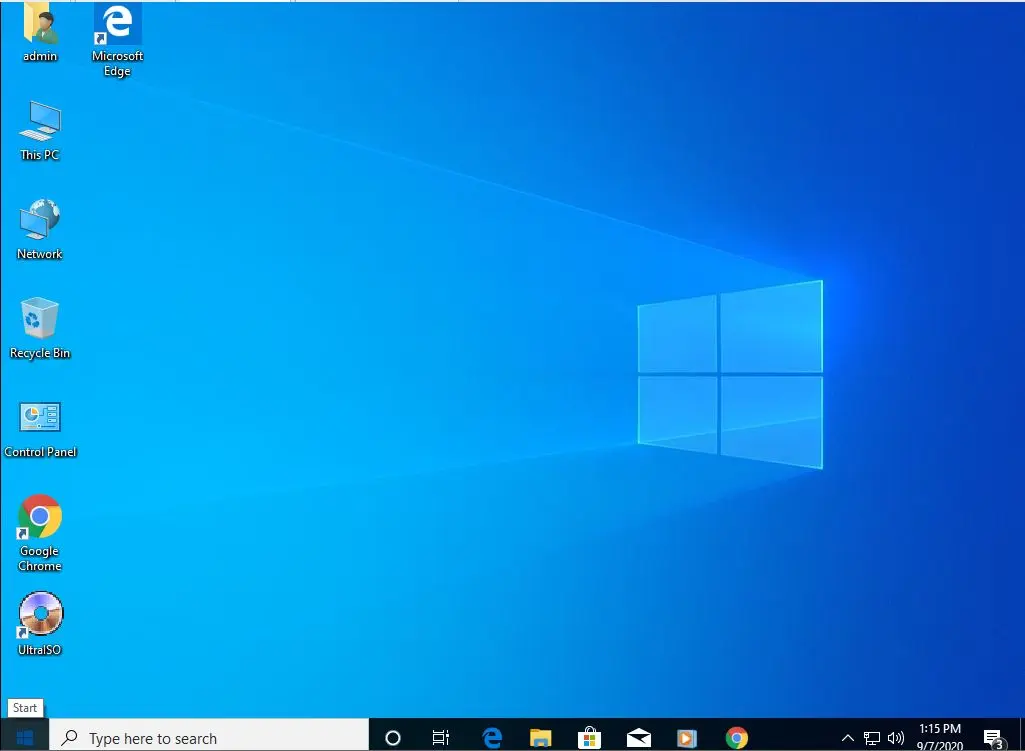
18- Successfully upgraded.
19- Open your local C drive you can seed (windows and windows.old)
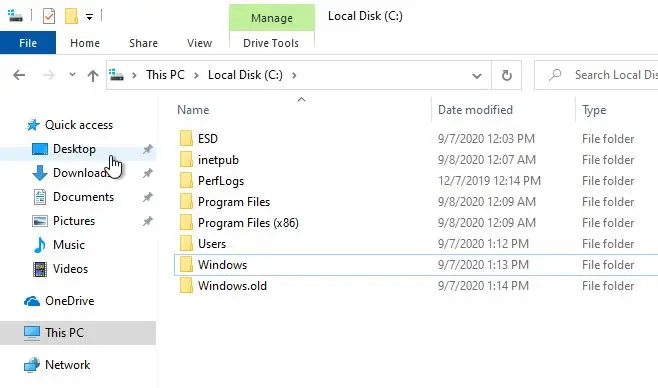
20- Now you can see my file are there after upgrading to Windows 10.
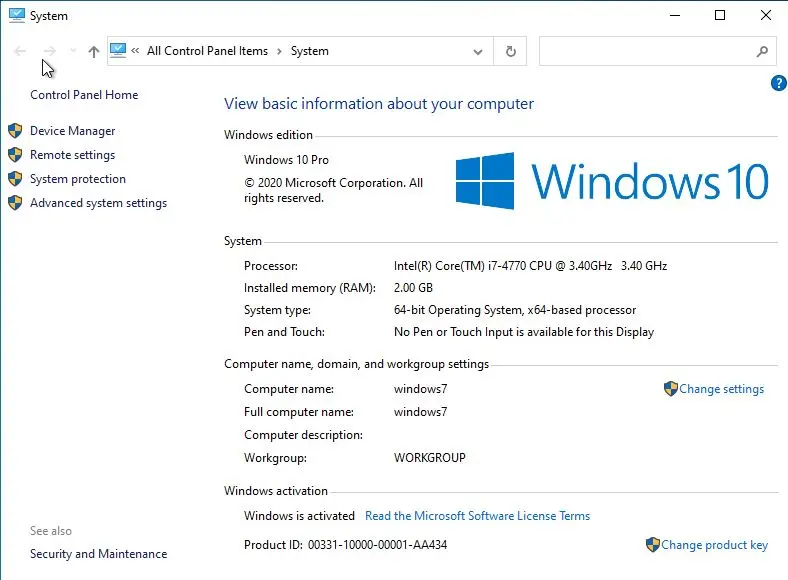
21- System properties: Windows is activated.
