Are you still running old Windows 10? It’s time to upgrade Windows 10 to Windows 11. Here are the guidelines that you will need to keep Windows files and apps without any issues.
Before you start the process, first, make sure that your Windows 10 installation has been activated. The best thing is to backup your files and folders. The Windows PC health check tool permits you to check your Windows 10 OS is capable to upgrade to Windows 11.
First, you need to check your Windows version. Open settings and check your Windows is up to date.
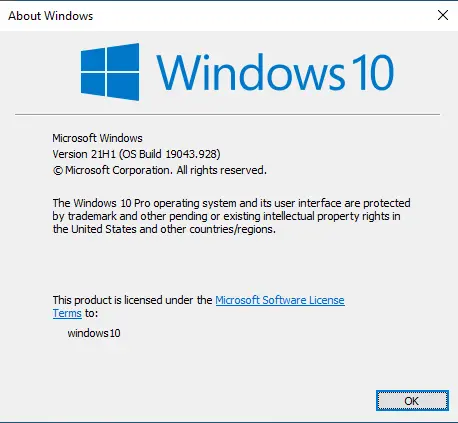
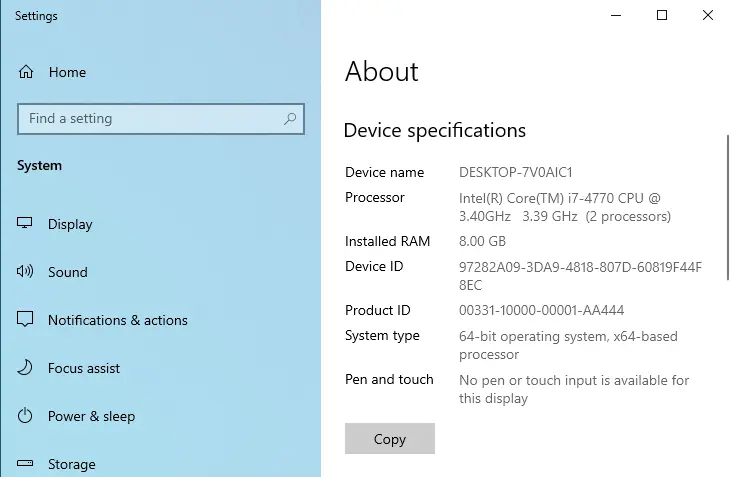
My device specification, the one I am going to upgrade to Windows 11.
You can download Windows 11 ISO file.
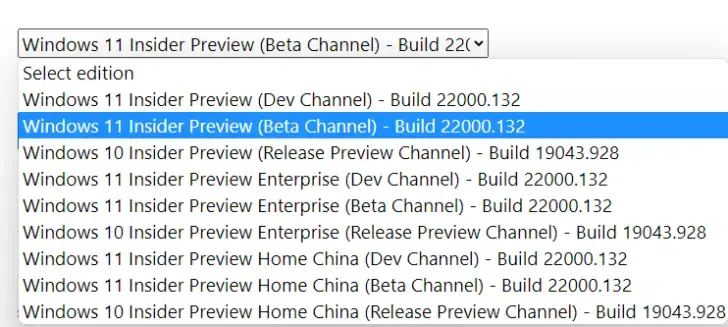
Once the download is completed, burn this Windows 11 ISO file to a USB pin drive or DVD.
Create Windows 11 bootable USB drive.
Upgrade Windows 10 to Windows 11
After the mounted drive, click on a DVD drive
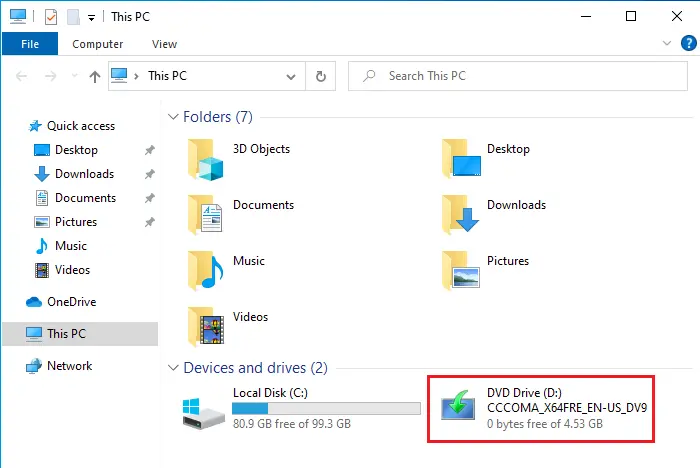
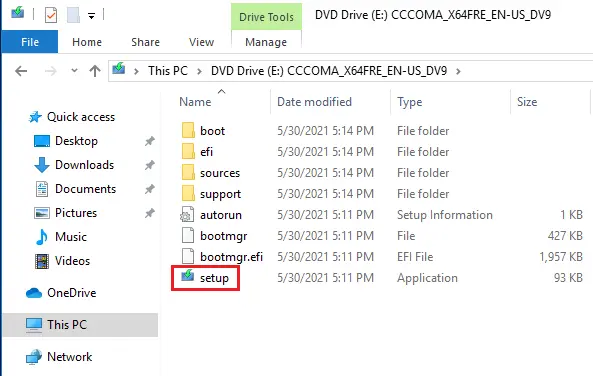
Double-click to run the Windows 11 setup.
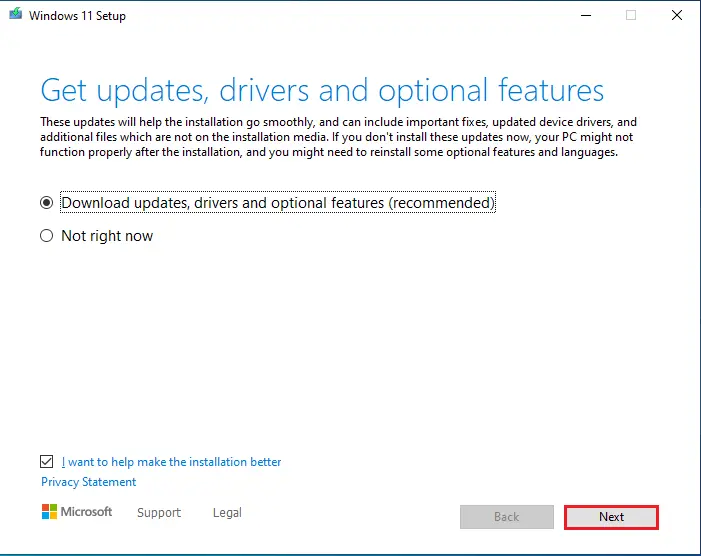
Select download updates, drivers ……
Click next
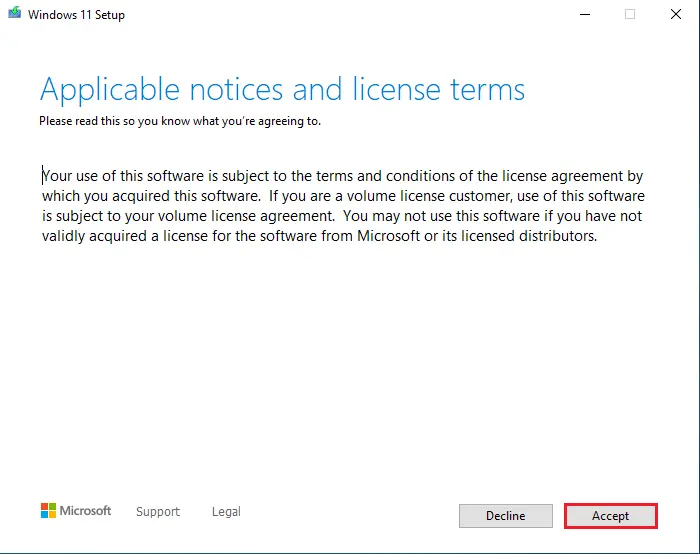
Accept the license agreement.
It will tell you if you need to keep all the apps and files after the upgrade. By default, it will remain everything however, if you are looking to start fresh with no files or apps, then select the “Change what to keep” option. Select what you want to do and then click next.
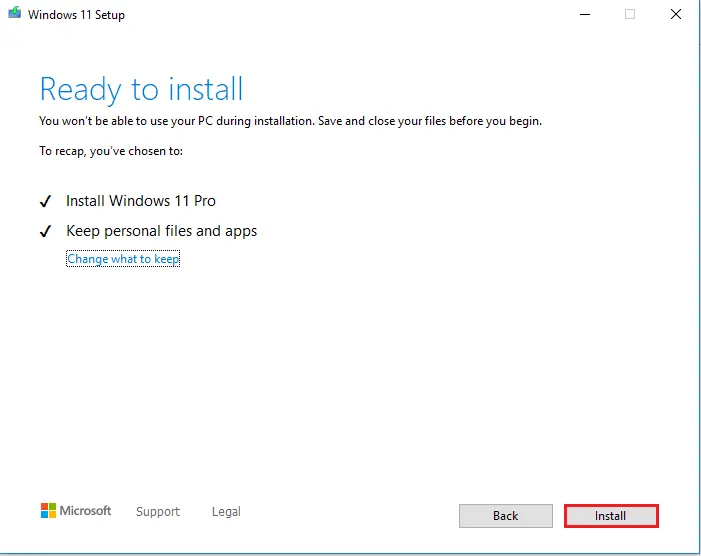
Installing Windows 11 is in progress, and it might will take time.
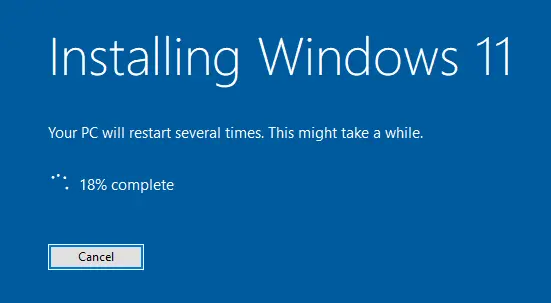
Windows 11 is working on updates.
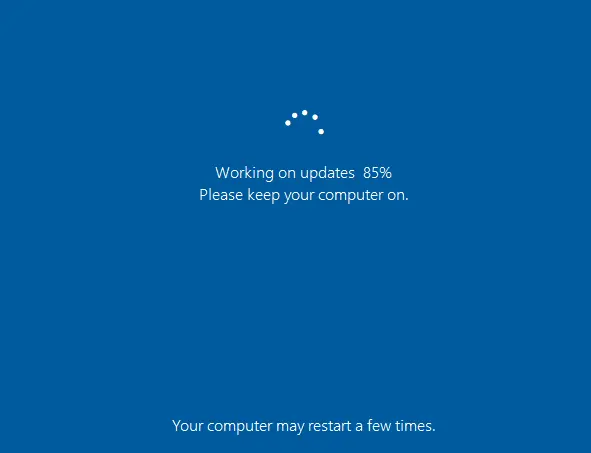
This might take a few minutes.
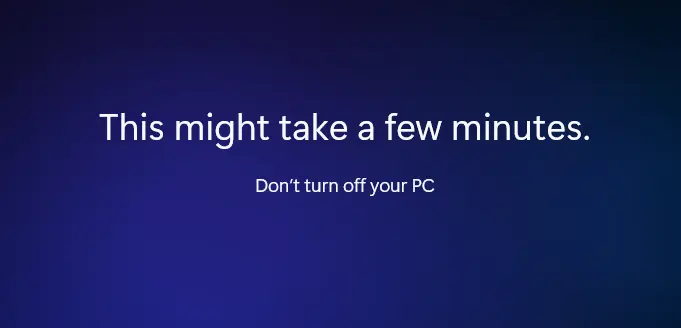
Windows 11 privacy settings for your device, click accept.
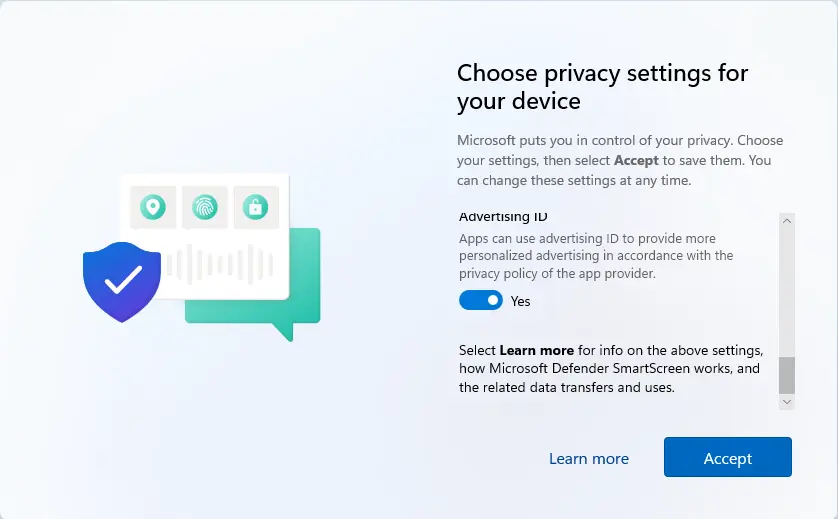
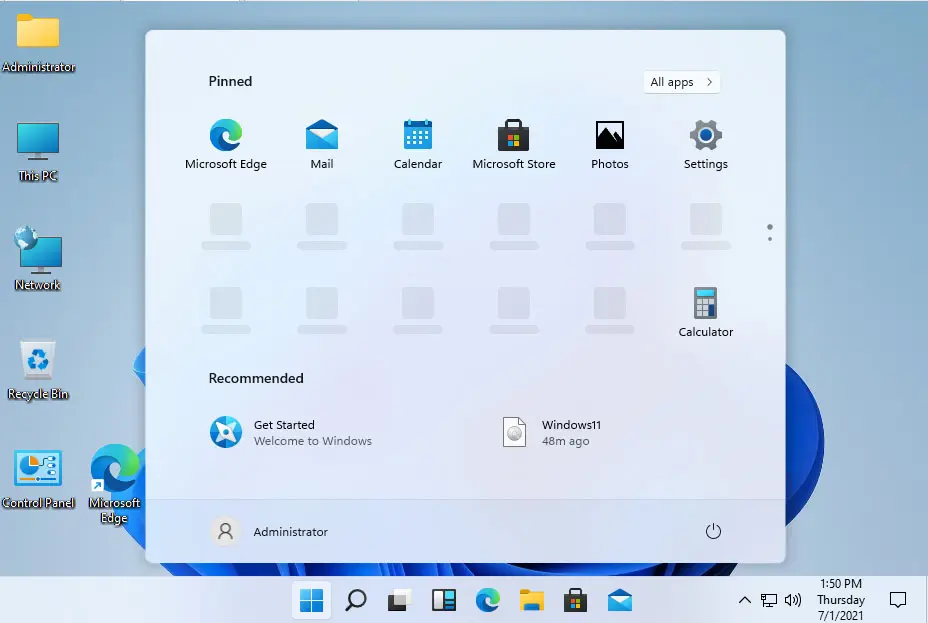
Successfully upgraded to Windows 11.
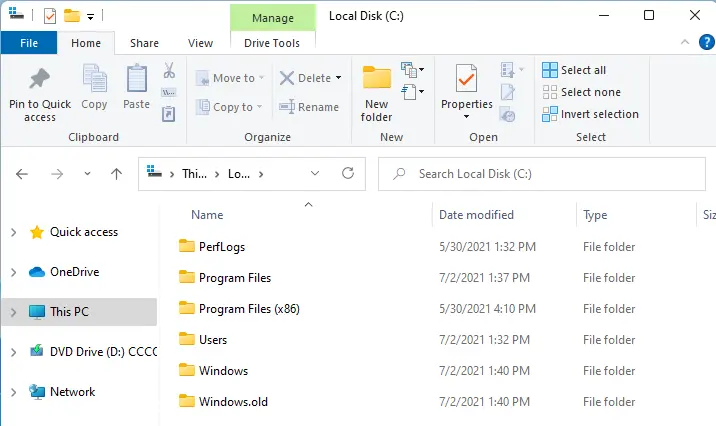
You can see (windows and windows.old) in the local C drive.
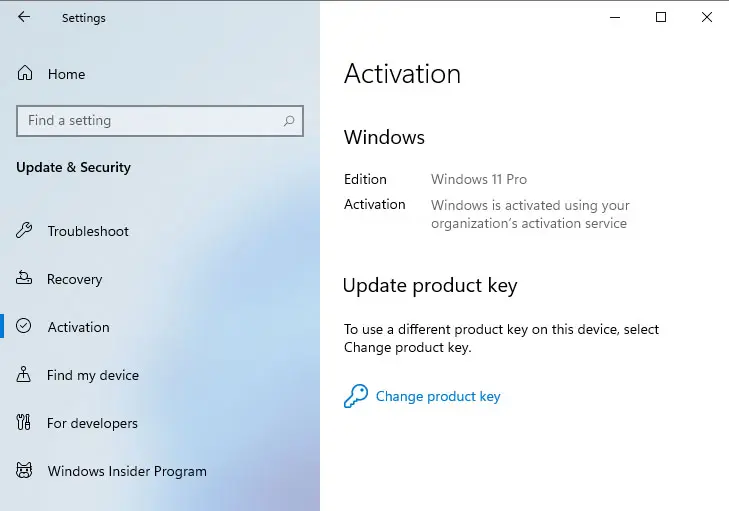
Select the Windows 11 search button and then type activation settings to open it.
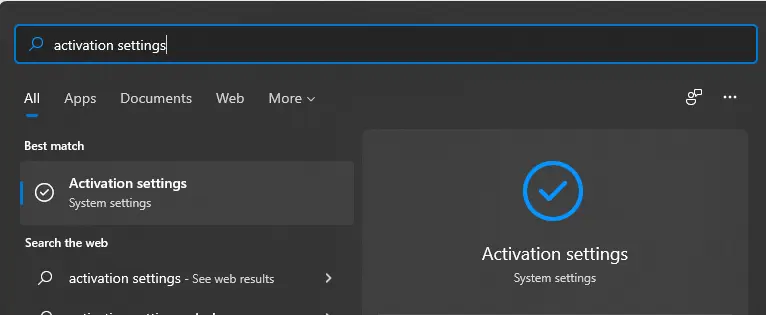
Windows 11 is activated.
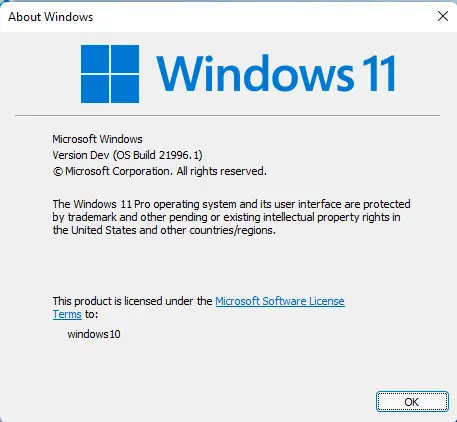
Type winver in the search bar to check your Windows 11 Version Dev Build 21996.1.
Related: This PC Must Support Secure Boot Related: Upgrade Windows 11 in Windows Insider Program


