In this article, I will Create a System Repair Disk in Windows 10. All we know that Windows 10 users can create both a System Repair Disk and System recovery drive to access the Windows advanced boot options for troubleshooting startup.
Which one is a best option?
Windows system repair disc is a bootable CD/DVD that includes tools we can use to troubleshoot Windows when it won’t start accurately. It will also give you tools for restoring your computer from an image backup that you have created before. Whereas a recovery disk is a bootable USB drive that permits users access to the same troubleshooting tools as same as a system repair disc but also permits you to reinstall Windows if it comes to that.
Most of the users like to create a recovery USB drive. But if your computer can’t boot from USB, then you need to create a system repair disc based on CD/DVD.
Create system repair disc
If you need to create system repair disc, then follow the below steps.
Create a System Repair Disc (CD/DVD)
1- Insert empty CD/DVD to your computer.
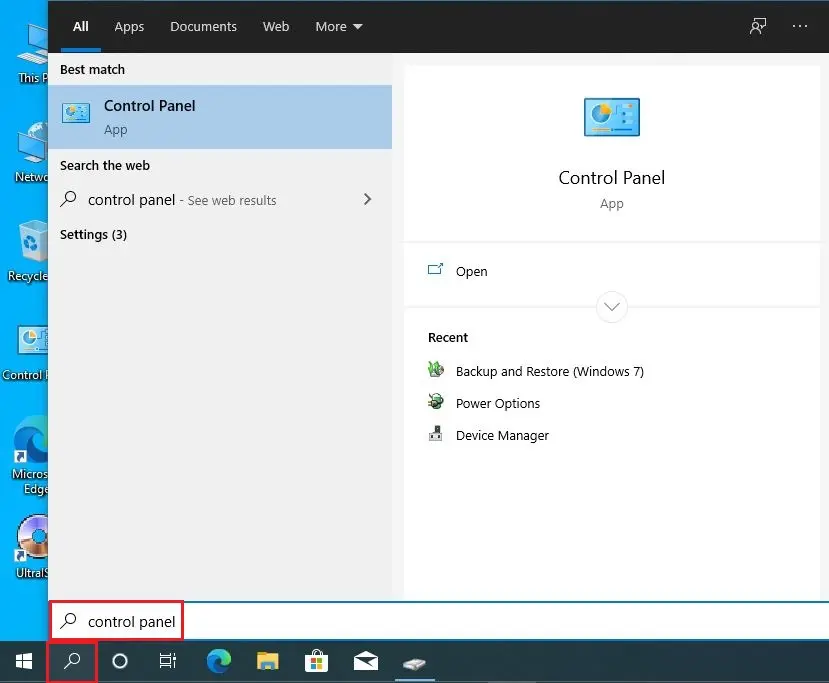
2- Select Widows search button, type control panel and then open it.
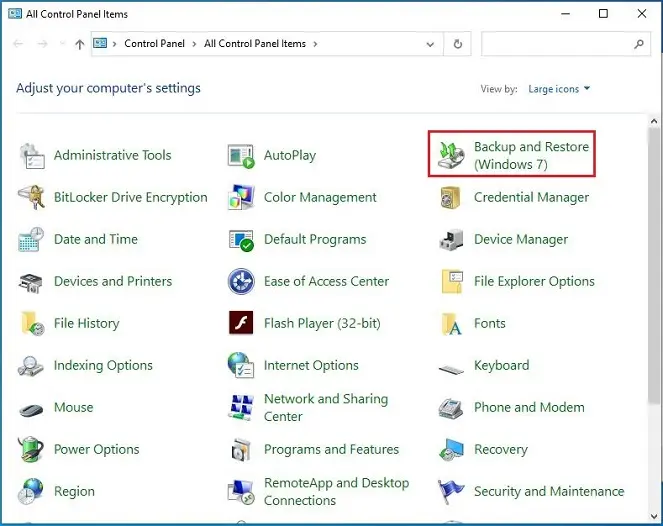
3- Select Backup and Restore (Windows 7), under the control panel.
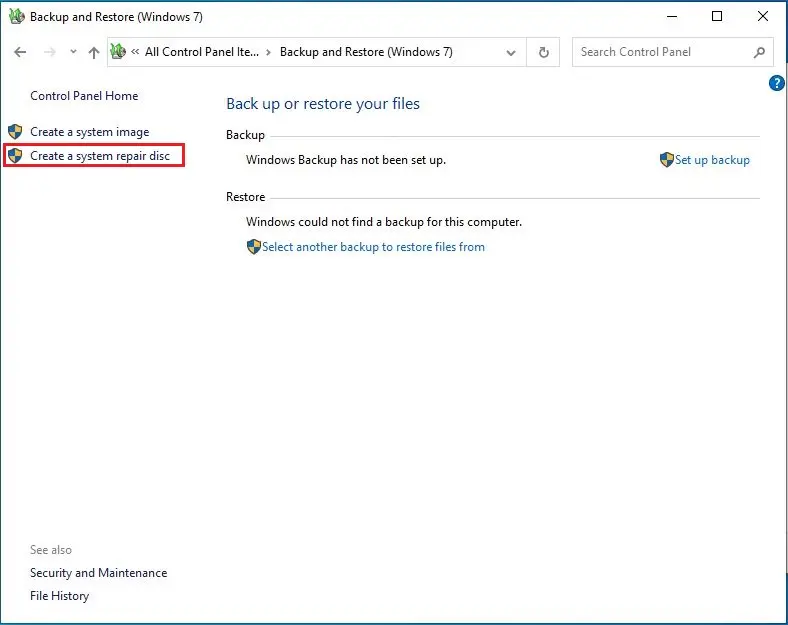
4- On your left side select Create a system repair disc.
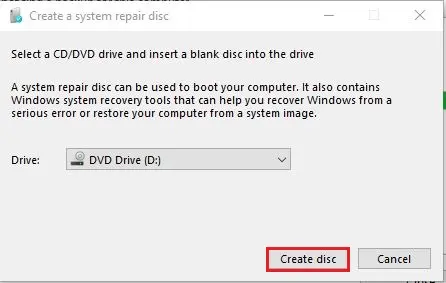
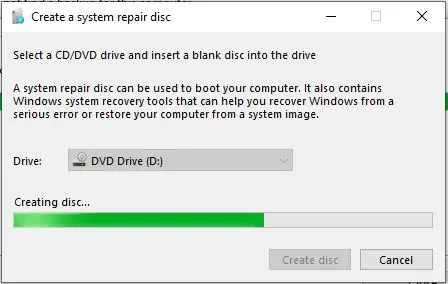
5- Then, it will get you into the Create a system repair disc window. Choose your CD/DVD on your computer and then select Create disc.
6- The Windows will start to create a system repair disc (CD/DVD). It will be faster than creating a recovery drive because it will not Backup System files to disk.
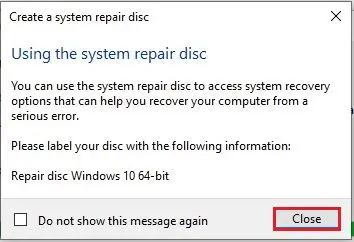
7- When it’s completed, it gives show you a guide about using the system repair disc. Click Close.
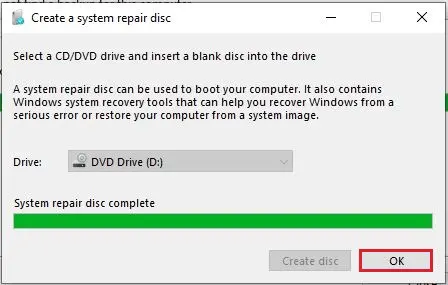
8- System repair disk complete, select ok to close the create a system repair disc window.
Related: Create Windows System Image Backup
For more details, please visit Microsoft


