
Install Web Server IIS, in this article I going to show you how to install the webserver (IIS) Internet Information Services in Microsoft Windows Server 2019 operating system. Install Web Server IIS, in this article I going to show you how to install the webserver (IIS) Internet Information Services in Microsoft Windows Server 2019 operating system.
Install Web Server IIS
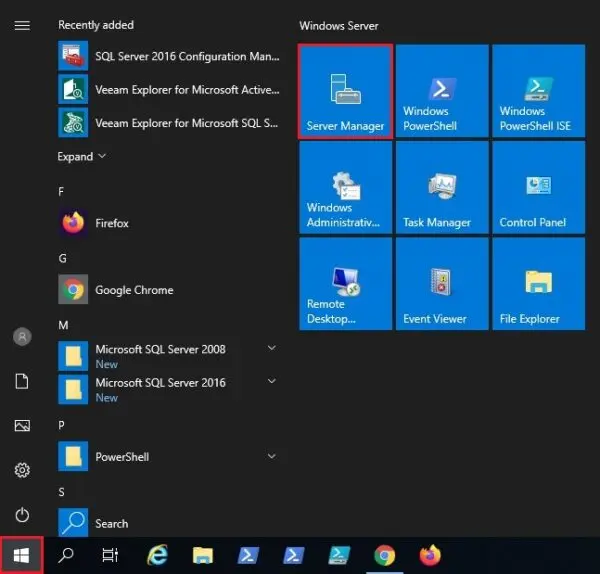
1- Click on Windows start menu and then select Server Manager.
2- Server Manager, Dashboard select Add roles and features.

3- Add roles and features wizard click next.

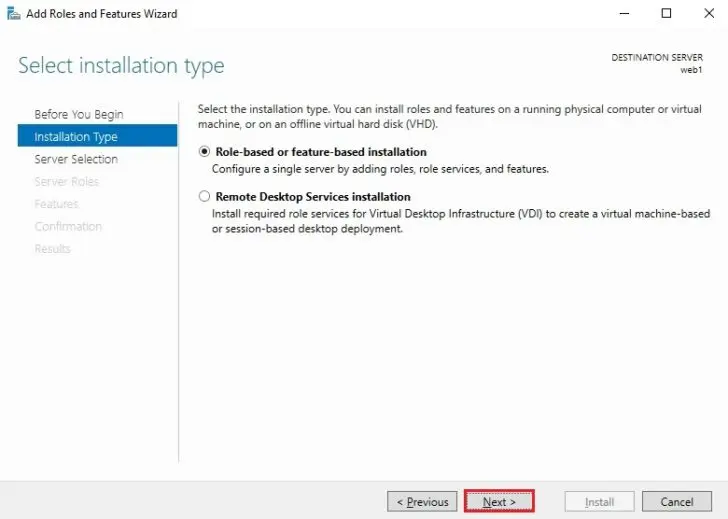
4- Install web server IIS installation type, leave “Role-based or feature-based installation” selected, and then click Next.
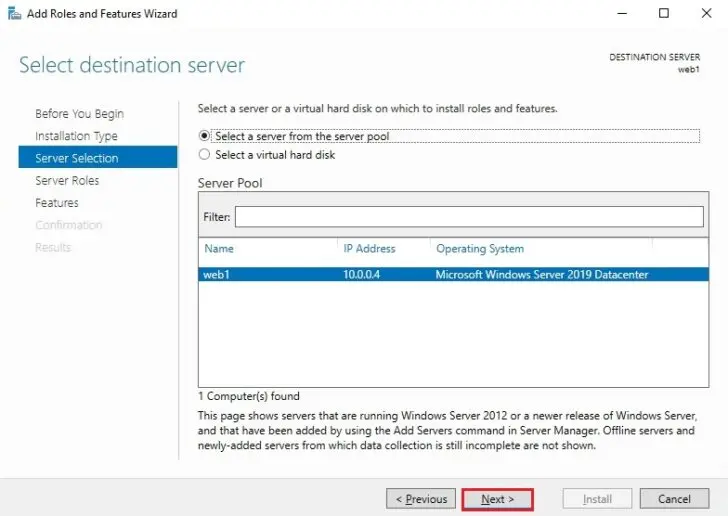
5- Server selection, Select a server from the server pool and then click next.
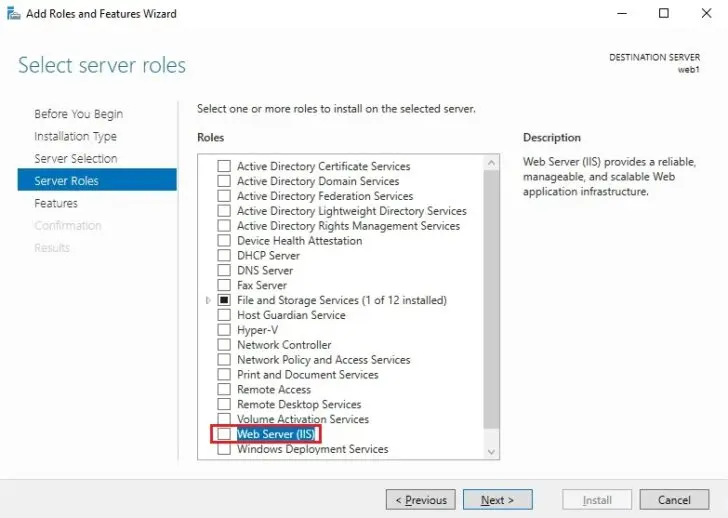
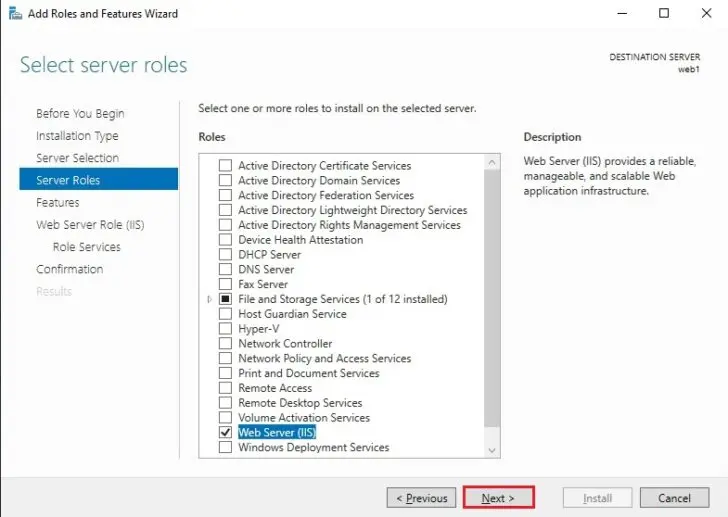
6- From the Select server roles tab, select the checkbox next to Web Server (IIS).
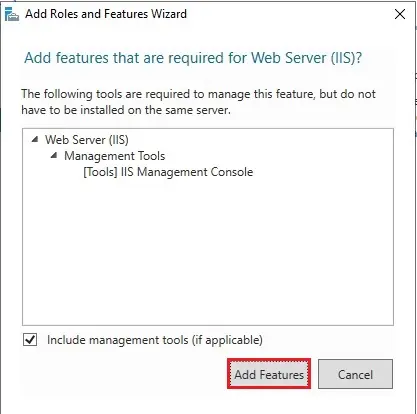
7- A new window will popup that additional features are required, simply click the Add Features button to install these as well.
8- Select server roles web server iis selected click next.
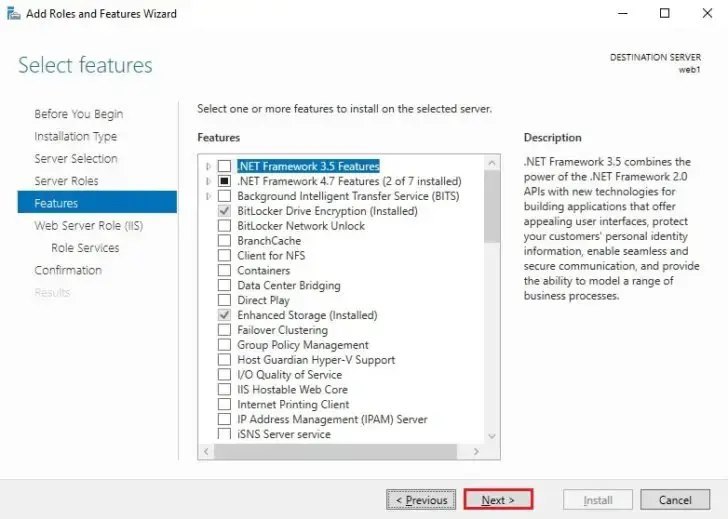
9- We will not be installing any additional features at this stage click next on the Select features window.
10- Click Next
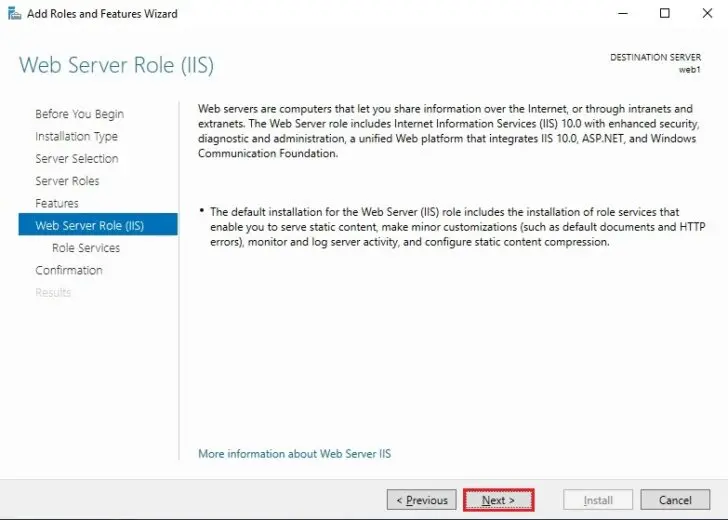
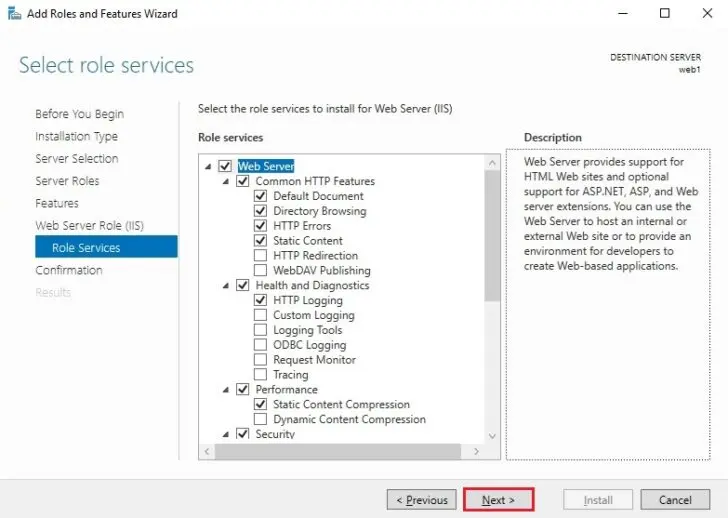
11- Enable webserver IIS. Select role services, the window where you can install additional services for IIS if required. then Click Next.
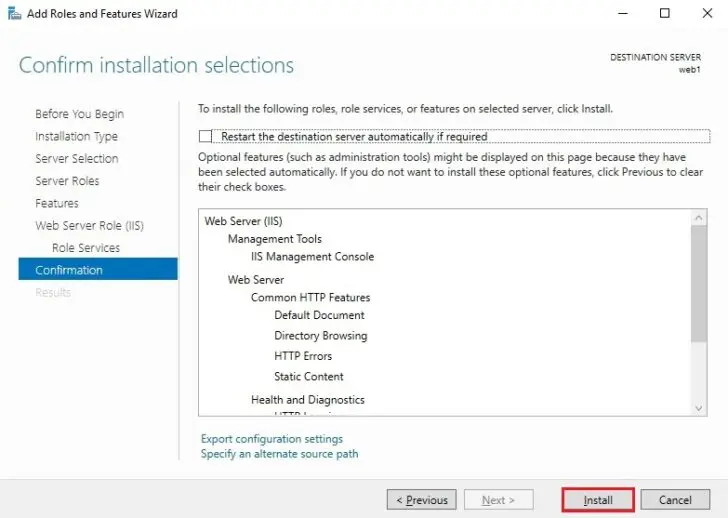
12- Confirm installation selections, review the items to be installed, and then click Install when you are ready to proceed with installing the IIS web server.
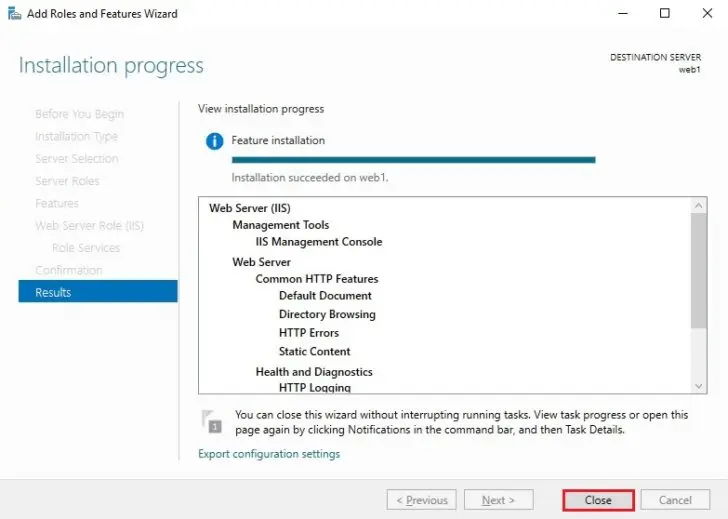
13- No reboot required, the installation has succeeded, then click the close button.
Enable IIS Web Server With PowerShell
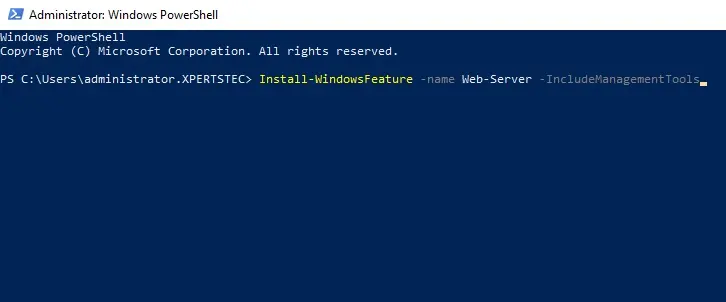
1- Use the Windows PowerShell command line interface (CLI) instead, follow these steps.
Open the PowerShell with admin rights and then run the Install-WindowsFeature cmdlet as shown below.
Install-WindowsFeature –name Web-Server -IncludeManagementTools
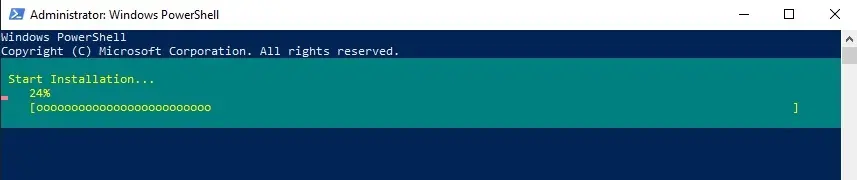
2- IIS Web Server start installation
3- Web Server feature successfully enabled
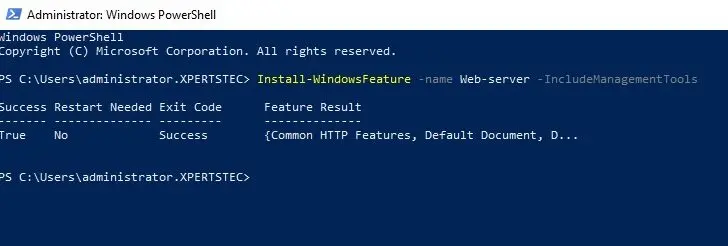
It includes the management tools so that we can manage IIS on this server
For more details, please click here