
In this blog, I will migrate the user’s mailboxes from one mailbox database to a different database.
Migrate Mailbox to Different Database
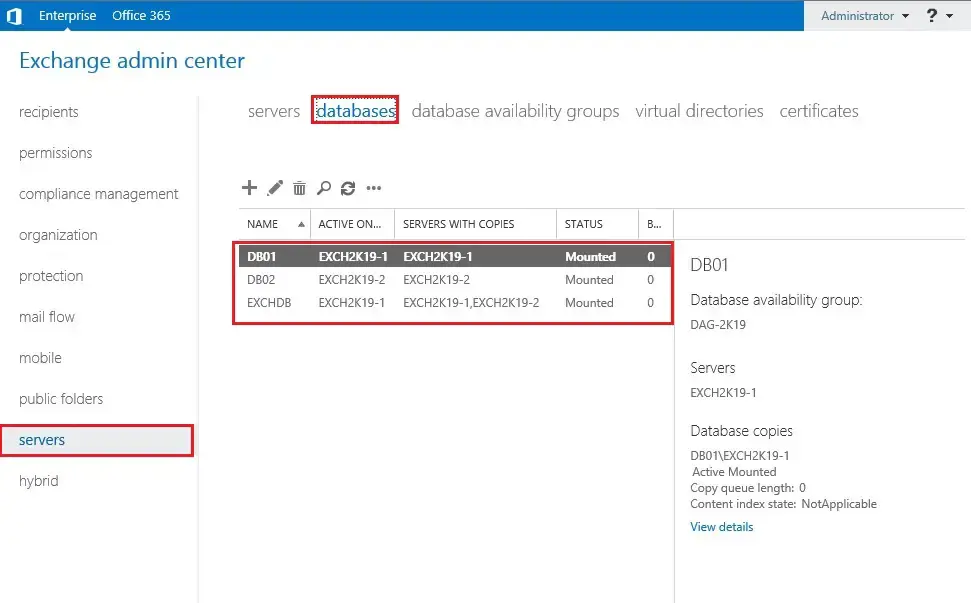
1- Open Exchange Admin Center and select the Servers tab and select the database tab so we can check out the mailbox databases on the Server.
2- Select the recipient’s options and Select the migration tab and select the + button and select Move to a different database so, the mailboxes move to the different databases.

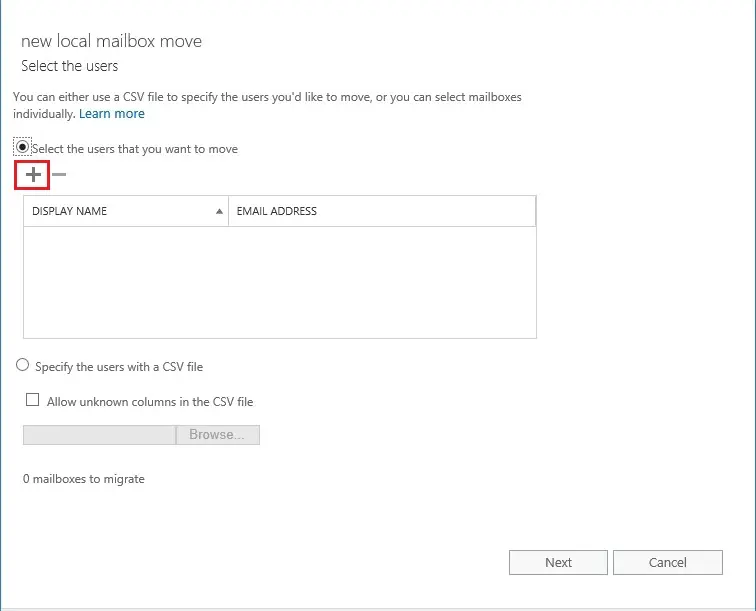
3- Under select the users you want to move and click the + icon.
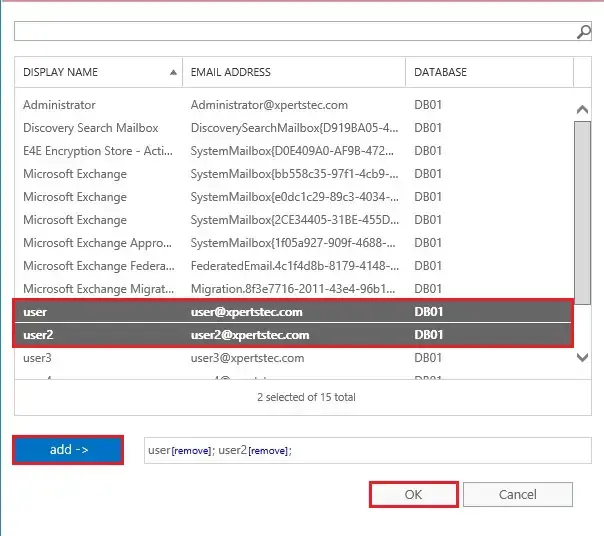
4- Select the users that you want to move and click the add button and click on ok.
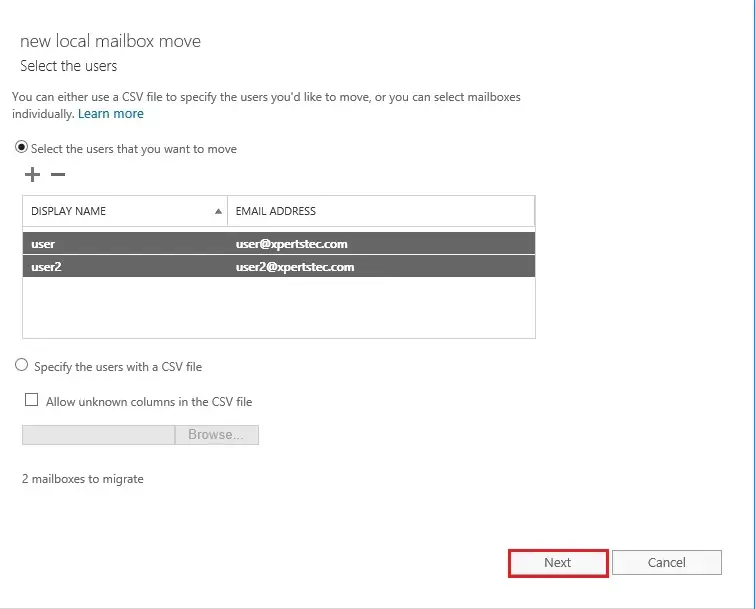
5- Click on next.
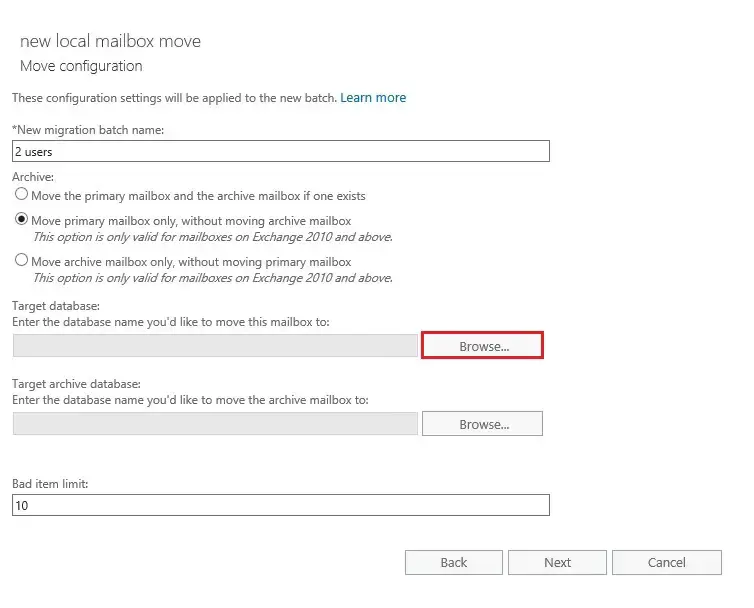
6- Under the Target Database, so click on browse.
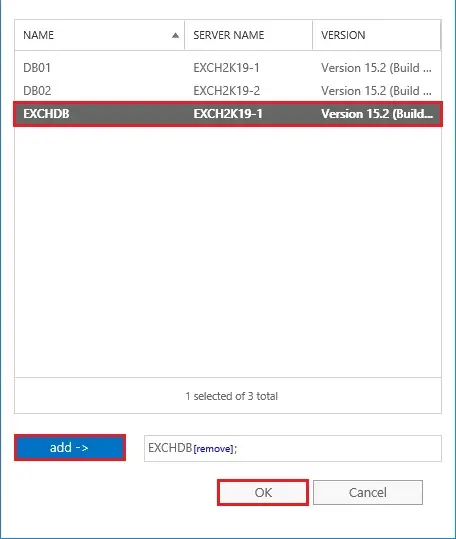
7- Select the database where you want to move the users and click on add so click on ok.
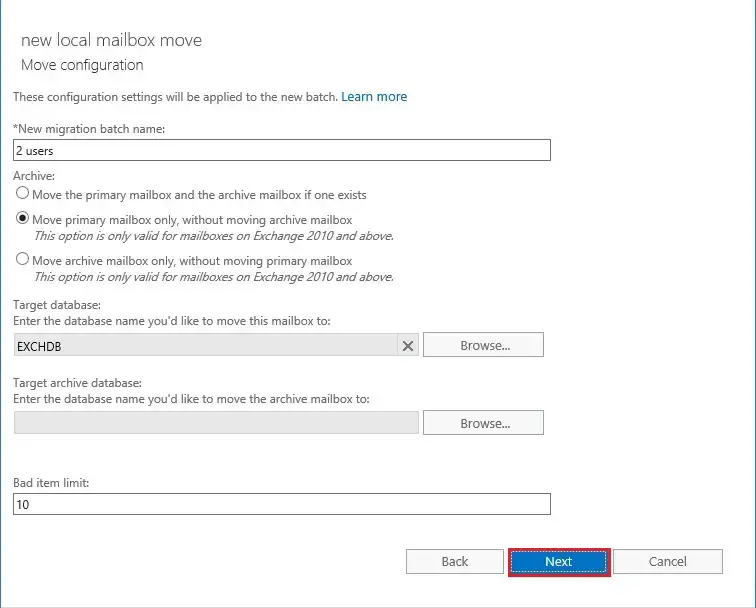
8- After selecting the target database and click on next.
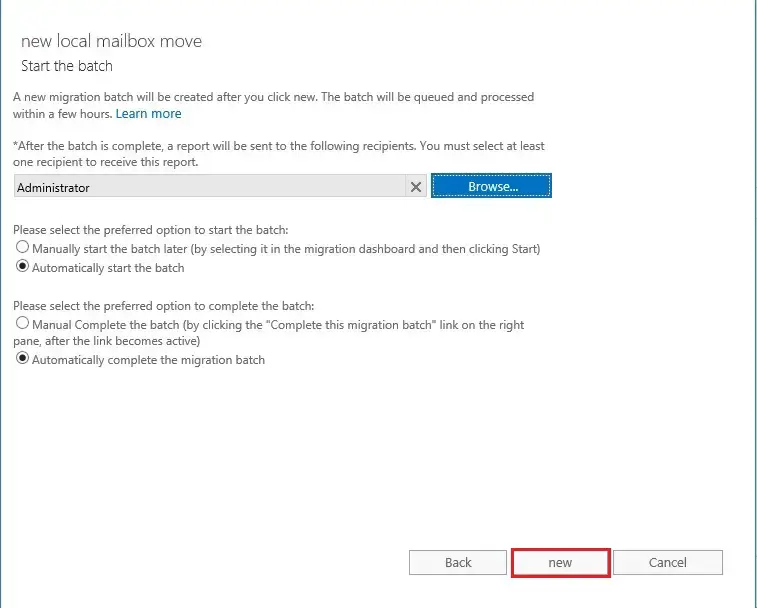
9- Click on new to start user’s migration.
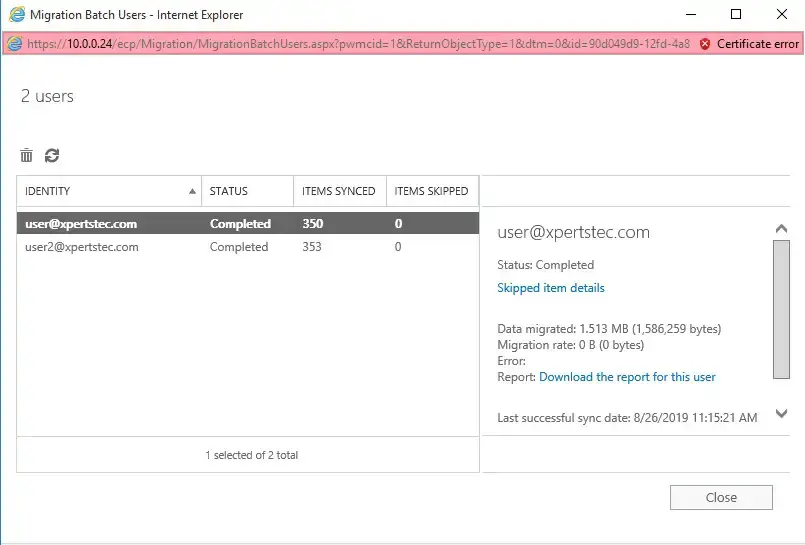
10- Migration completed, so click on view details.
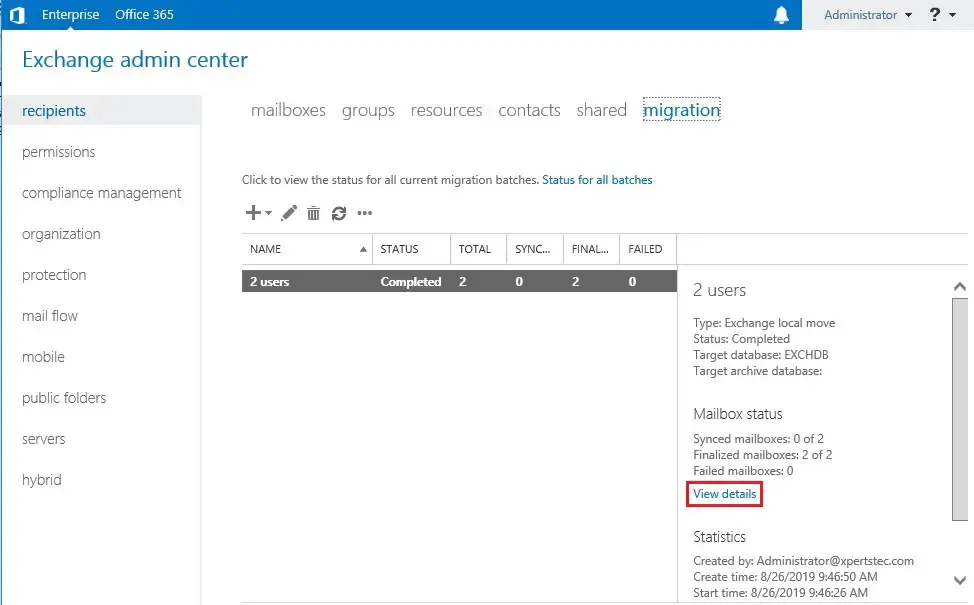
11- so now you can check to move mailbox details.
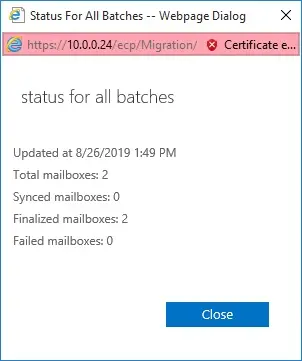
12- Status for all batches and click on close.
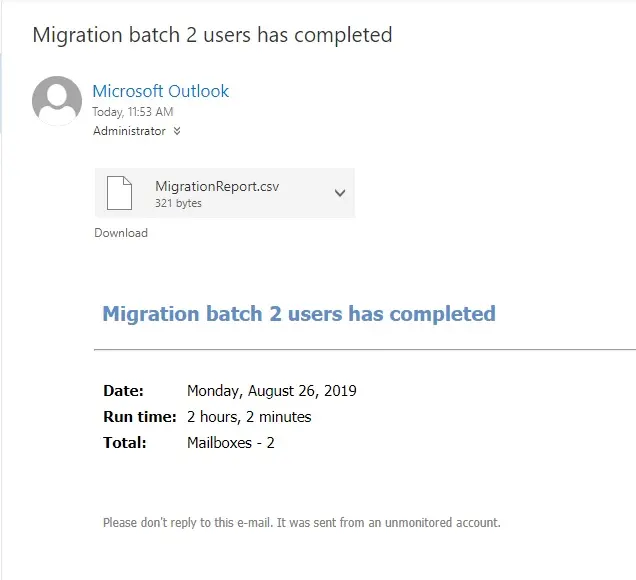
13- The status report of migration Exchange 2019 will be sent to defined recipients.
Moving Exchange Mailboxes to Another Database exchange powershell command.
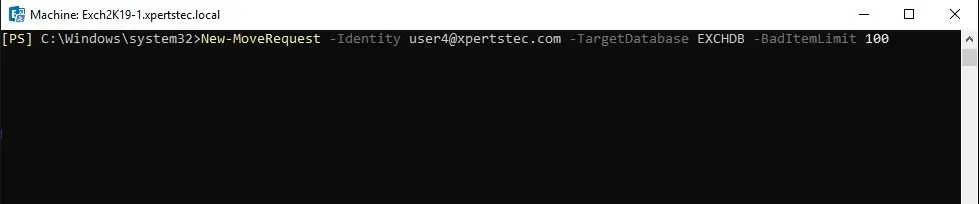
14- to move user mailbox to New-MoveRequest
To create an area move request for a selected user’s mailbox, run the subsequent command
New-MoveRequest -Identity [email protected] -TargetDatabase EXCHDB -BadItemLimit 100
For more details click Here
Create a New Mailbox Database Exchange 2019.