In this guide, I am going to Install Microsoft Exchange Server 2013 on Microsoft Windows Server 2012
Install Microsoft Exchange 2013
System Requirements:
Click Here
Prepare Active Directory:
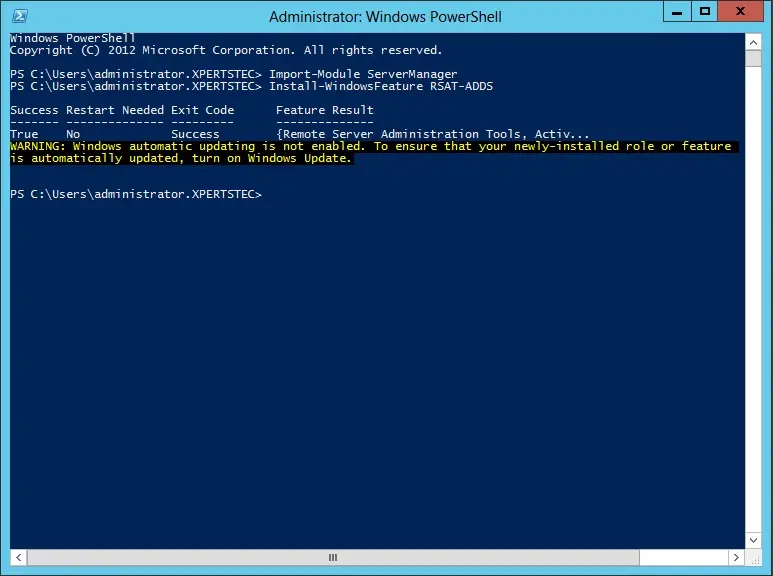
Install the RSAT Feature.
1- Import-Module ServerManager
Install-WindowsFeature RSAT-ADDS
2- install Exchange roles
Import-Module ServerManager
Install-WindowsFeature AS-HTTP-Activation, Desktop-Experience, NET-Framework-45-Features, RPC-over-HTTP-proxy, RSAT-Clustering, RSAT-Clustering-CmdInterface, RSAT-Clustering-Mgmt, RSAT-Clustering-PowerShell, Web-Mgmt-Console, WAS-Process-Model, Web-Asp-Net45, Web-Basic-Auth, Web-Client-Auth, Web-Digest-Auth, Web-Dir-Browsing, Web-Dyn-Compression, Web-Http-Errors, Web-Http-Logging, Web-Http-Redirect, Web-Http-Tracing, Web-ISAPI-Ext, Web-ISAPI-Filter, Web-Lgcy-Mgmt-Console, Web-Metabase, Web-Mgmt-Console, Web-Mgmt-Service, Web-Net-Ext45, Web-Request-Monitor, Web-Server, Web-Stat-Compression, Web-Static-Content, Web-Windows-Auth, Web-WMI, Windows-Identity-Foundation
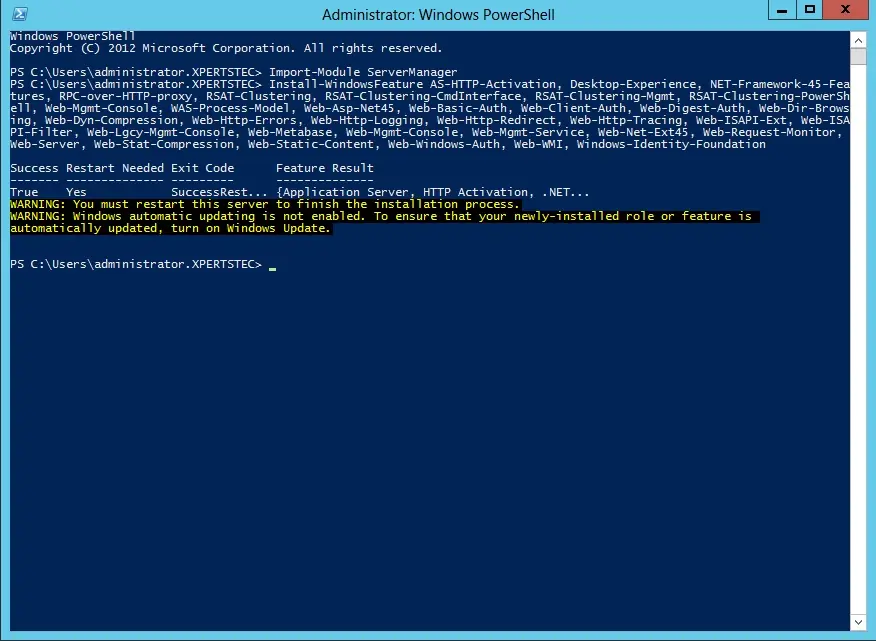
After installing the Exchange server role Restart Computer.
Prerequisites:
Click Here
- .NET Framework 4.7.1
- Windows Management Framework 4.0
- Microsoft Unified Communications Managed API 4.0
- Visual C++ Redistributable Package for Visual Studio 2012
- Visual C++ Redistributable Package for Visual Studio 2013
Edge Transport server role
Open Windows PowerShell.
Run the command below to install the required Windows components for the Exchange Server 2013.
Install-WindowsFeature ADLDS
1- .NET Framework 4.7.1
2- Windows Management Framework 4.0
3-Visual C++ Redistributable Package for Visual Studio 2012
3- Preparing Active Directory
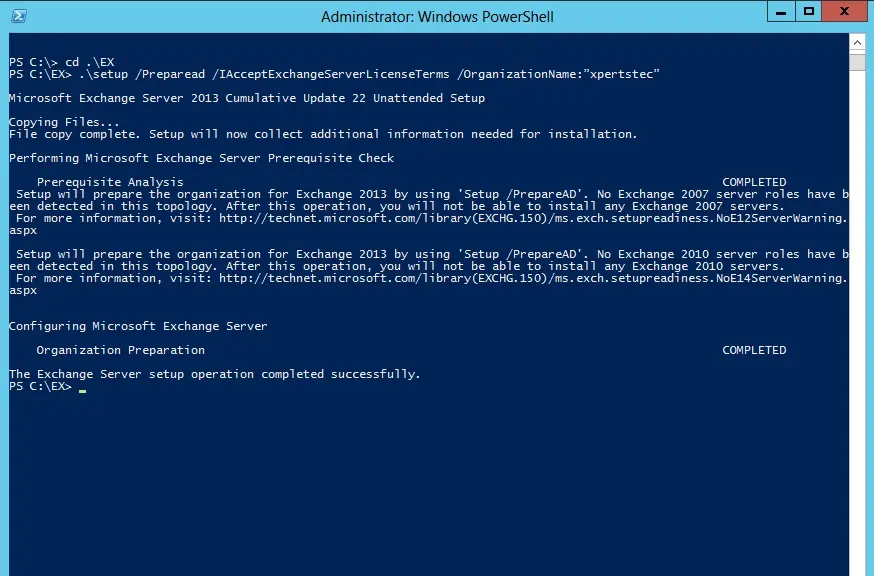
Browse to exchange server Setup Location and type the below command.
.setup /Preparead /IAcceptExchangeServerLicenseTerms /OrganizationName:”xpertstec”
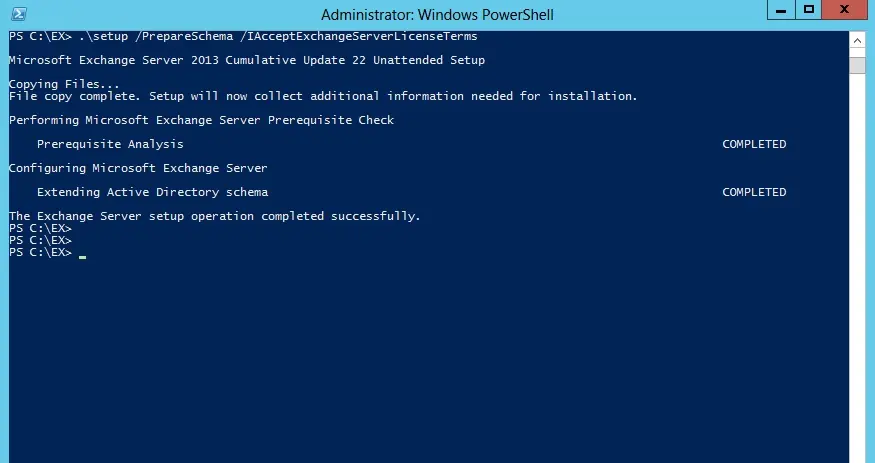
4- Preparing Schema
.setup /PrepareSchema /IAcceptExchangeServerLicenseTerms
5- Preparing Domain
.setup /Preparedomain /IAcceptExchangeServerLicenseTerms
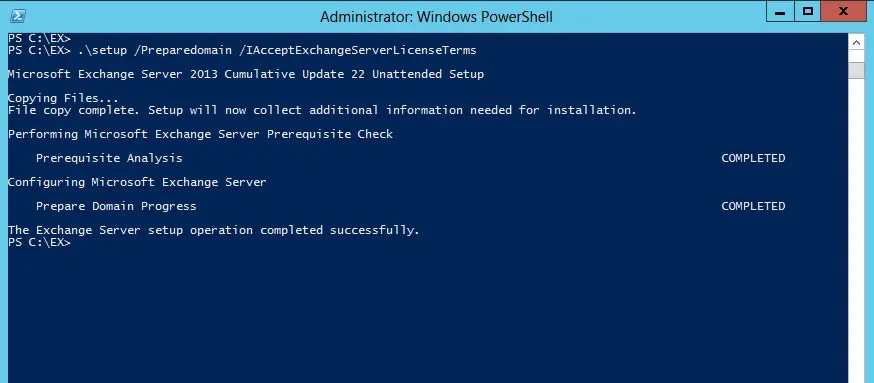
6- If you are in the Child domain Scenario then type the below command.
.setup /Preparealldomains /IAcceptExchangeServerLicenseTerms
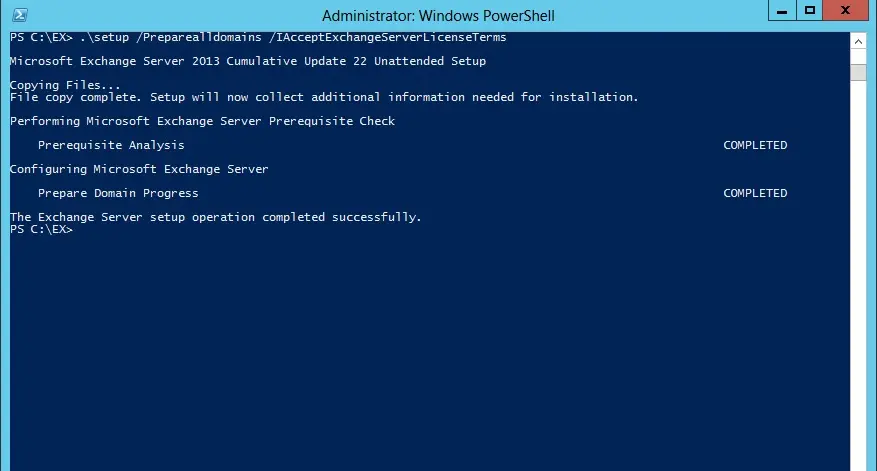
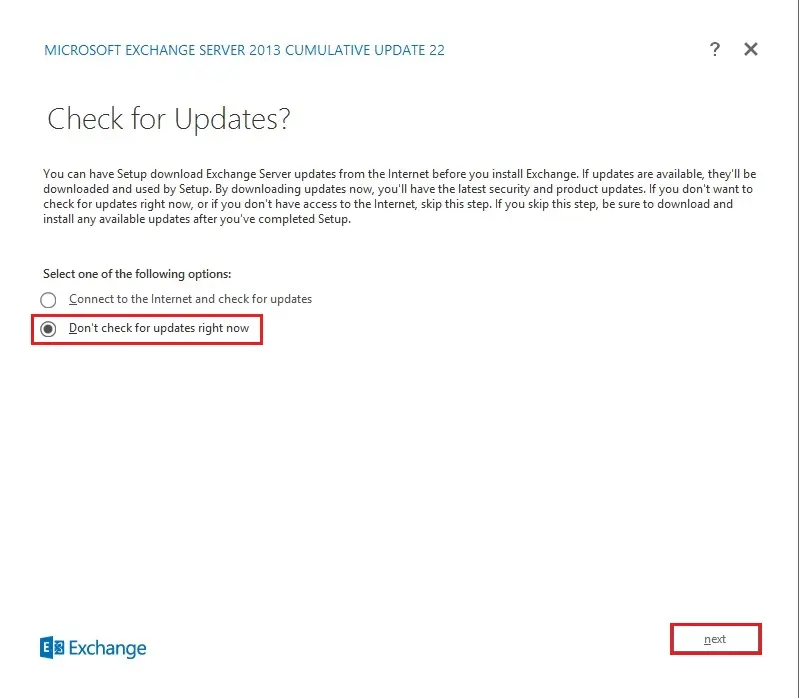
7- Exchange Server 2013 Setup
Exchange server setup and then click next.
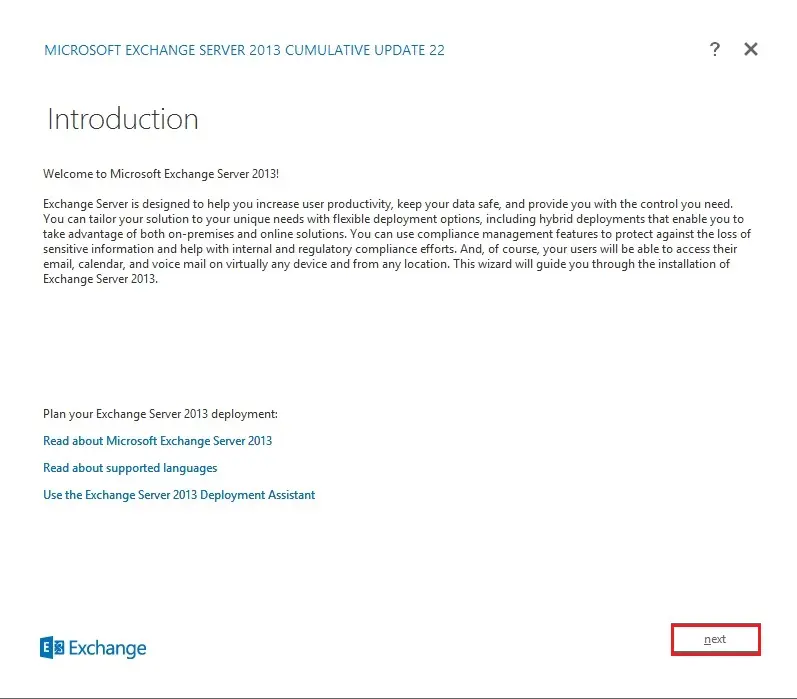
8- Welcome to Microsoft Exchange Server 2013 introduction page, so click next.
9- Select I accept the terms within the license agreement and then click on next.
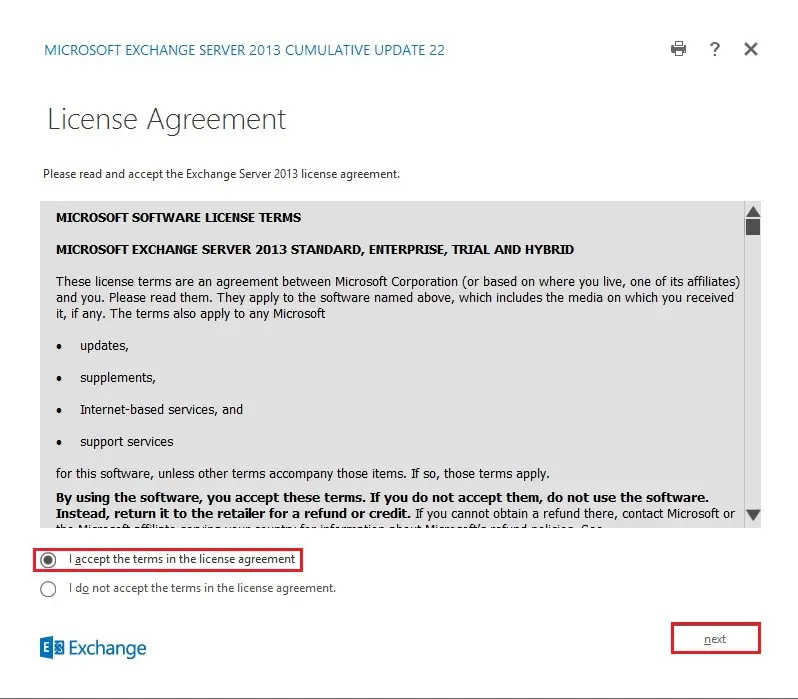
10- Select Recommended Settings and then click Next.
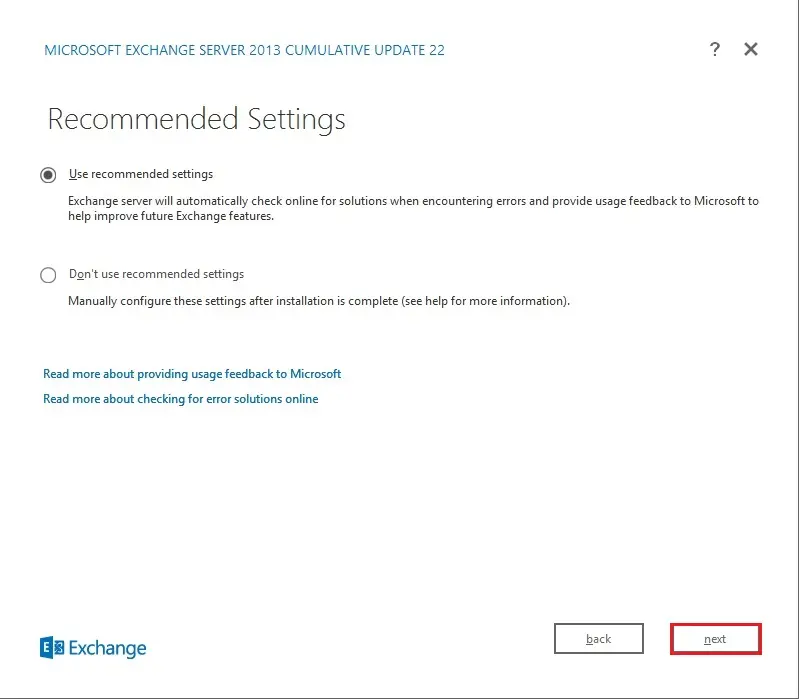
11- Server Roles Selecting (Mailbox role, Client Access role) and so click next.
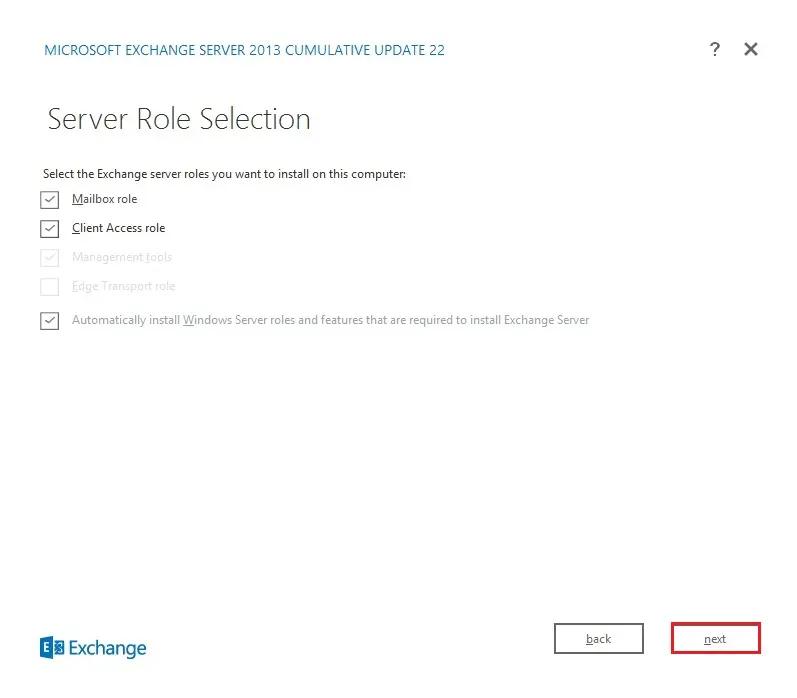
12- Specify the path for the Microsoft Exchange 2013 installation and then click next.
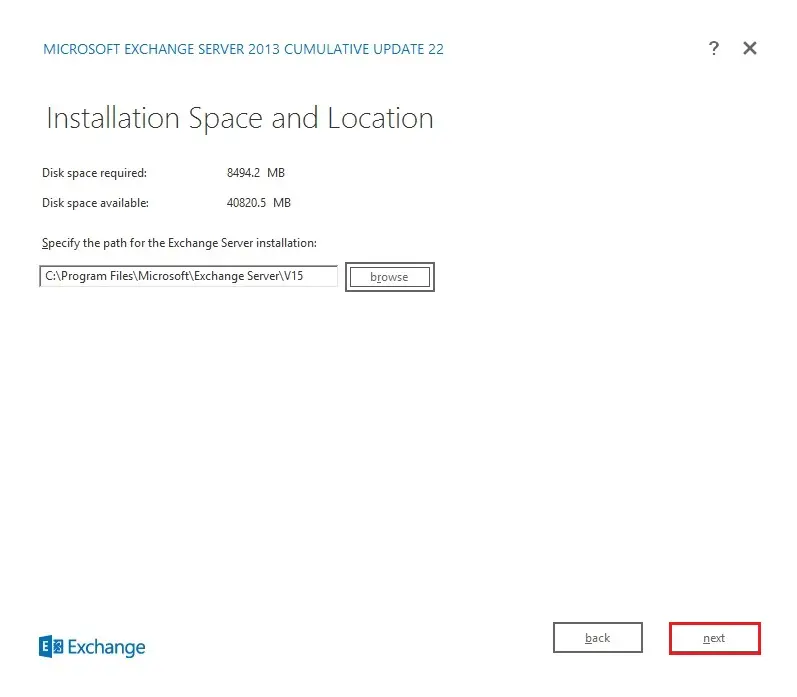
Exchange organization – then choose Next
If you already Did “.setup /Preparead /IAcceptExchangeServerLicenseTerms /OrganizationName:”xpertstec”
You won’t see this Page. As Already Exchange Org is created
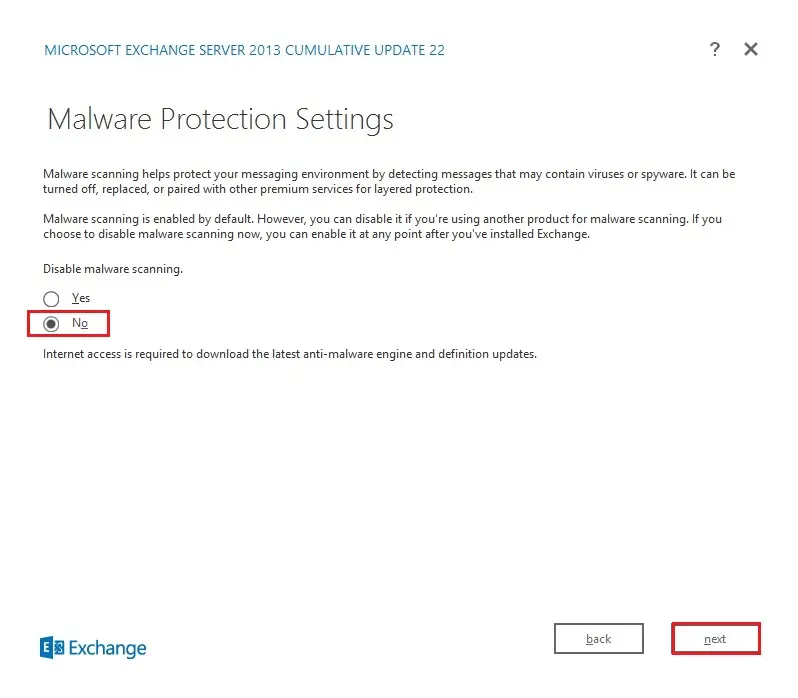
13- Malware protection settings, choose malware scanning enable or disable and then click next.
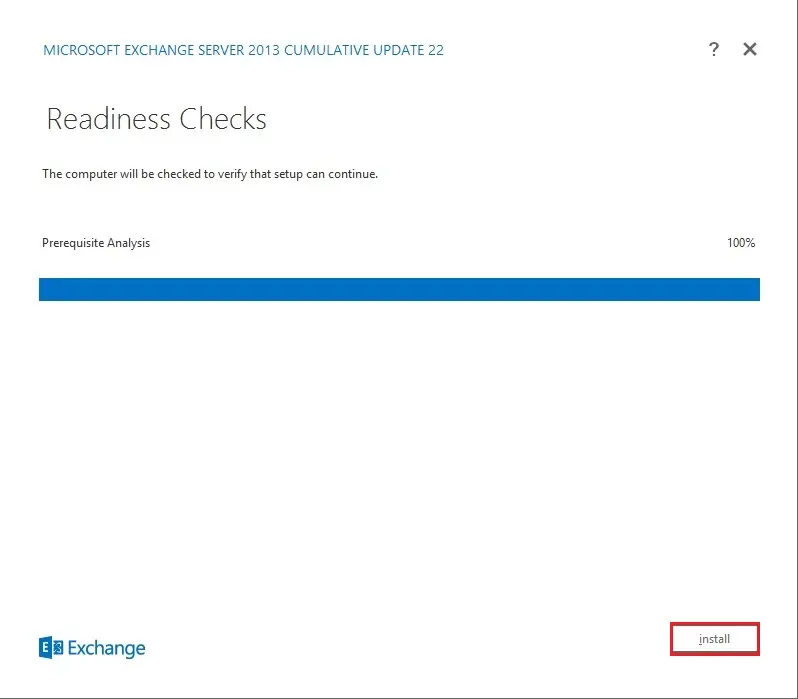
14- Microsoft exchange 2013 setup readiness checks, then click Install.
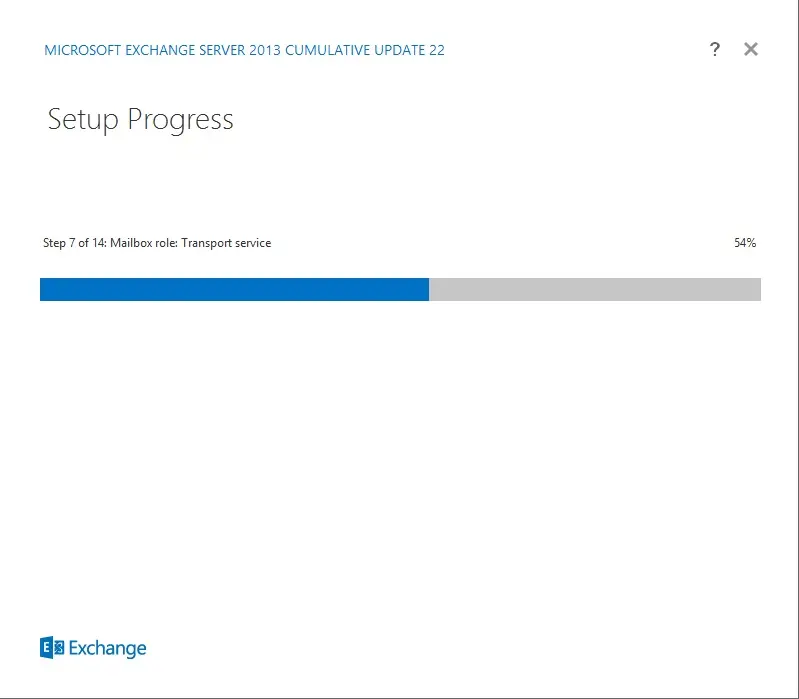
15- Microsoft Exchange Server 2013 installation default running process.
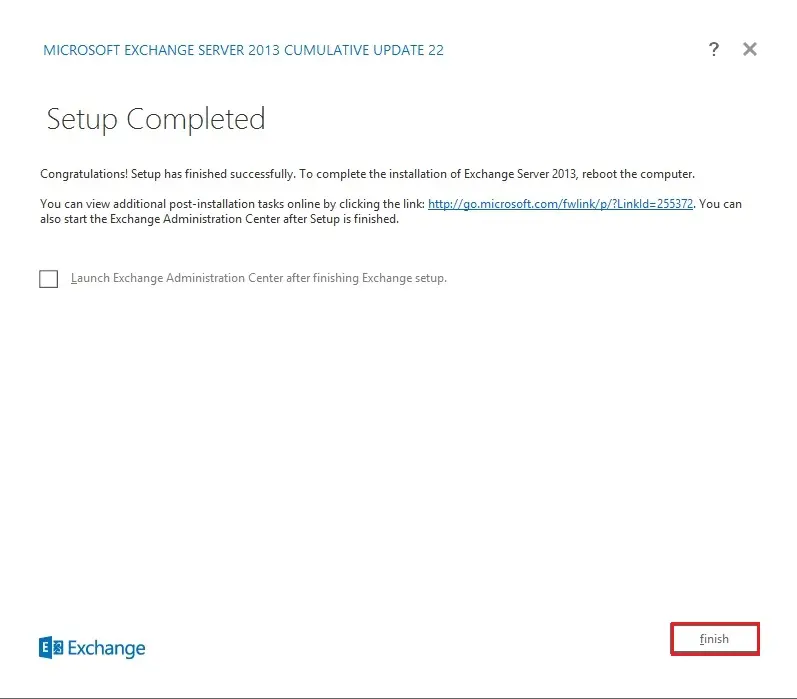
16- Exchange Server 2013 Setup completed successfully, so click the Finish button and restart your exchange server.
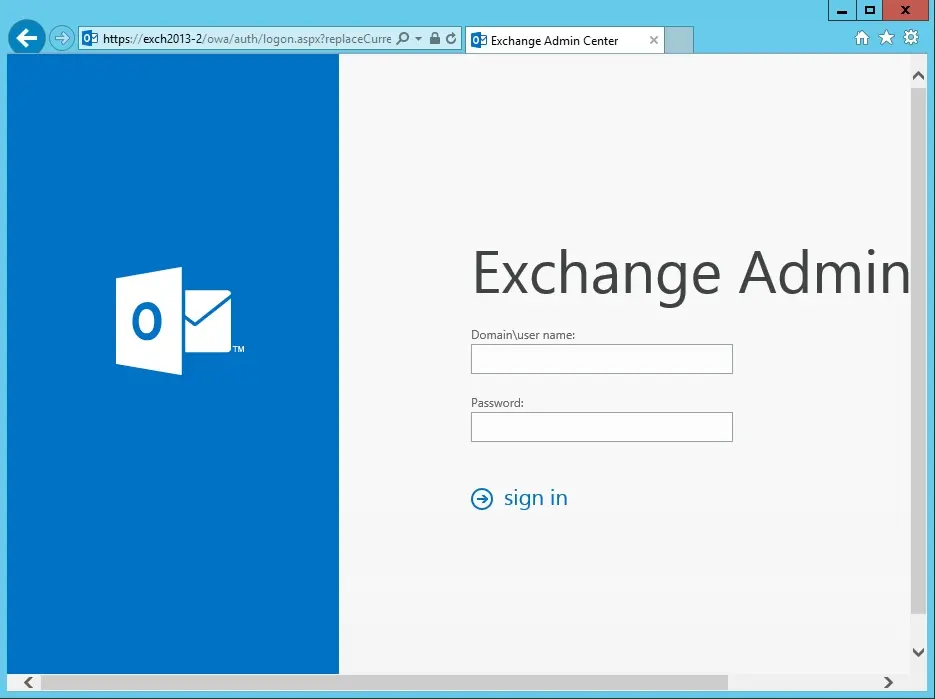
17- Server 2013 Exchange Admin Center.
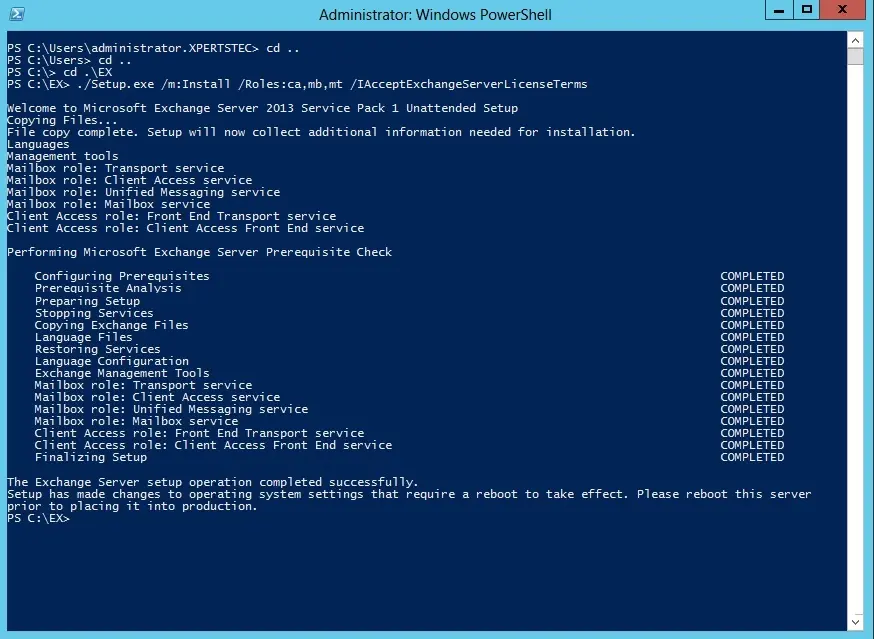
18- PowerShell cmdlets to Install Exchange 2013 on Windows Server 2012
CAS Server Role and also Mailbox Server Role Installation.
./Setup.exe /m:Install /Roles:ca,mb,mt /IAcceptExchangeServerLicenseTerms
For more information click here
Read more: How to Install, Configure, and Renew the GoDaddy SSL Certificate in Exchange.


No Comments
Hey, I think your site might be having browser compatibility issues. When I look at your blog in Ie, it looks fine but when opening in Internet Explorer, it has some overlapping. I just wanted to give you a quick heads up! Other then that, great blog!
Dear Miners,
Thank you I will check it out.
Howdy! Do you know if they make any plugins to safeguard against hackers? I’m kinda paranoid about losing everything I’ve worked hard on. Any suggestions?
I just want to mention I am beginner to weblog and actually liked you’re web-site. Probably I’m going to bookmark your site . You actually come with impressive articles. With thanks for sharing with us your blog site.