
In this guide, I will am going to Create Security groups in Exchange Server 2013,
Security Group Exchange 2013
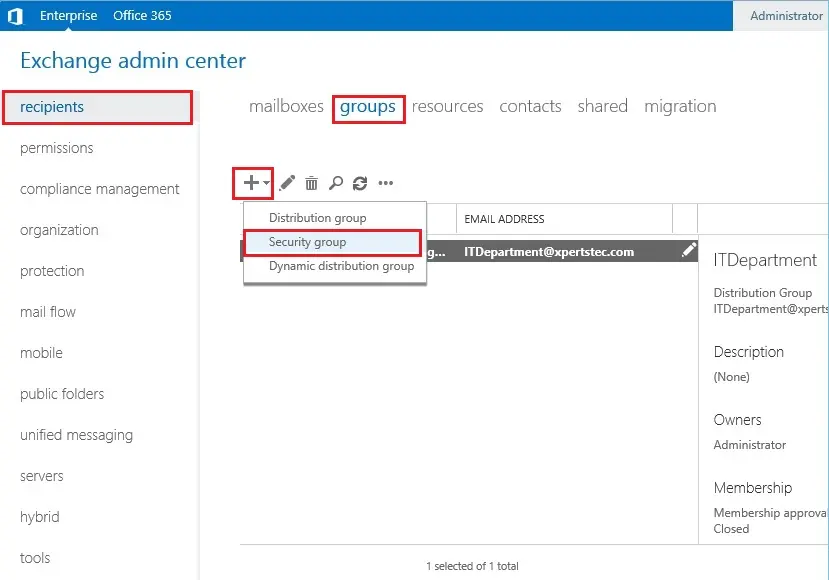
1- Log on to Exchange Admin Center (EAC) and select recipients and select the group’s tab and then click the “+” Add button and click the Security group.
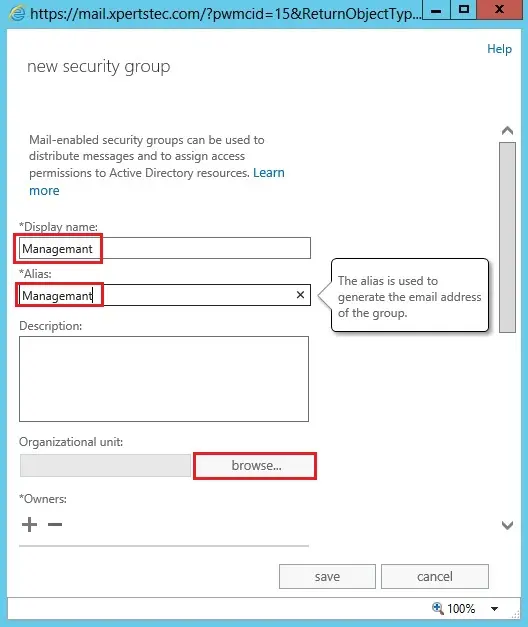
2- Type display name and alias of the group name. under the Organization now click the browse button.
3- Select the particular OU. Here, I have selected ITSupport OU. The security group will create in the ITSupport OU and then click ok.

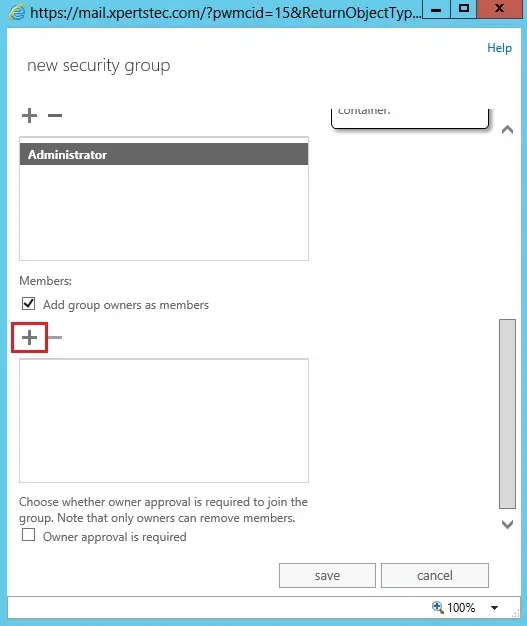
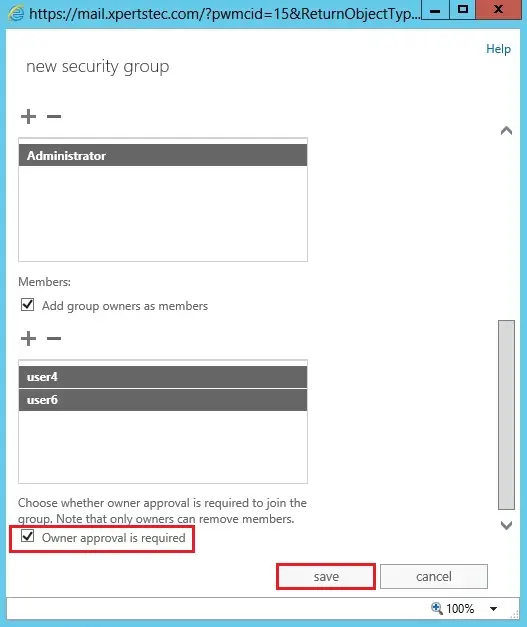
4- Under Members option so click the “+” icon.
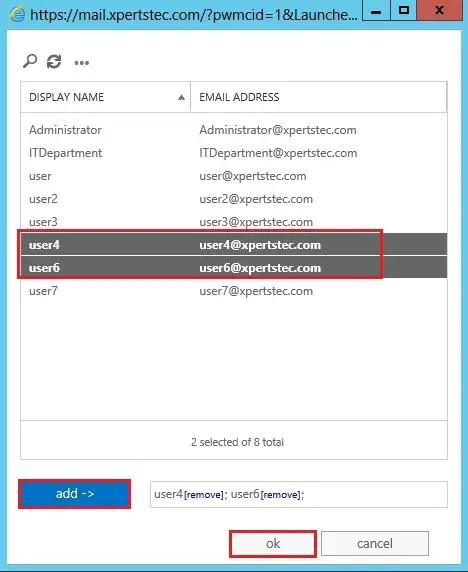
5- Select user you want to add in the Security group > click add and click ok.
6- Select the owner’s approval to require then click on save.
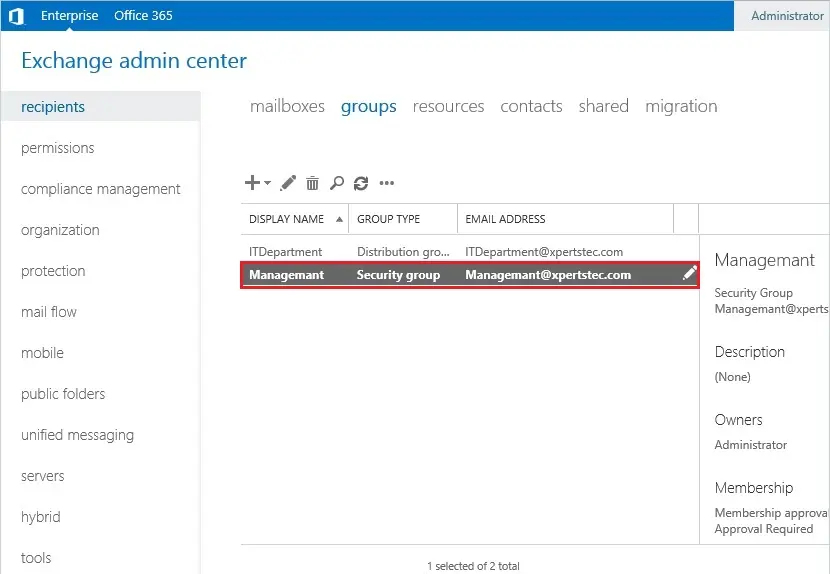
7- As you can see below the Security group has been created with Managemant@xpertstec.com email address.
For more information click here
How to Create Distribution Group Exchange Server 2013