In this article, I will describe how to create a Traffic Manager profile that delivers high availability for our web application.
In these steps, we will read about two instances of a web application. Both Instances are running in a different Azure region. We will create a Traffic Manager profile based on endpoint priority. The profile instructs user traffic to the primary site running the web application. Traffic Manager continuously monitors the web application. If the primary site is unavailable, it provides automatic failover to the (secondary site) backup site.
Sign in to the Azure Portal
Prerequisites
We need two instances of a web application deployed in two different Azure regions (1st in East US and 2nd in West Europe). Each one will serve as primary & failover endpoints for Traffic Manager.
Create a 1st Web App
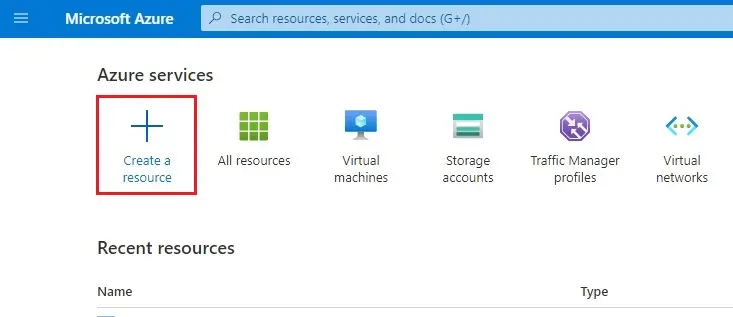
1- In the Azure Portal screen, select + Create a resource.
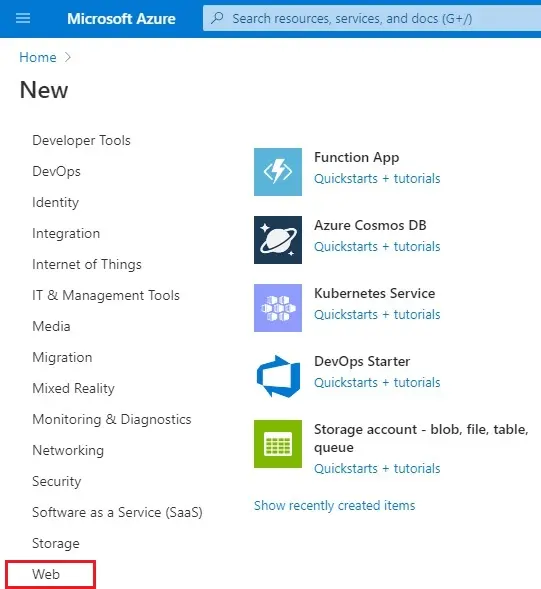
2- Select Web under developer tools.
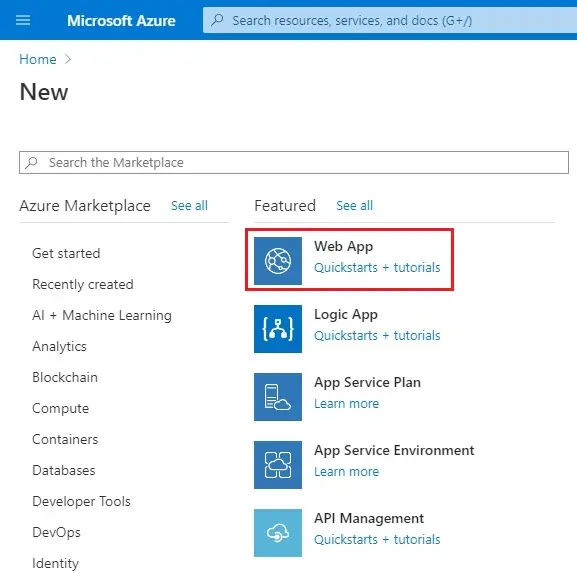
3- Click on Web App.
4- Create a Web App wizard, Basics tab.
Select your Subscription
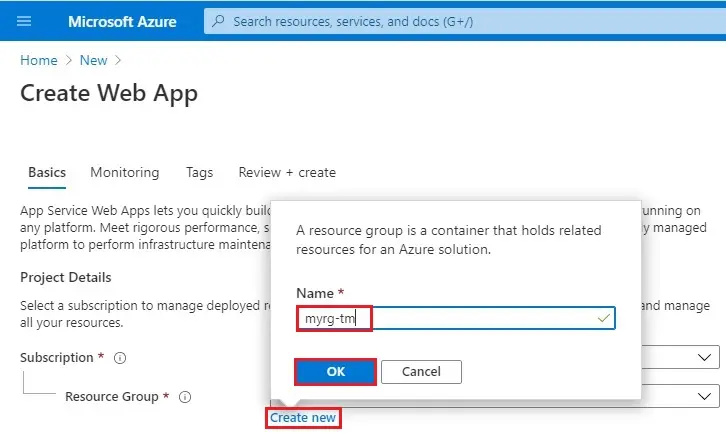
Resource Group, select Create new
Enter a name (myrg-tm) and then click ok.
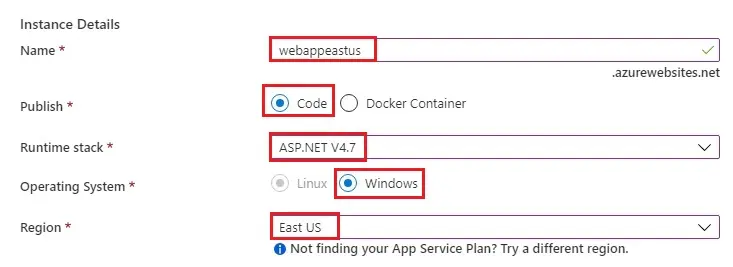
5- Instance Details
Name – Type webappeastus.
Publish – Select Code.
Runtime stack – Select ASP.NET V4.7
Operating System – Select Windows.
Region – Select East US
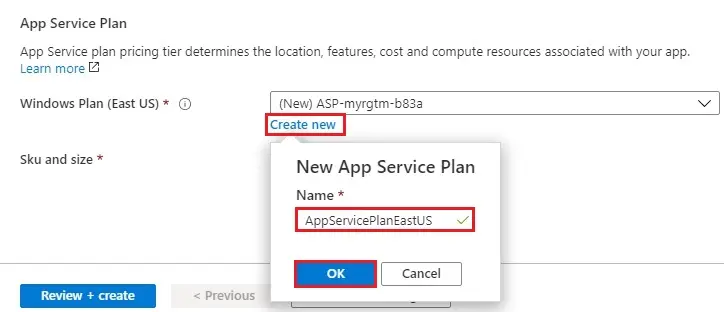
6- App Service Plan – Windows Plan (East US)
Select Create new
Type a name (AppServicePlanEastUS) and then click OK.
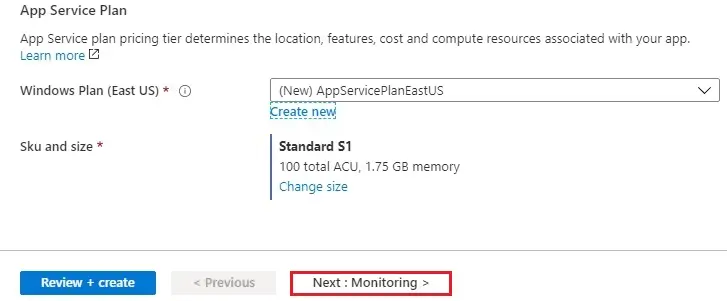
7- SKU and size – Select Standard S1.
Select Next : Monitoring >
8- Monitoring Tab
Application Insights
Enable Application Insights select No and then select Review + create
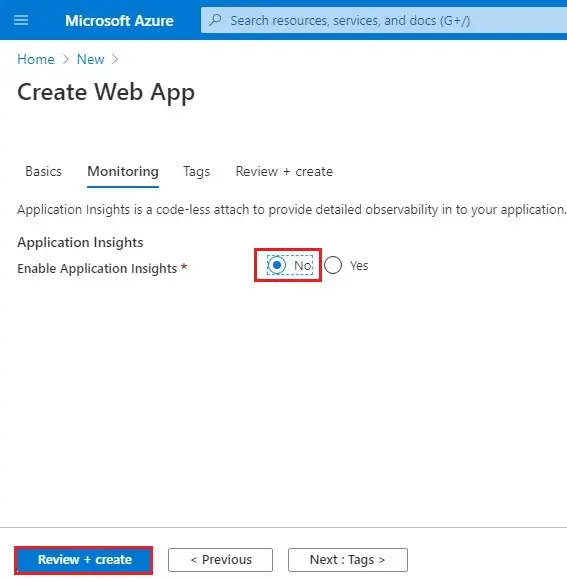
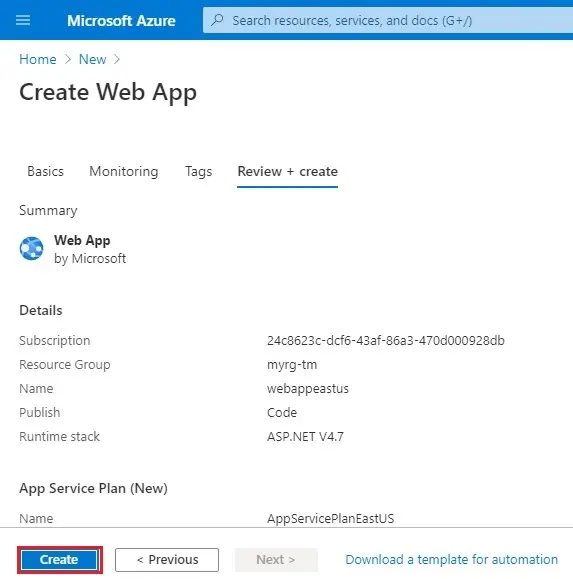
9- Review the settings, and then click on Create.
It will create a default web site when the Web App successfully deploys.
Create a 2nd Web App
| Settings | Value |
| Resource Group | myrg-tm2 |
| Web App Name | webappweurope |
| Publish | code |
| Runtime Stack | ASP.NET v4.7 |
| Operating system | windows |
| Region | West europe |
| App service plan | Create new |
| Name | AppServicePlanWEurope |
| SKU and size | Standard S1 |
| Next : Monitoring > | |
| Enable Application insights | No |
| Review + create | |
| Create |
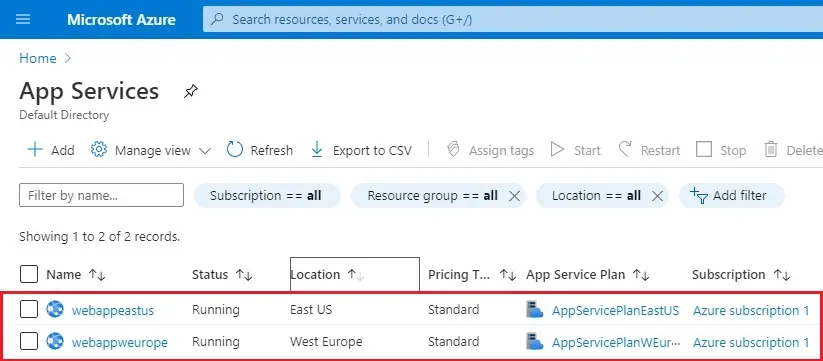
Now you can see two Web App successfully created.
Create a Traffic Manager profile
A Traffic Manager Profile that instructs user traffic based on endpoint priority.
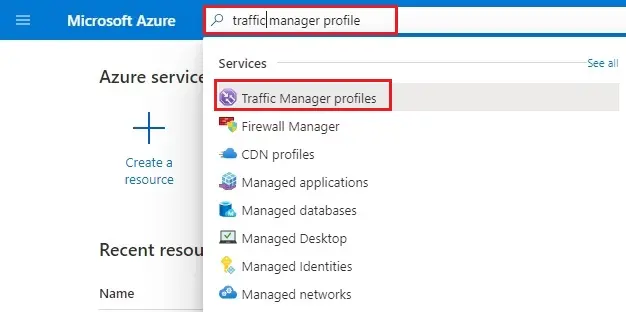
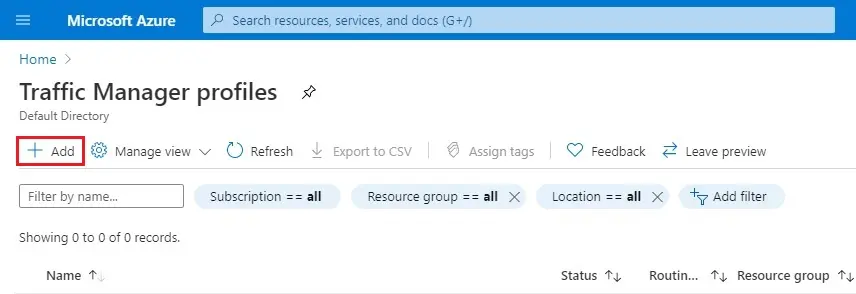
1- Type traffic manager profile in Azure search bar then elect Traffic Manager Profiles.
2- Select the + Add button.
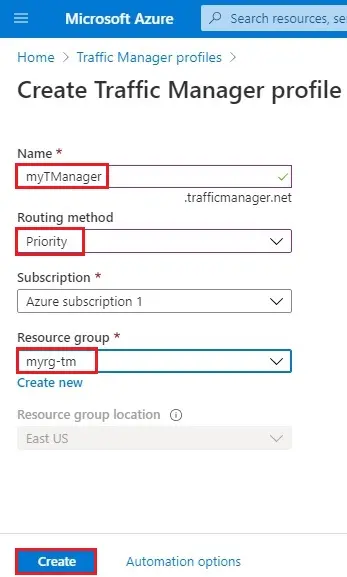
3- Create Traffic Manager Profiles wizard
Type a name – myTManager
Routing Method – select Priority
Resource group – select myrg-tm and then click create.
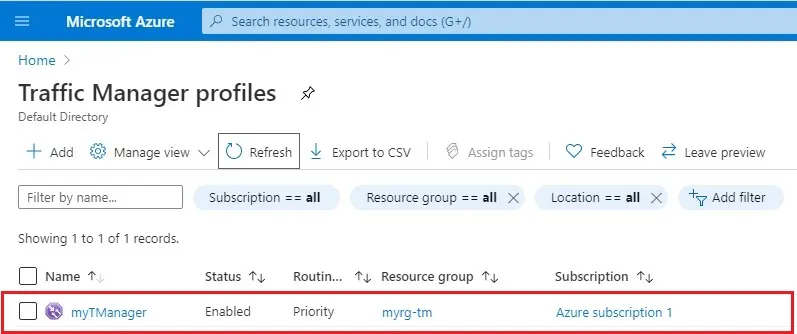
4- Traffic Manager profile successfully created.
How to Add Traffic Manager Endpoints
Add the website in the target resource (East US) as Primary Endpoint to route all the user traffic. Add the website in target resource “West Europe” as a Failover Endpoint. When the primary endpoint is unavailable, then the traffic automatically routes to the failover endpoint.
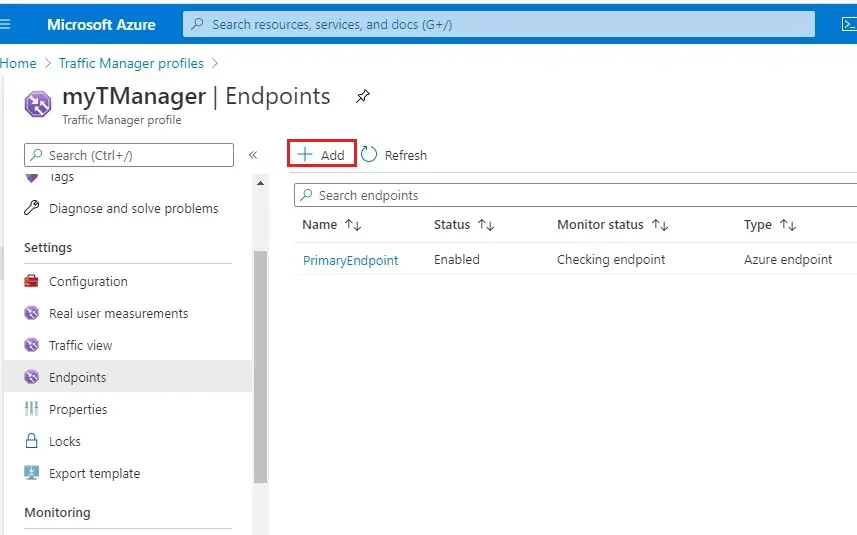
1- Select the Traffic Manager profile name that you created in the preceding section.
In the Traffic Manager profile
2- Select Endpoints under the Settings section and then click on + Add.

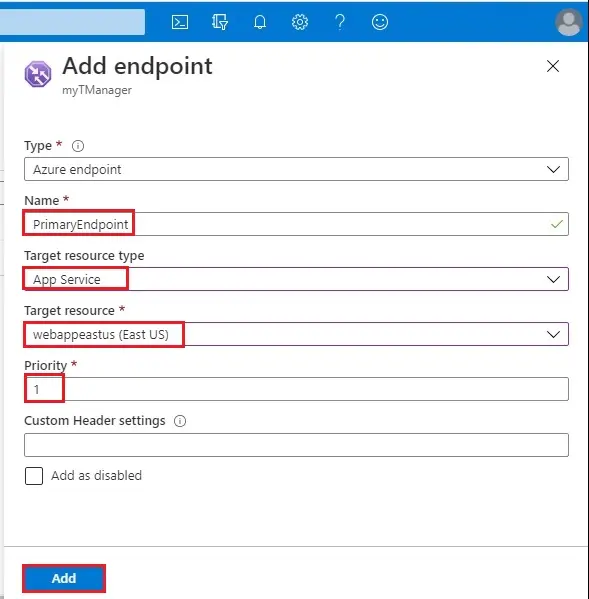
3- Type > Select Azure endpoint
Name > Type PrimaryEndpoint
Target resource type > Select App Service
Target resource > select webappeatus (East US)
Priority > Select 1
Select OK.
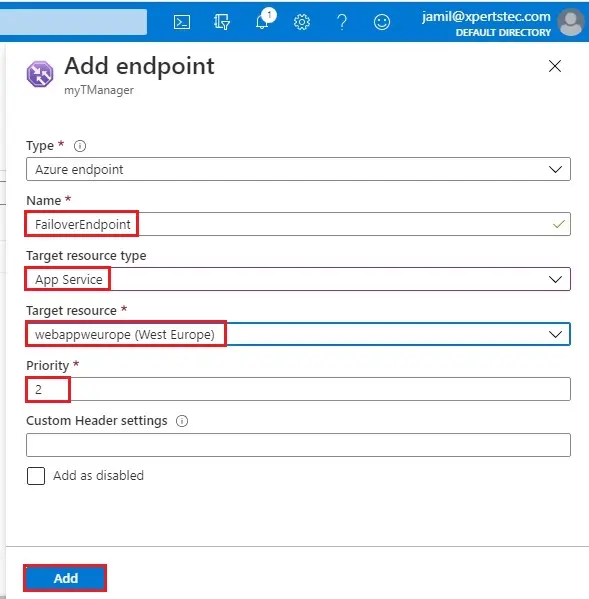
Create a failover endpoint for your 2nd Azure region.
1- Click on + Add button again.
2- Type > Select Azure endpoint
Name > Type FailoverEndpoint
Target resource type > Select App Service
Target resource > select webappweurope (West Europe)
Priority > Select 2
Select OK.
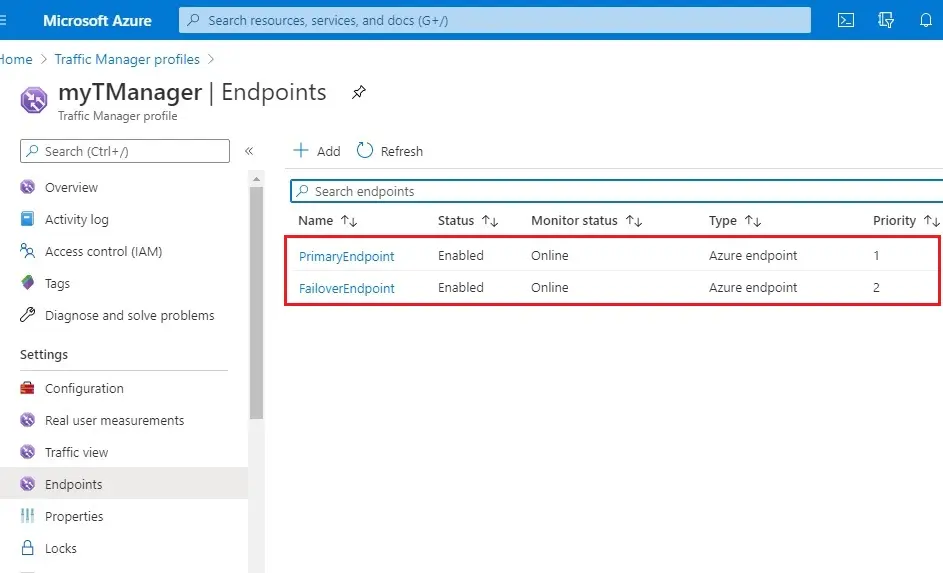
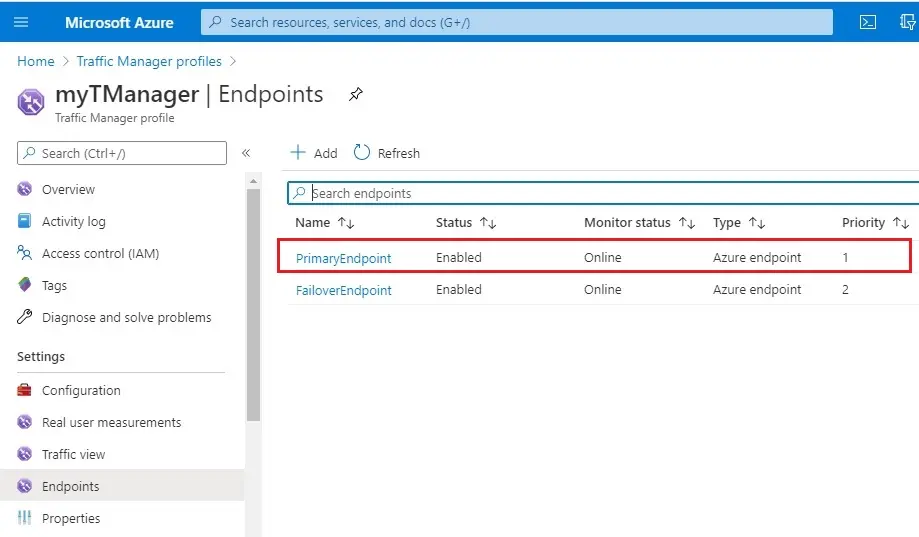
3- When you are done adding the both endpoints, they are displayed in Traffic Manager profile. Notice that their monitoring status is Online now.
Test Traffic Manager Profile
In this section, we will check the domain name of our Traffic Manager profile. You will also configure the primary endpoint to be unavailable. Finally, we get to see that the web app is still available. It is because Traffic Manager sends the traffic to the failover endpoint.
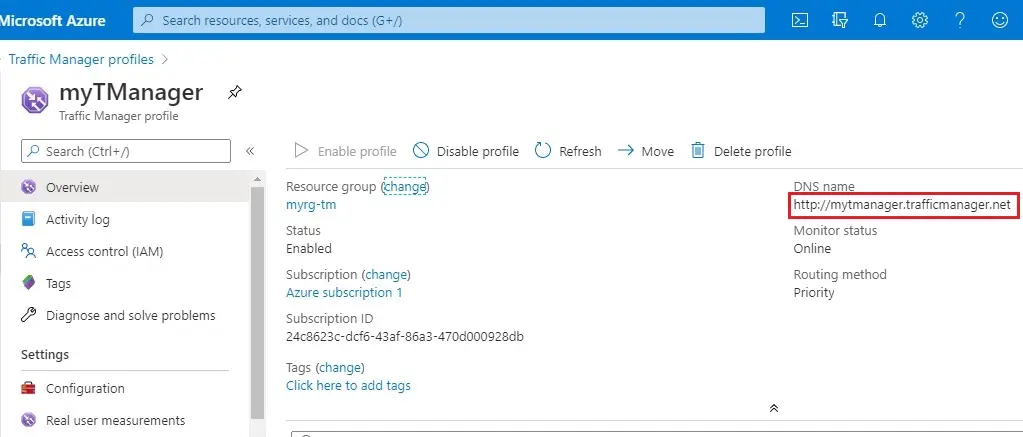
Check the DNS name
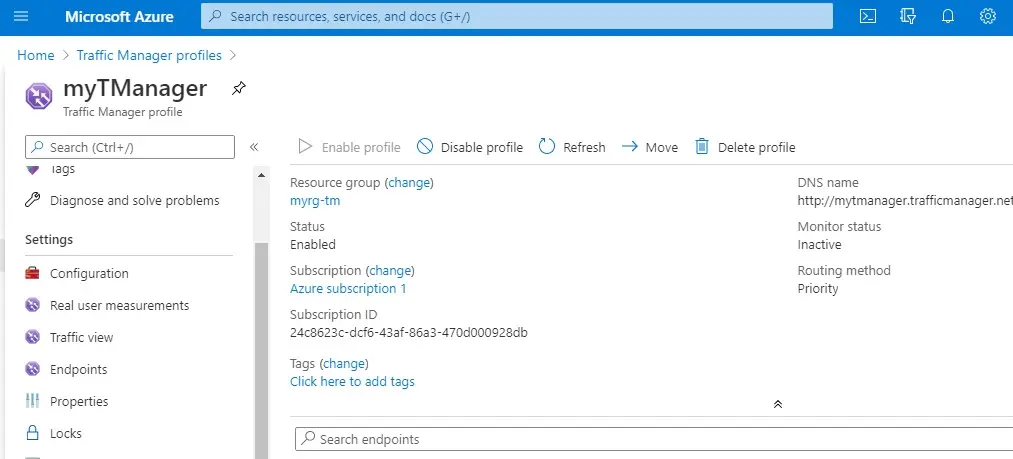
1- Go to your Traffic Manager profile name that you created in the preceding section.
Select the traffic manager profile and then an overview.
In the Traffic Manager profile, you can see the DNS name of your newly created Traffic Manager profile.

View Traffic Manager in action
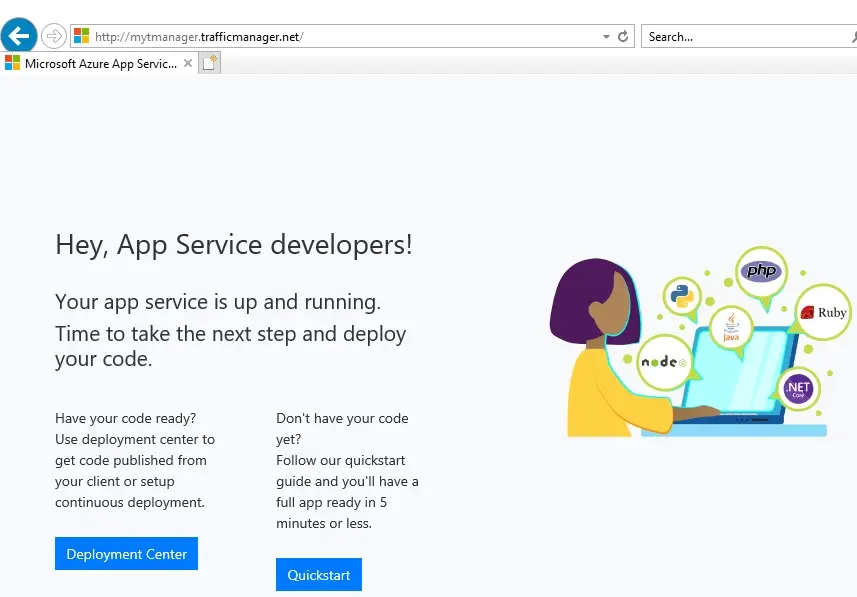
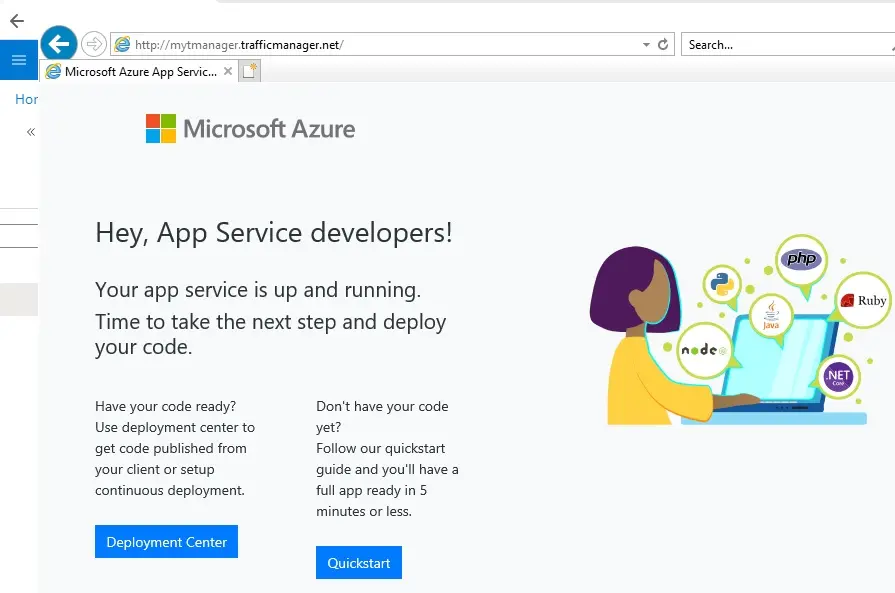
2- In the web browser, paste the DNS name of your Traffic Manager profile to view your Web App’s default website.
Note
In this scenario, all requests route to the primary endpoint because we set it to Priority 1.
3- Disable your primary site, to test Traffic Manager Failover:
In the Traffic Manager Profile page, select Endpoint under settings and then select PrimaryEndpoint.
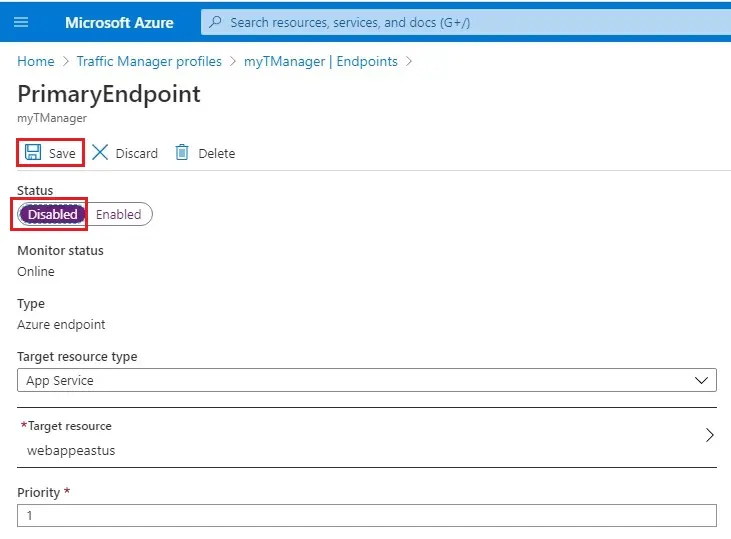
4- In PrimaryEndpoint, select Disabled and then click on Save.
Close the PrimaryEndpoint window.
5- Notice that the status is Disabled now.
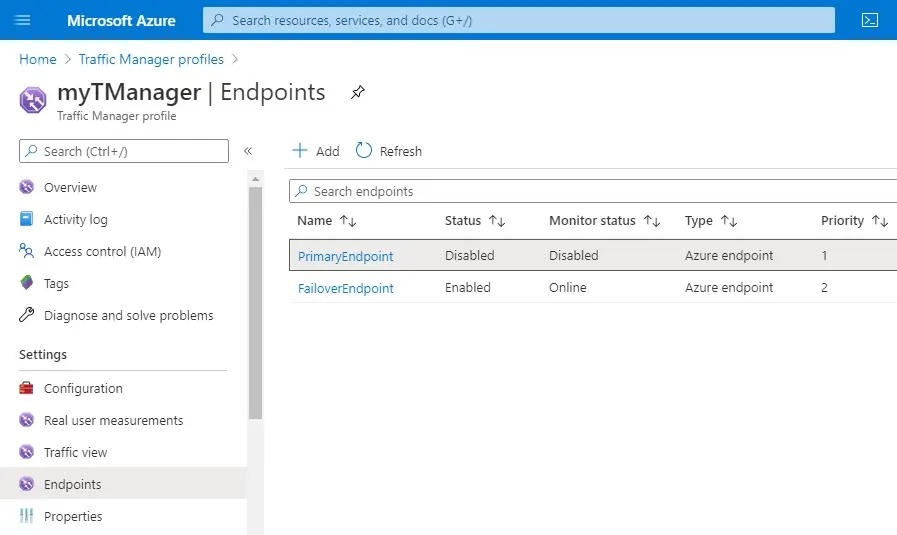
6- Copy the DNS name of the Traffic Manager Profile from the preceding step to view the website in a new web browser session.
7- Verify that the web app is still available.
The primary endpoint is not available, so you were routed to the failover endpoint.