Install system center 2019
In this guide, I will install the System Center Virtual Machine Manager (SCVMM) console on Windows Server 2019 workstation for managing the VMM Management Server. In my home lab environment, I am using domain administrators’ accounts, which is not recommended in the production environment.
What’s new in SCVMM click here
Licensing System Center Virtual Machine Manager 2019 click here
SCVMM System Requirement click here
How to install System Center Virtual Machine Manager
SCVMM 2019 Installation
Let’s start step by step process to install System Center 2019 Virtual Machine Manager
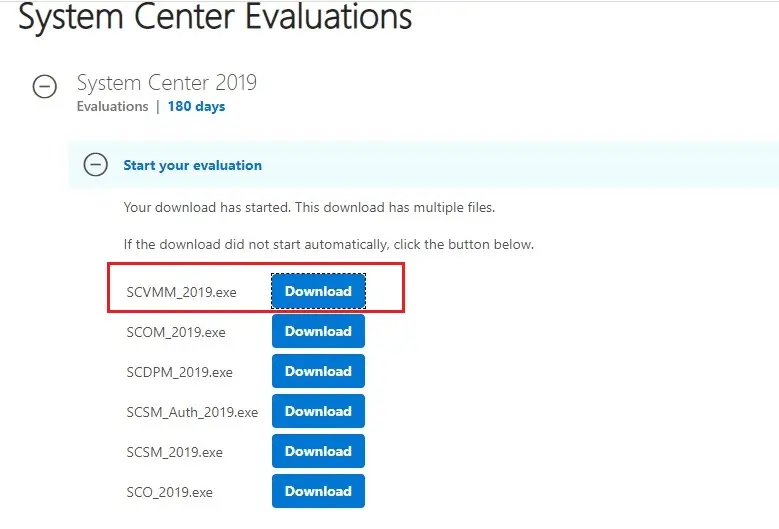
1- Download System Center 2019 Virtual Machine Manager. Click here
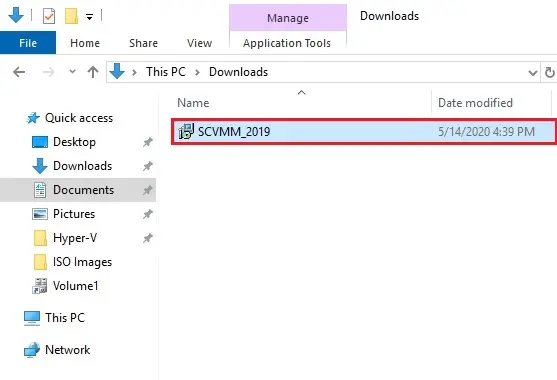
2- After downloading we are ready to launch the SCVMM_2019 setup.exe file.
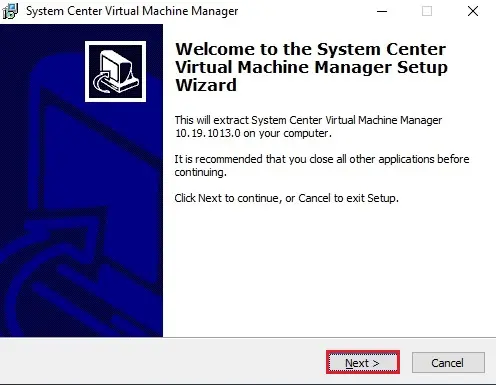
3- System center installation wizard, click next
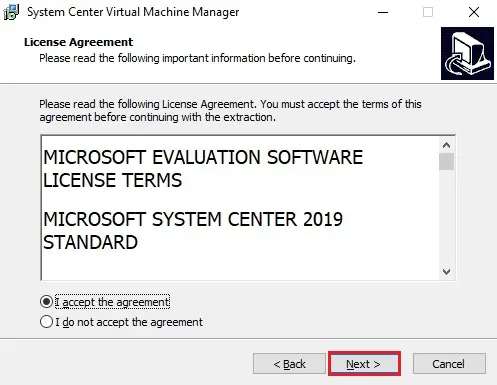
4- License agreement click next.
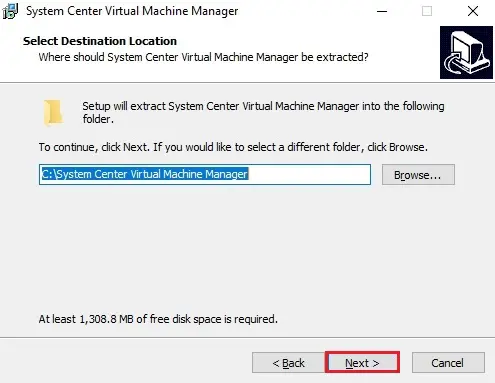
5- Select the folder where you want to extract the files and then click next.
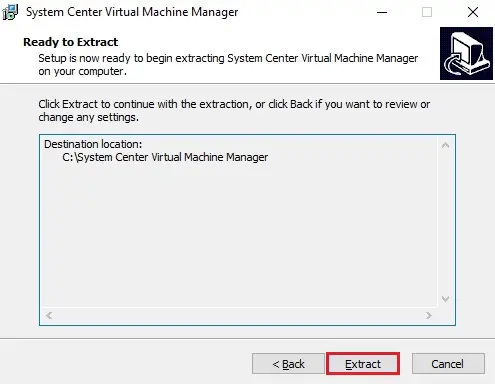
6- Review the destination location and then click extract.
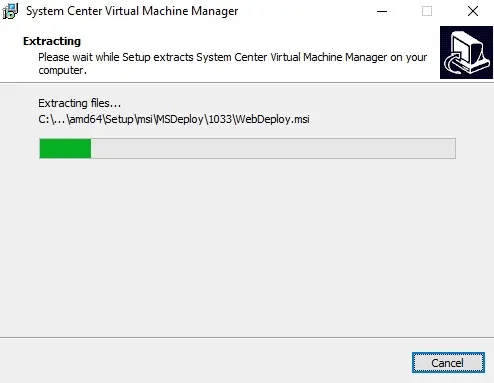
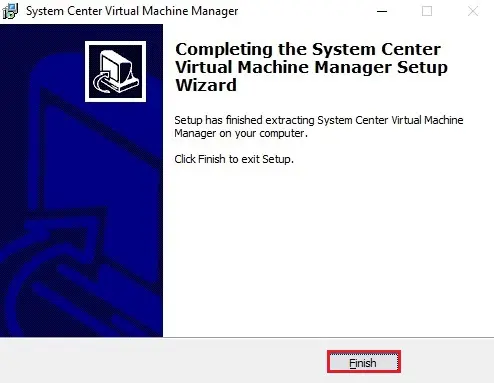
7- System center virtual machine manager extracting files.
8- Click finish
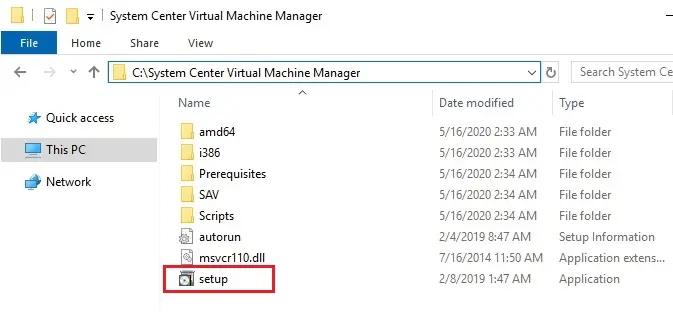
9- Open the SCVMM extracted directory Launch the installer file setup.exe.
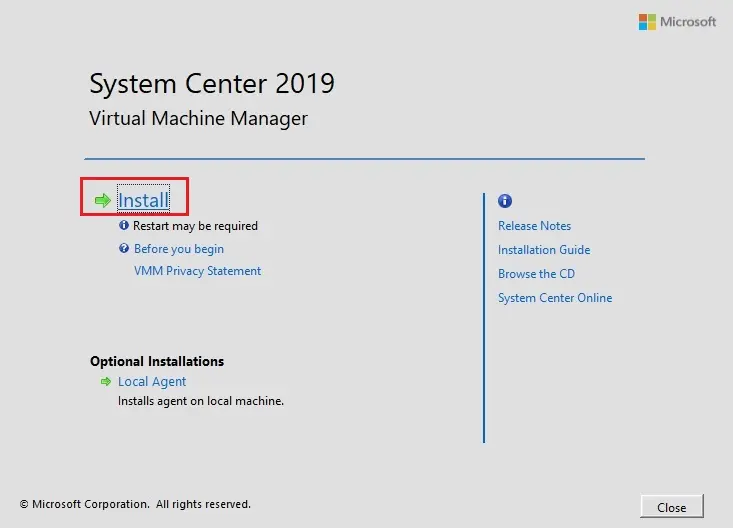
10- This System Center 2019 Virtual Machine Manager installation stars. Click on install.
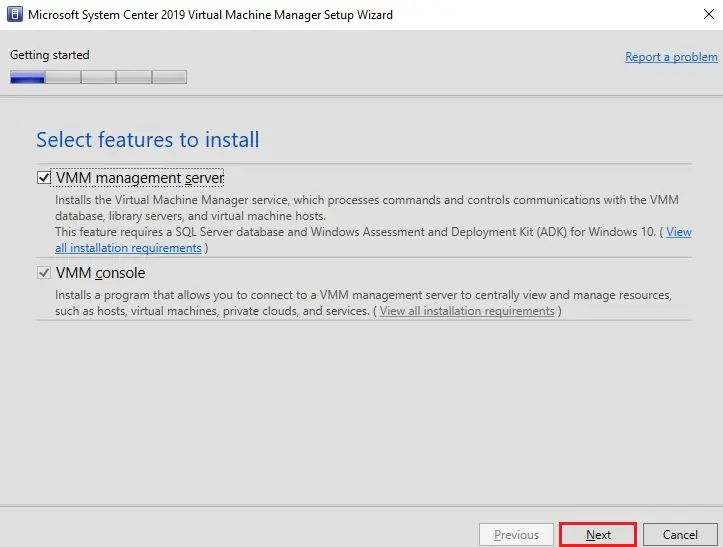
11- Select the features (VMM management server and VMM console) to install and then click Next.
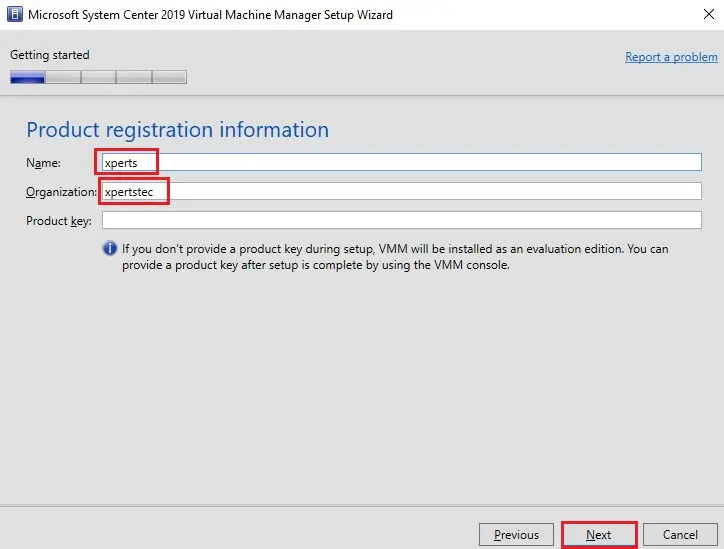
12- Type the product registration information and then click next.
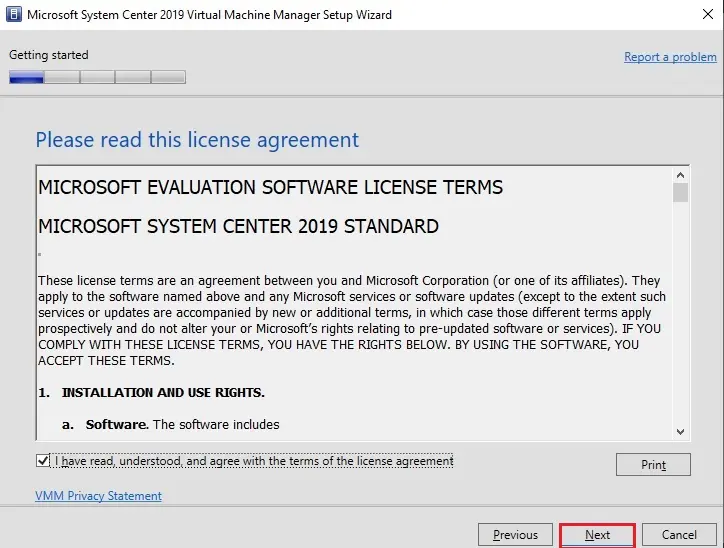
13- Accept the license agreement (EULA) and then click next.
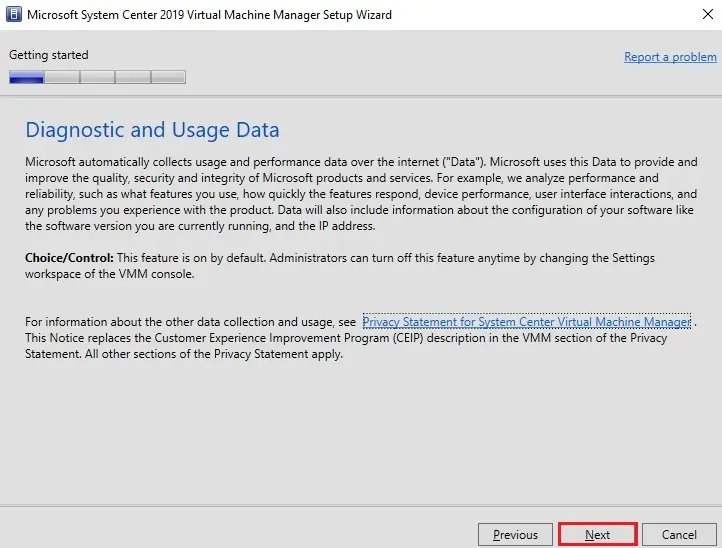
14- SCVMM setup wizard Diagnostic and Usage Data click next.
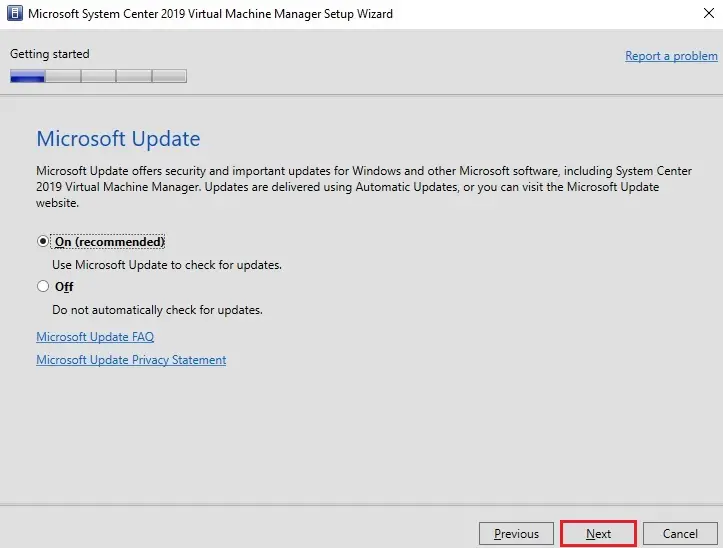
15- Select whether you want to use Microsoft Update or not and click next.
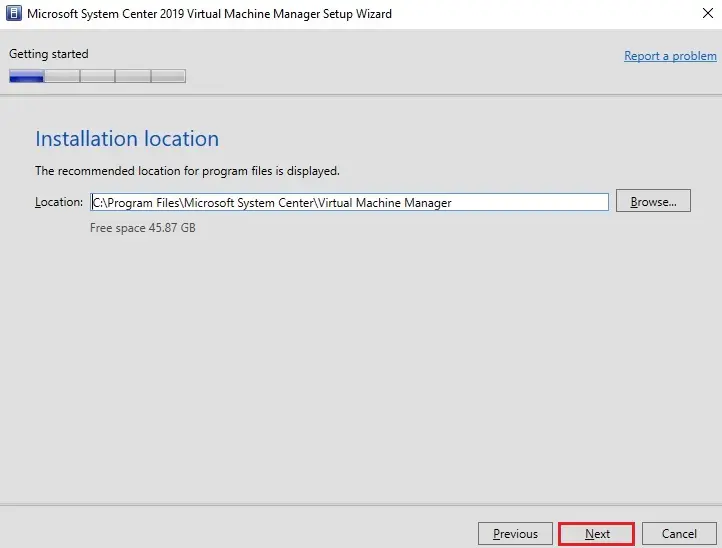
16- Select the installation location and then click next.
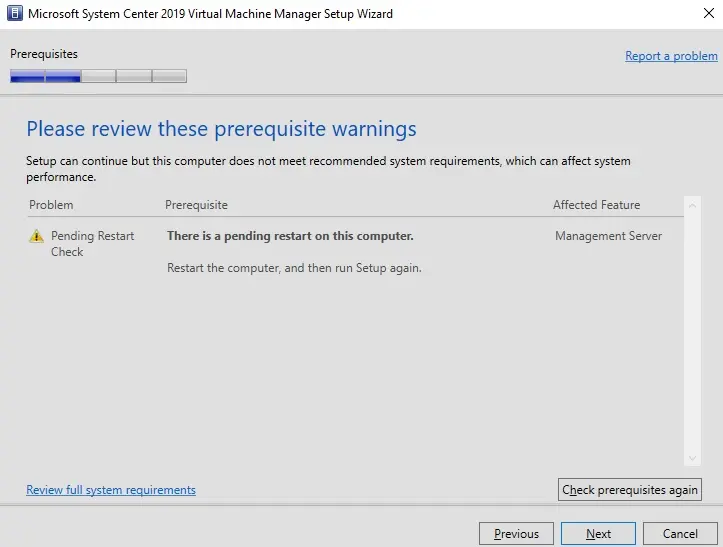
Windows Assessment and Deployment Kit Check
“Prerequisites that were not found on the host (Server) will be listed in the prerequisites check dialog box”
Prerequisites failure. Please Keep in mind we will need the following prerequisites.
1- Windows Preinstallation Environment features from the Windows Assessment and Deployment Kit.
2- A SQL Server at your disposal for the installation of the SCVMM database

After installing the prerequisite, we need to restart the SCVMM server.
After restarting the SCVMM machine, start the setup again, following the steps from 9 to 16.
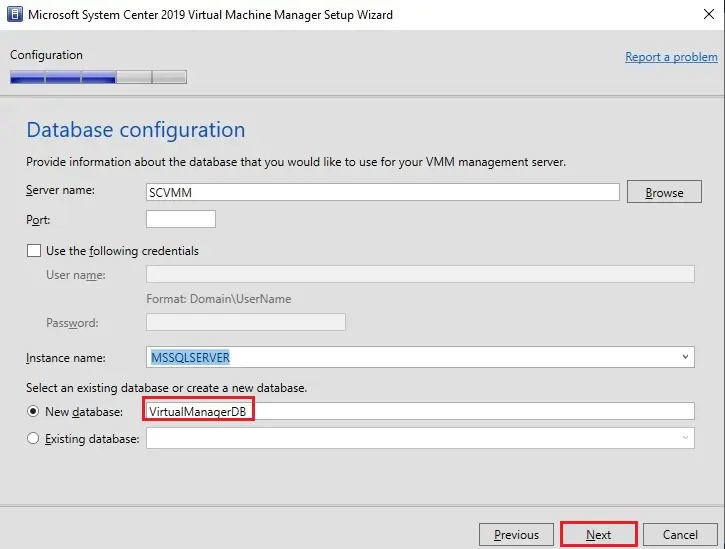
18—Database configuration. Select your database server and whether you are using an existing database or creating a new one (I am creating a new database for SCVMM), and then click next.
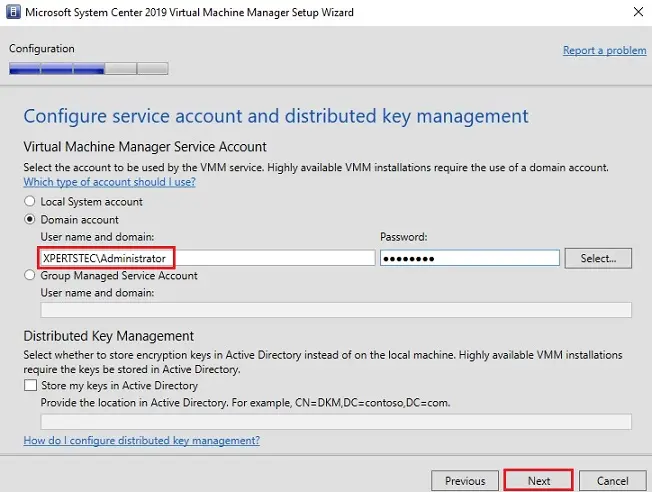
19- Configure your service account for SCVMM and Distributed Key Management and then click next.
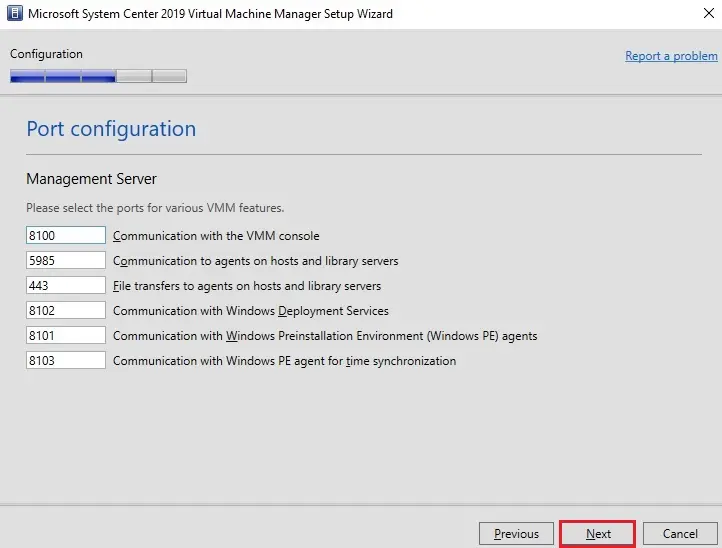
20- For SCVMM Port configurations, click next.
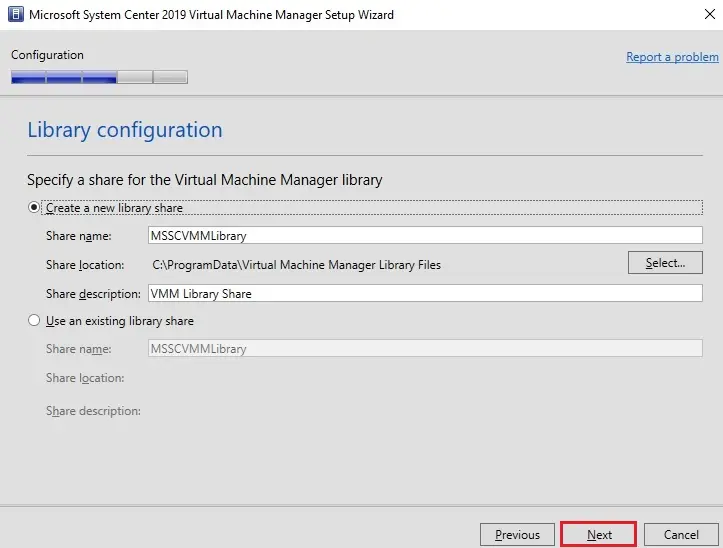
21- For library configuration settings, click next.
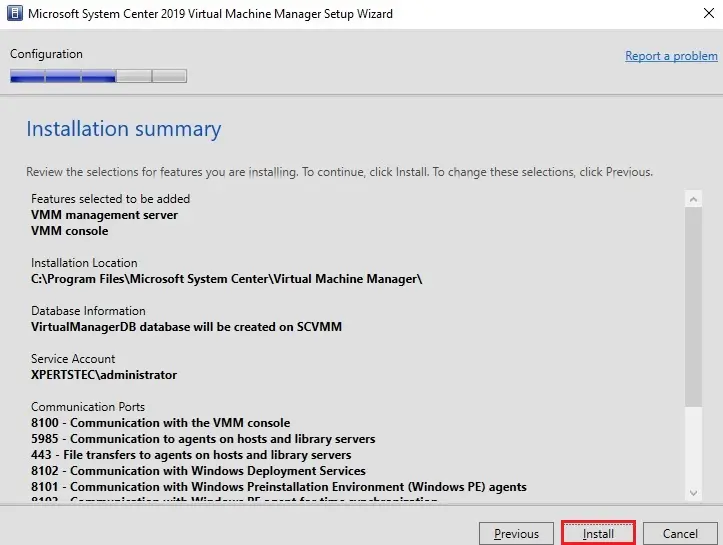
22- Review the installation summary and then click the Install button to start the installation.
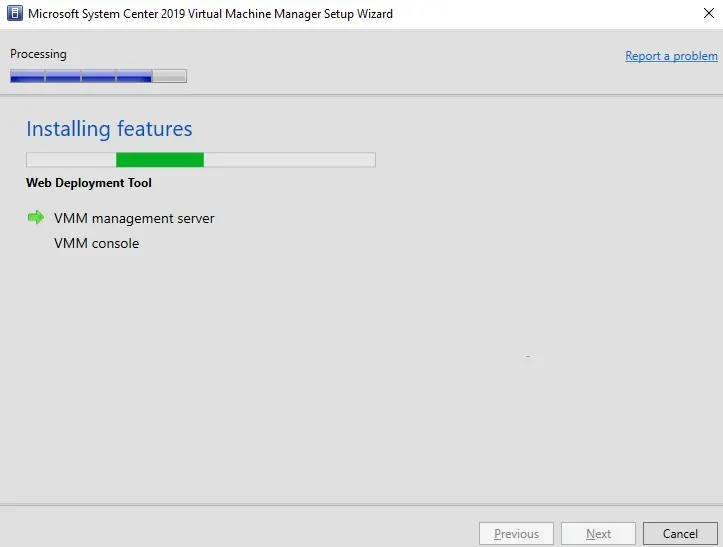
23- SCVMM installation in progress.
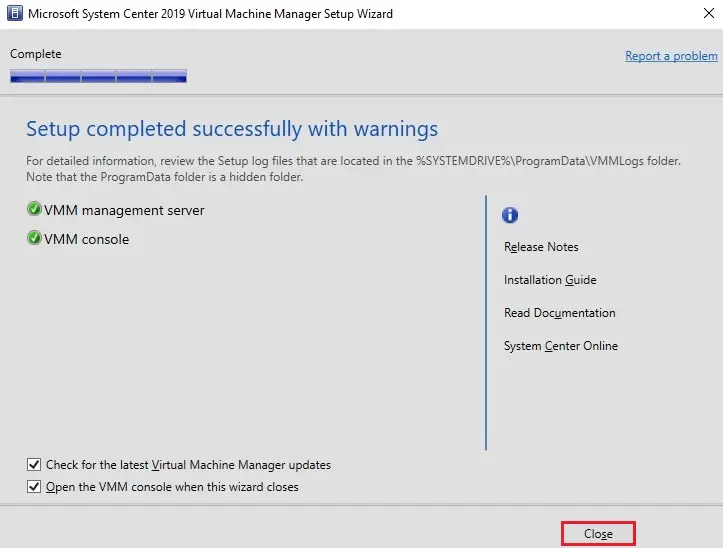
24—The setup has been successfully completed. After the successful installation, you can select the checkbox for updates and open the VMM console when the wizard closes.
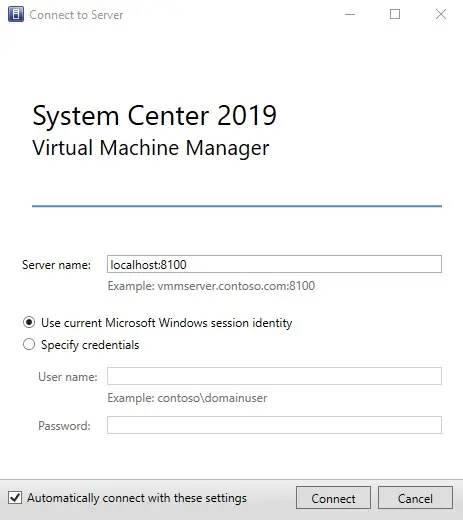
25- Open system center.