

Convert Physical Machine to Hyper-V
In this article, I will show you how to use Microsoft Virtual Machine Converter v3.1 is developed by Microsoft & is used to convert the entire physical computer, VMware VMs including all the disks to a Hyper-V VM.
Microsoft Virtual Machine Converter 3.1
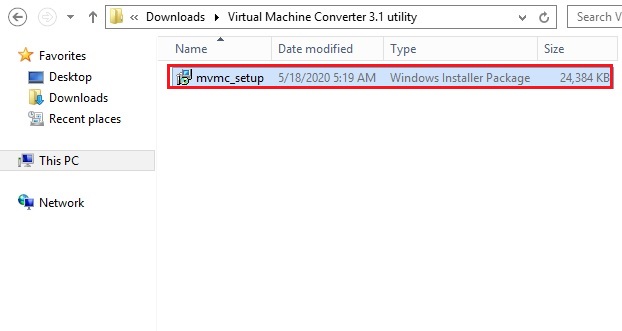
Download the (MVMC) Microsoft Virtual Machine Converter 3.1 utility here
1- Double click to run mvmc_setup file to start the installation
2- Microsoft Virtual Machine Converter Setup, click next.
3- Accept license agreement and then click next.
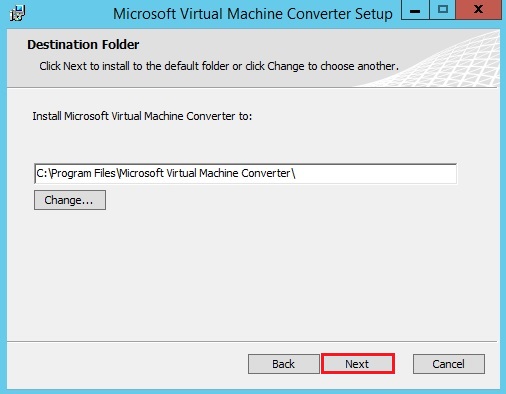
4- MVMC setup select destination folder and then click next.
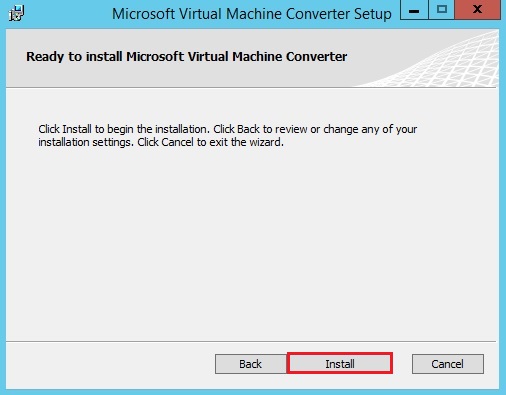
5- MVMC setup click install
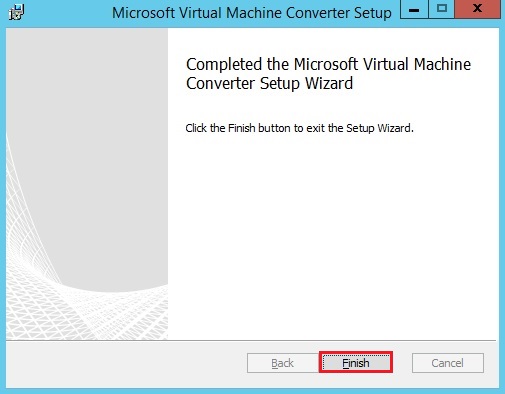
6- MVMC setup click finish.
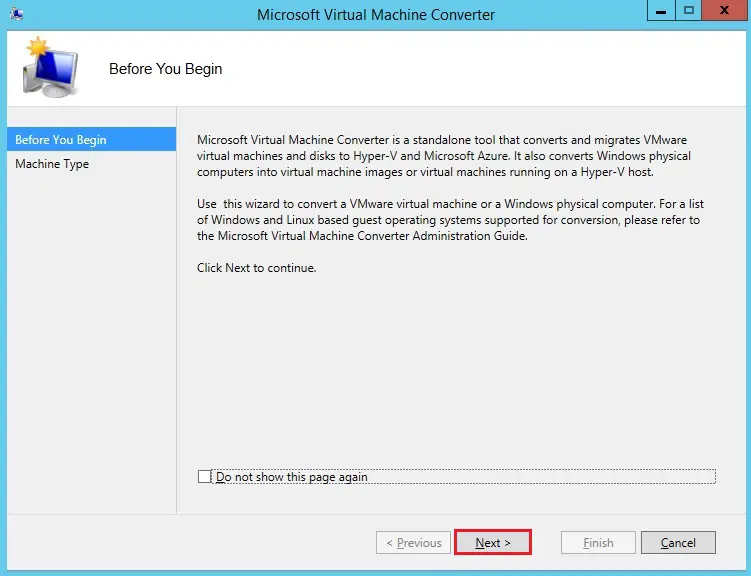
7- Microsoft Virtual Machine Converter wizard click next.
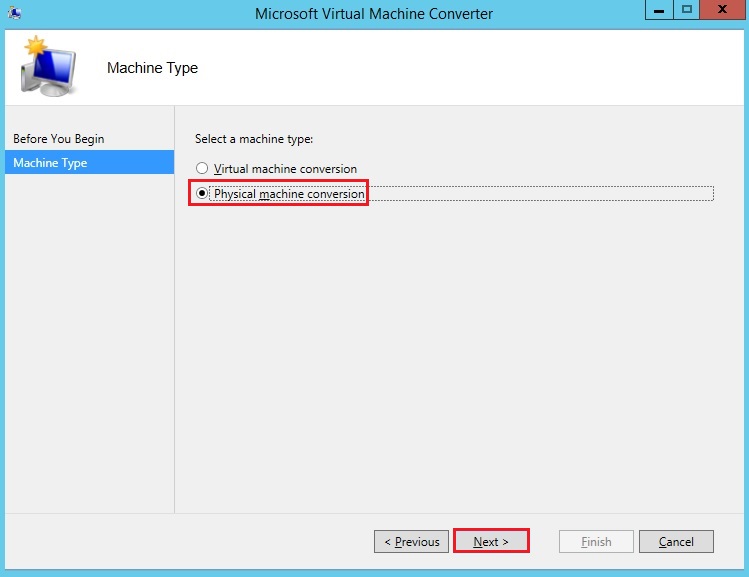
8- There are two types of virtual machine conversation, I am going to convert a physical machine and then select Physical machine conversion. Click Next.
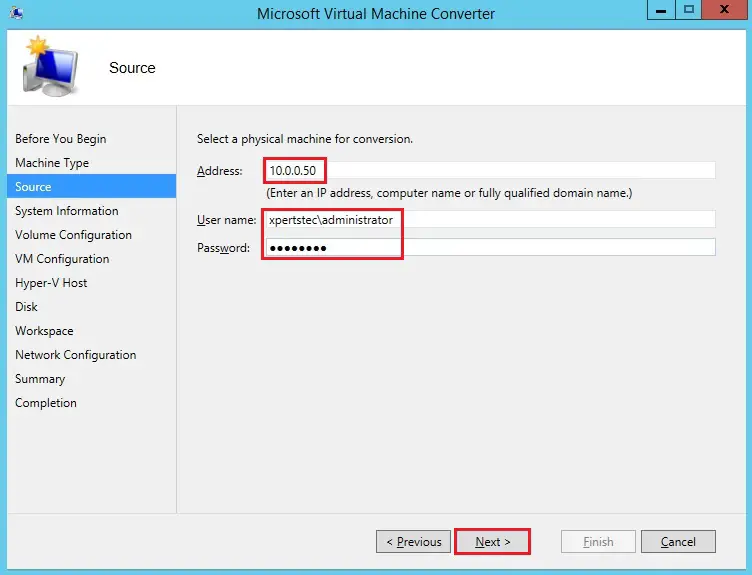
9- Select a physical machine for conversion (type fully qualified domain name or an IP address, computer name) and type credentials (with admin rights) to access that machine. Click Next.
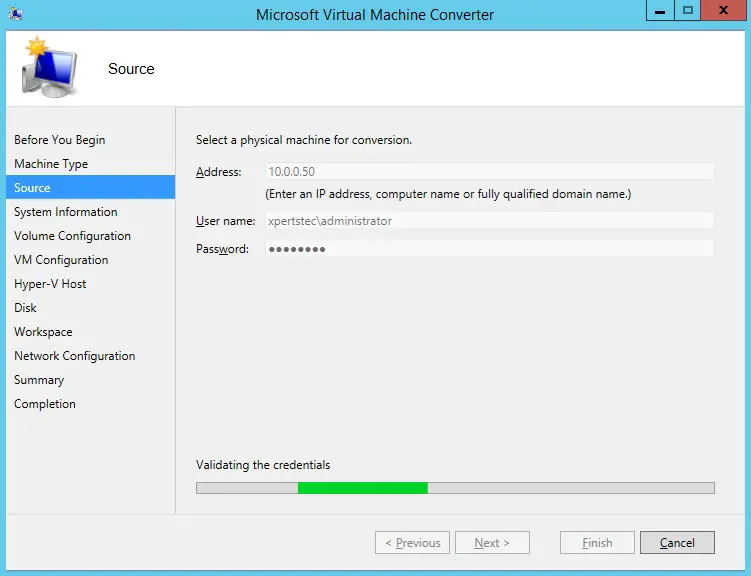
10- Validating the physical machine credentials
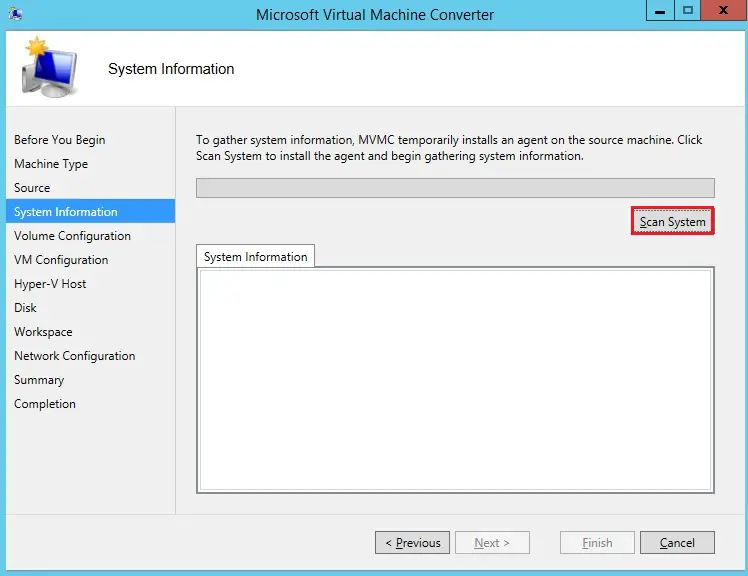
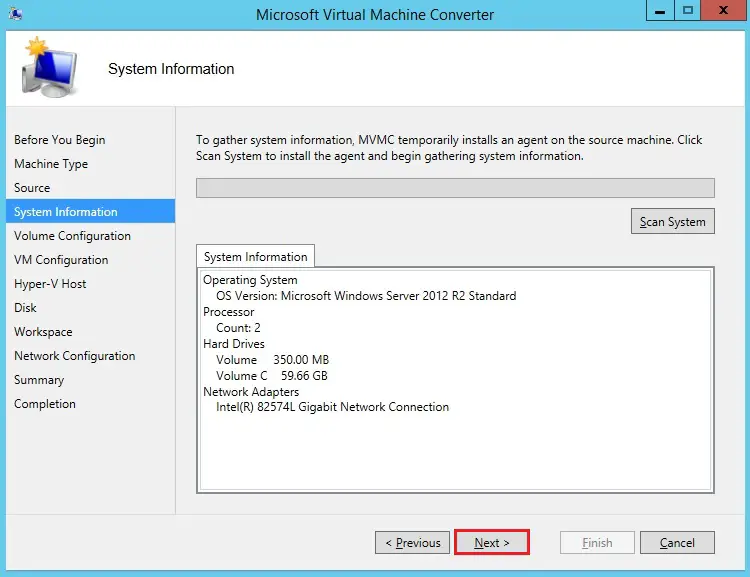
11- We can scan system information for the temporary installation of a small agent on the source machine. Click the Scan System button.
System Information
12- MVMC wizard system information then clicks next.
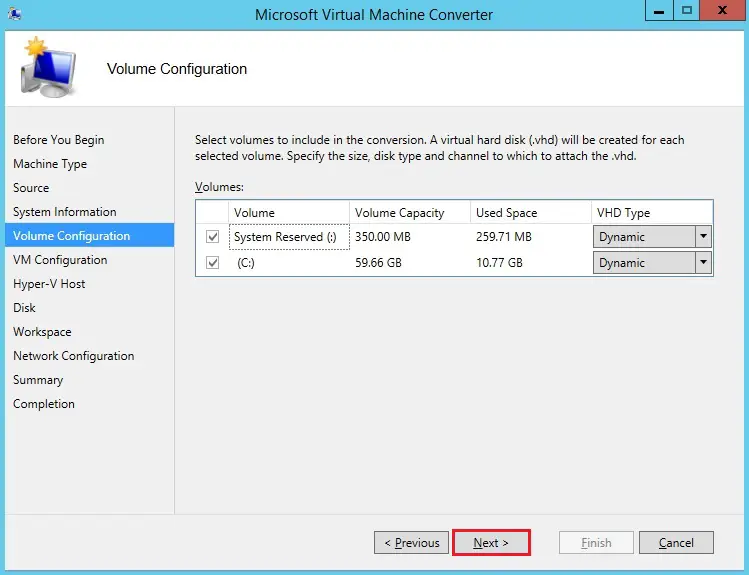
13- Select volumes to include in the conversion. Two volumes are on disk in this example. The first (350 MB) volume (System reserved) was created by default during Windows installation & is used for booting the operating system. Don’t forget to select this volume. You can also select the type of VHD. Click Next to continue.
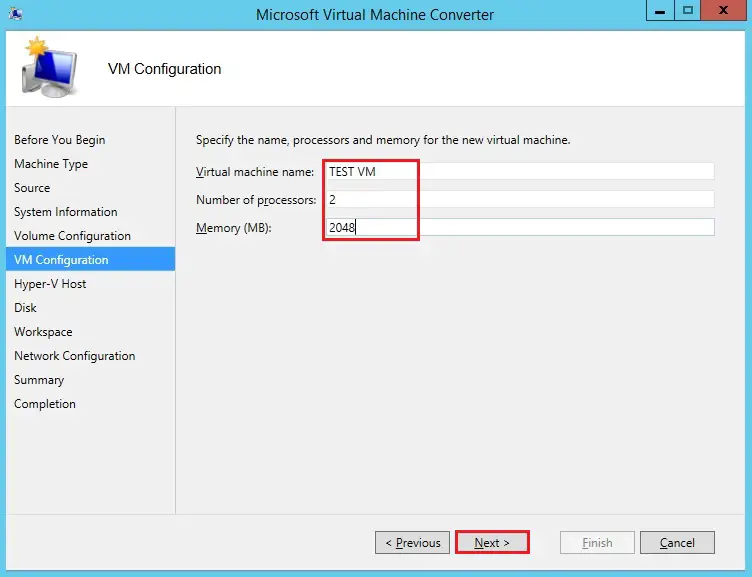
14- Set the VM Configuration, type a unique name, the number of processors, and the number of memory for the new VM. Then click Next.
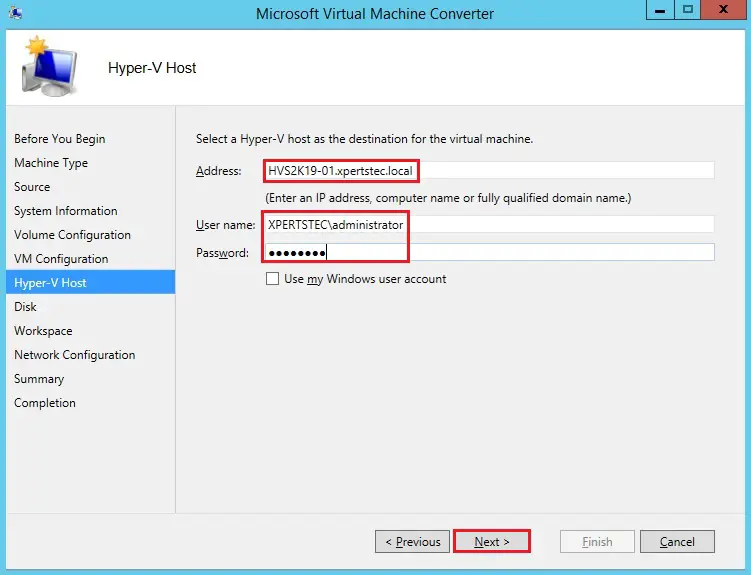
15- Under address, select a Hyper-V host as the destination for the virtual machine. Type the credentials of an admin account in order to access a Hyper-V server and then click next to continue.
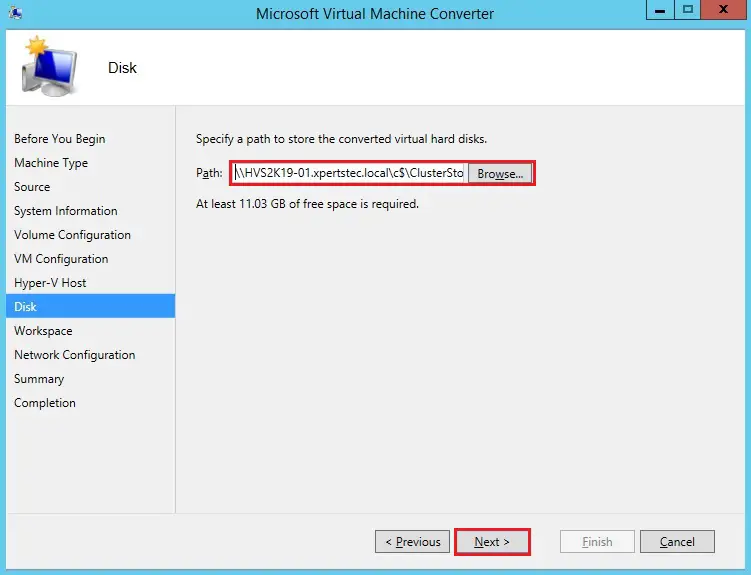
16- Specify the network path to store the converted (virtual machine) virtual disks. I am going to store the virtual disks on Hyper-v Cluster Storage click next.
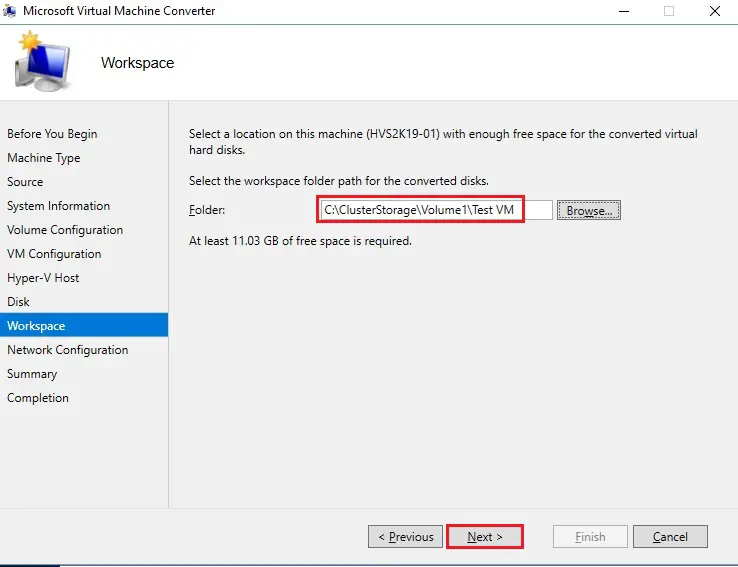
17- Choose a temporary location on the machine where the VM converter is running. We can select the same directory as we have specified in the last step for storing virtual disk files. After completing the conversion, these temporary files will be deleted. Click next.
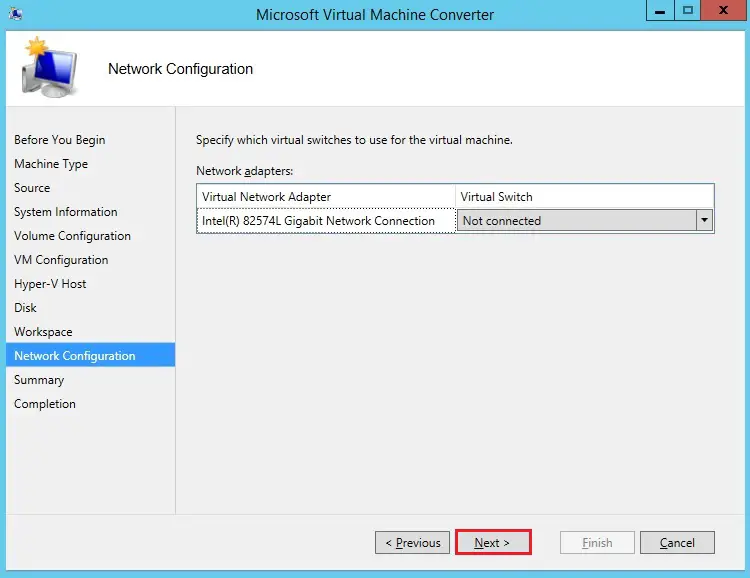
18- Please don’t forget to shut down the source physical machine (or disconnect from the network) before starting a destination virtual machine to prevent network conflicts. Click Next.
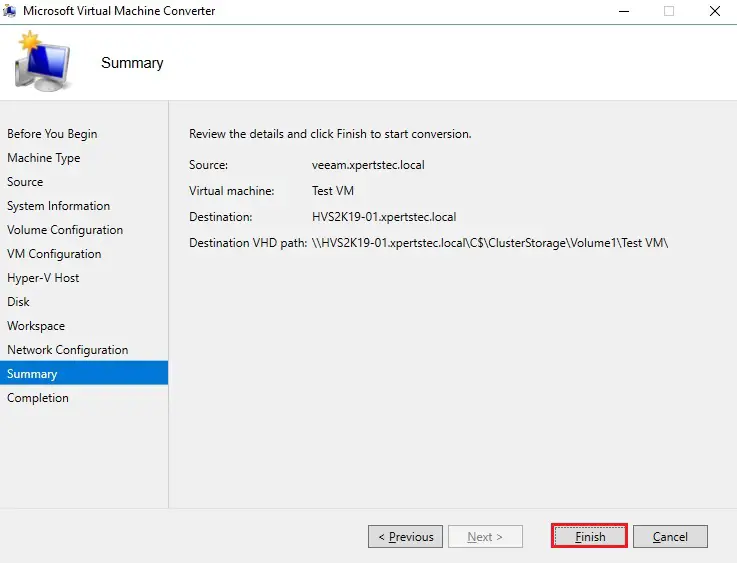
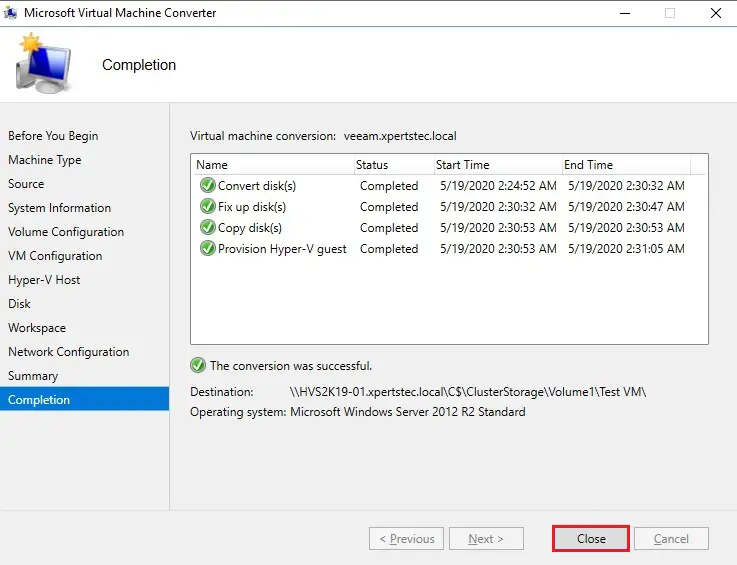
19- Review the summary you have specified and then click Finish to start conversion.
20- Virtual Machine conversion running.

21- Successfully converted
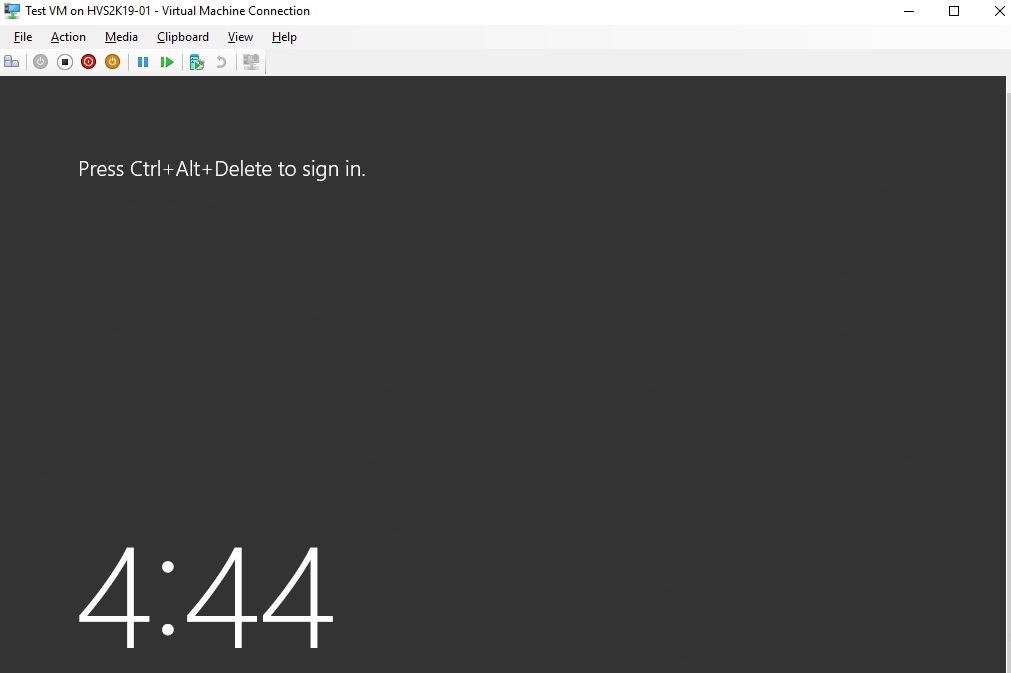
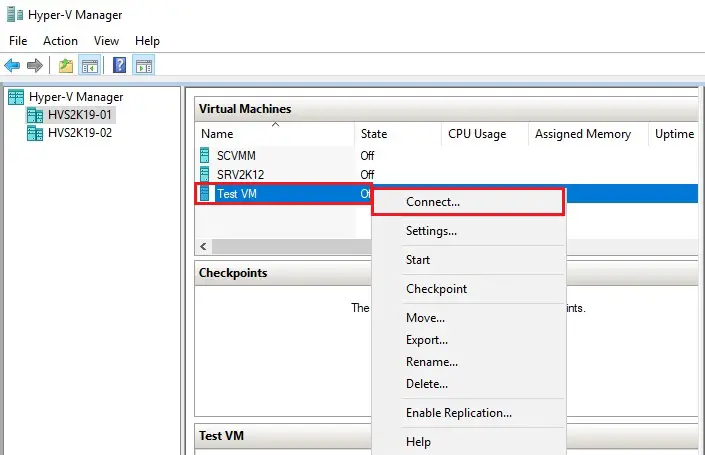
22- When the conversion process is complete, your VM will be present in the Hyper-V Manager. Right-click on VM and then click connect.
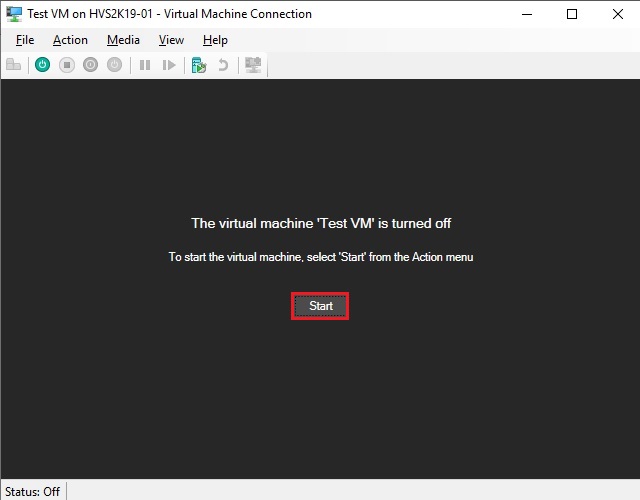
23- Click start
24- Virtual Machine