Convert Physical Server to Virtual in this blog I am going to convert a physical computer into a Hyper-V virtual computer (P2V).
Convert Physical Server to Virtual Machine Hyper-V Disk2VHD
Download Disk2vhd utility Download Disk2vhd
![disk2vhd download](https://xpertstec.com/wp-content/uploads/2020/06/disk2vhd-download.webp)
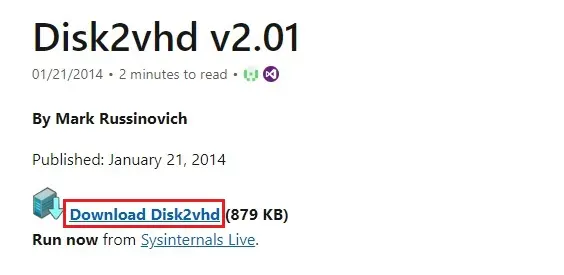
Disk2vhd v2.01 utility
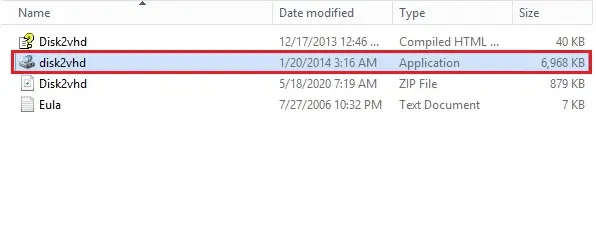
1- Run the Disk2vhd utility on the physical server then one you want to convert
Just unpack the Disk2vhd utility and double click on it to run on a server.
![convert physical to virtual](https://xpertstec.com/wp-content/uploads/2020/06/convert-physical-to-virtual-.webp)
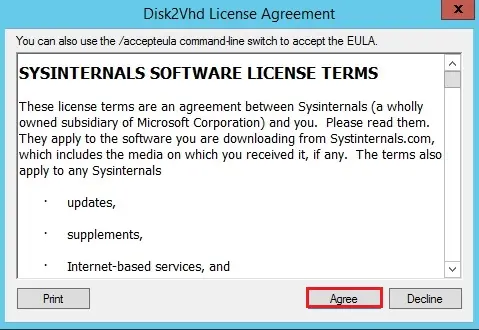
2- The installation is very simple, Disk2Vhd license agreement click agree.
![disk2vhd license agreement](https://xpertstec.com/wp-content/uploads/2020/06/disk2vhd-license-agreement.webp)
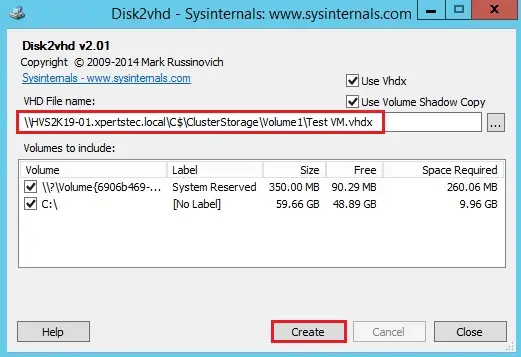
3- Select Use Vhdx to create a VHDX disk.
Select Use VSS version of a disk.
Click on … dot button to select the destination for the VHDX file. Include any disk/volume you want to virtualize. If you need it to be a bootable disk, then include a system disk plus boot area (choose System Reserved label).
Click Create to start the process.
![disk2vhd sysinternals](https://xpertstec.com/wp-content/uploads/2020/06/disk2vhd-sysinternals.webp)
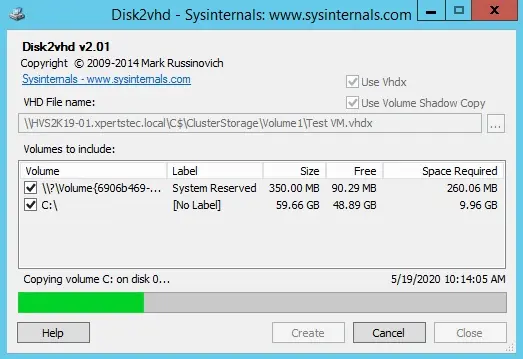
4- Convert disks to VHDX format and then copy it to Hyper-V host.
Converting process is running.
![disk2vhd sysinternals copying](https://xpertstec.com/wp-content/uploads/2020/06/disk2vhd-sysinternals-copying.webp)
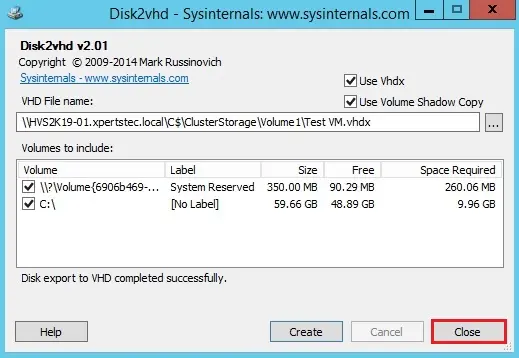
5- Physical server to virtual machine successfully completed.
![disk2vhd sysinternals](https://xpertstec.com/wp-content/uploads/2020/06/disk2vhd-sysinternals-1.webp)
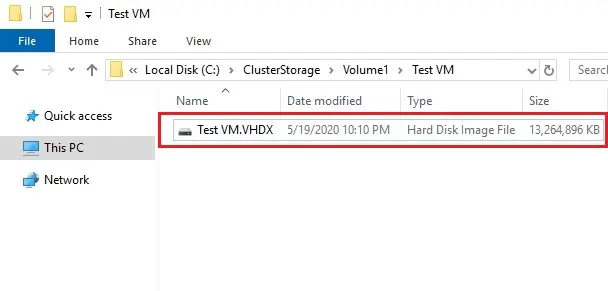
6- You can see the VM.VHDX file/disk, which one we can copy to our Hyper-V server and then place in the folder where you have the VM disks.
![windows explorer](https://xpertstec.com/wp-content/uploads/2020/06/windows-explorer-2.webp)
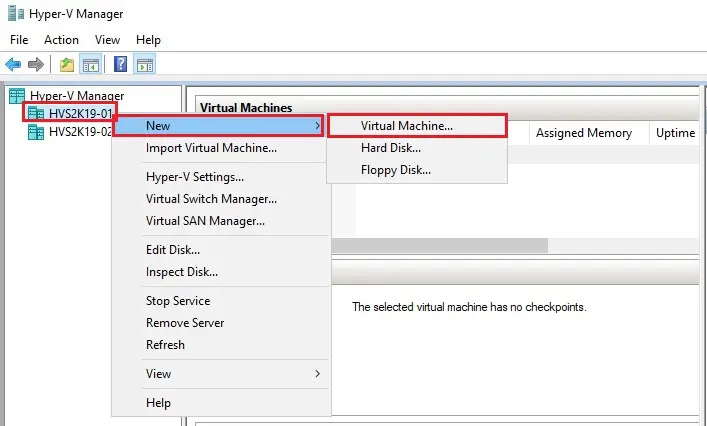
7- Create a new VM on a Hyper-V host
Right click on hyper-v host, select New and then Virtual Machine.
![hyper-v manager](https://xpertstec.com/wp-content/uploads/2020/06/hyper-v-manager.webp)
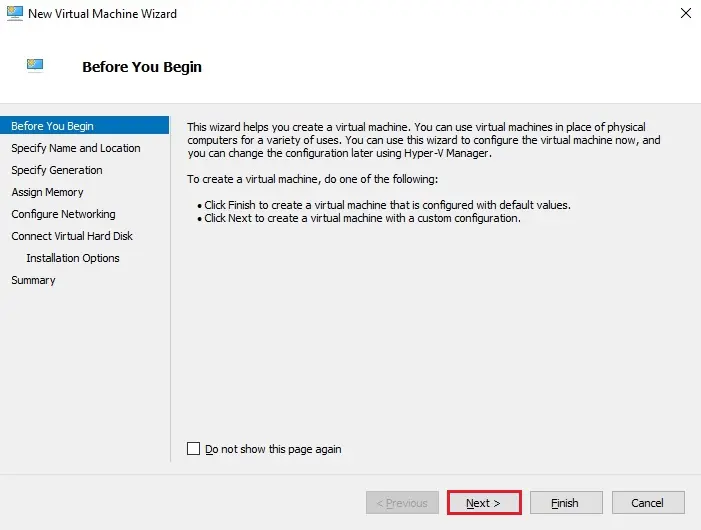
8- Create a new VM on a Hyper-V host.
Virtual Machine wizard in Hyper-V Manager, click next.
![new virtual machine wizard](https://xpertstec.com/wp-content/uploads/2020/06/new-virtual-machine-wizard.webp)
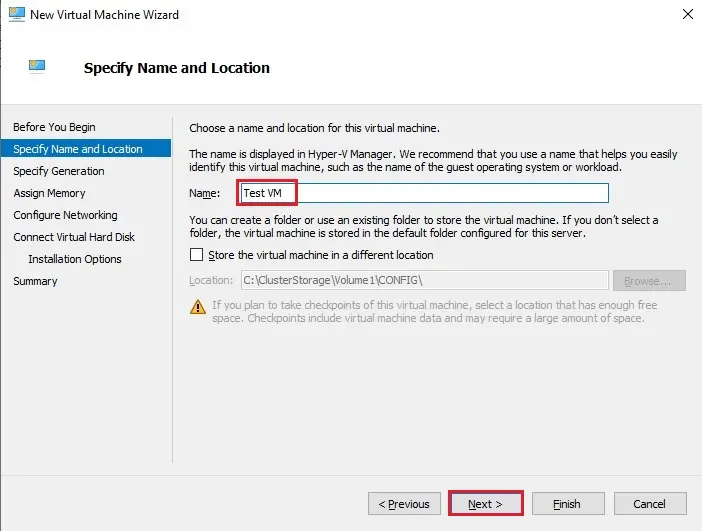
9- Type a name and click next.
![hyper v virtual machine location](https://xpertstec.com/wp-content/uploads/2020/06/hyper-v-virtual-machine-location.webp)
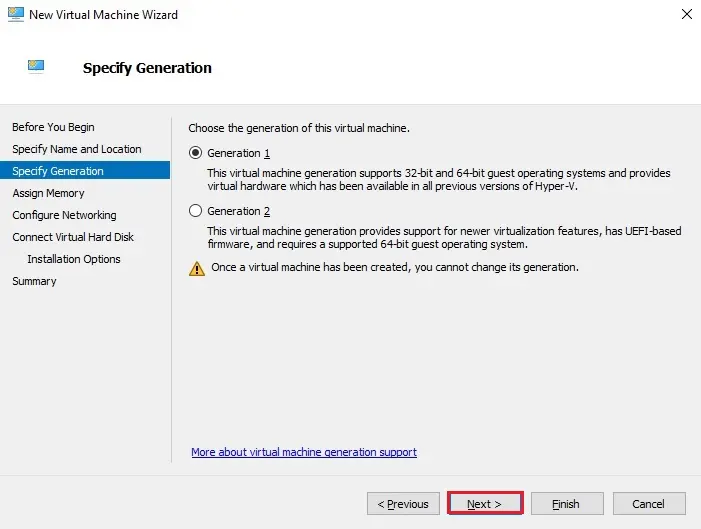
10- Choose the generation type for your virtual machine and then click next.
![virtual machine specify generation](https://xpertstec.com/wp-content/uploads/2020/06/virtual-machine-specify-generation.webp)
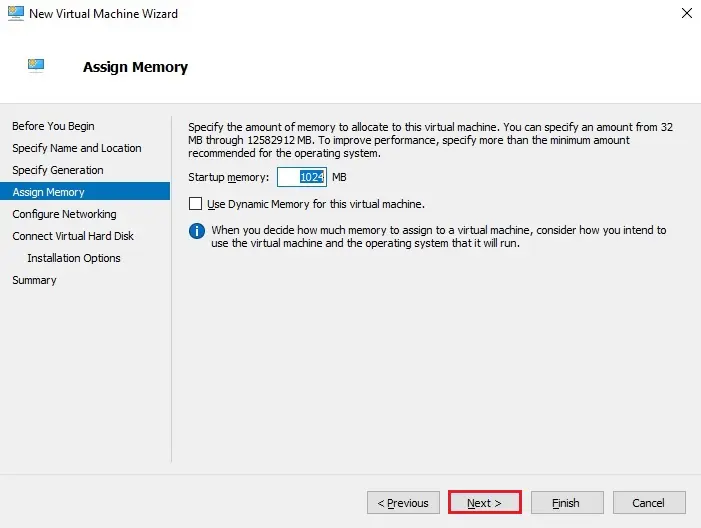
11- Assign memory and then click next.
![virtual machine assign memory](https://xpertstec.com/wp-content/uploads/2020/06/virtual-machine-assign-memory.webp)
12- Select a virtual switch for the virtual machine and then click Next.
![virtual machine configure networking](https://xpertstec.com/wp-content/uploads/2020/06/virtual-machine-configure-networking.webp)
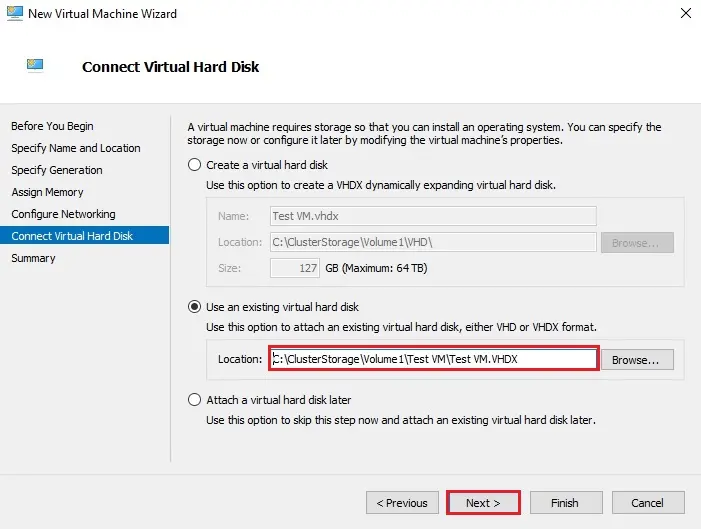
13- Insert the created disk
Connect Virtual Hard Disk; here you can select existing virtual hard disk. Please then pick a disk the one we already converted.
![virtual machine virtual hard disk](https://xpertstec.com/wp-content/uploads/2020/06/virtual-machine-virtual-hard-disk.webp)
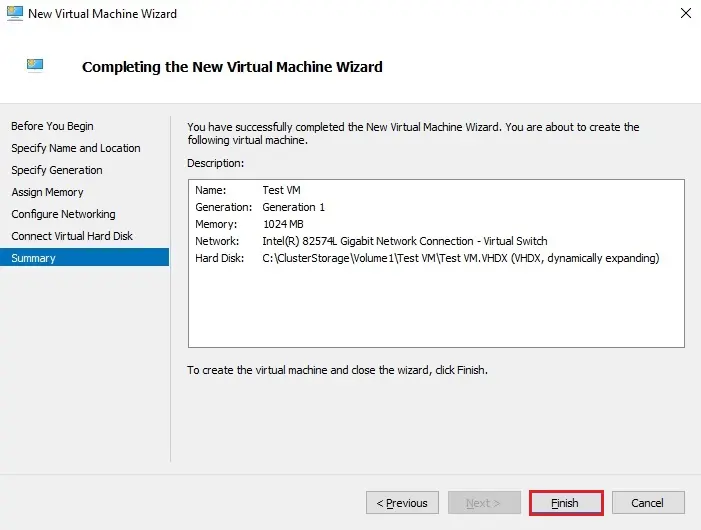
14- Review the summary and then click finish.
![new virtual machine summary](https://xpertstec.com/wp-content/uploads/2020/06/new-virtual-machine-summary.webp)
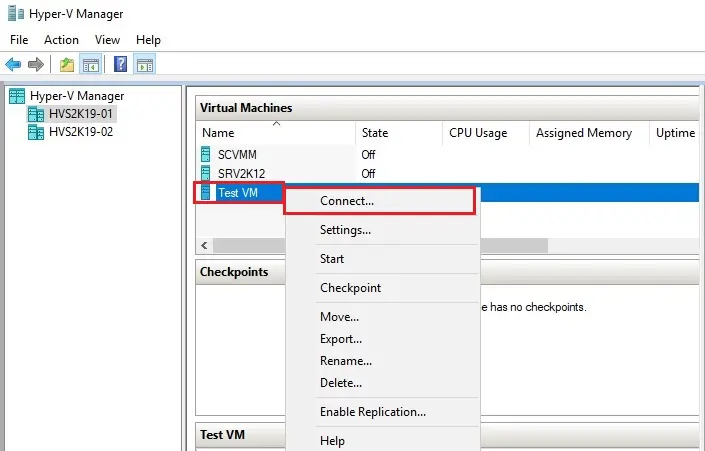
15- Right-click on VM and then click connect.
![hyper v manager](https://xpertstec.com/wp-content/uploads/2020/06/hyper-v-manager-1.webp)
16- Click start
![virtual machine connection](https://xpertstec.com/wp-content/uploads/2020/06/virtual-machine-connection.webp)
17- It will take a few minutes for the VM to boot up.
![virtual machine connection](https://xpertstec.com/wp-content/uploads/2020/06/virtual-machine-connection-1.webp)