
Install GFI MailEssentials 21.6
In this blog, I will show you how to install GFI MailEssentials 21.6 on Microsoft Windows Server 2012.
Before we can start the GFI MailEssentials installing. Make sure that the system meets the following description requirements.
GFI MailEssentials System Prerequisites
Hardware Requirements
The minimum hardware requirements for GFI MailEssentials.
| Component | Minimum | Recommended |
| Processor | 2Ghz | 2GHz with multiple cores |
| Available Memory (RAM) | 1.2Gb | 2Gb |
| Free Disk space | 6Gb | 10Gb |
Software Requirements
Install GFI MailEssentials on any 64-bit version of the OS listed below.
| Operating System | Supported Editions and Notes |
| Windows Server 2012, 2016, 2019 | Essentials, Standard and Datacenter Editions |
| Server 2008 R2 | Standard and Enterprise. |
| Small Business Server 2011 | Standard and Premium. |
Supported Mail Servers – Microsoft Exchange Server
GFI MailEssentials can be installed on the following versions of Microsoft Exchange Server 2010 – 2019.
For more information, refer to GFI MailEssentials Prerequisites
Supported Internet Browsers
| Browser | Version |
| Internet Explorer | 8 or later |
| Google Chrome | 22 or later |
| Mozilla Firefox | 16 or later |
Other Required Components
| Component | Notes |
| IIS World Wide Web service | Required |
| .NET Framework 4.5 or higher | |
| IIS SMTP service | Except when installing on Microsoft Exchange 2010 or later server |
| WCF HTTP Activation | Required when using SpamTag plugin for Microsoft Outlook |
| Windows Authentication role & Static Content services | Required when installing on Windows Server 2008 R2 or later |
| Microsoft Exchange Server MAPI Client and Collaboration Data Objects 1.2.1 | Required when installing on Exchange Server 2010 or later. |
Prerequisites for GFI MailEssentials in the Windows Server 2012 Environment
The following prerequisites must be installed
Application Server role
Web Server (IIS) role and its features
SMTP Server feature (optional)
Prerequisites installation steps
Add the Web Server (IIS) and Application roles
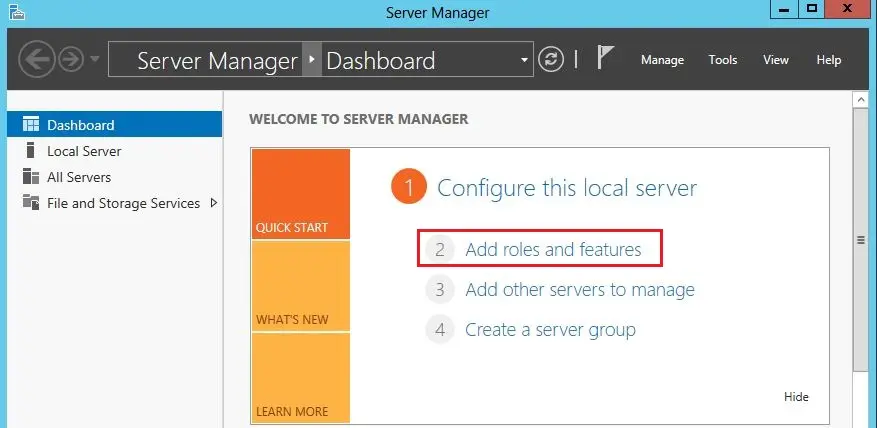
1- Open the Server Manager select dashboard, and then click Add Roles and Features.
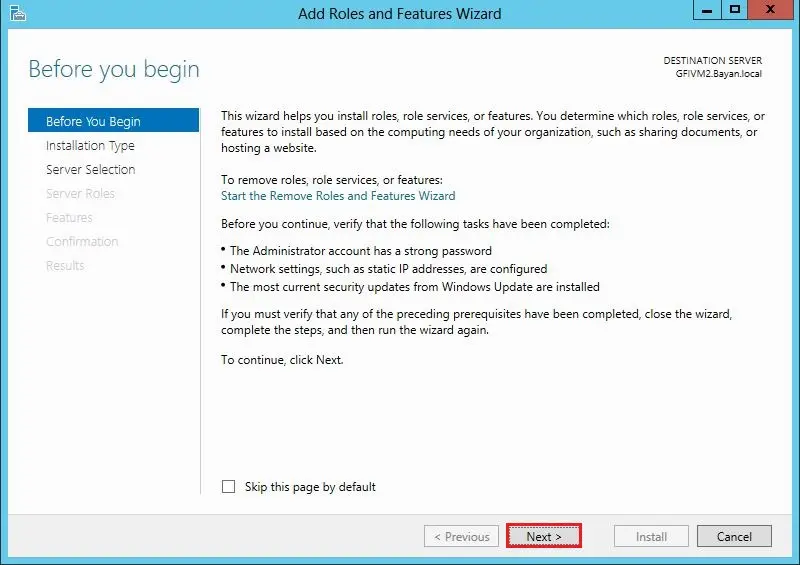
2- Click Next.
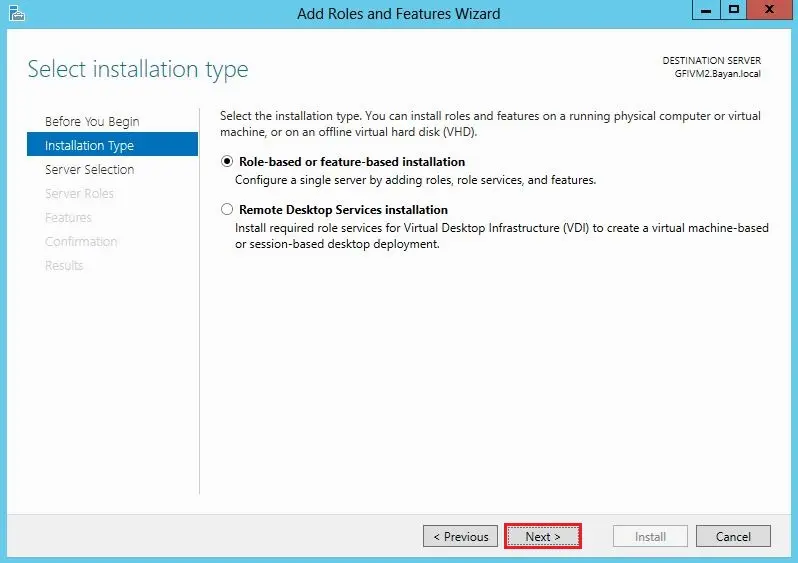
3- Role-based or Feature-based, click Next.
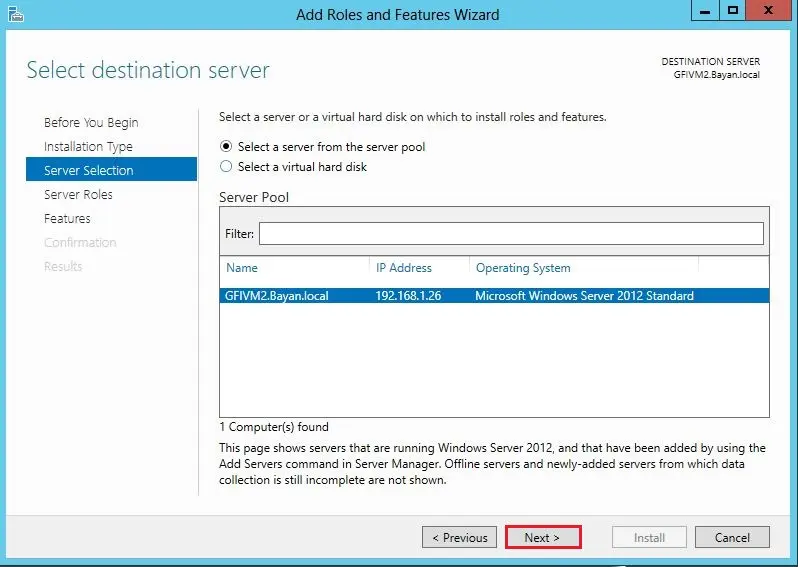
4- Select the Server and then click next.
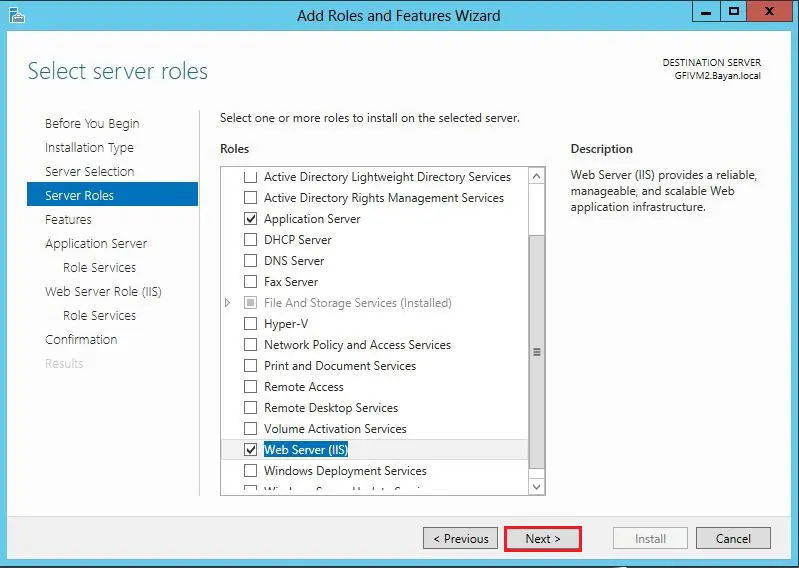
5- Choose Server Roles, select Application Server and then Web Server (IIS)
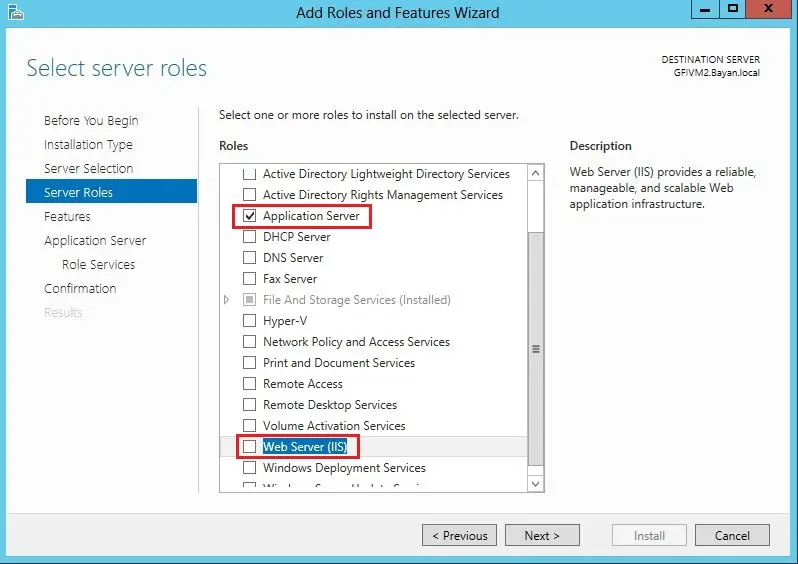
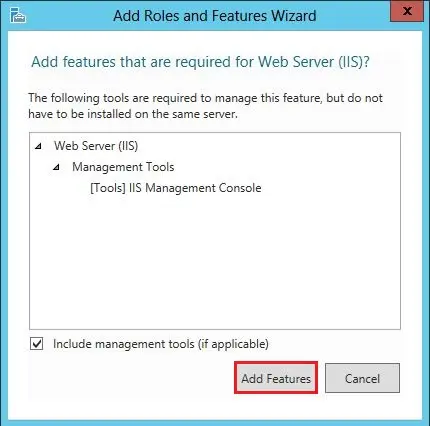
6- Select the Add Features.
7- Click Next.
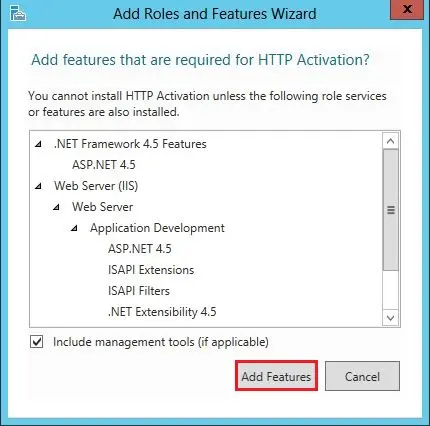
8- Features screen, expand, .NET Framework 4.5 Features and then WCF Services. Select HTTP Activation.
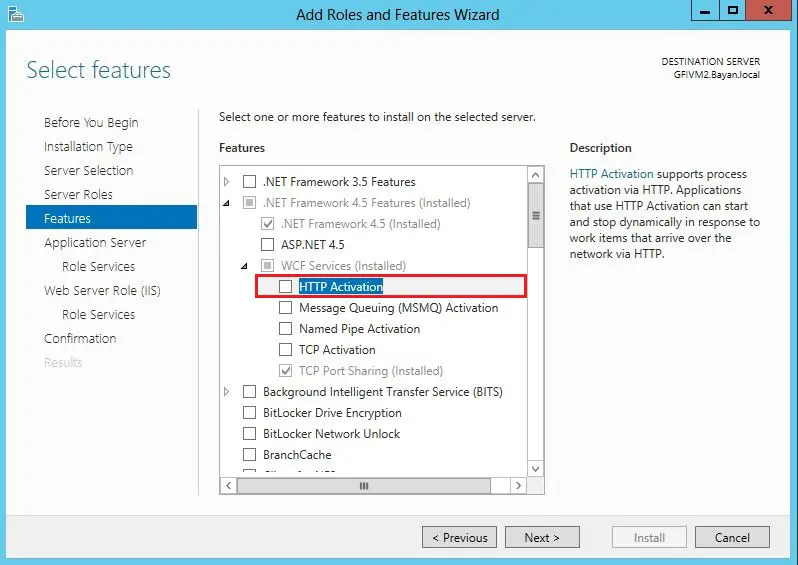
9- Select Add Features
Note: To Add SMTP Server feature step should only be applied if GFI MailEssentials is NOT being installed on the same machine where ANY role of Microsoft Exchange 2007 or later installed.
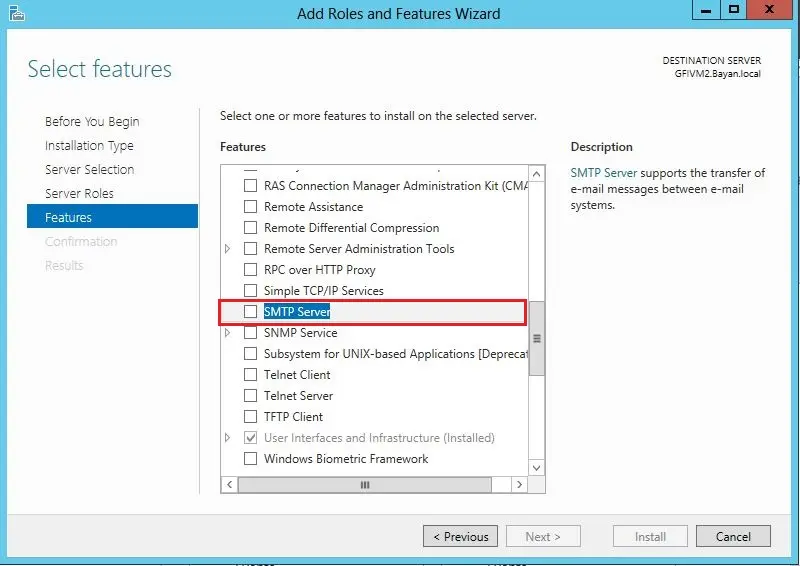
Add SMTP Server feature
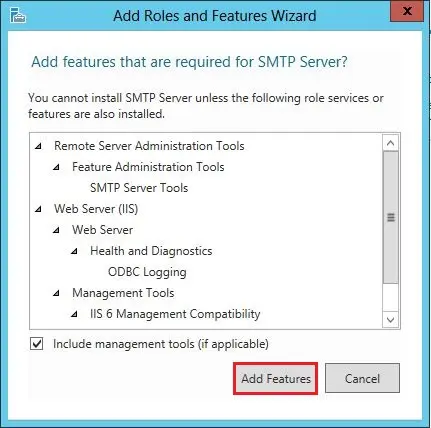
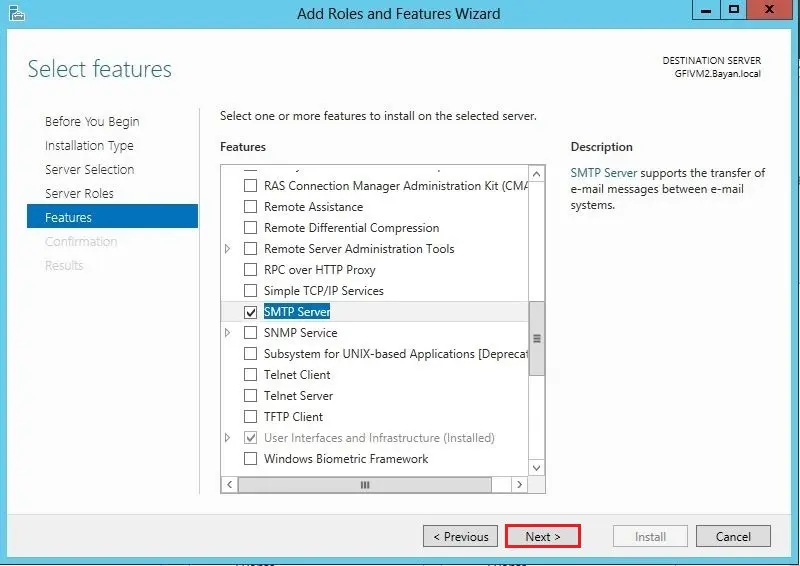
10- Select SMTP Server
11- Select Add Features
12- Click Next.
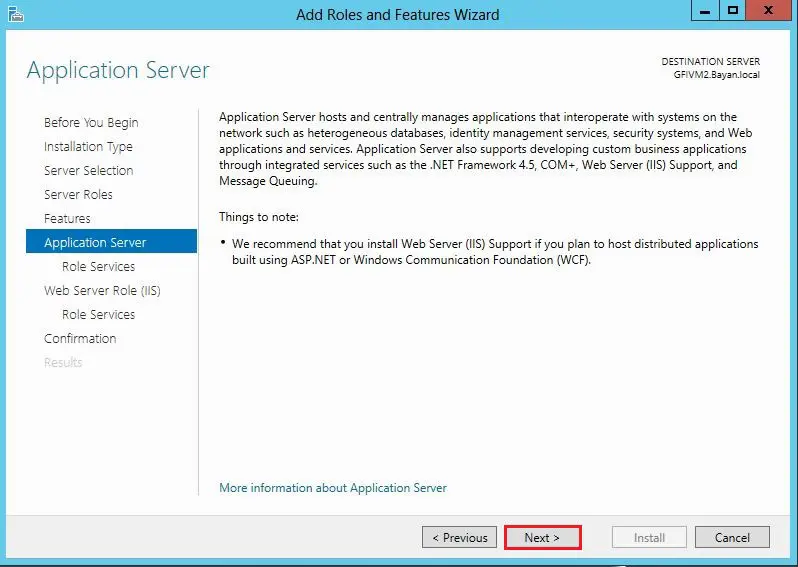
13- Application Server information, then click Next.
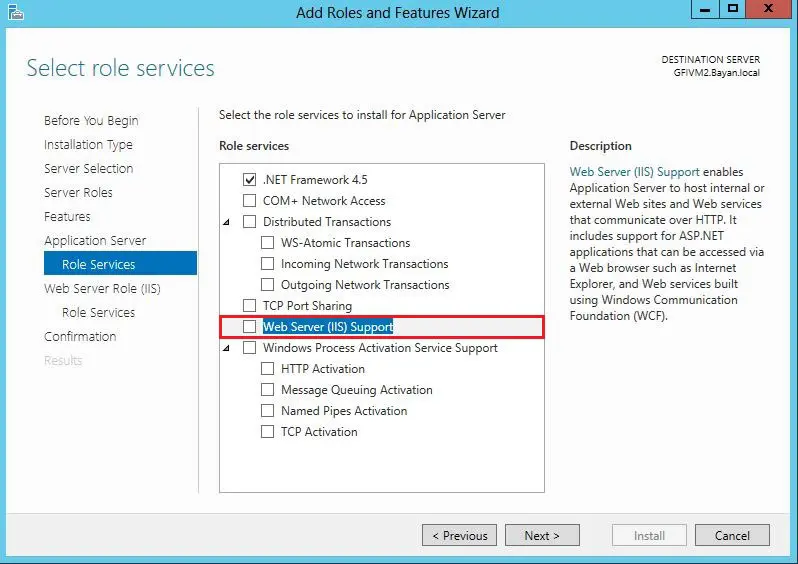
14- In the Role Services, select Web Server (IIS) Support
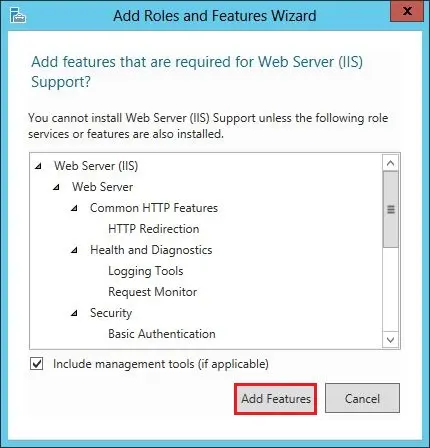
15- Select Add Features
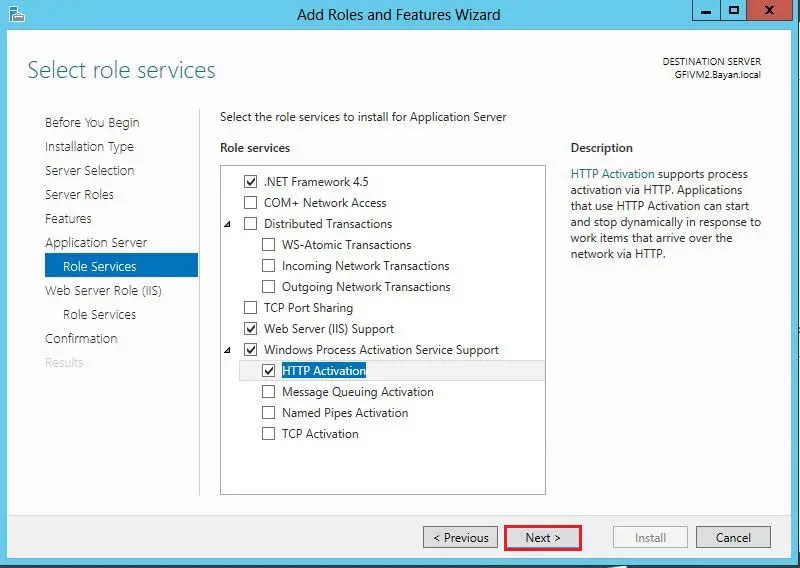
16- Select Windows Process Activation Service Support, and HTTP Activation and then click next.
17- Web Server Role (IIS) information, so click Next
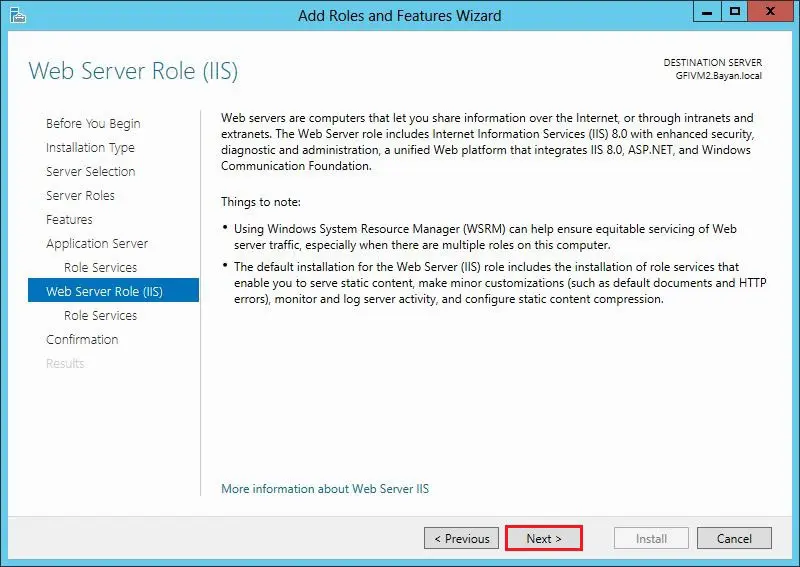
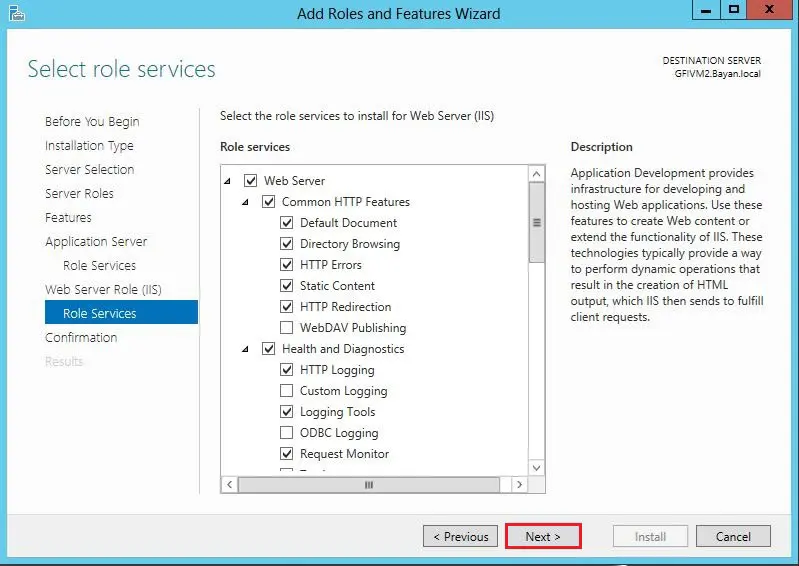
18- Web Server Role (IIS), Role Services options, the features list below (checkbox) must already be selected then click Next.
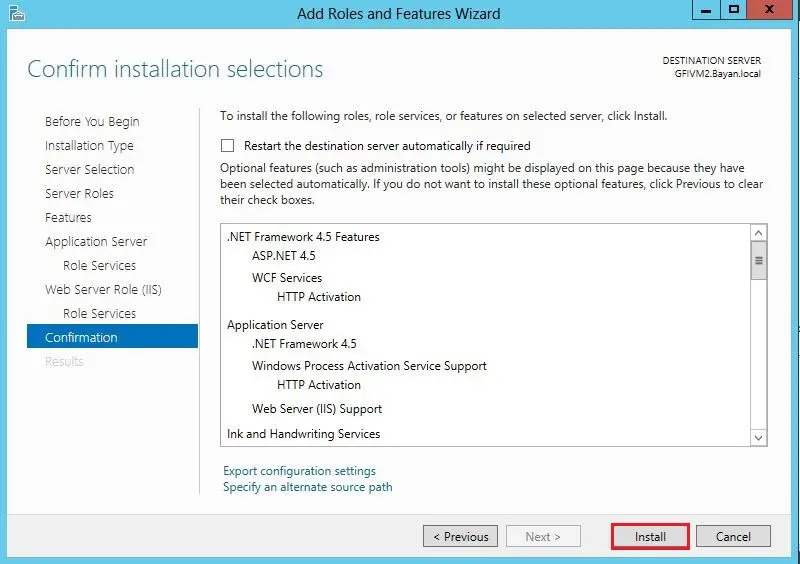
19- Review the Installation confirmation and then click Install
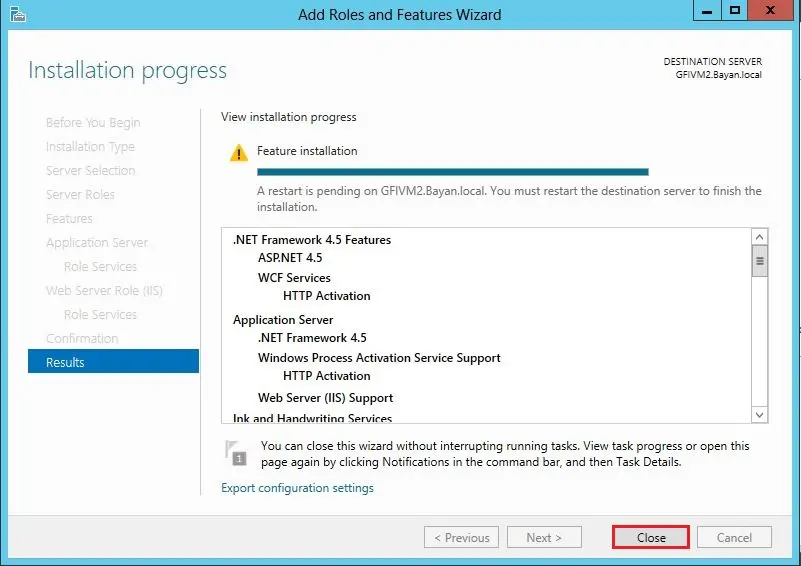
20- GFI MailEssentials (Prerequisites) installation is complete, so click Close
GFI MailEssentials Installation
Launch the GFI MailEssentials installer.
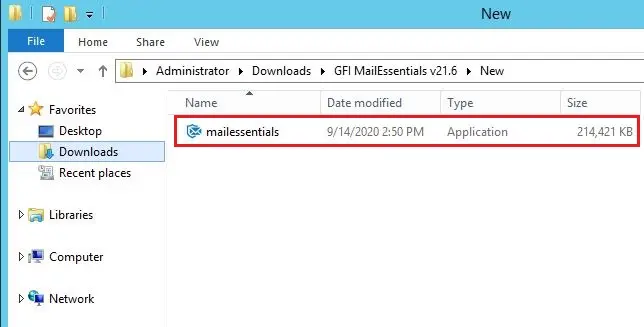
1- Open the download folder, then double click on the mailessentials.exe file to launch the GFI MailEssentials installation.
2- Click Run

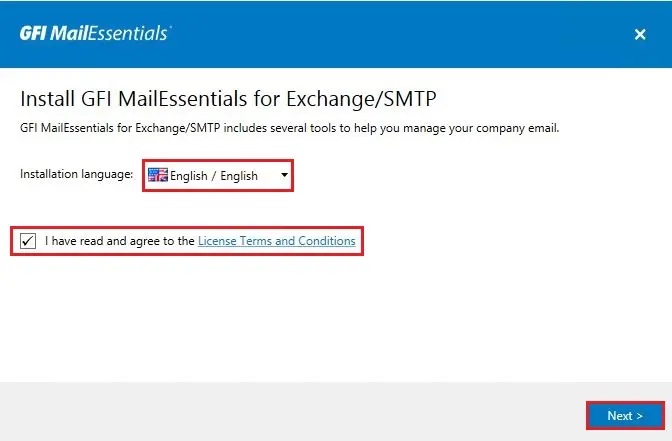
3- Select the language, Select GFI Mailessentials agreement and then Click Next.
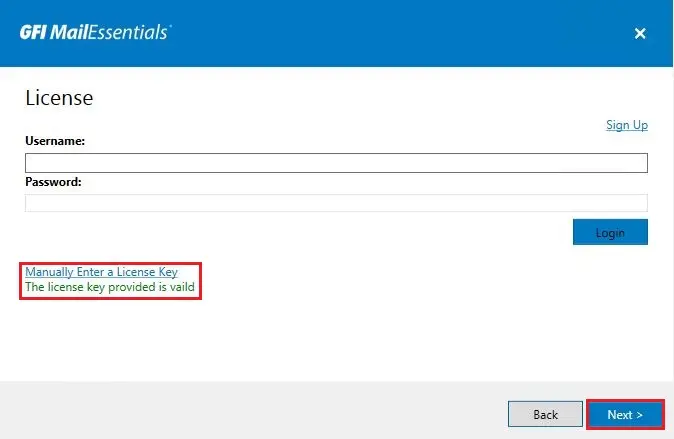
Specifying a GFI account or a license key
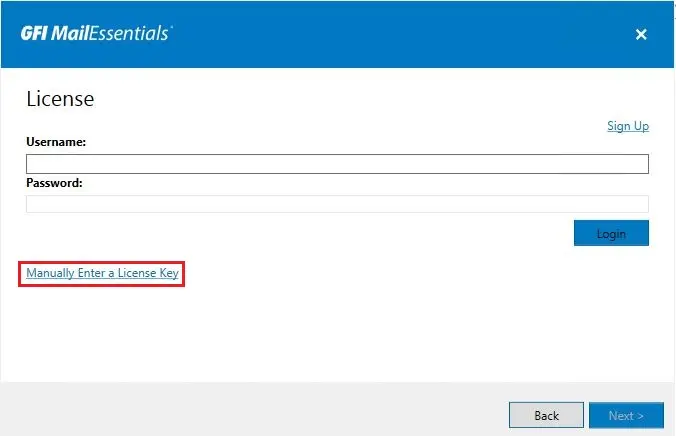
4- Enter your Username, Password Click Login button to retrieve the license keys registered to your account. I selected Manually Enter a License Key.
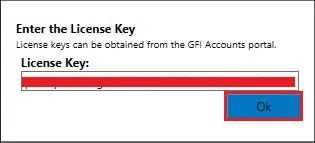
5- Enter your license Key and then click OK.
6- Click Next.
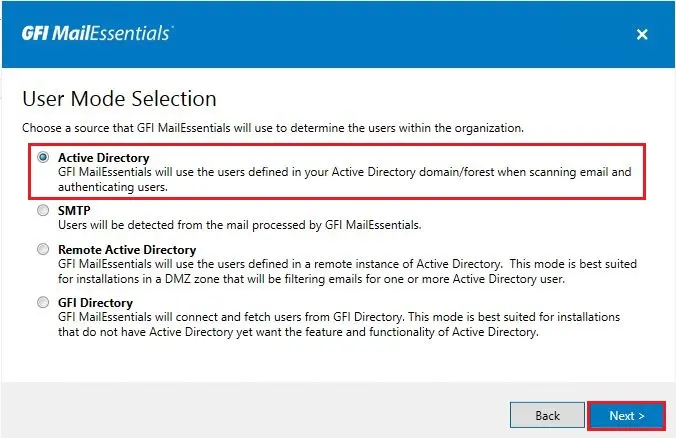
7- Select Active Directory – Click Next.
Note: This option is only available when installing GFI MailEssentials on a machine that is joined to an Active Directory domain. GFI MailEssentials recover the list of mail-enabled users from Active Directory.
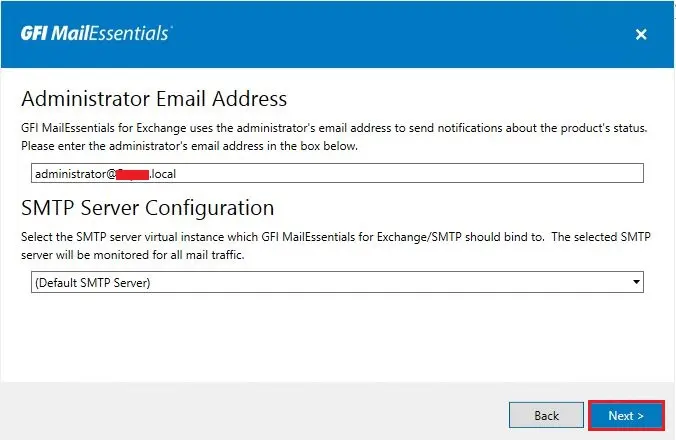
8- Administrator Email Address. Specify the administrator email address to use for notifications about product status and then click Next.
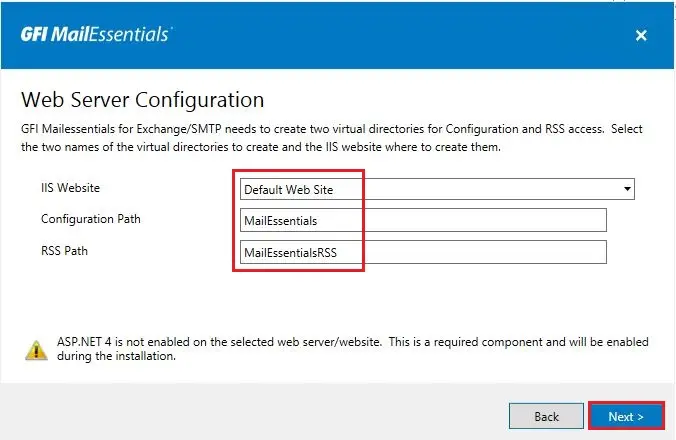
9- Web Server Configuration
IIS Website, default web site
Configuration Path, MailEssentials
RSS Path, MailEssentialsRSS, and then click Next.
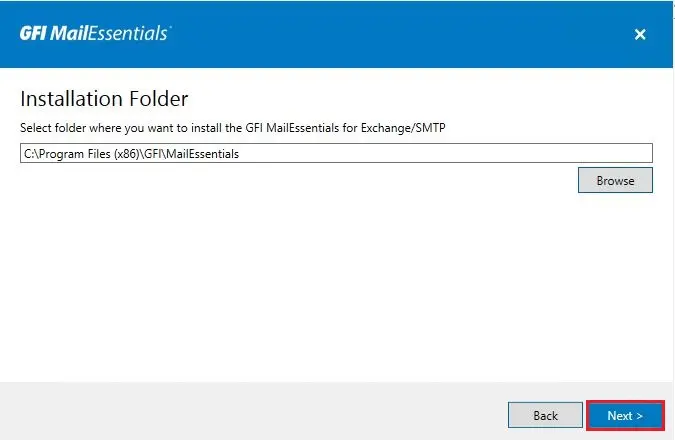
10- Select a destination where you need to install GFI MailEssentials and then click Next.
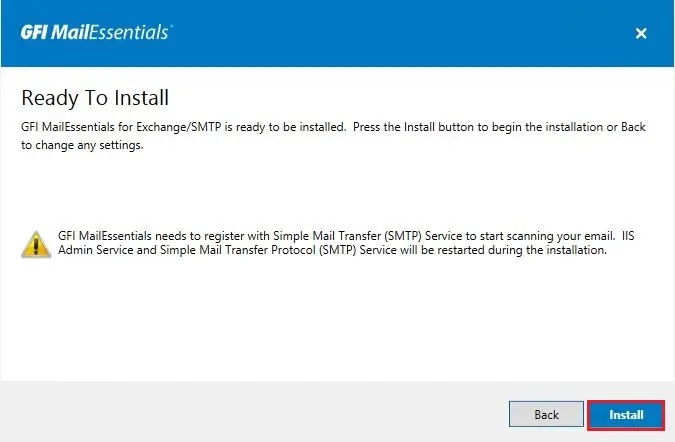
11- Ready to Install GFI MailEssentials, click the Install button to start the installation process.
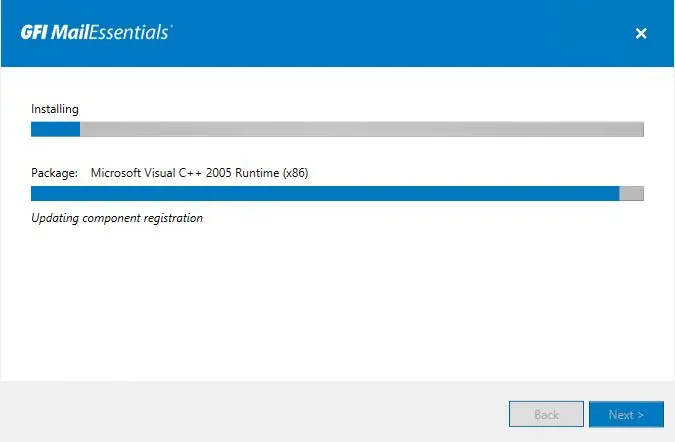
12- Default Running Process.
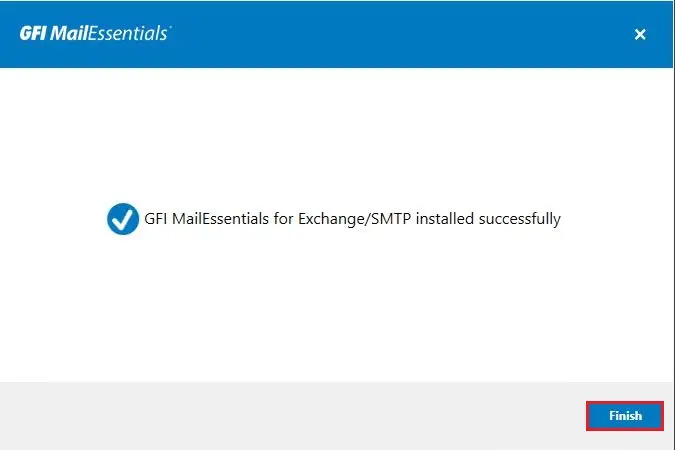
13- GFI MailEssentials successfully installed so, Click Finish.
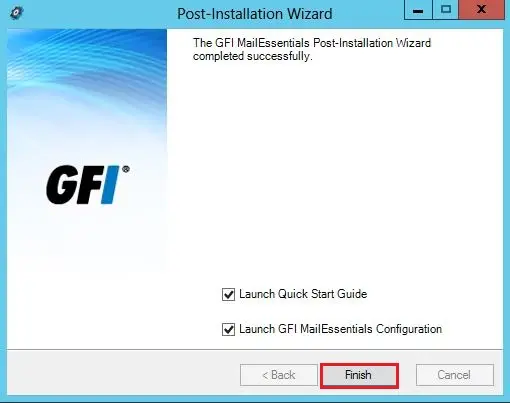
14- GFI MailEssentials Port-Installation Wizard, Click Next.
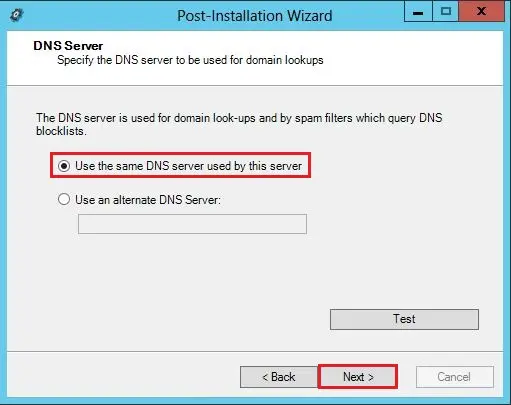
15- Choose use the same DNS server used by this server and then click Next.
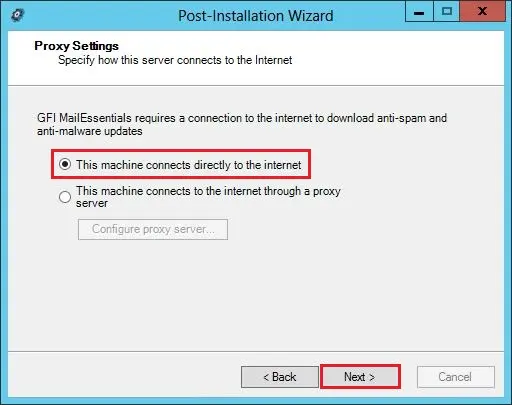
16- Choose this machine connects directly to the internet and then click Next.
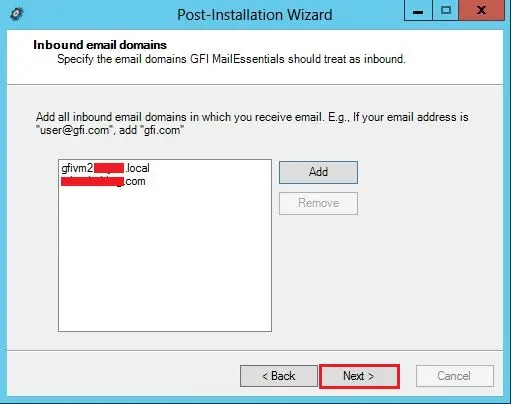
17- To add inbound email domains, then click Add.
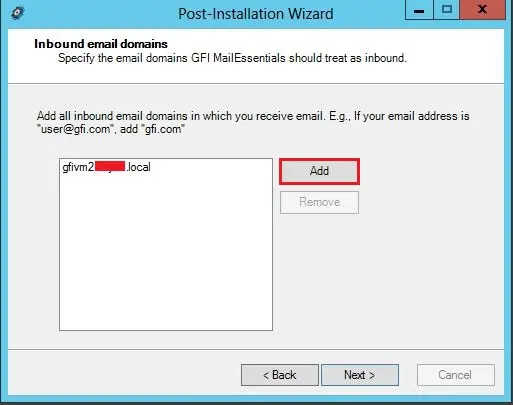
18- Type your domain name and then click OK.
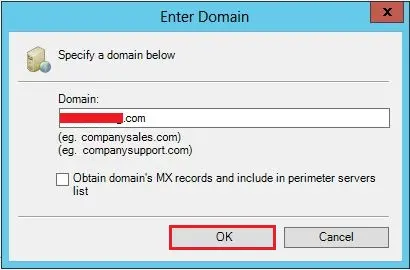
19- Click Next.
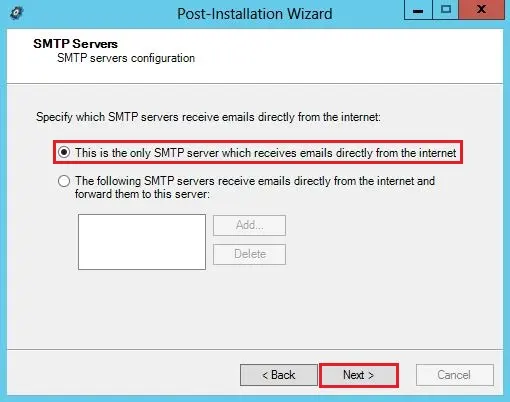
20- Choose this is the only SMTP server which receives emails directly from the internet and then click Next.
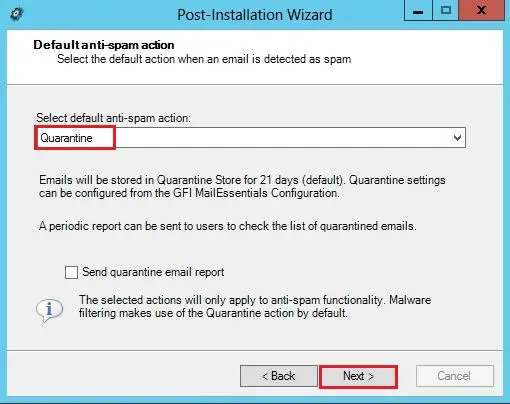
21- Under Select default anti-spam action choose (Quarantine) and then click Next.
22- Click Finish.
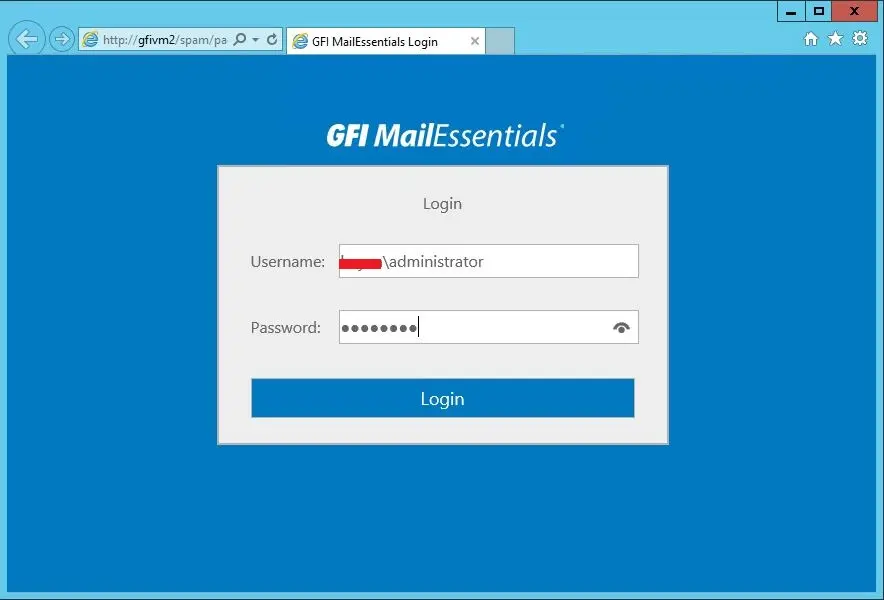
23- Type your credentials and then click login
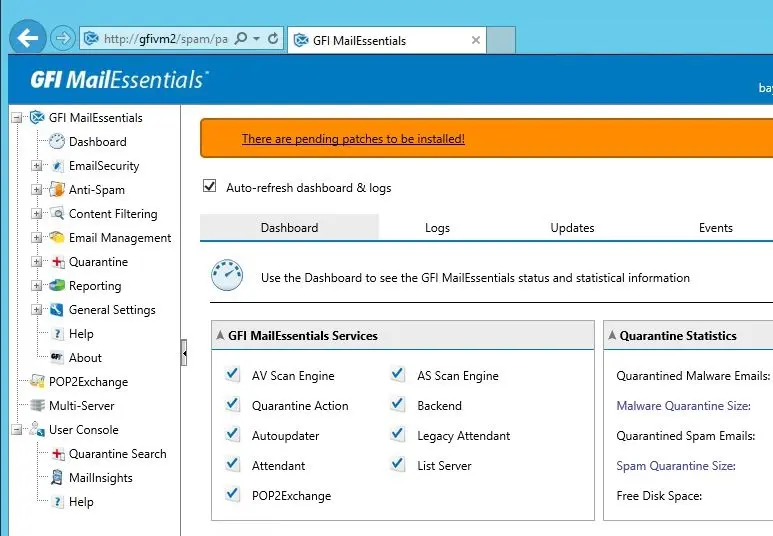
24- GFI MailEssentials Dashboard.
How to Import and Export GFI MailEssentials Configuration