Following the below, steps you can completely uninstall BlueStacks Android from your PC manually. By uninstalling the apps from your system and then going forward and delete all files that the program left behind in its wake. If you want to use this way to completely uninstall BlueStacks from your PC. Please follow the below steps to remove/uninstall BlueStacks 5 completely from your computer.
Uninstall BlueStacks Android via Programs and features
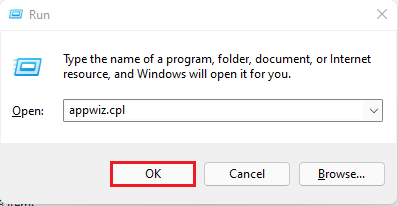
In the Windows run command (Windows+R) type appwiz.cpl and then hit enter to launch windows programs and features.
Find the BlueStacks App Player, click on it and then select Uninstall tab.

Watch Video: How to Uninstall BlueStacks Android From Your PC.
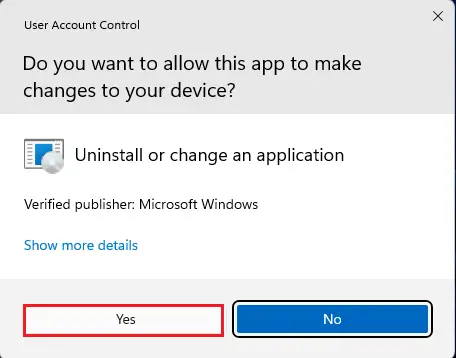
Select yes to confirm uninstall or change an application.
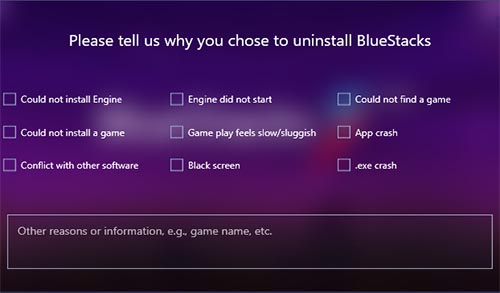
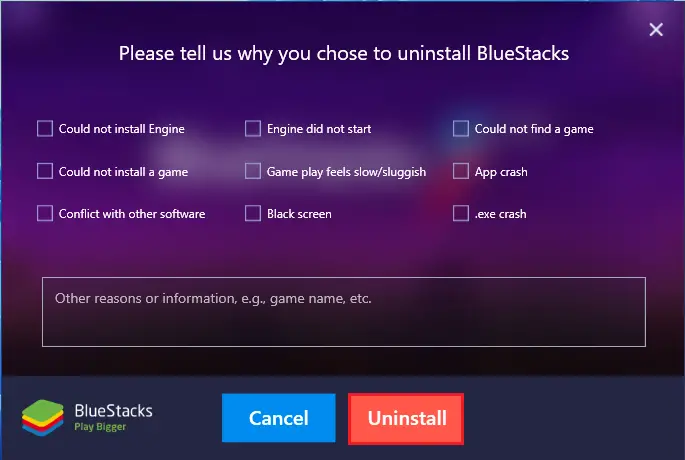
Please tell us why you chose to uninstall BlueStacks, click the uninstall button.
Would you like to uninstall BlueStacks, click uninstall?

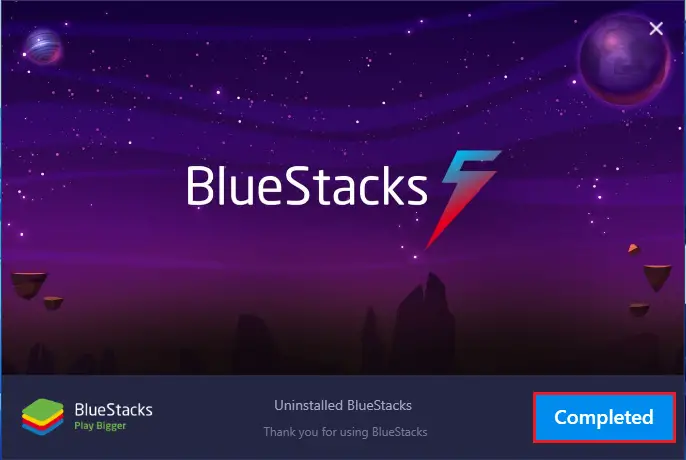
Uninstalled BlueStacks completed.
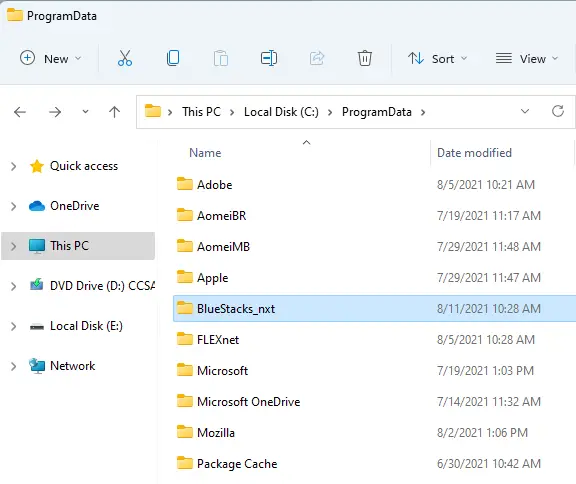
Go to the C:\ProgramData, find and select the BlueStacks Setup folder, select the BlueStacks_nxt folder hit the Delete button, and then confirm the action in the resulting pop-up.
Note: The ProgramData folder is mainly hidden, therefore you have to open File Explorer to show all hidden files and folders to see it.
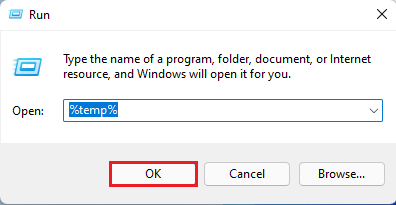
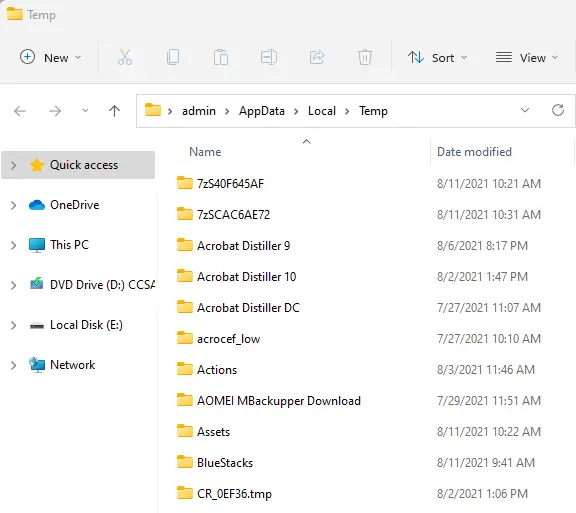
Hold the Win + R key to open the Run command, enter %temp% into the Run open box, and then hit enter.
Press Ctrl + A to select all the folders, hit the Delete button, and then confirm the action in the resulting popup.
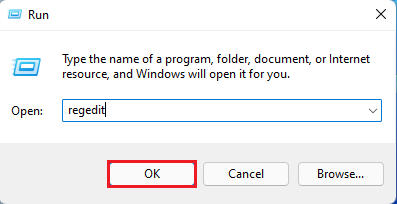
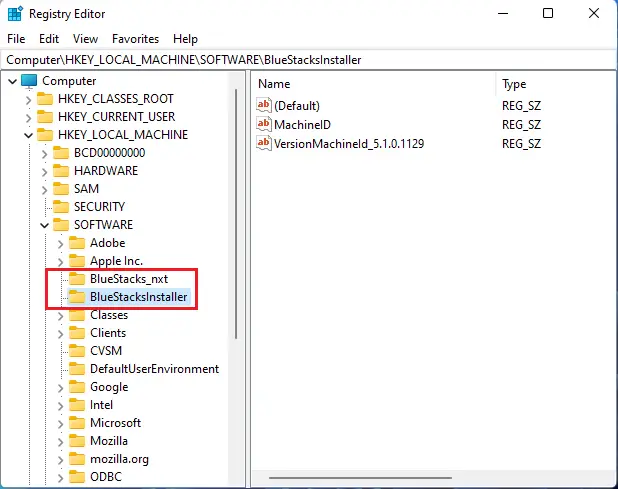
Press the Win + R to open a Run dialog, enter Regedit, and then hit enter to launch the Registry Editor.
Go to the following directory on your left pane in the Registry Editor:
HKEY_LOCAL_MACHINE/SOFTWARE/ (BlueStacks_nxt and BlueStacksinstaller) key to have its contents displayed on your right side.
Select all on your right side window in the Registry Editor, press delete. Once done, you have been completely and successfully uninstalled BlueStacks from your PC.
How to Completely Uninstall BlueStacks
If you fail to completely uninstall BlueStacks from the Windows computers program. In this case, the BlueStacks have developed a troubleshooter specifically for the purpose of uninstalling the BlueStacks App from a Windows PC. Following troubleshooter, you can completely uninstall BlueStacks Android from your computer
Please make sure you have closed the BlueStacks application.
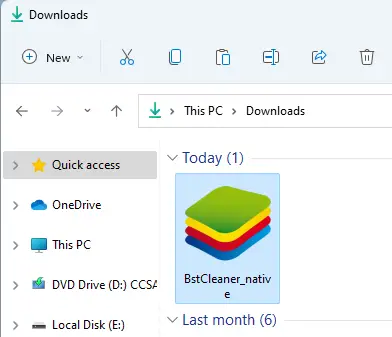
Download the troubleshooter (BstCleaner_Native).
After downloading the troubleshooter.
Go to the download folder and double-click on it to run it.
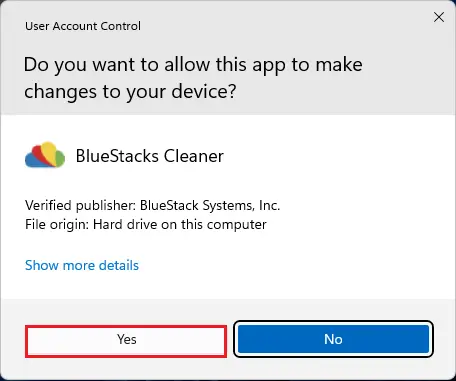
Click on Yes to allow the troubleshooter permission to run.
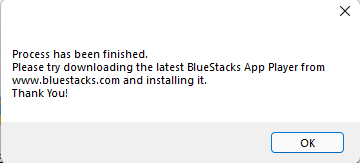
When you see the message, the process has been finished.
The BlueStacks App Player has been successfully uninstalled from your system, so select ok to dismiss the message.