In this article, I am going to explain how to install and Configure Windows Admin Center.
As a reminder, the Windows Admin Center is a Web interface that permits the administration of Windows servers using WinRM.
Windows Admin Center Prerequisites
A Windows 2016 or 2019 server in preference dedicated to the Admin Center and then we can be joined to the Active Directory domain.
Download the latest version of the Windows Admin Center from the Microsoft website
Windows Admin Center Installation
After downloading double click on setup file to run the installation.
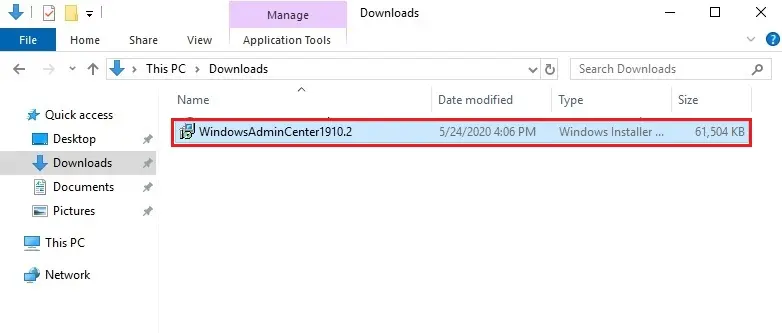
Install and Configure Windows Admin Center
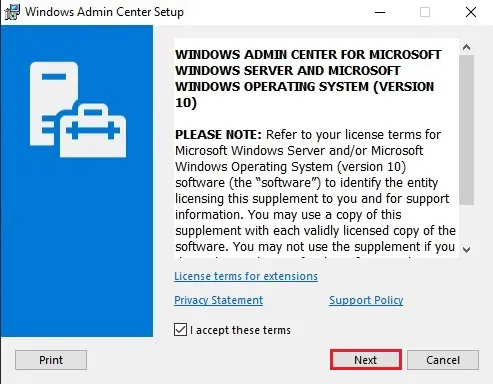
Windows Admin Center setup wizard. Select the checkbox to accept the license and then click Next.
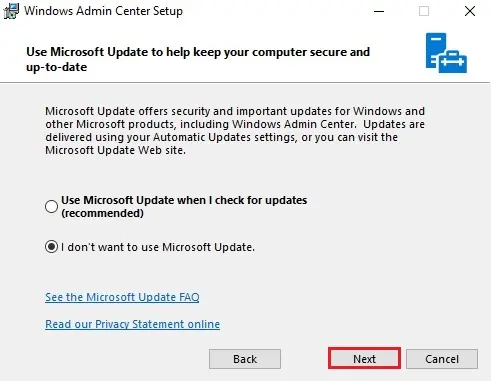
Select the configuration for receiving updates and then click next.
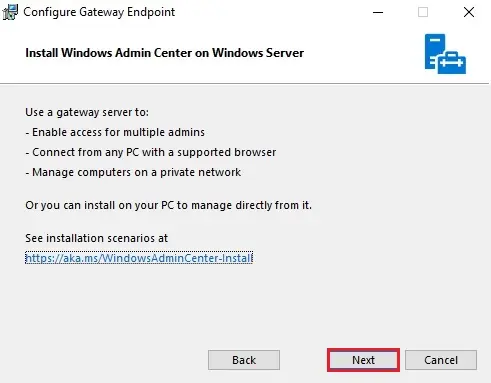
Configure Gateway Endpoint wizard click next.
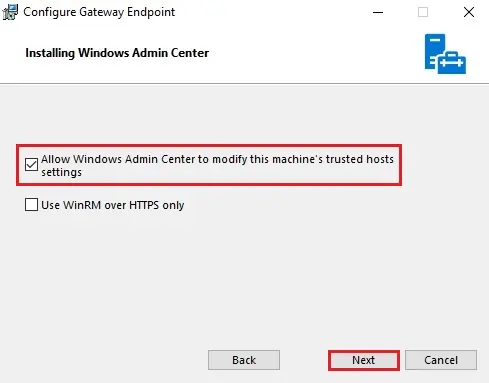
Select the checkbox allow windows admin center to modify this machine trusted hosts settings and then click next.
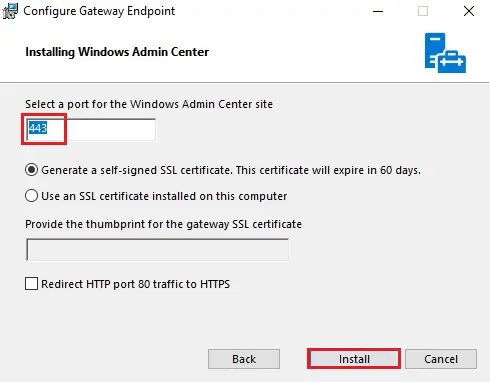
Configure the web server port and then click on Install.
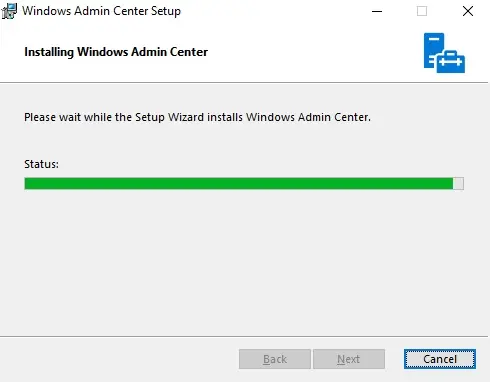
Windows Admin Center setup in progress.
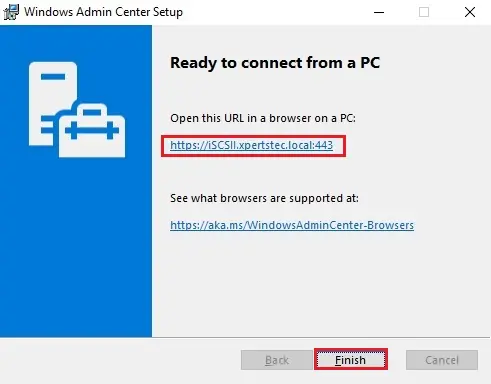
Windows Admin Center installation is complete, click the finish button to exit.
Use the Admin Center
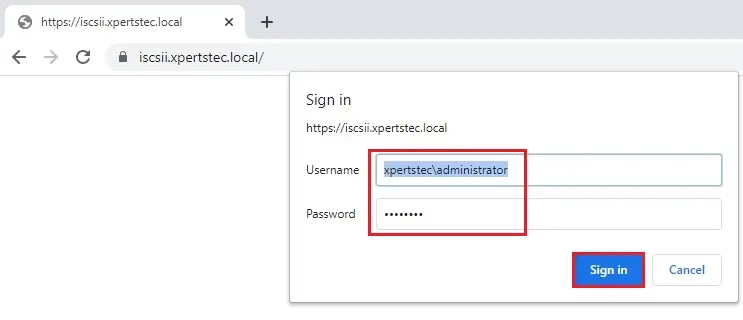
Launch a compatible browser (Internet Explorer, Google Chrome, Firefox and etc). Type the server name https: // fqdn-admin-center enter the credentials of an account with admin rights and then click sign in.
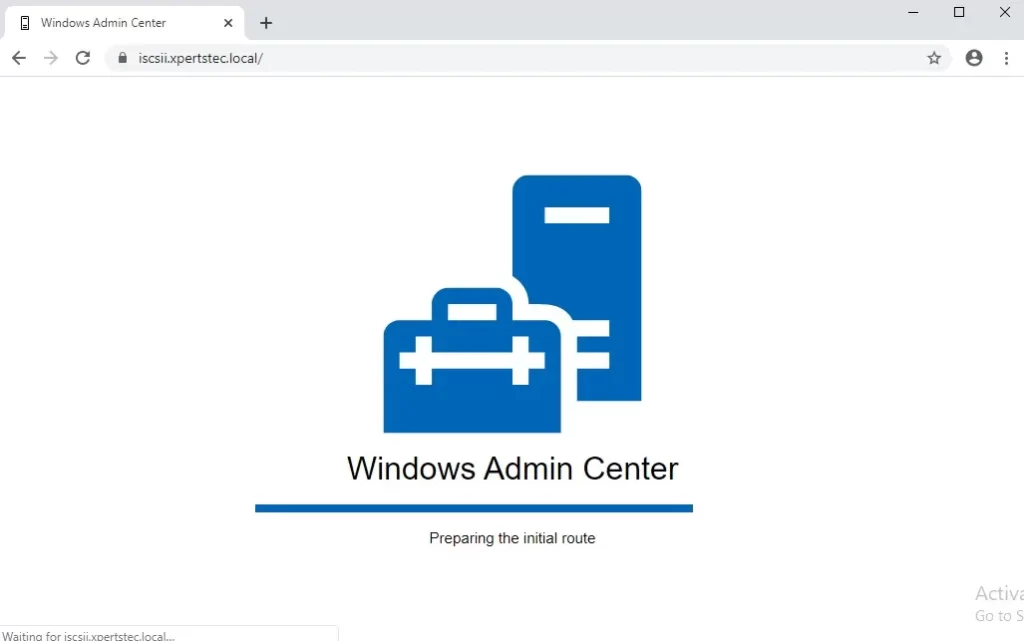
Windows Admin Center loading…..
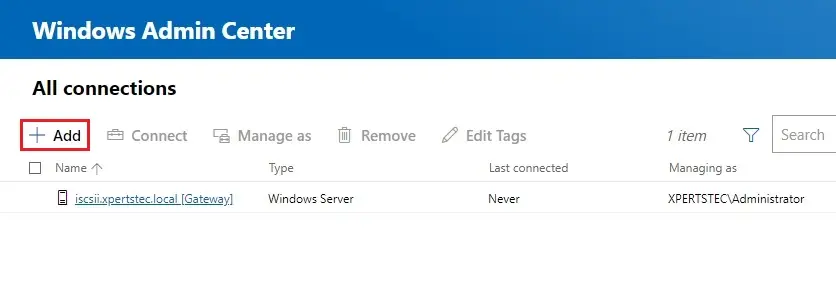
Once the Windows Admin Center loaded, we arrive on the server list. By default, the gateway server is added. Just choose the server to access its administration.
Add a server in the Windows Admin Center
In the server list, click on + Add button.
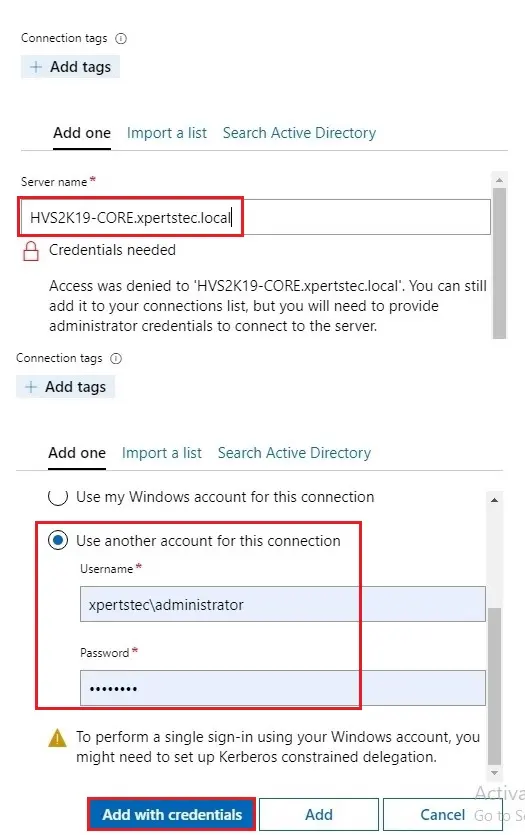
Type the fqdn name of the server, username password and then click on Add with credentials.
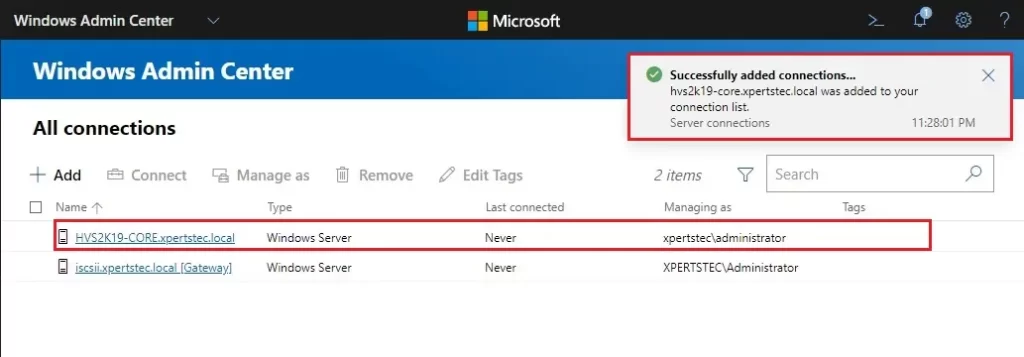
The server is added to the list of all connections, click on it to access it’s for more configuration.
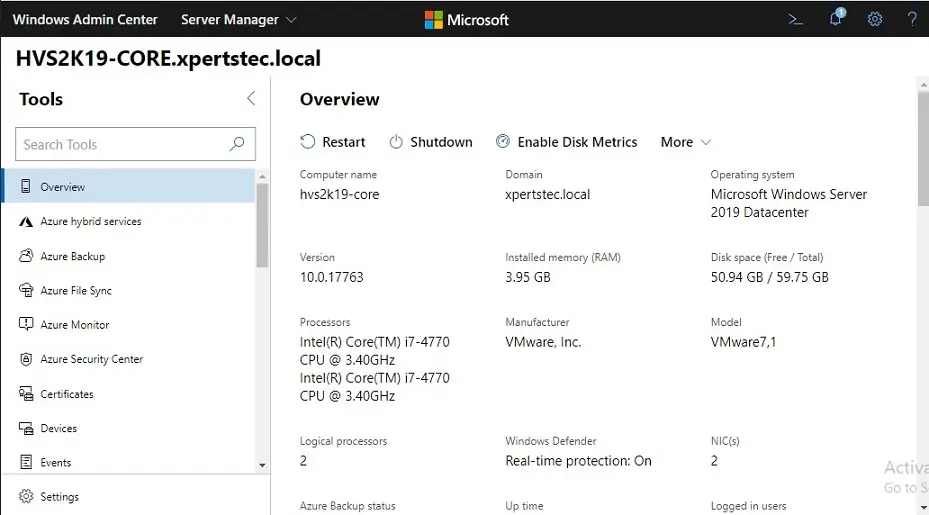
Windows Admin Center Overview
Related: How to install Hyper-V


