In this blog, I will show you how to take screenshots using snipping tools in Windows 11. Snipping is a useful tool native to Windows 11 for taking screenshots and simple editing. I have been using professional screen capture and editing software for a long time, so when I decided to write this blog, I worked from virtually zero experience. As it turns out, Snipping has a few peculiarities, so it was also a learning curve for yours truly.
Take Screenshots using Snipping Tool
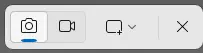
The most recommended method for opening the Snipping tool is to use the keyboard shortcut Windows key + SHIFT + S. However, this technique has its limitations. That keyboard combination does not open the full Snipping app but merely opens a control bar positioned at the top centre of the screen.
The following options are available.
Rectangle
Window
Full screen
Freeform
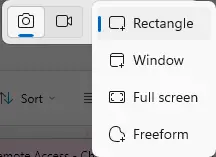
You can select the type of screenshot you want to take: rectangular, Freeform, Window, or Fullscreen. When using this method, the screenshot does not open in the Snipping app but is automatically saved to the Clipboard. That’s fine if you want to copy and paste the screenshot into a document.
Editing Screenshots Created by Snipping Tool
If you use the keyboard shortcut method and the screenshot is saved to the Clipboard, but you want to apply edits or annotations, you will need to open it in Paint.
Open Paint
Highlight the screenshot in the Clipboard “mouse over” and press CTRL + C to copy.
Click on Paint and press CTRL + V to paste.
If you want to apply simple edits to a screenshot, you’re better off launching the full Snipping tool app.
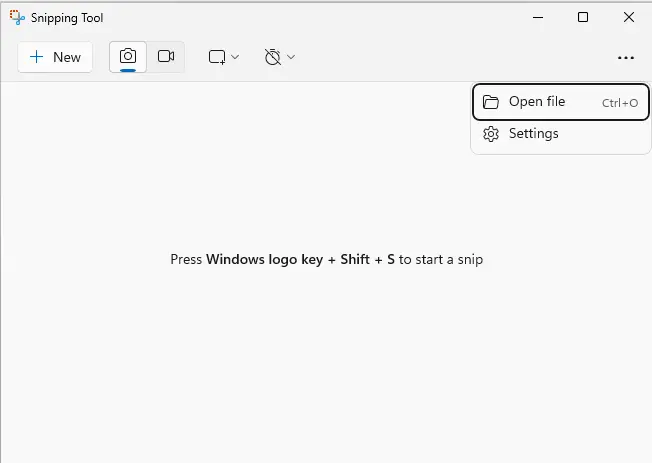
Open the Start menu, scroll down the list of programs, and click the Snipping tool.
Click on three dots and select open file.
If you’d like to use a shortcut to the Windows taskbar, you’d prefer. Click the Snipping tool item in the list of all programs, select More, and then Pin to the taskbar.
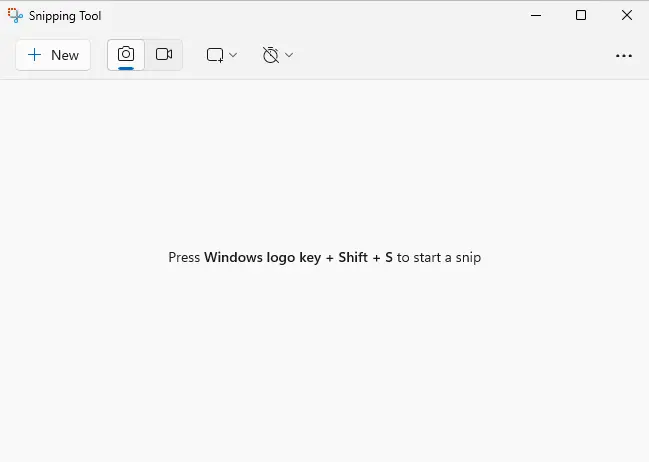
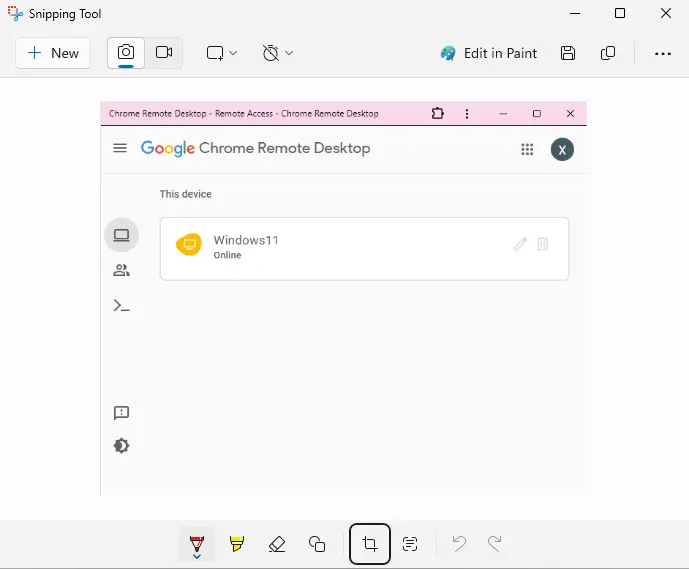
Clicking New will open the control bar, take your screenshot, and the result will appear in the body of the Snipping app and be ready to edit.
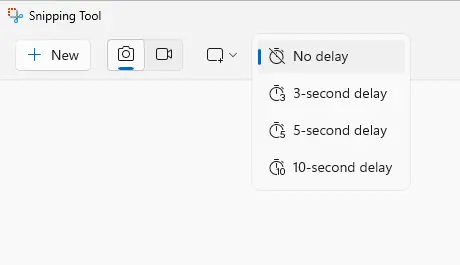
Clicking the down arrow key adjacent to New will open a delayed capture menu (which is not available via the control bar).
The sniping tool is quite basic and, as stated, does include a few peculiarities. However, it is a significant advantage that it is already available as part of Windows 10. Snipping is suitable for basic screenshots and simple editing.
Download the Snipping tool from the Microsoft app store.