In this blog, we’ll take a glance at the way to configure database copies in exchange server 2013 within the new DAG.
At this stage, we have a database availability group with two Mailbox servers and one database.
What we would like to try to do is configure that database in the order that it’s replicate to the 2nd DAG member. this is often mention as add a database copy.
Now we’d like to verify an equivalent storage path exists on the server we are adding the database copy to.
Exchange Database File Path – E:EXCHDBEXCHDB.
Exchange Log Folder Path – F:Mailbox
E: and F: volumes are configure on the second mailbox server already.
Configure Database Copies Exchange 2013
1- Log on to Exchange Admin Center and select Servers and select the Databases tab and then “…” icon and select Add database copy.
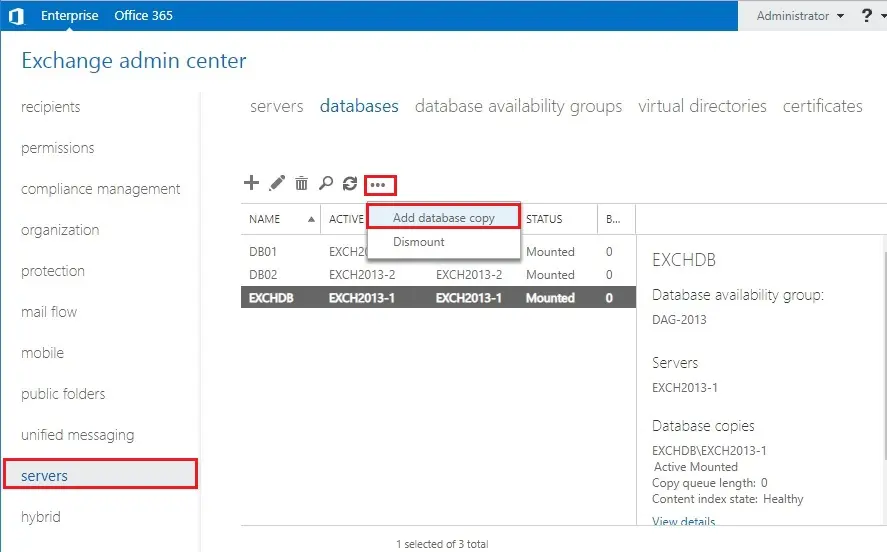
2- So, click Browse.
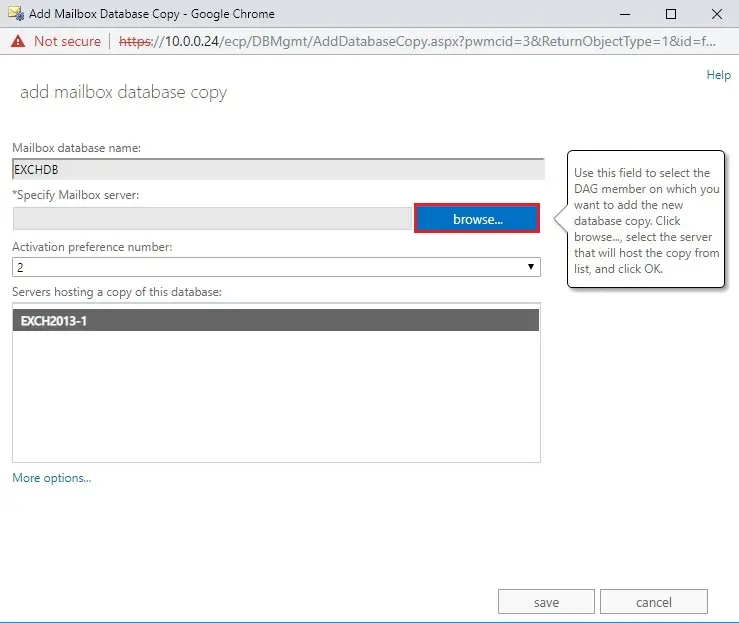
3- Select the mailbox server to want to add a database copy to and then click ok.
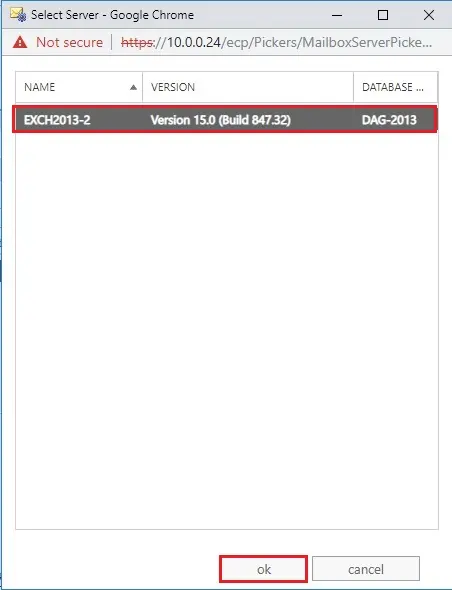
4- Action preference number select 2 and then click Save to add the database copy.
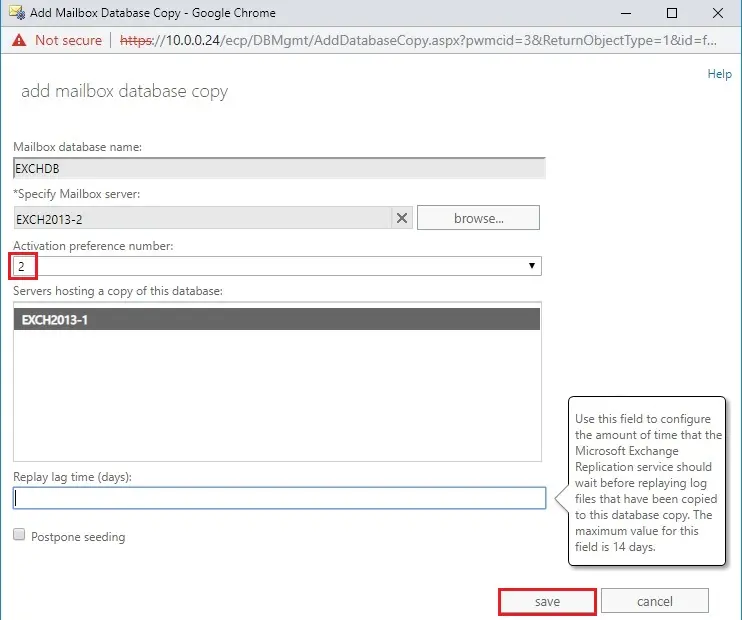
5- Now you can see the file paths on the server that you are adding the database copy to and you will also see the seeding files as the database and transaction log files are copied across.
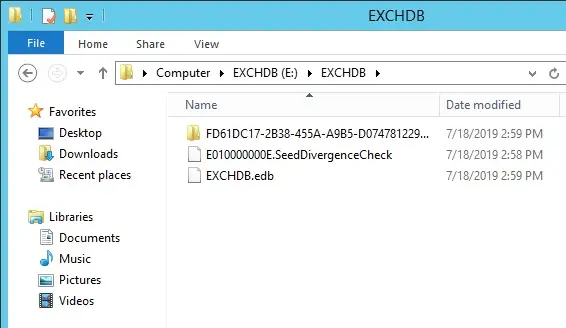
6- A small database will not take more than a few minutes to finish saving. Larger databases or slower networks will take long. After saving completed successfully click close.
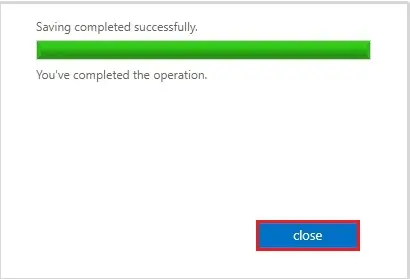
When the operation is complete the second server will be hosting a passive database copy that is kept up to date through a process of continuous replication from the active database copy.
7- Now you will see the two servers have copies of the database.
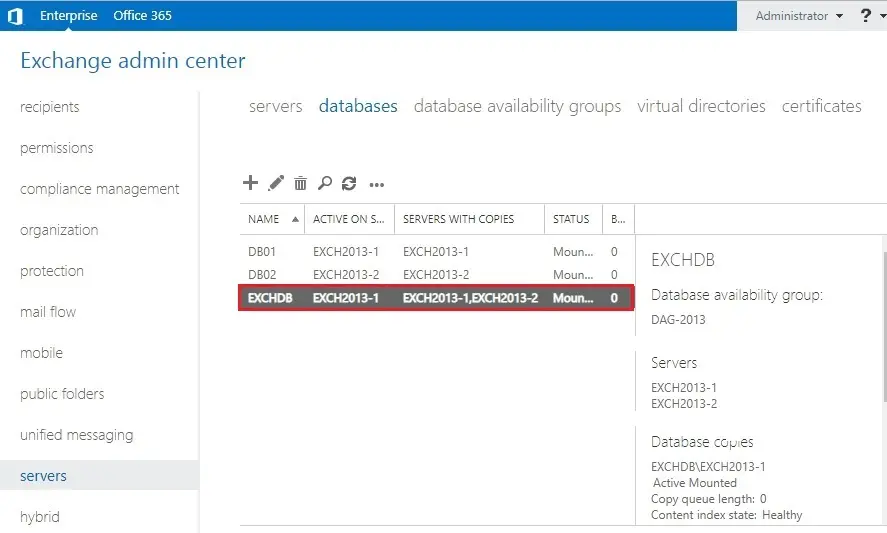
8- On the right side you will see some more information about the health of the database copies.
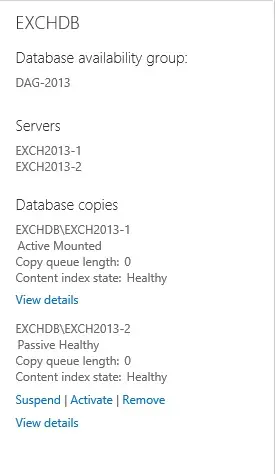
9- Type Get-MailboxDatabaseCopyStatus to check the database copy health.

10- Type Get-MailboxDatabaseCopyStatus “EXCHDB” | ft -auto

For more details click here


No Comments
You made some clear points there. I looked on the internet for the subject matter and found most individuals will agree with your blog.
Dear Tassa,
Thank you for your message I appreciate it