
In this guide, I will provide a step by step VMware vCenter Server 5.5 installation and configuration using the Simple Install method.
VMWare vCenter 5.5 installations and Configuration
Minimum System requirements:
Processor – Intel or AMD x64 bit processor with two or more logical cores, each with a speed of 2GHz
Memory – 4GB Minimum
Disk Storage – 7GB a minimum of
Network – 1Gbps Recommended
VMware vCenter Single Sign-On
vCenter Inventory Service
vCenter Server
vSphere Web Client

vCenter 5.5 installation Single Sign-On
1- Insert DVD or .iso ” VMware-VIMSetup-all-5.5.0-1623099-20140201-update01.iso”
Click the autorun.exe file within the root of the cd or folder > click vCenter Single Sign-On and click on Install.

2- Click Next, to start out the installation.

3- Select I accept the terms within the License Agreement and click on next.

4- Select Add …….. as a native Active Directory identity source and click on next.

5- Select vCenter Single Sign-On for your first vCenter Server and click on next.

6- A password for the vCenter SSO administrator account
Note: this is often an area user within the SSO database, it’s neither an area windows user or AD user. If Active Directory authentication stops working you’ll still login with the [email protected] and click on Next.

7- Enter a reputation for your site or leave it the default and click on next.

8- Keep the HTTPS port because the default 7444 is recommended, and click on next.

9- Select the directory during which you would like to put in vCenter SSO and click on next.

10- Confirm the installation options and click on Install.

11- vCenter SSO installation completed and click on Finish.

vCenter 5.5 Installation Inventory Service
1- Back to the installer for vCenter Inventory Service and choose vCenter Inventory Service and click on Install.

2- Click ok.

3- Click Next.

4- Select I Accept the terms within the license agreement and click on next.

5- Select the specified installation location and click on the next.

6- Enter the FQDN and click on next.

7- Keep the ports defaults and click on next.

8- Select the VM memory size and click on the next

9- Enter your Single Sign-On (SSO) username & password and click on next.

10- Click Yes to simply accept the SSO certificate.

11- Click Install Certificates.

12- Click Install.

13- Inventory Service successfully installed and click on Finish.

vCenter 5.5 Installation
1- Once Back to the vCenter installer and choose vCenter Server and click on Install.

2- Click ok.

3- The vCenter Server installer will start and click on next.

4- Select I Accept the license agreement and click on next.

5- Enter your license (if you don’t it’ll run during a 60 full evaluation). and click on next.

6- If deploying a little scale deployment (5 hosts and up to 50 VMs) you’ll prefer to use SQL Server 2008 Express and click on next.

7- The account is going to be grated go online as a service and then click on next.

8- it’ll be the primary vCenter installation prefer to create a standalone VMware vCenter Server Instance and then click on next.

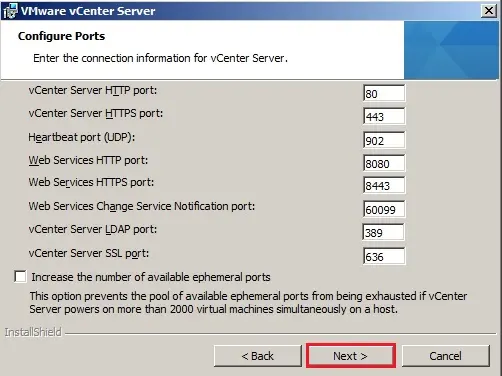
9- Verify the ports to use for the vCenter server and then click on next.
10- Select Maximum Memory inventory size to properly size and then click on next.

11- Type your vCenter Single Sign-On administrator credentials ([email protected]) to register the vCenter Server with VMware vCenter SSO and then click on next.

12- Click Yes.

13- that’s an area administrator on this server who can manage vCenter and then click on next.

14- make sure the correct vCenter Inventory Service address is entered and then click on next.

15- Change your installation location if required and then click on next.

16- Click Install.

17- Default Running Process (It will install SQL Server first).

18- Now vCenter Server installation started.

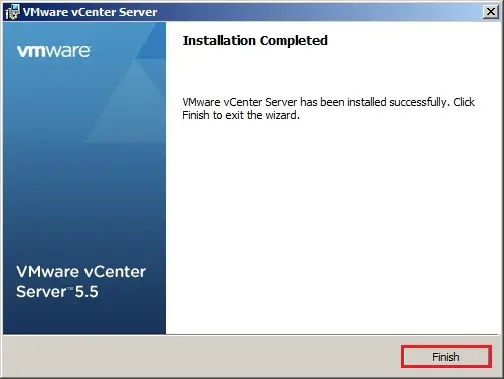
19- vCenter server installation completed and then click on Finish.
vSphere Web Client Installation
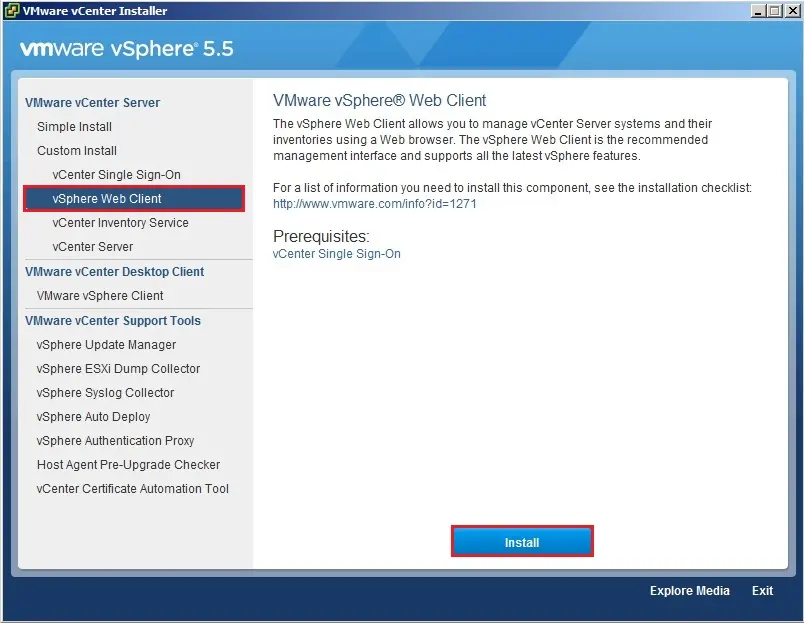
1- return at the installer launchpad click vSphere Web Client and then click on Install.
2- Select the language and then click on ok.

3- Click Next.

4- Select I accept the terms within the license agreement and then click on next.

5- Set the install location and then click on next.

6- Leave the ports as defaults and then click on next.

7- Enter the vCenter Single Sign-On details as you probably did with the vCenter install to register and then click on next.

8- Click Yes to simply accept the self-generated SSL certificate.

9- So click Install.

10- Installation completed and then click on Finish.

11- Note that the vSphere Web Client services will take a while to load. Before they become available and so click on ok.

12- after Login vSphere Client.

For more information click here
How to create a Datacenter, HA/DRS Cluster and Add a Host click here