This PC Must Support Secure Boot Windows 11

In this blog, I will explain to you how to bypass this PC must support secure boot in Windows 11. If you are just doubtful to make changes in your PC BIOS settings, then here are some simple steps for you. With these steps, you can skip enabling secure boot on your computer/laptop and simply bypass the Windows 11 security requirements without any issue.
What are the simple steps? We will use the Windows 10 ISO or DVD, simply mount it on the PC, and then copy the appraiserres.dll from the sources directory to the sources directory of the bootable Windows 11 ISO USB device or you can create a new folder (Windows 11) and copy all files from your Windows 11 ISO and paste it in newly created folder name Windows 11. This will bypass the new security checks (Secure Boot) in the system requirements of the Windows 11 installer.
To get started, if you don’t have Windows 10 ISO or DVD, Then you can simply click download to download the appraisers.dll file. Then, copy it, and then paste it into Windows 11 source directory. Follow the below steps.
When I started upgrading Windows 10 to Windows 11, I have got This PC can’t run Windows 11 and the error is This PC must support a Secure Boot error.
How to enable secure boot in bios you can find in the end of this blog.
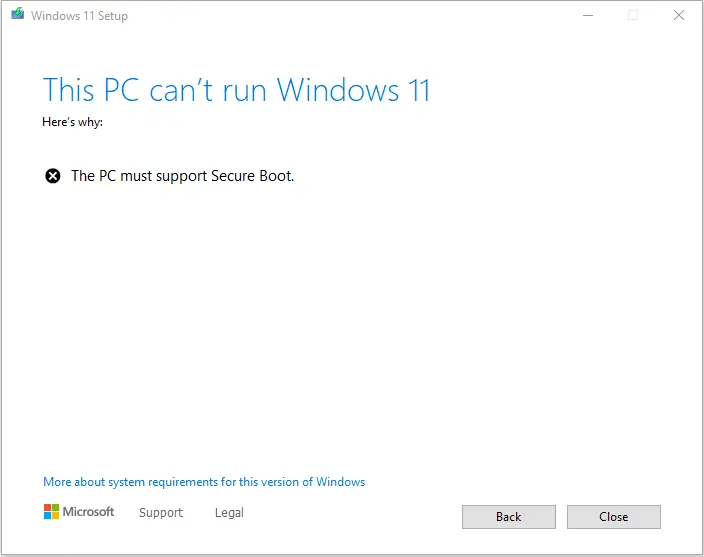
My current Windows 10 version.
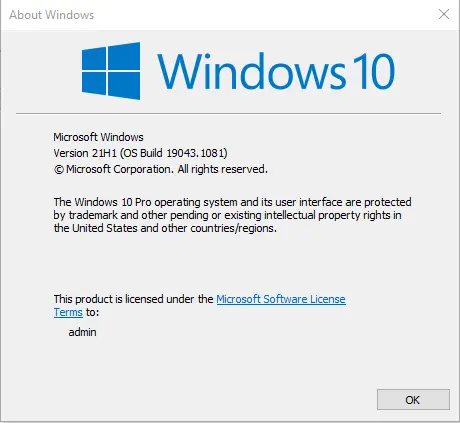
This PC Must Support Secure Boot
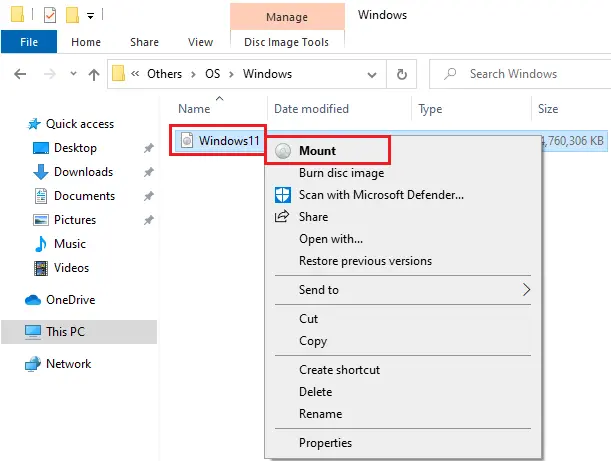
Right click to mount your Windows 11 ISO.
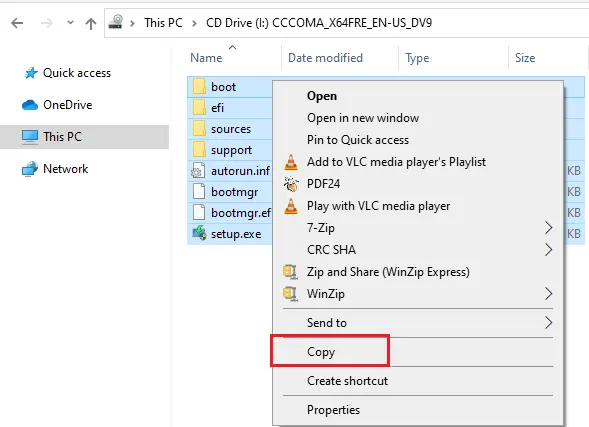
Select all files, right click and then copy all files. (Ctrl C to copy).
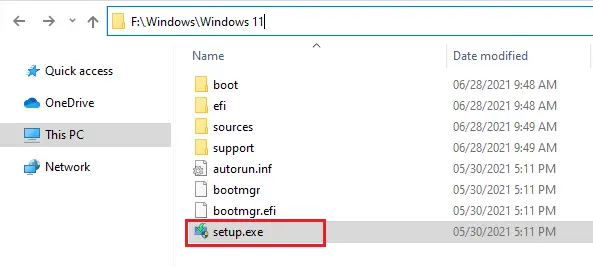
Create a folder in your pc drives (in C, D, and E) in my case I have created a folder in F drive and name it Windows 11.
Paste all the files into this folder.
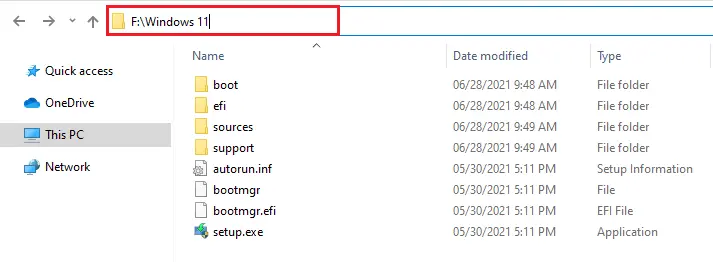
Now mount your Windows 10 ISO and then open the sources folder.
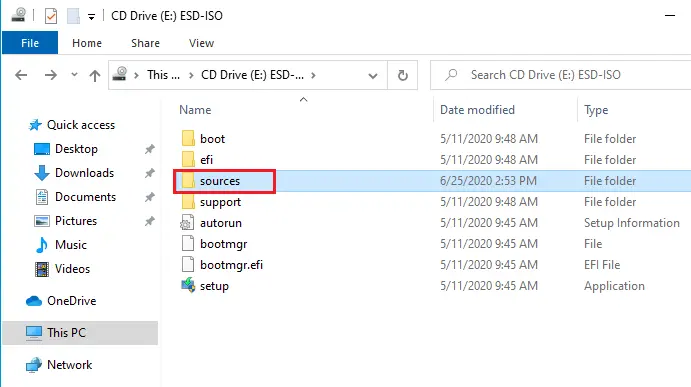
Find appraiserres.dll file and then copy it from the Windows 10 ISO sources folder.
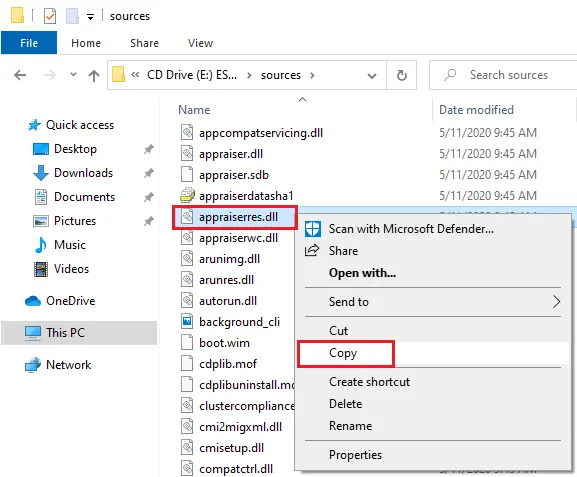
If you don’t have Windows 10 ISO or DVD then clicks here to download the appraiserres.dll file.
Go to your download folder, extract the zip file, and then copy it.

Go back to your Windows 11 folder the one we have created in F drive. Then, open the source folder, right-click and select Paste from the context menu. (or CTRL + V keyboard shortcut to paste the files).
IF you have USB Windows 11 Bootable Media and then open the ‘sources’ folder and paste (appraiserres.dll file).
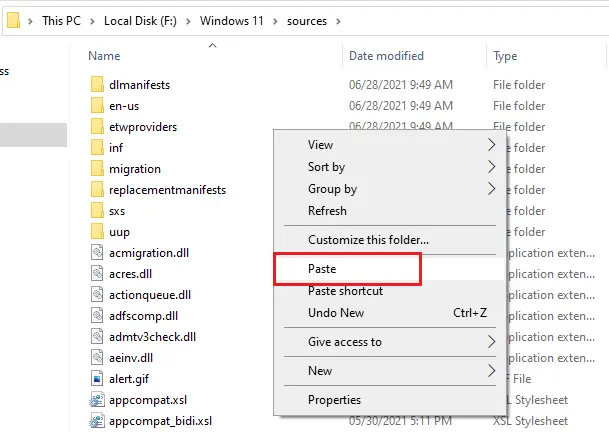
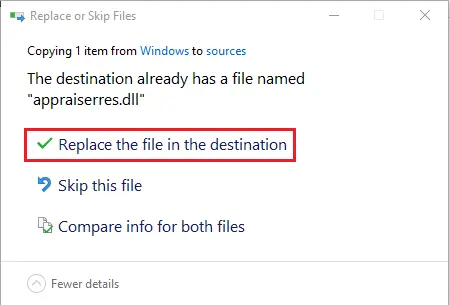
Select Replace the files in the destination option and wait for it to complete. It’s critical that you replace this file.
Now go back to your Windows 11 folder and then double click on setup.exe.
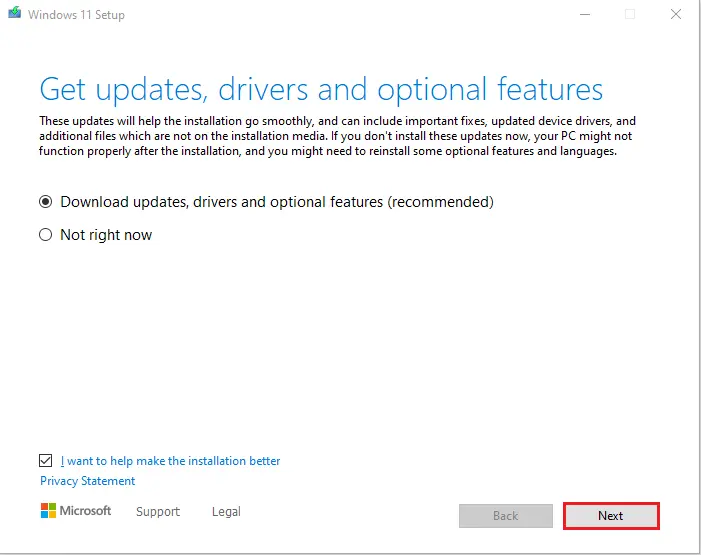
Windows 11 setup, Select the radio button (Recommended) and then click next.
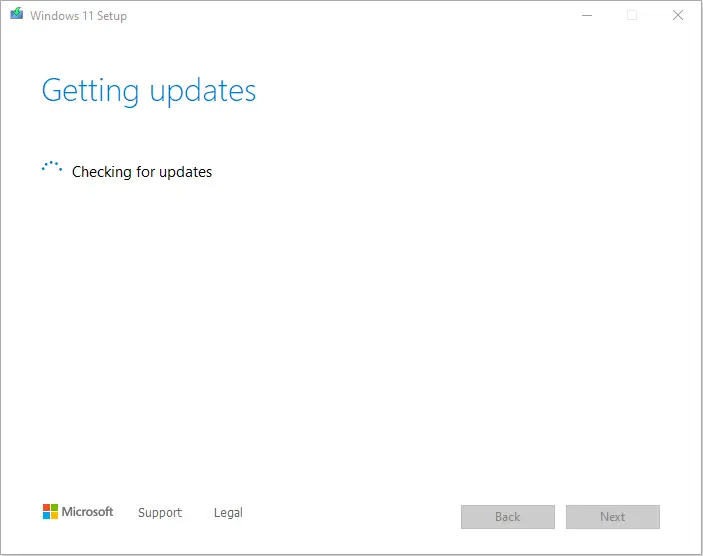
Getting updates.
Click Accept.
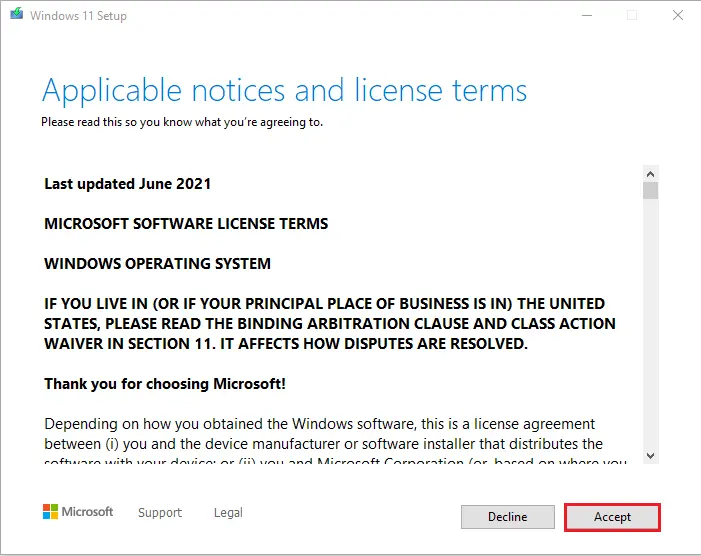
Getting updates.
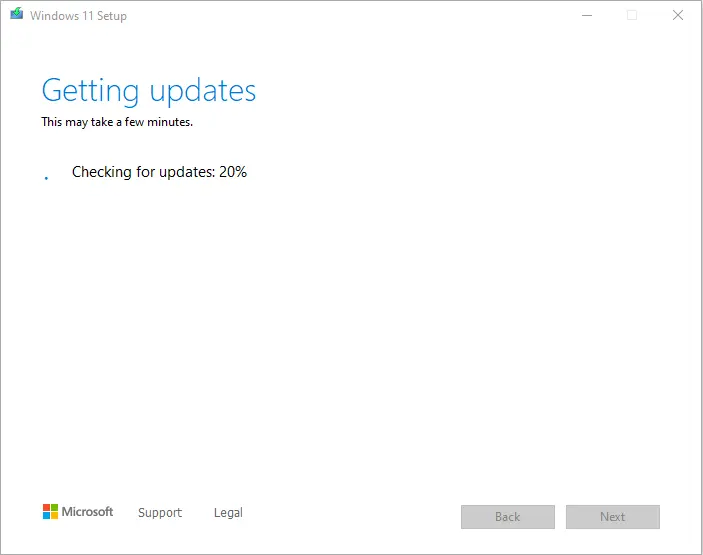
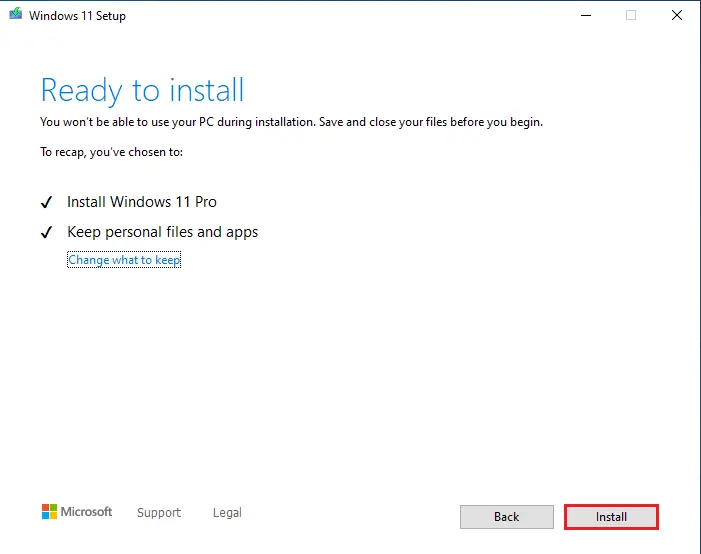
Now Windows 11 is ready to upgrade, click install.
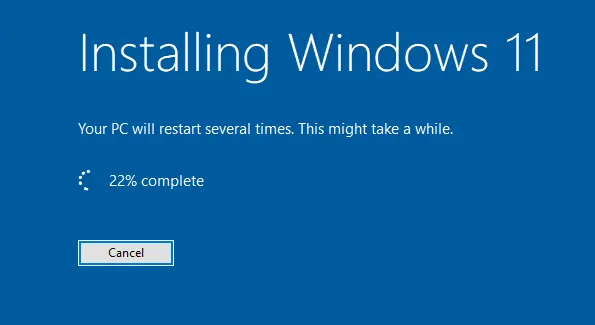
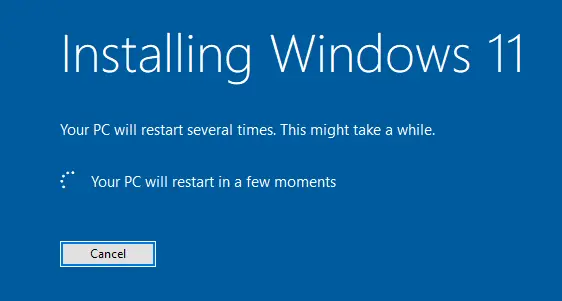
Installing Windows 11.
Restarting PC.
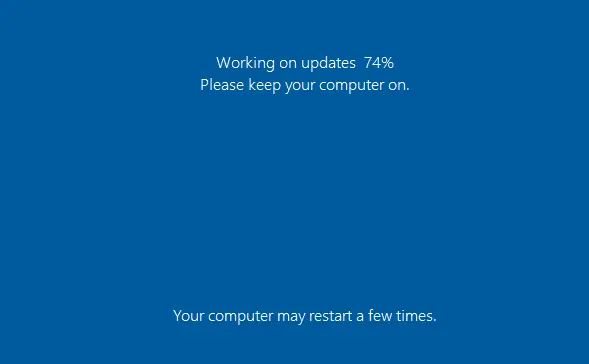
Windows 11 Working on updates.
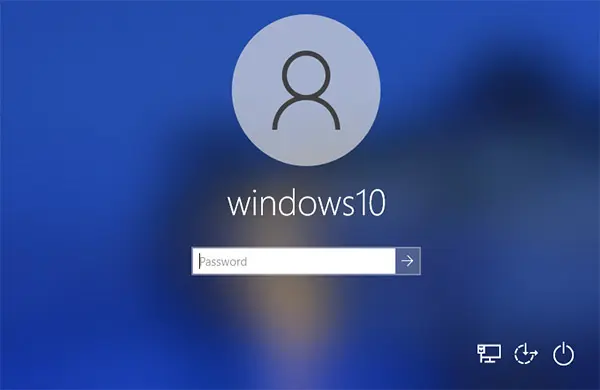
Enter your password to login. (my PC login account name Windows 10).
Wait to complete the process.

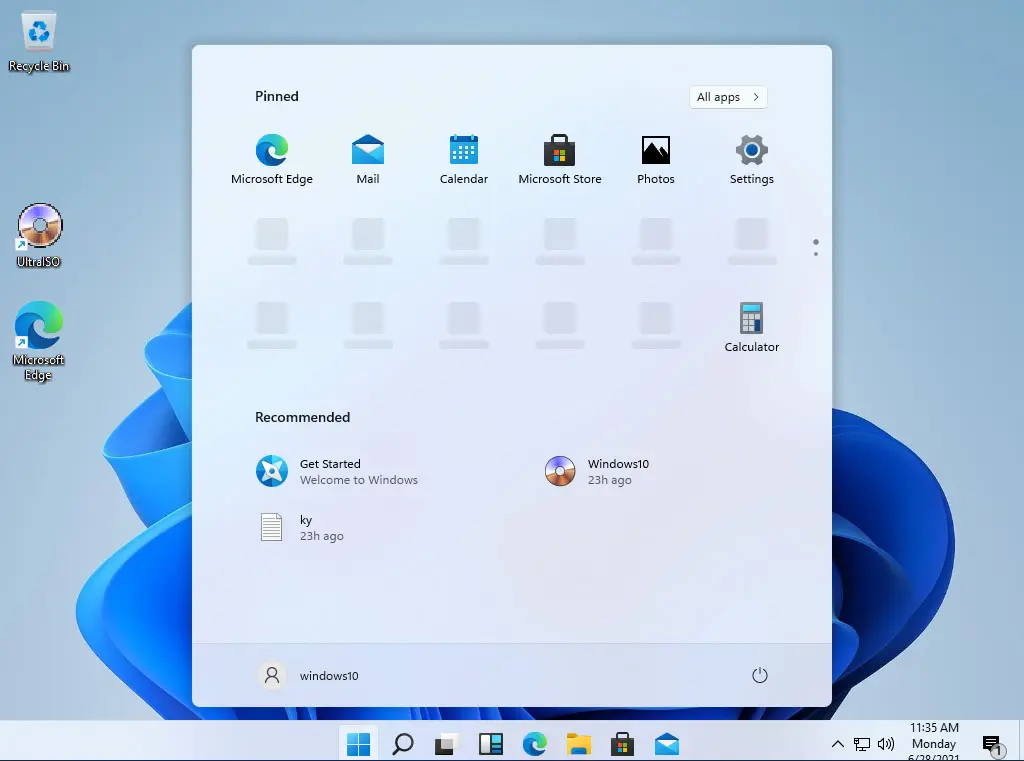
Finely we have successfully upgrade Windows 10 to Windows 11.
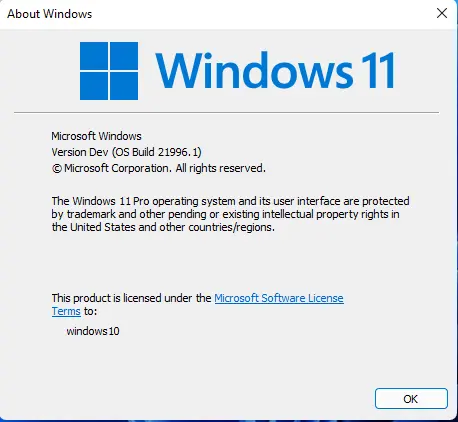
Open run command and enter winver to now About Windows 11.
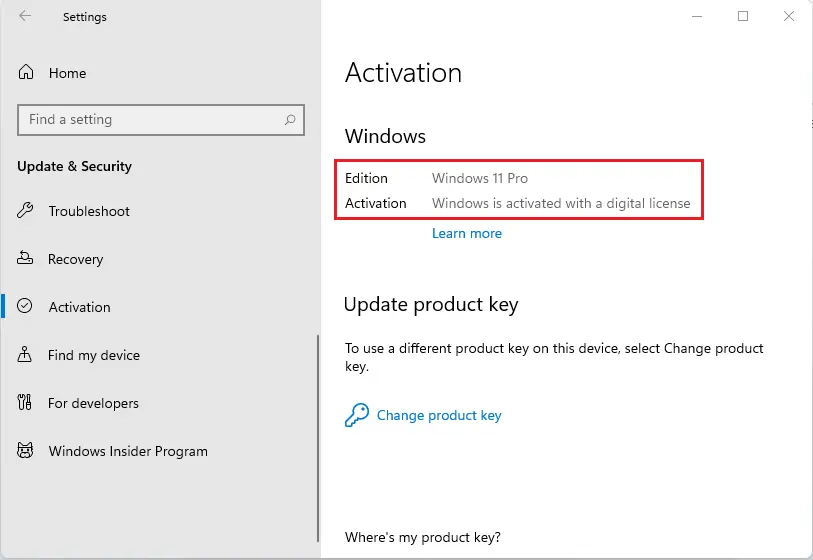
Now open windows settings, select the Activation option, and then you can see my Windows 11 is activated.
How to enable secure boot from system bios.
I have HP 800 ED desktop, Here is the guide, how to enable secure boot in PC bios.
Restart your PC/Laptop and then press the key (for example F1, F2, Dell and etc). In my case press the ESC button and then select F10.
Select the Security tab and then secure boot configuration. (Might be you have a different option in your PC bios)

Here you can see secure boot option is disable.

By pressing the right arrow key you can enable secure boot, save changing and then restart your PC.


