How to Install Veeam Backup & Replication v11

In this article, I am going to walk you through the process of how to install Veeam Backup & Replication v11. Veeam has released Veeam Backup and Recovery new version 11. Veeam Backup & Replication is the topmost popular software for Virtual environment Backup and also it is the number 1 in the market. Its offers Backup and Replication of Microsoft Hyper-V, Hypervisor, and VMware vSphere Virtual Machine.
The first thing you to need to download the actual bits, which is delivered in a massive 6.3GB ISO file.
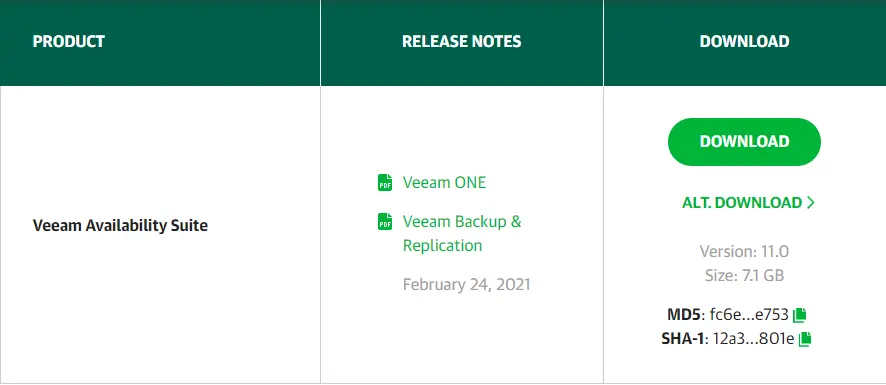
Install Veeam Backup & Replication v11
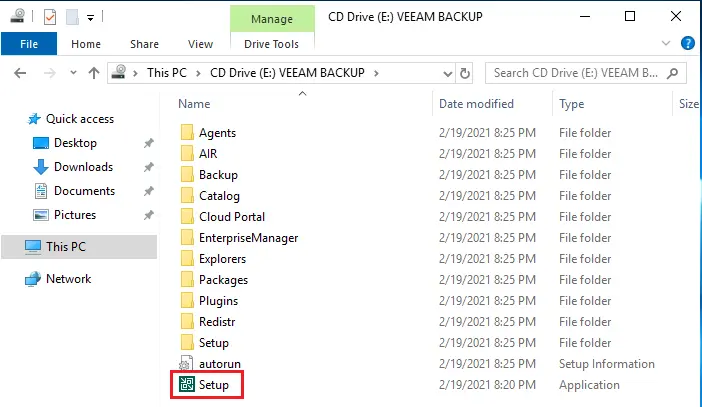
1- After downloading Veeam backup and recovery ISO file. Mount the ISO file as a drive within the server operating system. So, double click setup.exe file to start the installation.
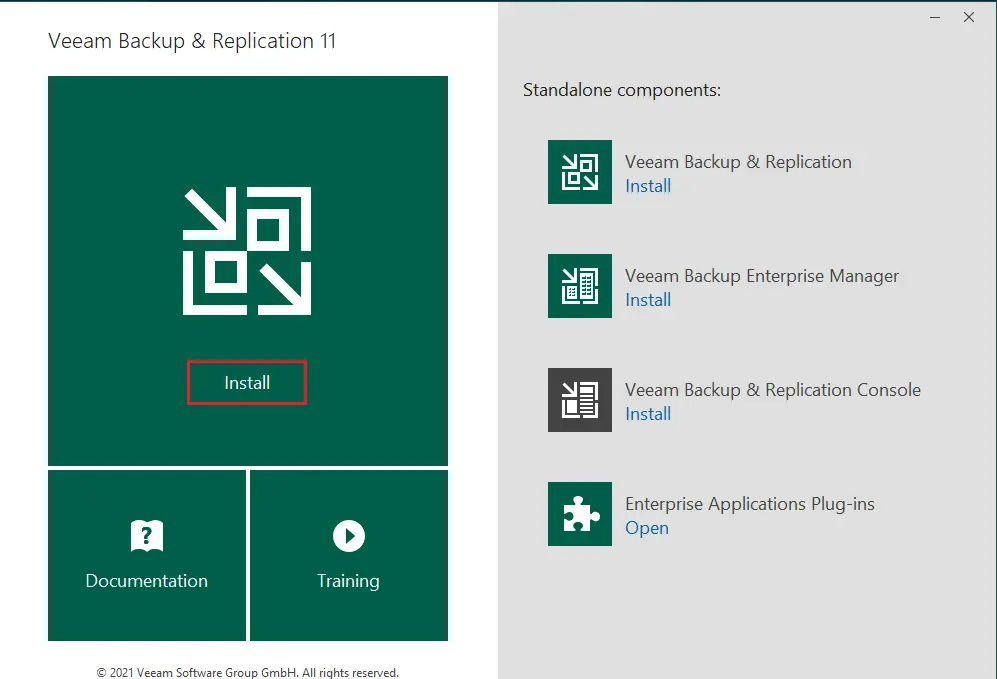
2- Click on the main install button and then please wait.
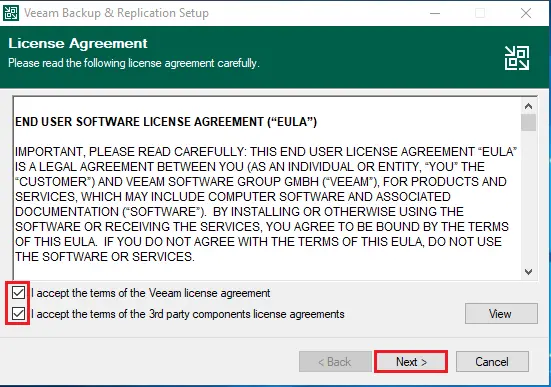
3- We need to accept the EULA, so if you want to go read all of it, let’s accept the agreement and then select next.
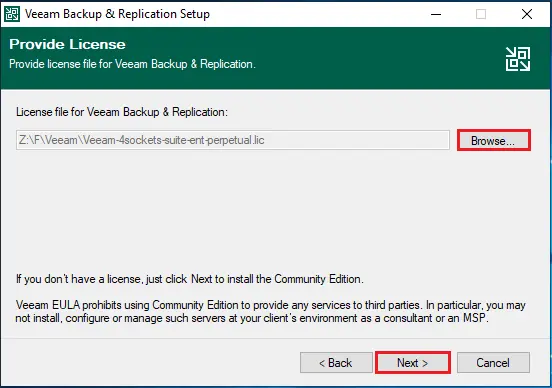
4- Select the browse button to select the Veeam license and then click next.
5- Now, we need to choose what components we are going to be installing, I am choosing the default, click next.
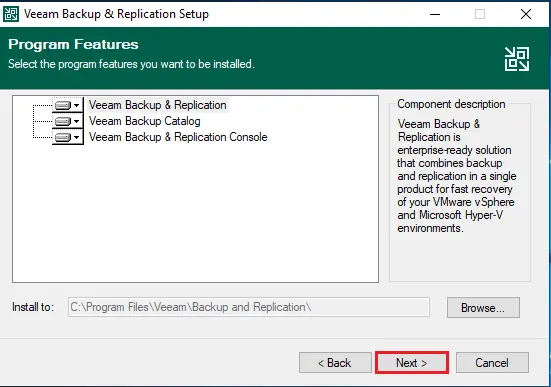
Veeam Backup and Replication is an enterprise ready solution that combines backup & replication in a single product for fast restore of the Microsoft Hyper-V and VMWare vSphere Environments.
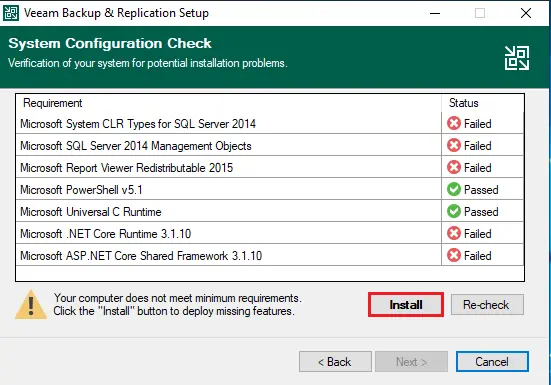
6- We now get to the System Configuration Check window, where my server failed miserably. Luckily, Veeam offers to install the missing components, which I am going to install, click the Install button.
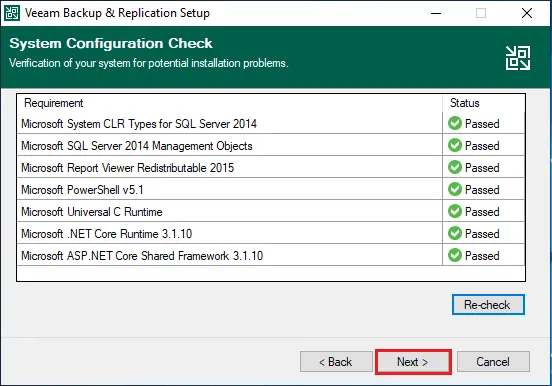
7- After about 45 to 50 seconds, it will install the required component and then click next.
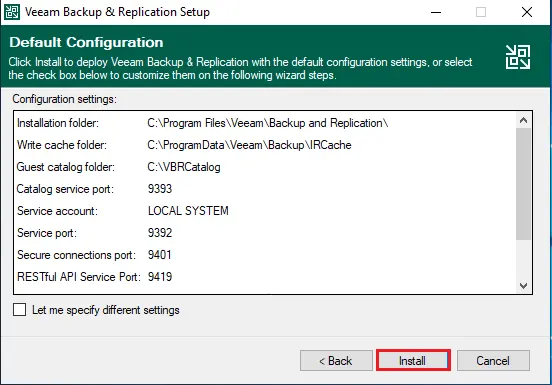
8- In this lab, we are going to take all of the default settings. Click Install.
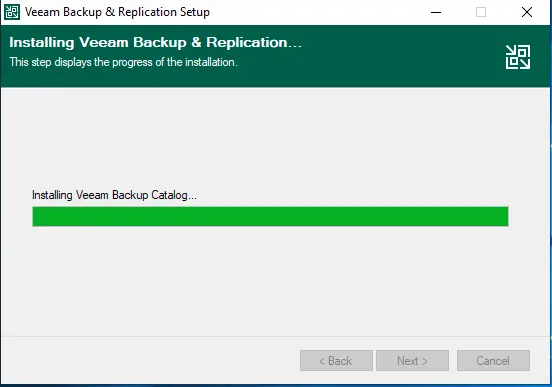
9- Installing Veeam Backup Catalogue.
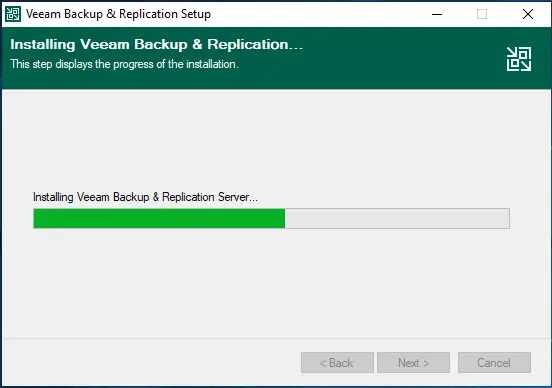
10- Installing Veeam Backup & Replication Server….
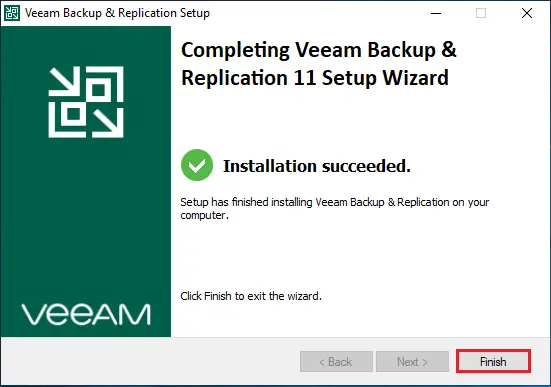
11- Completing Veeam Backup & Replication 11 Setup, Click Finish.
Now, you must have an icon on your desktop for the Veeam Backup & Replication Console.
Starting Veeam Backup & Replication
To start Veeam Backup & Replication, follow the below steps.
12- In the Windows Start menu, choose Apps, Veeam, and then Veeam Backup & Replication Console.
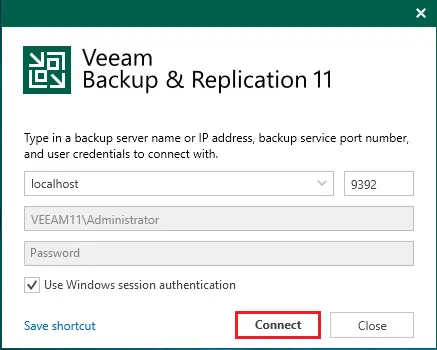
13- Now you are prompted to login. As it is not a domain joined computer, I am going to use local windows authentication. So select connect.
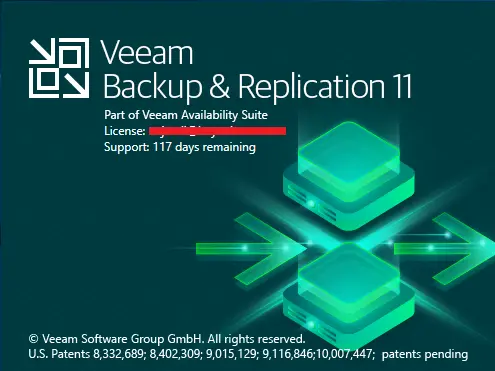
14- Veeam Backup & Replication 11.
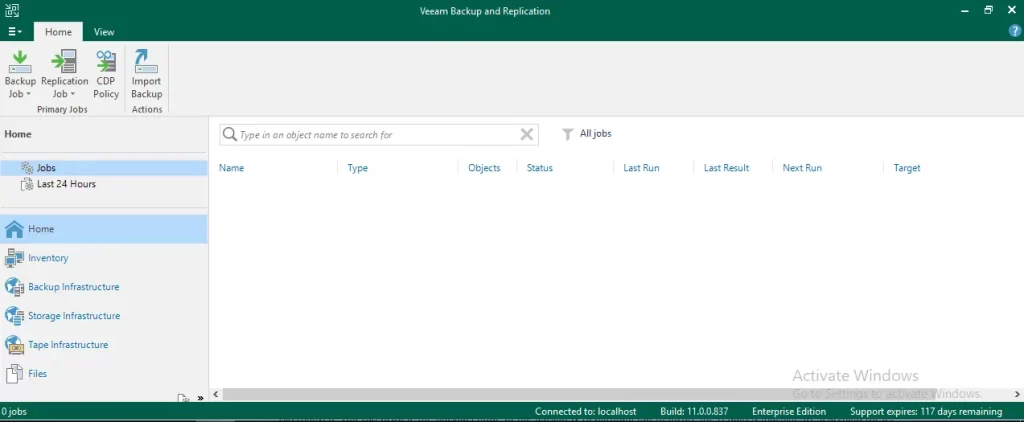
15- Veeam Backup home screen.
Related: Exploring Veeam Backup & Replication v11.


