
In this blog, I will show you how to install WordPress in Windows with laragon. The laragon setup of a local development environmental under Windows is described using Laragon.
With Laragon a local software stack consisting of the following server components is installed:
Apache Web Server
MySQL
PHP
Install WordPress in Windows Laragon
Download and install Laragon
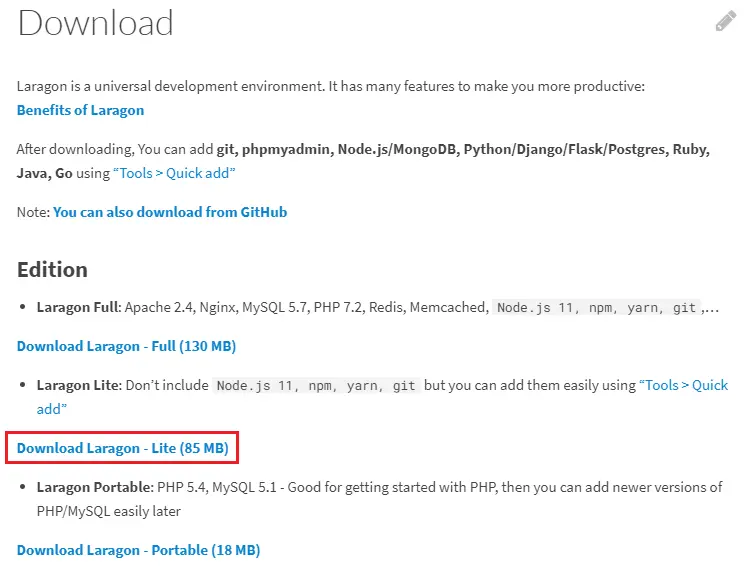
Download the latest release from the Laragon light from their website.
1- For Windows 10 (64-bit): download Laragan light.
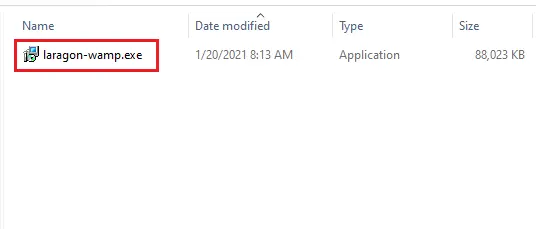
2- Double click on laragon-wamp.exe file to run the installation.
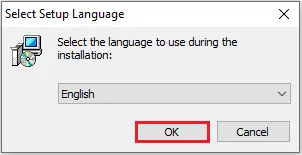
3- Select the language and then click ok.
4- Welcome to the laragon setup wizard, click next.

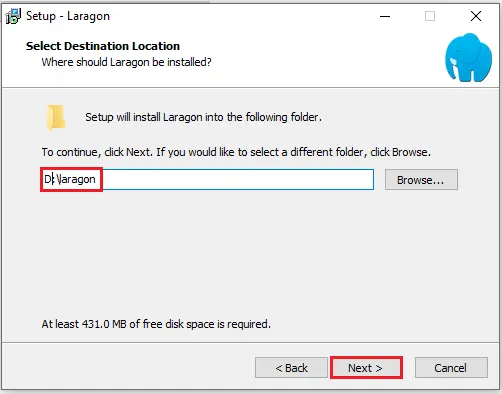
5- Select destination folder you can specify where Laragon should be installed (I am using d drive you can choose even default). Click next.
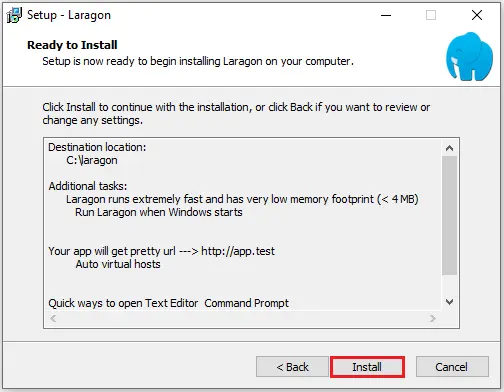
6- In the setup Laragon window, some configuration settings can already be specified, click next.

7- Select the Install button to start the Laragon wordpress installation.
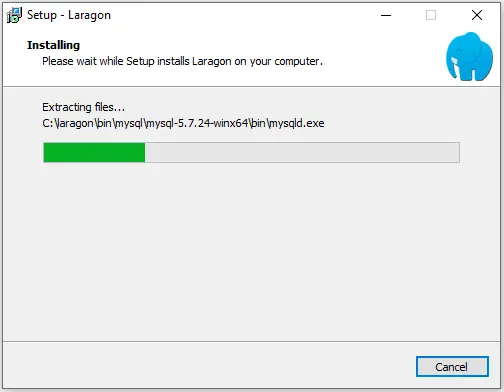
8- Laragon localhost WordPress installation in progress.
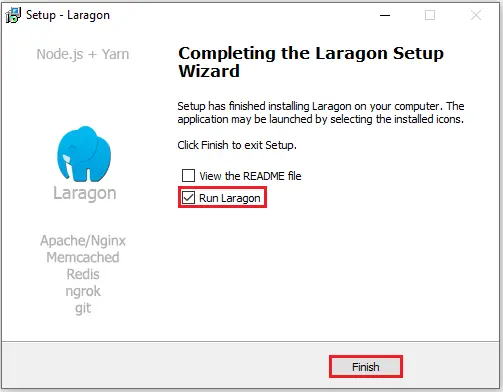
9- Successfully installed laragon, keep the checkbox select run laragon and then click finish.
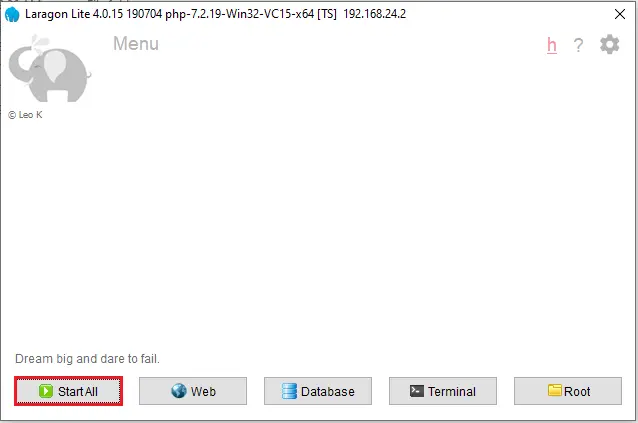
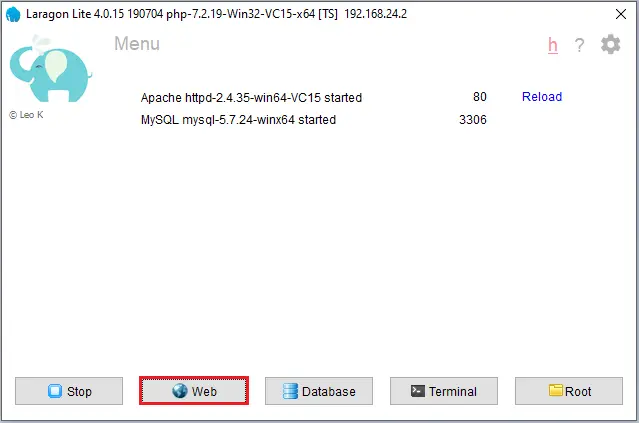
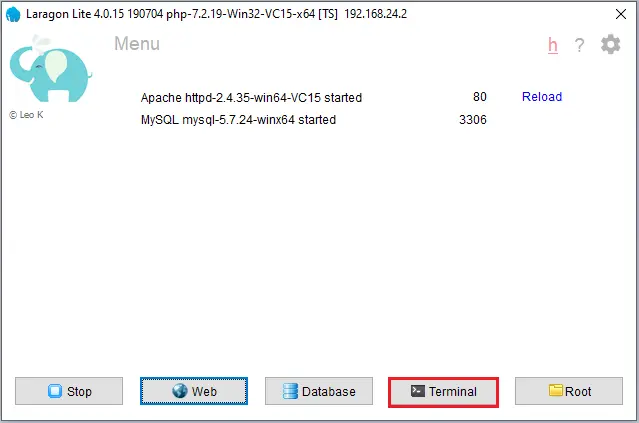
10- Laragon Lite window, select start all.
At this stage, the Windows Defender Firewall (or another system firewall) will almost certainly report and prompt both the Apache HTTP Server and the MySQL server to allow access to the local network. These 2 accesses should be granted for the further operation of the web and database server.
When the servers are allowed to access the corresponding ports successfully, Laragon must show the two services Apache and MySQL as started.
Maybe you will get an error message service apache can not start. Reason;
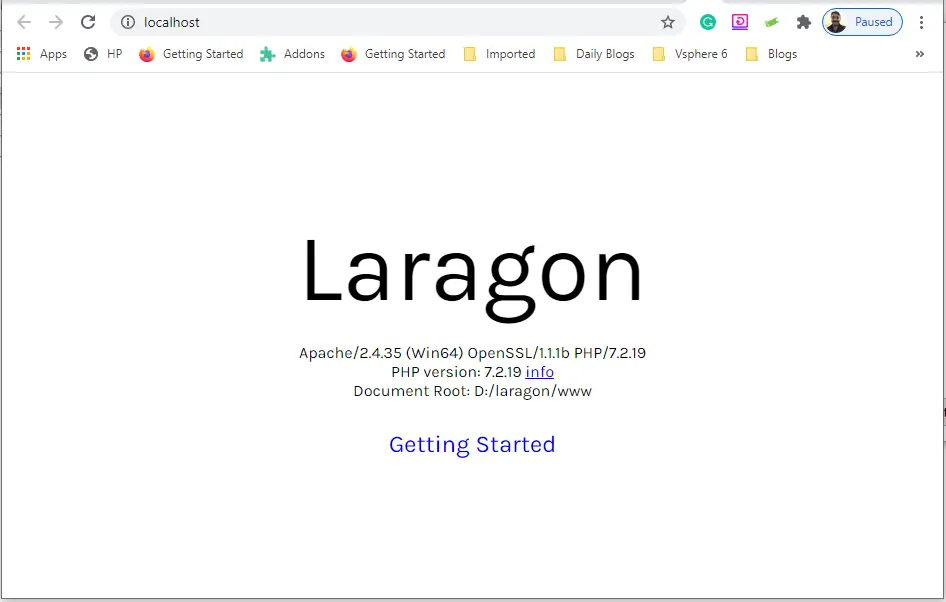
11- Select Web menu.
12- WordPress Localhost screen.
How to change rename Laragon
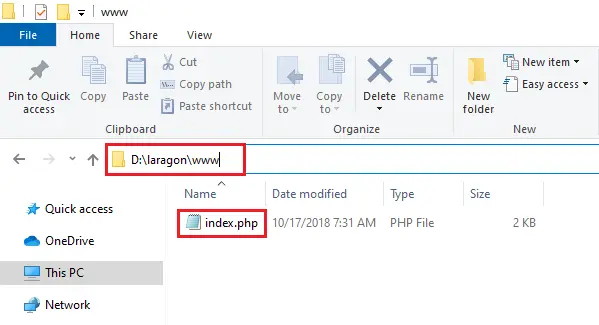
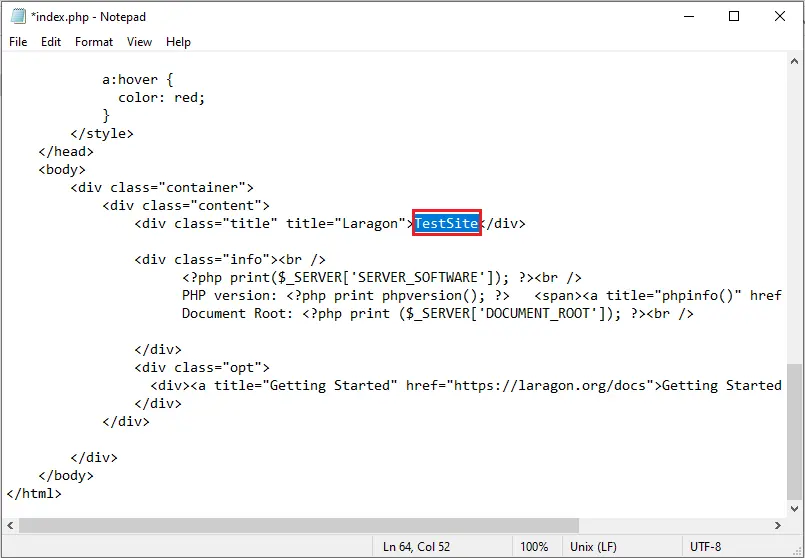
13- Go to the Laragon installed directory, open www, and then open index.php in notepad.
14- Scroll down and you can find “Laraton”.
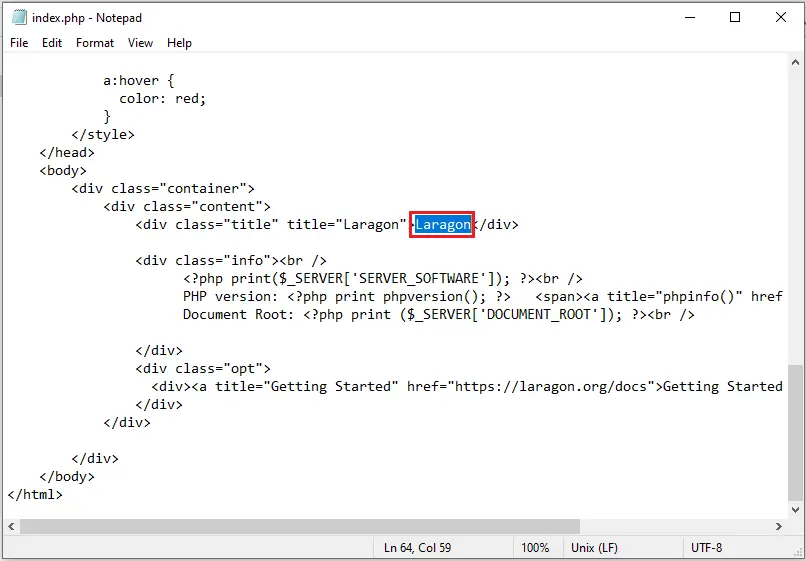
15- Change it to your project name (TestSite).
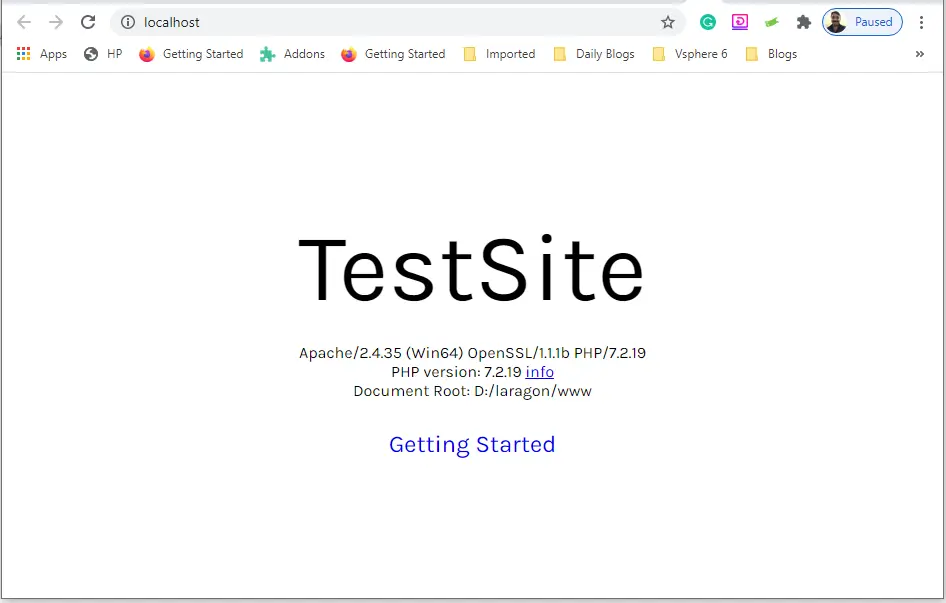
16- Refresh your web browser.
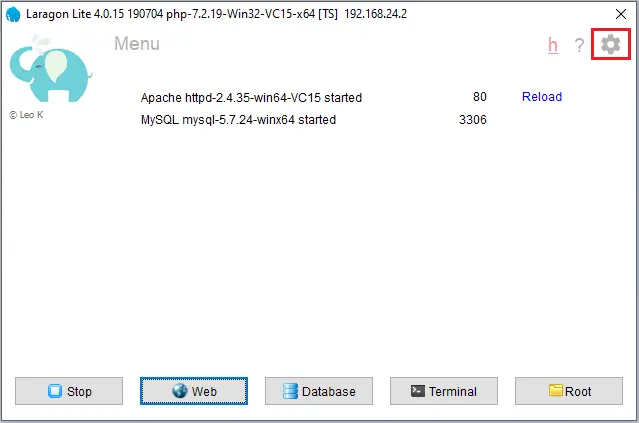
17- Select the settings icon.
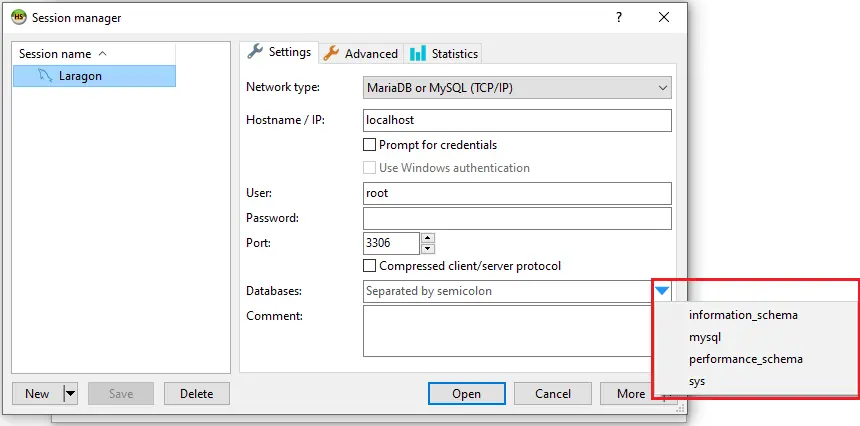
18- Select down arrow key next to Databases; you can see default databases.
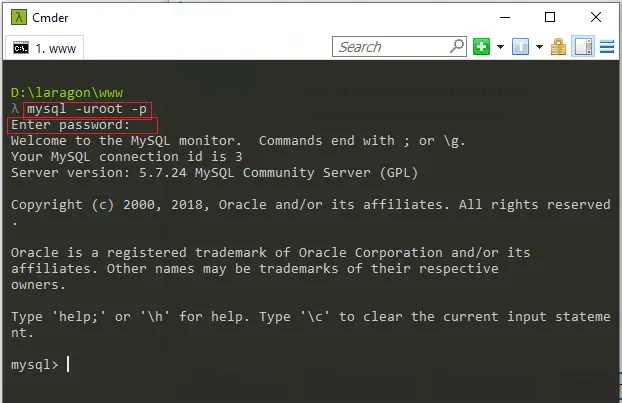
19- How to create database in Laragon, select Terminal menu.
20- Type mysql –uroot –p and hit enter
Hit enter again without typing any password.
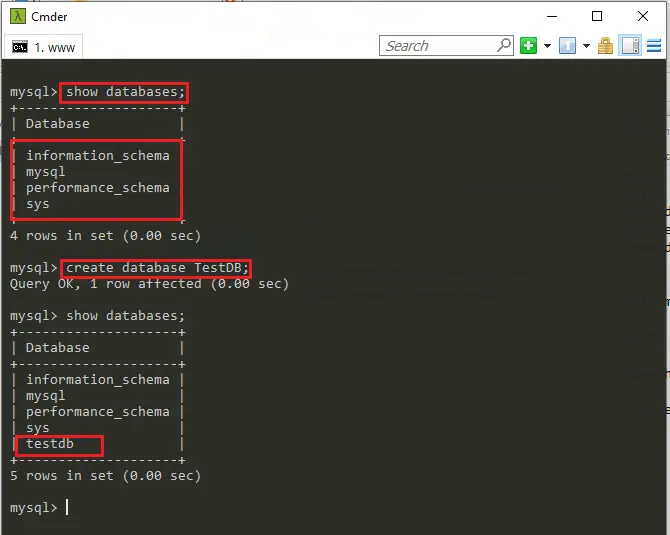
21- Type show databases; to view the databases.
Type create database TestDB; and hit enter
Type show databases; now you can see a new database (testdb).
How to create new project in Laragon
22- Right-click with your mouse from System Tray and then select Quick Create.
Select your platform (WordPress).

23- Type your project a name. This name will be the name of the folder and your localhost domain. For example, if we call the new project TestSite, domain will be http://TestSite.test. Click ok.

24- Wait Laragon start creating project.
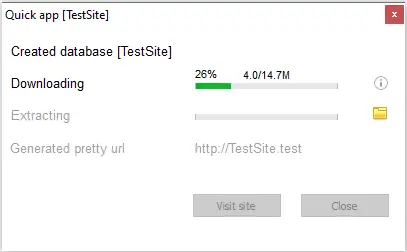
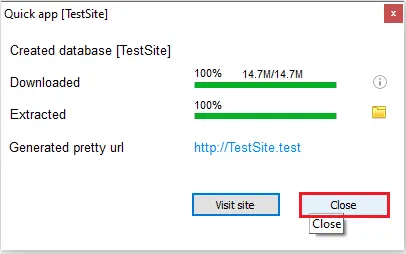
25- Successfully created database (TestSite). Click close
26- Laragon will launch WordPress in web browser.
Or type (testsite.test) and hit enter.
Select your language and then hit continue.

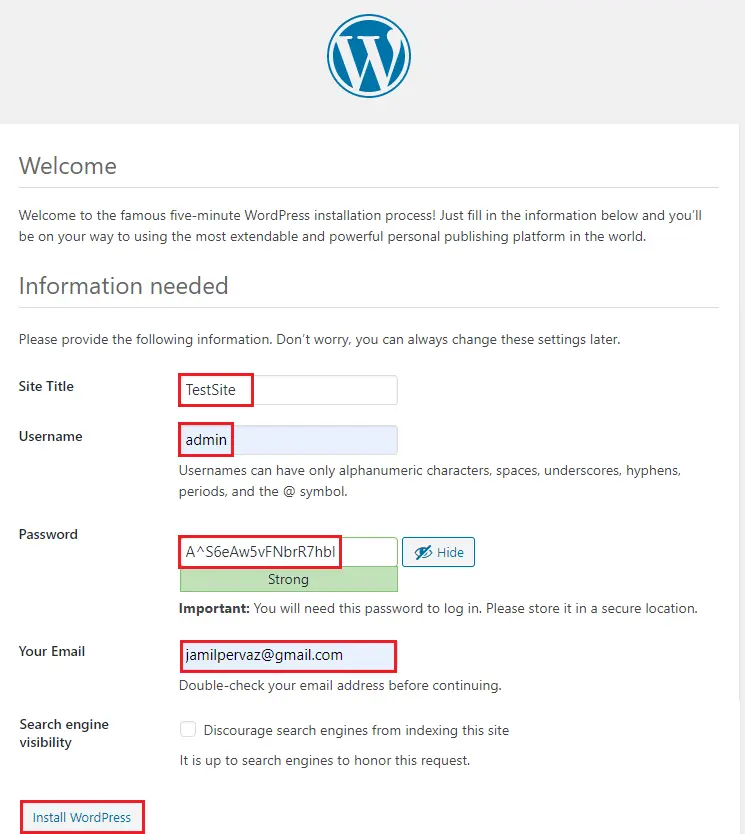
27- Enter database info.
Site title – TestSite
Username – Admin (you can choose any one)
Type a strong or copy the default one in notepad.
Type your email and then select install WordPress.
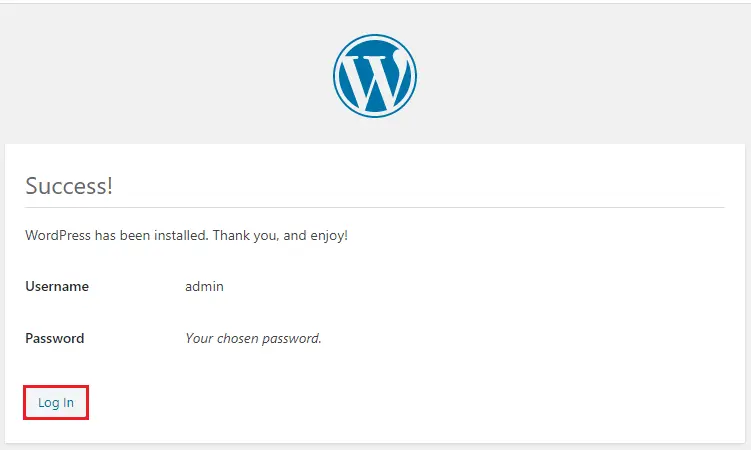
28- Select log in.
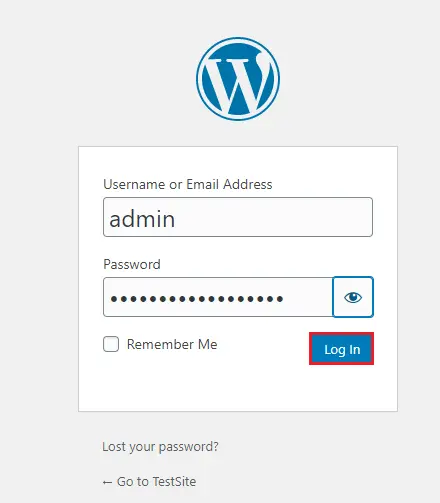
29- Type username (Admin), password and then press log in.
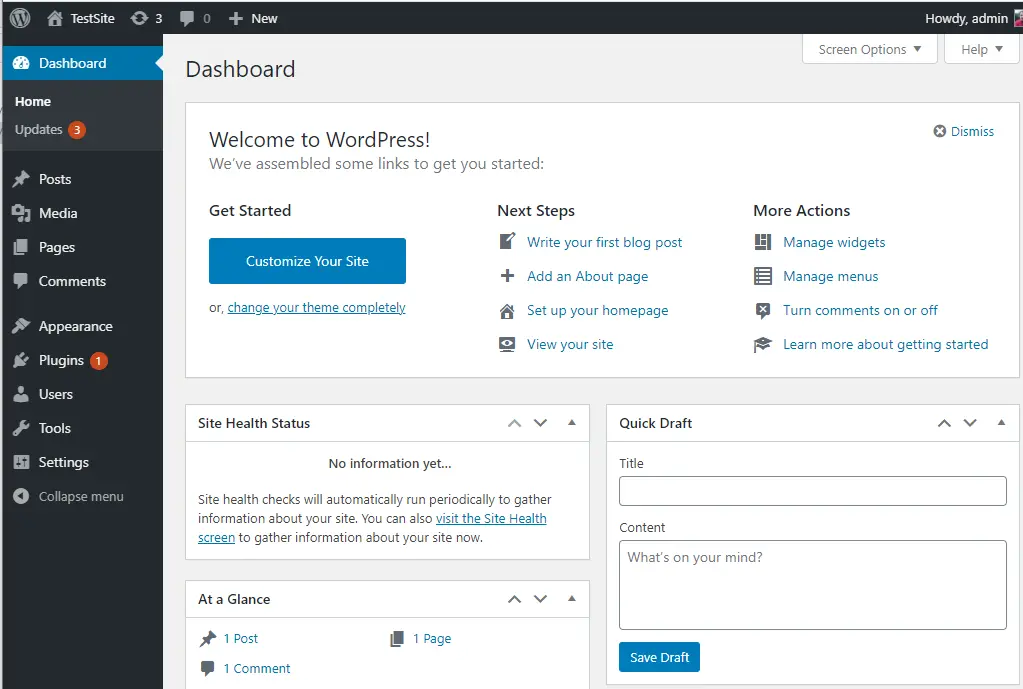
30- WordPress Dashboard.
Related: How to install bitnami wordpress